

Galaxy S6 Edge Plus, the elder brother of the Galaxy S6 is a great device to pick up. The big screen is good for the users who want a device like a Galaxy Note without an S-Pen. Galaxy S6 Edge equipped same design/build and specifications as that of the Galaxy S6 Edge. The only difference was in the display department of the phone. Galaxy S6 Edge Plus was found running on Android Lollipop out of the box. This phone was very easy to modify in the good old days. The bad things in the world of Android development started happening when the phone was updated to Android Marshmallow. It became relatively difficult to perform any sort of customization on the phone.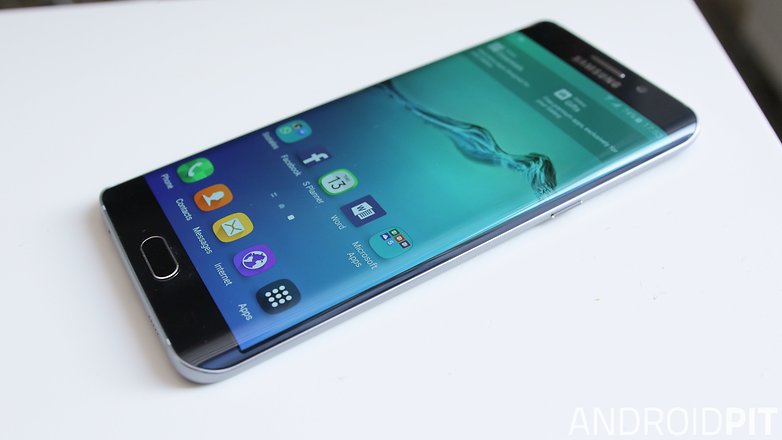
Galaxy S6 Edge Plus has now joined the Nougat league. The phone enjoys all the new goodies rolled out by Google and Samsung together. If you own a Galaxy S6 Edge Plus running on Android Nougat and you haven’t rooted it, you are not unleashing the true potential of this device. Rooting this phone on Nougat has been made a lot easier now. Chainfire has released his famous CF Auto Root for the Galaxy S6 Edge Plus now. The Auto Root utility was updated for all the Galaxy smartphones running Android Nougat. It took a while for the developer to roll out this update because of the new security features in Android OS.
CF Auto Root is the most convenient method to root any Android smartphone. On a Galaxy S6 Edge Plus, you can flash it using Odin. It works on the Exynos variant of this device. Let’s have a look on the steps to root your Galaxy S6 Edge Plus using CF Auto Root.
Read Carefully: Rooting your Galaxy S6 Edge Plus via CF Auto Root will void its warranty and also trip the Knox counter. After you root your phone, you will trigger the dm-verity verification. To bypass this, you must factory reset your phone and it will wipe your phone’s internal storage. It is very important to backup all your data before you root your phone. In the case of any kind of mishap, TechBeasts and the Root developer may not be held responsible. Make sure that you understand the risks involved in the rooting process. You are going to do it at your own risk.
Preparation
- With this guide, you can use your Galaxy S6 Edge Plus G9287C, G928C, G928S, G928K, G928L, G928P, G928F, G928W8 running Android Nougat. Do not use this on any other device. Verify your device’s model number by going into settings > about device section.
- Charge your phone up to 50% to ensure power supply during flashing process.
- Backup your important contacts, call logs, SMS messages. Copy your media content to your PC. You can also sync your contacts with your Gmail account. Do not ignore this step as you will have to factory reset your device after rooting it.
- Enable OEM Unlocking and USB debugging mode on your phone.
- Use OEM data cable to connect your phone to your PC.
- Disable Samsung Kies and Windows Firewall while using Odin.
- Follow rest of the instructions carefully.
Required downloads
- Download and install Samsung USB drivers.
- Download and extract Odin 3.12.5.
- Download and extract CF Auto Root according to your device

After extracting the downloaded file, you will get an Auto Root.tar file for your device.
Root your Galaxy S6 Edge Plus with CF Auto Root
- Open Odin 3.12.5.exe on your computer.
- Click on the AP tab in Odin.
- Select the CF Auto Root.tar.md5 file that you just downloaded for your phone.

- Put your phone in download mode now by pressing and holding Volume Down + Home + Power Key for a while.

- Connect your phone to your PC now. As soon as the connection happens, the ID:COM box in Odin will turn blue. You will see the Added status in the logs box in Odin.

- Click on the Options button in Odin. Make sure that the only option ticked is F.Reset.Time. No other option should be checked.

- Now that you are all set for flashing Auto Root, click on the Start button in Odin and sit back for a while.
- It will take a minute at max for CF Auto Root to flash. Once the flashing PASSES, disconnect your phone and reboot it manually. You can press the Volume Up + Down + Power key for a while to reboot the phone.

- As your phone boots up, it will show you a warning that DM-Verity has been triggered and you need to RESET your device. RESET the device in order to boot into system. If the phone doesn’t ask for you to RESET the device, just boot the phone into the system. Skip this step in that case.
- Once you RESET it, it will take you to the system. You can now install Root Checker to verify root access. That’s all.
If your phone keeps giving you a notification about an unauthorized activity going on, simply open the SuperSU app in your phone. SuperSU will tell you to disable Samsung Knox. Let SuperSU disable Samsung Knox and the unauthorized activity notification will go away right after that.
If your phone is taking too long to boot up, you can boot into the recovery mode and wipe its cache partition. If the phone still takes long, boot into the recovery mode again and perform a factory data reset. Don’t worry about factory resetting your device as it’s going to make you hard reset your device anyway. It can take up to 10 minutes for your phone to boot up. Keep patience while it is preparing the phone.
Conclusion
So that’s how we rooted the phone using the easiest root procedure. You can now start enhancing your device. On a rooted phone, you can use applications like Titanium Backup, Greenify and many others. You can also enhance the battery life of your phone using the applications which require root first. It’s time to make the best out of your rooted Android smartphone. Best of luck!


")


