

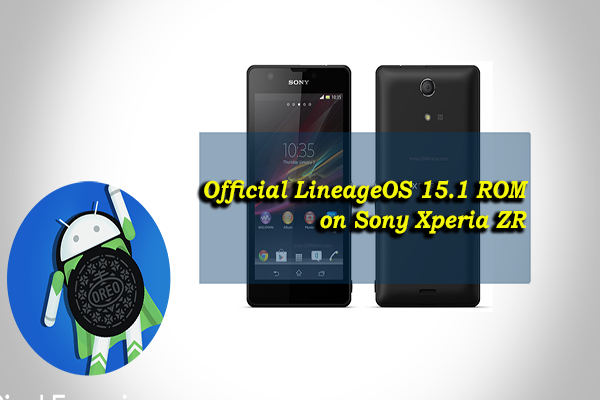
Sony Xperia ZR got released in June 2013 and marked as a featured flagship from Sony as of that time. The device came with Android 4.1.2 Jelly Bean out of the box. The OS runs on Sony’s own Timescape UI, itself a very beautiful and navigable user interface. Updating the interface always boost your device with a plethora of customizations, System Apps, Layouts and so many things. Official build based on Android 8.1 Oreo to this device has been released. Here is a simple guide on how to download and Install Official LineageOS 15.1 ROM on Sony Xperia ZR.
Sizable display with very good pixel density & powerful chipset good enough for device’s flawless performance. Based on the similar chipset and almost identical hardware specs from the older siblings, the Xperia Z and Xperia ZL, the Xperia ZR is an ideal device with some patches filled. The front is an entire glass panel with just the opening for the earpiece on the top. Alongside are the front camera and a translucent window for the sensors beneath it. The device is powered by Qualcomm Snapdragon S4 Pro APQ8064 chipset which is a quad-core 1.5 GHz Krait coupled with 2GB RAM. Graphics required to run this device is powered by Adreno 302.
Contents
LineageOS 15.1 ROM
Lineage OS is a popular after-market custom ROM for Android phones and it runs stock Android OS with a wide variety of customizations. If you observe Google’s vanilla Android OS and Lineage OS, you’ll find a lot of granular settings in the latter. You can customize your device to your own taste and have more security options as well. The LineageOS is an AOSP based aftermarket custom ROM and is a continuation of the highly popular CyanogenMod ROM. It brings stock Android interface to your device along with a plethora of customizations. It’s heavily skinned & tweaked for better performance. It has got all those features a common user needs. LineageOS ROMs are quite stable. You can customize your device to your own taste and have more security options as well. You might experience random reboots and minor glitches in the functionality but its splendid customizations drop shadow over them.
Installing a custom ROM is quite simple and you will need a custom ROM like TWRP to install flashable ZIP files. As installing the ROM would wipe your device, make sure to take a nandroid backup. This ensures that you have a complete backup of your device in case you run into boot loop issue or a bricked device. However, the nandroid backup doesn’t include your internal storage. So, make sure to back up your photos and other important stuff on your internal storage to PC. So without any ado lets see how to Install Official LineageOS 15.1 ROM on Sony Xperia ZR.
Preparations
- Charge your device at least 50% before flashing the ROM.
- Backup your device to make sure you’ve all the important data if something doesn’t go as per the plan.
- Make sure you have a proper TWRP installed on your device. Download the TWRP link here, and follow this guide to Install TWRP on any Android device.
Downloads
Download the Gapps and Official OS ROM for Xperia ZR to your device’s storage.
How to Install Official LineageOS 15.1 ROM on Sony Xperia ZR
- Make sure you have the TWRP recovery installed on your phone.
- Also, ensure that you have copied the Gapps and Official OS 15.1 ROM files after installing TWRP.
- Power down your smartphone.
- Boot in recovery mode by pressing and holding Volume Up/Volume Down and Power Button at the same time. When the screen flickers, release all buttons and you will see the recovery screen in a few seconds.
- Make a nandroid backup of your device in TWRP recovery. To do this, navigate to Backup option, select the partitions available and swipe right to make a backup.
- Format your device, once the backup is completed.
- In TWRP recovery, click on Wipe » Advanced Wipe. Select data, system, cache and, Dalvik-cache on this page and wipe them.
- In the TWRP, click on Install » Install Zip » Locate and select the Official OS ROM file. Swipe screen to flash this file.
- Similarly, flash the Gapps for Android Pie.
- In the end, get back to the main menu in TWRP and click on Wipe » Advanced Wipe » Select Cache & Dalvik Cache » Swipe screen to wipe.
- After wiping, reboot your device.
That’s all. The first boot will take some time as it needs to build the cache. Once the device boots up, you can see the Android Pie setup screen.


")
")


