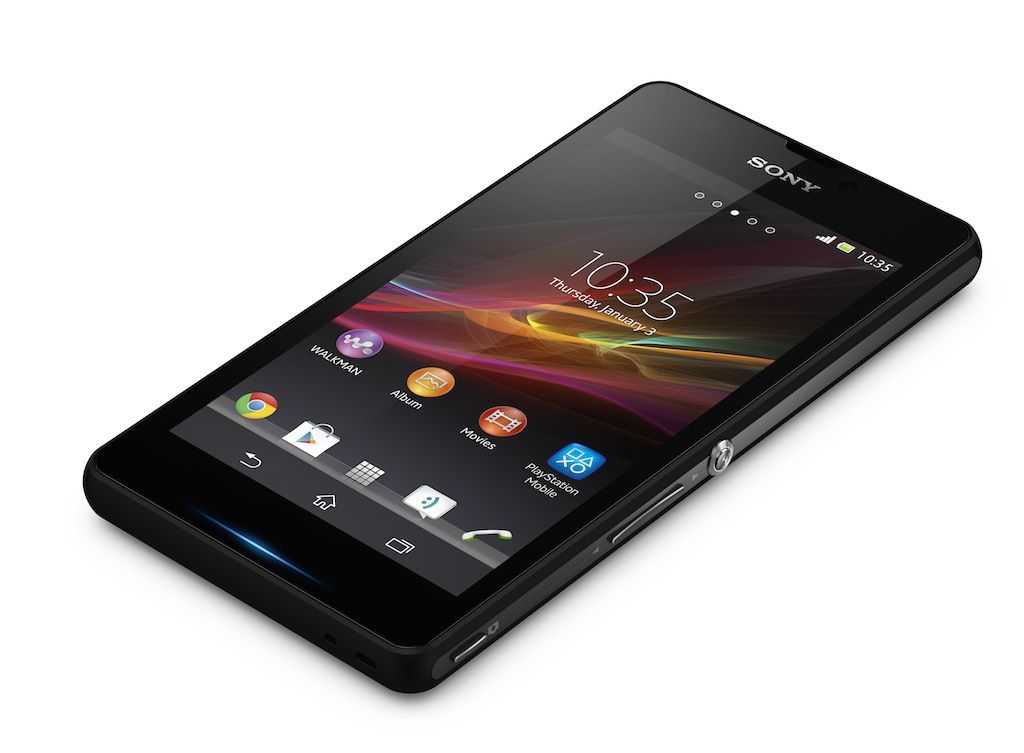
Sony has updated Xperia ZR to 10.7.A.0.228 firmware. The update is based on Android 5.1.1 Lollipop. It comes with some minor bug fixes and of-course, a new build number is there. The update is on a slow rollout at the moment, should be hitting your device anytime soon. You may want to root your phone after updating it to this latest .228 firmware. In that case, our guide in the on-going post is going to help you out.
As you go ahead, you’re going to find out a complete set of instructions to install CWM or TWRP recovery and root Xperia ZR running Android 5.1.1 Lollipop 10.7.A.0.228 firmware. Let’s go ahead and get it done now.
Note: This guide will work for both locked and unlocked bootloaders.
Contents
How To Install CWM/TWRP Recovery and Root Xperia ZR 10.7.A.0.228 Firmware
1. Downgrade to .283 Firmware and Root It
Note: If you already have a custom recovery installed on your phone, you may skip downgrading and flash the pre-rooted .228 firmware directly on your phone.
- If you have already updated your smartphone to Android 5.1.1 Lollipop, then you have to downgrade your device to KitKat OS and Root it.
- Use this guide to Install .283 firmware.
- Root using this guide.
- Now you have to Install XZ Dual Recovery (Steps below).
- Now phone is rooted, USB Debugging must be enabled.
- Download latest installer for Xperia ZR from here. (Z-lockeddualrecovery2.8.xx-RELEASE.installer.zip)
- Connect phone to PC using OEM date cable and run install.bat.
- It will install the custom recovery.
- Now work here is done. Lets move on to next step.
2. Make A Pre-Rooted Flashable Firmware For 10.7.A.0.228 FTF
- Download C5503 latest 10.7.A.0.228 FTF. | C5502 latest 10.7.A.0.228 [Create your own FTF]
- Now create a Pre-Rooted flashable firmware using this guide: How To Create Sony Xperia Pre-Rooted Firmware With PRF Creator.
- Now copy the pre-rooted firmware.zip file to the internal or external storage of your Xperia ZR.
3. Root and Install Recovery on ZR C5503, C5502 5.1.1 10.7.A.0.228 Lollipop Firmware
- Custom recovery was installed in the first step.
- The pre-rooted firmware was created and copied to phone in next step.
- Now you have to turn off phone.
- Turn it on again and press volume up or down to enter either TWRP or CWM recovery.
- Now for TWRP recovery, tap Install > scroll all the way to bottom and select the copied pre-rooted firmware.zip file.
- After selecting the file, swipe finger from left to right on the bottom to flash.
- Once flashed, reboot your device and you will have pre-rooted 10.7.A.0.228 Lollipop firmware.
- For CWM, select Install Zip > Choose Zip from SD card > locate pre-rooted firmware.zip file > select yes to flash.
- Once flashed, reboot your phone and you will have 10.7.A.0.228 rooted Lollipop firmware.
- Now verify root access using an app like Root Checker.
- That’s all.
Stuck with something? Reach us out through the comment box below. We would love to help you out.


osamaaaa you are the best best besteset
i am unsure about which option to choose