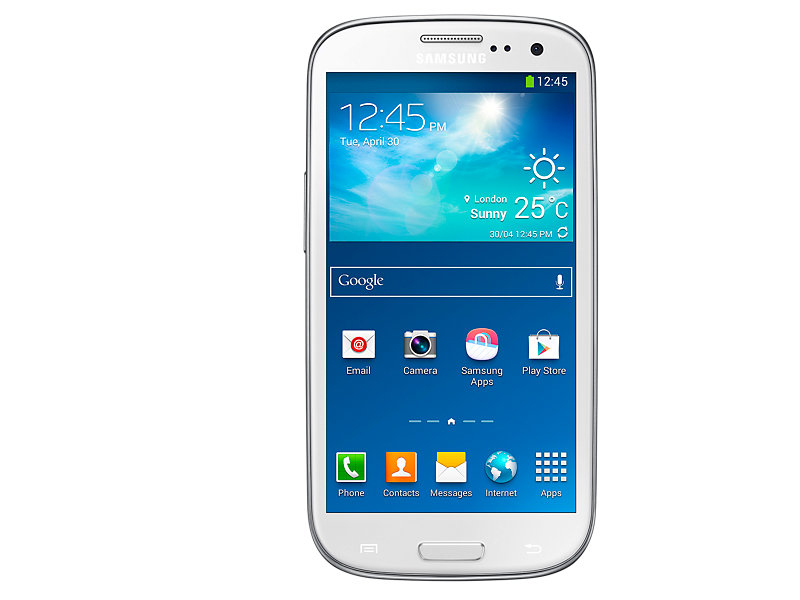
Android 6.0.1 Marshmallow CyanogenMod 13 custom ROM is finally available for our beloved Galaxy S3 I9300. You can follow the instructions in the on-going guide to flash this Android 6.0.1 Marshmallow on your international Galaxy S3 GT-I9300 using CyanogenMod 13 custom ROM.
Before heading towards the installation method, we will have a recap of the Galaxy S3 and its software life. Samsung’s famous flagship came up back in 2012. Galaxy S3 brought Samsung in the much needed spotlight, the device was a huge success for the company. Galaxy S3 originated carrying Android 4.0.4 Ice Cream Sandwich. Samsung made the device reach Android 4.3 Jelly Bean, and since then users haven’t come across any further version of Android. Since the discontinuity of official Android updates for the Galaxy S3, custom ROMs have been keeping this device alive. Google has already released the 6th iteration of Android named as Android 6.0 Marshmallow. Android Marshmallow packed inside custom ROMs is coming up for quite many legacy devices. If you’ve been finding a way to update your Galaxy S3 I9300 to Android 6.0 Marshmallow, then using a nice custom ROM may be the best choice for you. Since CyanogenMod is the most widely used and the most popular custom ROM and it has already made its way for our beloved Galaxy S3, we will go ahead now and flash this very custom ROM to give your device an entirely new life.
Be reminded that this is a custom ROM, and is in development stages. You will not find everything working perfectly fine and you will also come across quite many bugs. We only recommend you to flash this ROM if you’re an Android power user and you have a great idea about custom ROMs. If you’re a newbie, we recommend you to follow the instructions to the letter to avoid any mishap.
Pre-installation instructions
- This guide is intended for Galaxy S3 GT-I9300 users. Do not try this on any other device. Using the files linked here on a different device can result in bricking it. Verify your device model number in your phone’s settings > about device section.
- Your device must be running the latest possible available version of Android.
- Charge your phone up to 50% to avoid any power issues during the flashing process.
- Flash a custom recovery like TWRP on your Galaxy S3 I9300.
- Backup everything including contacts, call logs, sms messages and bookmarks. Also copy your media content to your computer.
- Create a Nandroid backup. This is highly recommend so that in case something goes wrong, you will be able to restore your system immediately by restoring Nandroid backup.
- Create an EFS backup of your device as well. Save the EFS backup to some safe place in your computer.
- Backup your important apps and apps data using Titanium backup if you want.
- Follow this guide carefully.
DISCLAIMER:THE METHODS INVOLVED IN FLASHING CUSTOM RECOVERIES, ROMS AND ROOTING YOUR PHONE ARE HIGHLY CUSTOM AND MAY RESULT IN BRICKING YOUR DEVICE, AND HAS NOTHING TO DO WITH GOOGLE OR THE DEVICE MANUFACTURER THAT IS Samsung IN OUR CASE. ALSO ROOTING YOUR DEVICE WILL VOID ITS WARRANTY AND YOU WILL BE NO LONGER ELIGIBLE FOR ANY KIND OF FREE DEVICE SERVICES BY THE MANUFACTURERS/WARRANTY PROVIDERS. IN CASE OF ANY MISHAP WE MAY NOT BE HELD RESPONSIBLE.
Update Galaxy S3 I9300 to Android 6.0.1 Marshmallow via CyanogenMod 13
- Download latest cm-13.0-xxxxx.zip file.
- Download Gapps.zip (ARM 6.0.zip)file for CM 13.
- Connect your phone to your PC now.
- Copy the both the .zip files to the storage of your phone.
- Now disconnect your phone and turn it off complete.
- Boot into TWRP recovery now, in order to do so, turn it on by pressing and holding Volume Up + Home Button + Power Key. You should see the recovery mode in a while.
- Now in TWRP recovery, wipe cache, factory data reset and advanced options > dalvik cache.
- After wiping all these three, select “Install” option.
- Now select “Install > Choose Zip from SD card > Select cm-13……xxxxx.zip file > Yes”.
- This will flash the ROM in your phone, once done get back to the main menu in recovery.
- Now once again select “Install > Choose Zip from SD card > Select Gapps.zip file > Yes”
- This will flash the Gapps in your phone.
- Reboot your device.
- You should see the Android 6.0 Marshmallow running on your device in a while.
- That’s all!
First boot may take up to 10 minutes, you may not worry if it’s taking that much long. In case it’s taking too long, you may boot into TWRP recovery and wipe cache and dalvik cache and reboot your device as it may fix the issue. In case your device is having issues, you may return to your old system using the Nandroid backup or follow our guide here to install stock firmware.
Got any queries? Reach us out through the comment box below.


![Download Odin 3.13.1 for PC [Odin3 v3.13.1] Odin 3.13.1](https://techbeasts.com/wp-content/uploads/2018/03/Screenshot_11.png)


