Following are the best Merry Christmas Images of 2018. You can use these Christmas Images as a wallpaper for your smartphone, PC & Computer. All of these images provided below are full HD.
Christmas 2018 is on the door. Everyone’s probably busy preparing for the best to welcome this great day and celebrate the moments. While you’re busy bringing the Holiday tree in your house, decorate your house with a lot of lights, colors, and all set to welcome the 25th of December, 2018, we have done something as well to add a little charm to your celebrations.
We have collected the best Merry Christmas Images 2018 for your gadgets. Let’s get started.
Merry Christmas Images 2018:
The images we are providing is for all devices such as PC, Desktop, Computer, Laptop, Android, iOS, Windows and more.
How To Download Wallpapers:
Important:
If you are on a PC Browser, Open the Wallpapers -> Right Click -> Save Image As.
On a smartphone or tablet. Select the Wallpaper-> Tap & Hold on the Images -> Tap on Save or Download.
20+ Merry Christmas Images 2018:
Living Room Christmas ImagesHappy-Christmas-Images-HD-Free-downloadChristmas-Heart-Images-for-DesktopChristmas-Wishes-PhotoFree-download-Christmas-WallpaperMerry-Christmas-Images-HD-Free-downloadChristmas-ImagesOriginal-Christmas-Tree-ImagesFree-Download-Christmas-Tree-Images-for-PCCelebration-Christmas-lightsCute-Christmas-ImagesChristmas-Xmas-tree-decorationChristmas-tree-with-decorations-during-nighttime
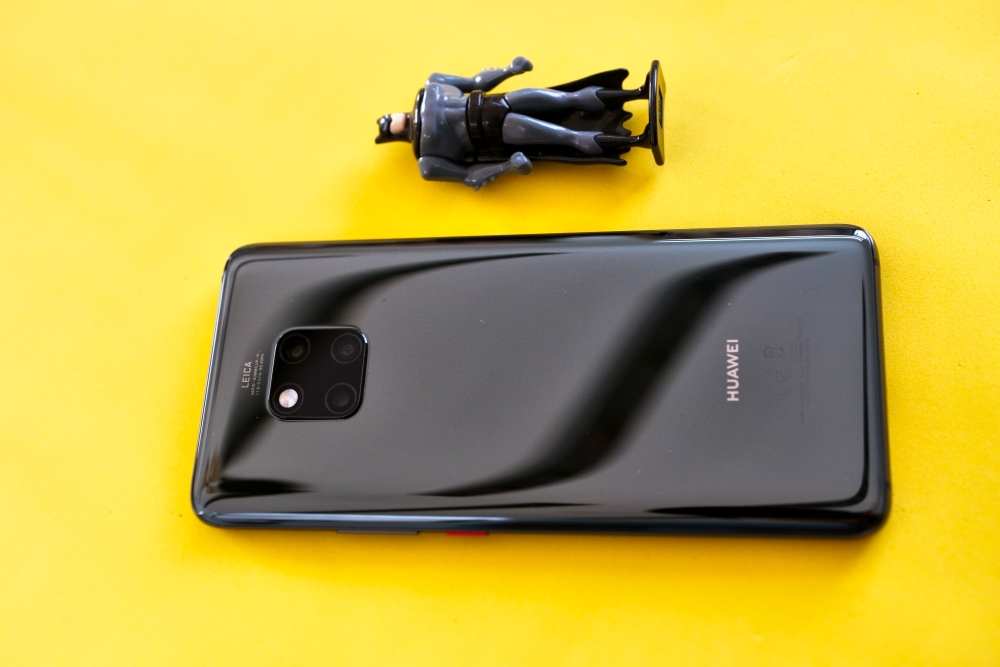
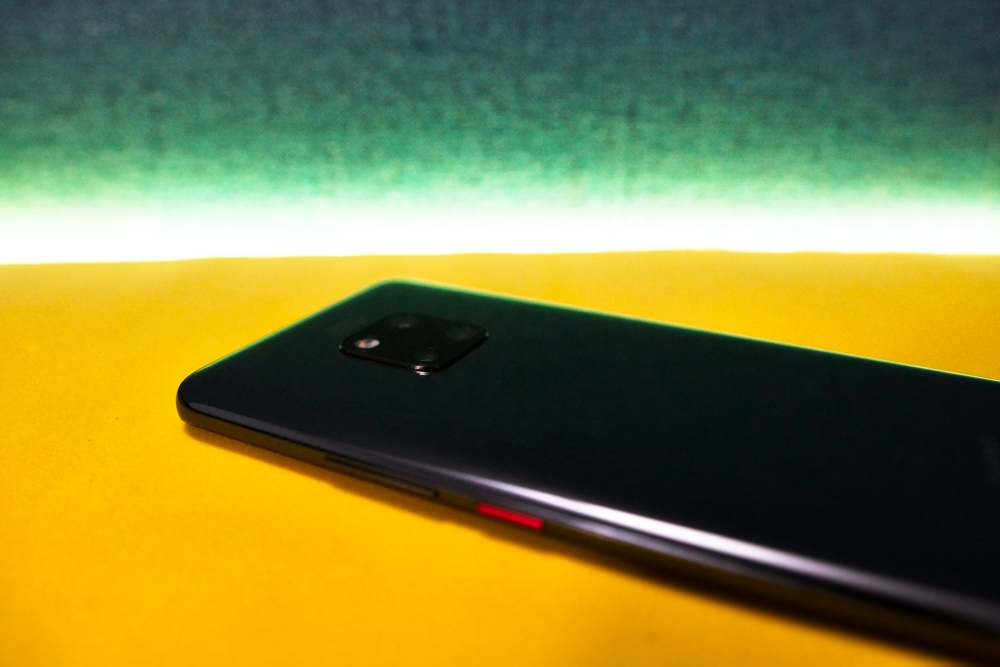
With the help of Huawei Mate 20 Pro, the Chinese phone maker has caused a state of unrest among its competitors. The Mate 20 poses a real challenge to the likes of Samsung’s Galaxy Note 9, Apple’s iPhone XS Max, and Google’s Pixel 3 XL. Mate 20 Pro comes with the best camera for any Android smartphone ever. It comes with the design that most users would blindly pay their money for. The build quality of the Mate 20 Pro is super awesome. To unleash the full potential of your Huawei Mate 20 Pro, you know its tips and tricks. Here are best Huawei Mate 20 Pro Tips and Tricks for all the Huawei Mate 20 Pro owners.
Huawei Mate 20 Pro comes with a 6.39-inch AMOLED display. It has a resolution of 1440 x 3120 pixels. The Mate 20 Pro is water and dust resistant. It has a glass-sandwich design. The build is absolutely premium and you can tell that after you get your hands on this phone for the very first time. Huawei Mate 20 Pro has a notch in its screen. The display ratio is 19:9.
The Mate 20 Pro is powered by Huawei’s latest Kirin 980 SoC. This is the very first 7nm based SoC for any Android device. The GPU here is Mali-G76 MP10. Mate 20 Pro has a RAM of 6GB or 8GB with the internal storage of 128GB or 256GB.
This phone has a triple camera system at the back. There is a 40MP wide shooter. The 20MP shooter at the back is for ultra-wide shots. And the third shooter, which is of 8MP, is for zooming purposes. Mate 20 Pro has a 24MP shooter on the front. The camera of the Mate 20 Pro takes incredible portraits, ultrawide shots, and also works amazingly in the night with the help of its night mode.
There is no headphone jack on the Mate 20 Pro. It uses the USB Type-C port for headphones and for charging purposes as well. And surprisingly, the USB Type-C port also works as the speaker of the phone. Mate 20 Pro has a whopping 4200 mAh battery inside. It has the fingerprint scanner beneath its display and also supports Face ID unlock. This phone comes in Black, Twilight Blue, and Emerald Green colors.
There are many other unique features in the Mate 20 Pro, however, you can find them once you start using this phone.
Huawei Mate 20 Pro Tips and Tricks
Change Screen Resolution
By default, the Mate 20 Pro has the Smart Resolution feature enabled. This feature automatically adjusts the display of your phone depending on the tasks running on your phone. It means you are not using the WQHD+ (3120 x 1440 pixels) resolution by default. If you want to get the best display result from your Mate 20 Pro, here is how to change screen resolution on it.
Open Settings and go to the Display settings on your phone.
Click on Screen Resolution and then turn off Smart Resolution.
Now click on the “WQHD+” resolution to enable it. That’s all.
Hide that Notch!
Mate 20 Pro still comes with the same old ugly notch. You can easily disable the Notch on the Mate 20 Pro. Since the Mate 20 Pro comes with an AMOLED display, hiding the notch makes it blend into the display really well and it is not visible afterwards. If you want to get rid of the Notch here is how to do so.
Open Settings on your phone and go to Display.
Now click on More Display and then click on Notch.
Press the button next to the Hide notch in order to get rid of it. That’s all.
Display Carrier Name and Network Speed
There is an option in the Mate 20 Pro to show the Carrier Name and the Network Speed in the status bar of the phone. here is how you can access this option.
Open Settings and then click on Display.
Now click on More Display Settings.
Select Carrier Name and Network Speed in order to show them in the status bar. That’s all.
Enable App Drawer
The Mate 20 Pro doesn’t have the Application Drawer enabled by default. All the applications and widgets appear on the home screen of your phone. If you don’t like this UI of the Huawei Mate 20 Pro, you can enable the App Drawer easily. Here is how to do so.
Open Settings and go to Home Screen & Wallpaper.
Click on Home Screen Style.
Now click on the Drawer button to enable it.
Drawer icon will appear right in the middle of your phone’s chin now. Find all the applications there.
Darken UI Colors
There is an option to Darken the UI Colors on the Mate 20 Pro. This is a useful option as the Mate 20 Pro has got an AMOLED screen. AMOLED screens eat less battery when the UI colors are dark. Darken UI Colors on the Mate 20 Pro by following these steps.
Open Settings and go to Battery on your phone.
Now scroll all the way to the bottom and find Darken UI Colors.
Turn on the “Darken UI Colors” feature to turn on the Dark theme on your phone.
Enable Reverse Wireless Charging
If there is any truly unique feature on the Mate 20 Pro, that is the Wireless Reverse Charging. Your Mate 20 Pro can act as a wireless charger for other devices. Here is how to turn it on and use it.
Open Settings and navigate to Battery.
Scroll to the bototm and find “Reverse Wireless Charging”.
Turn on this feature now.
Now place any phone or any other gadget that supports wireless charging at the back of your Mate 20 Pro.
You will find the other device charging now.
Swap the keys [Three Key Navigation] or Use Navigation Gestures
The Mate 20 Pro has a very unusual order of the navigation keys. You will find the back key on the left side and the menu key on the right side. Generally, the back key should be on the right side and the menu key should be on the left. Here is how to fix this order.
Open Settings on your phone and then scroll all the way down to open System.
Click on System Navigation and then click on Three Key Navigation.
Now select the order of the keys according to your liking.
Enable Fingperint ID and Face ID
One major difference between the Mate 20 Pro, Mate 20, and the Mate 20 X is the under display fingeprint scanner. Both the Mate 20 and the Mate 20 X have a fingerprint scanner at the back. The Mate 20 Pro, however, has the fingerprint scanner beneath the display. Here is how to set it up along with the Face ID.
Open Settings and go to Security ad Privacy.
Now click on Fingerprint ID and enroll your finger.
Similarly, click on the Face ID and register your face.
Lock your phone and try unlocking it using either of the methods.
Use Huawei Private Space
Private Space creates a separate instance inside your phone. This clone of your phone cannot be accessed by anyone else. It is protected by password, pin, fingerprint ID or the Face ID. To set it up, follow these steps.
Open Settings and jump to Security & Privacy.
Now click on Private Space.
Set up the Private Space using the security that you find easy.
Enter the Private Space now, you will have to login.
To exit the Private Space, open Settings again, go to Security & Privacy > Private Space > Click on “Exit”. This will take you the main instance of your device.
Optimize Battery Usage
The Mate 20 Pro can optimize the battery usage on your phone by making amendments for the applications running in the background. To optimize battery usage, open Settings and go to Battery. Now click on “Optimize Battery Usage”. It will not optimize the battery for best possible output.
Huawei Mate 20 Pro Tips and Tricks in a video
Consluion
So guys, that’s all with this guide. These tips will help you to unleash the real power of your all new Huawei Mate 20 Pro. I hope that you guys find these features really helpul. If you have any questions or queries, you can reach out to us. In case you have anything to add to this guide, drop it in the comments section below. We will add your tips to the Huawei Mate 20 Pro tips and tricks above. Thank you all.
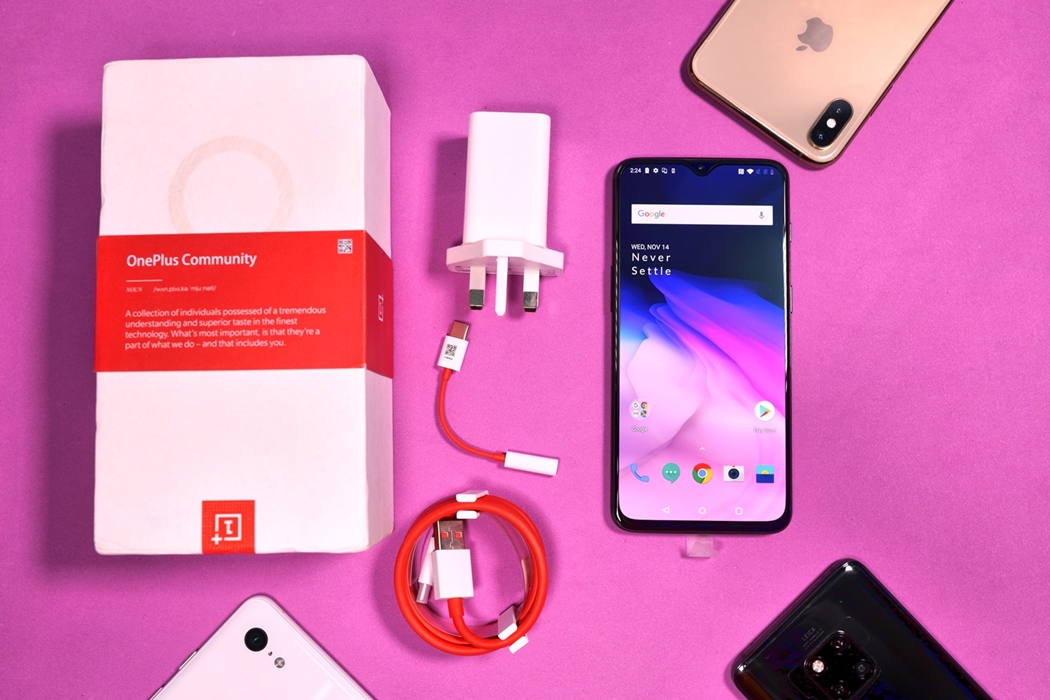
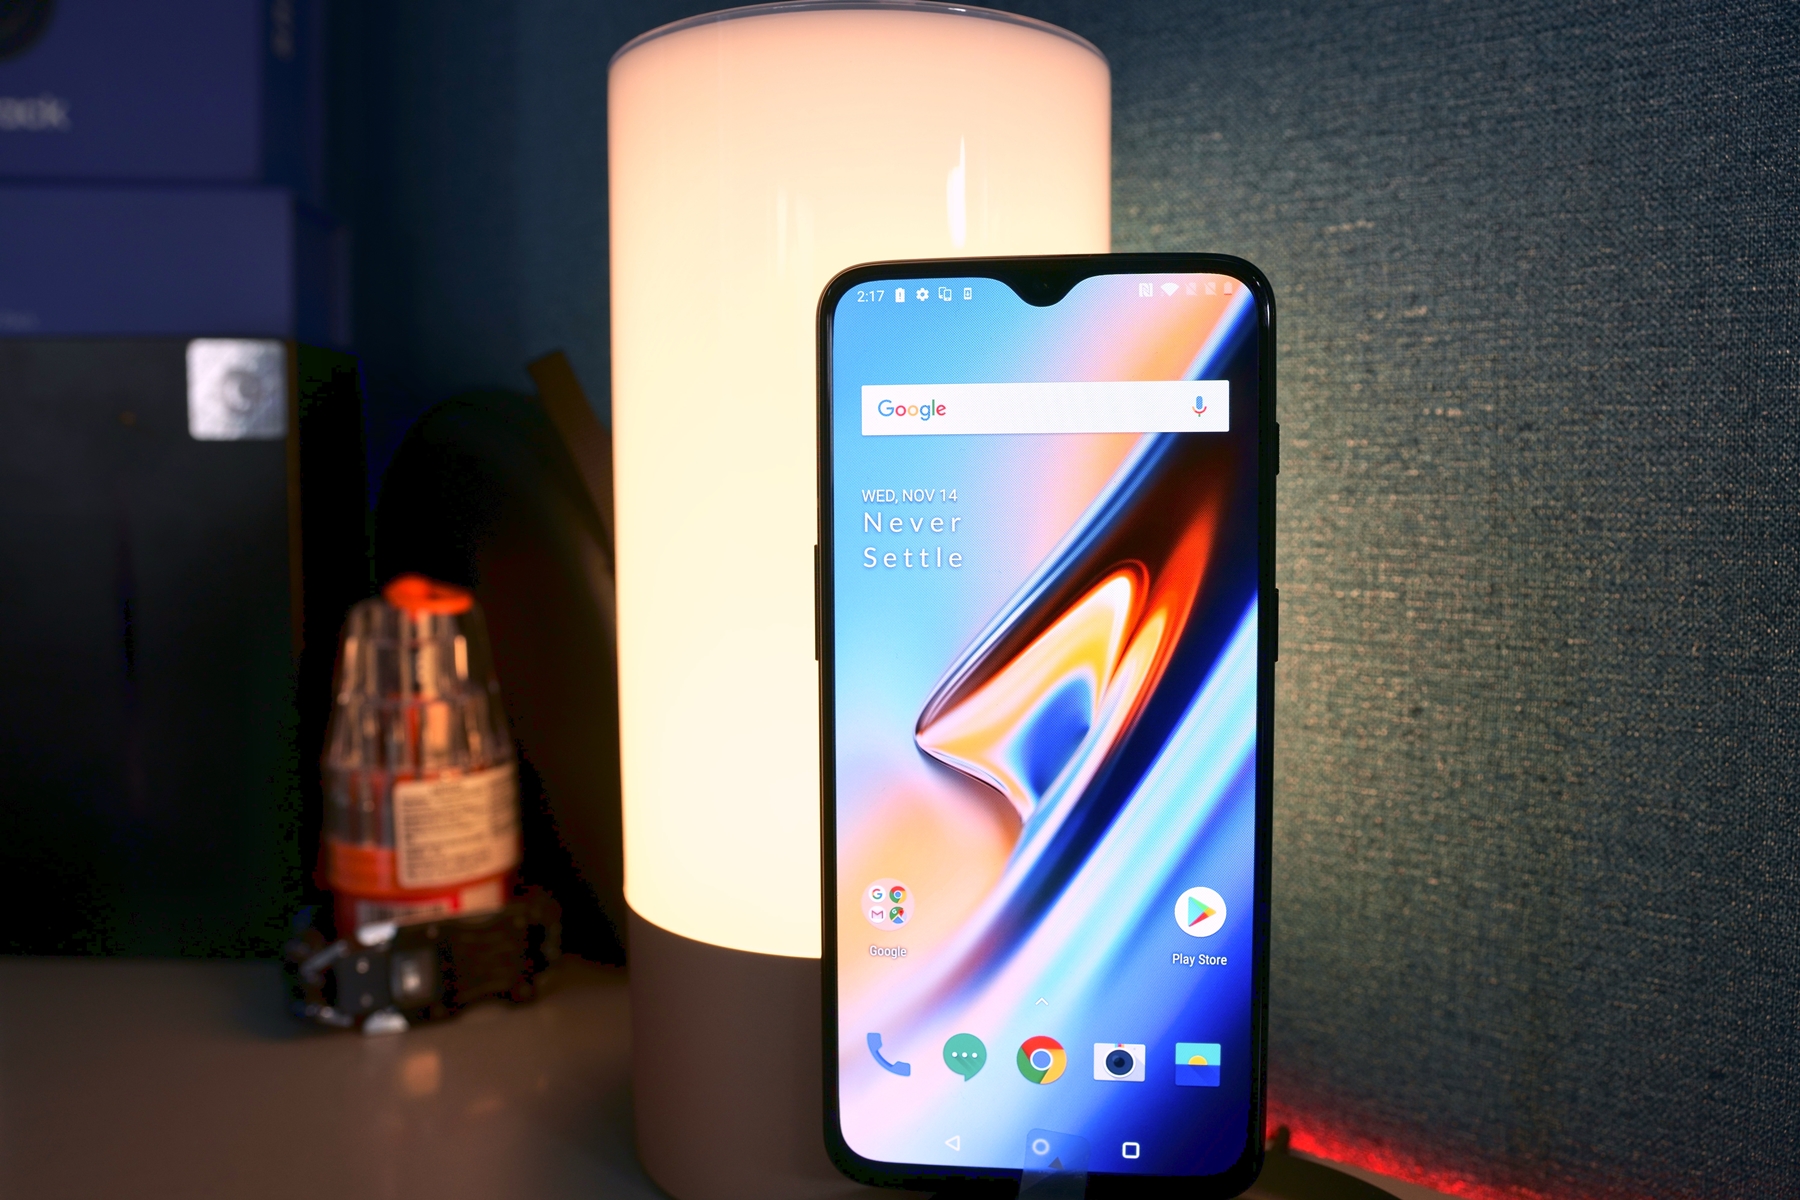
OnePlus 6T is the best phone that the company has ever produced. This is also the very first smartphone by OnePlus to find its way to the U.S. The OnePlus 6T is powered by the top-notch hardware, an up-to-date design, and some features that we have not seen on any other smartphone so far. To fully master your brand new OnePlus 6T, you need to learn about its hidden features. Here are our best OnePlus 6T tips and tricks for all the OnePlus 6T owners out there.
OnePlus 6T – Setting the smartphone industry on a new path
The OnePlus 6T, apparently, follows the design language of the OnePlus 6, but there are some changes within this design language. First off, the OnePlus 6T comes with a waterdrop notch. Yes, you heard it right. The ugly big notch is gone now. OnePlus 6T has a 6.41-inches 1080 x 2340 pixels Optic AMOLED screen having a 16MP shooter fixed in the tear-drop notch. This phone is protected by Corning Gorilla Glass 6.
OnePlus 6T is powered by the Qualcomm Snapdragon 845 SoC. It has a RAM of 6GB or 8GB with 128GB or 256GB internal storage. At the back, this phone has a dual 16MP + 20MP shooter. OnePlus 6T doesn’t have a headphone jack. It has a whopping 3700 mAh battery. It runs on Android Pie with latest OxygenOS out of the box.
There is no rear fingerprint scanner at the back of the OnePlus 6T. Wondering why? Well, because there is an under-display fingerprint scanner on the OnePlus 6T now. A new color called “Thunder Purple” has been introduced alongside the old Mirror Black and Midnight Black colors.
Here are all the unique features of the OnePlus 6T in a nutshell
Waterdrop notch
3700 mAh battery (upgrade from previous 3300 mAh battery)
Base storage bumped to 128GB. No 64GB variant this time.
Corning Gorilla Glass 6
Under-display fingerprint scanner
Nightscape mode in the Camera
This phone has many other cool features that you may discover upon getting your hands on it.
OnePlus 6T Tips and Tricks
So people, let’s start with the best OnePlus 6T Tips and Tricks now.
Hide Notch
Even though the OnePlus 6T comes with a notch that blends beautifully inside the display of this phone, but if you still don’t like this notch, you always have the option to hide it. Here is how to hide Notch on OnePlus 6T.
First of all, open Settings.
In Settings, go to Display Settings.
Now open Notch Display and select “Hide the notch area”.
The Notch will be replaced by a black bar covering the status bar now.
Screen calibration
Don’t like the default display colors of the OnePlus 6T? You have the option to change the screen calibration. Here is how to calibrate screen on OnePlus 6T.
Open Settings and go to Display.
Now under the display settings, click on Screen calibration.
Choose the display colors/settings you want to see now. I’d prefer going with the Adaptive mode.
Enable Ambient Display
OnePlus adds the Ambient display feature to its phones. The purpose of this feature is to add a clock, notification icons, and some other elements on the lock screen of your phone while its not in use. If you have ever seen the Always On Display on phones of Samsung and LG, you will find the Ambient display very much similar to that. Here is how to enable it.
Open Settings and go to Display settings.
Now click on Ambient Display and turn it on.
You can customize the Ambient Display’s look within these settings as well.
Change Accent Color
The accent color can be easily changed on your OnePlus 6T. Accent color is the color of elements on your OnePlus 6T. For example, the icons in the status bar and the notifications panel of your phone will have a bluish color by default, this is the accent color. If you wish to change the accent color, follow these steps.
Open Settings.
Now open Display and go to Customization.
Click on Accent Color.
Chose your desired color now. All done.
Change Wallpaper
OnePlus 6T comes with a number of wallpaper customizations. Follow these steps to change it.
Open Settings on your phone and go to Display settings.
Open Customization and click on Wallpaper.
Now choose your desired wallpaper. That’s it.
Dark Theme
Dark theme is something I personally really love on the OnePlus smartphones. These phones come with Optic Amoled display. It’s really a plus point to have a feature like Dark theme. Enabling Dark theme can save you a decent percentage of battery on your phone. Here is how to enable Dark Theme on the OnePlus 6T.
Open Settings on your phone and click on Display.
Now click on Customization and then click on Theme.
Select the Dark theme now. It will take a few seconds to enable Dark theme. That’s all.
Change Status Bar
You can add some information to the status bar of your phone. Here is how to make the addtional information appear atop of your phone’s status bar.
Open Settings and go to Display.
Under the System heading, click on Status Bar.
Now you can change the Battery Style on your phone.
You can also show the Battery Percentage in the status bar.
If you are a geek and you like monitoring the Network Speed, you can make it show up there as well.
Lastly, you can customise the status bar icons from this menu as well.
Use Gesture Navigation
OnePlus 6T runs on Android Pie and it does come with Gesture Navigation as well. The Gesture Navigation on the OnePlus 6T is really cool. To enable it, follow these steps.
Open Settings and click on Buttons & Gestures.
Now click on Navigation Gestures to enable them.
You will see that the three-key-navigation has vanished from the chin of your phone. That’s all.
Change Navigation Keys
By default, the formation or the placement of the navigation keys on the OnePlus 6T is a bit unusual. The OnePlus 6T has the back key on the left side and the menu key on the right side. Most phones used to have the back key on the right side in the good old days. If you don’t like this formation, you can definitely change it. Here is how to do so.
Open Settings and then go to Buttons & Gestures.
Now click on Navigation Bar & Gestures.
Go to the Navigation bar customization now.
Click on Swap. Check the keys now. That’s all.
Use under-display fingerprint ID
OnePlus 6T comes with an under-display fingerprint ID. You can enable it by following these steps.
Open Settings and go to Security & lock screen.
Click on Fingprint now.
Enroll your thumb or any other finger that you want to unlock the phone with.
Lock your phone and see the under-display fingerprint scanner illuminating at the bottom of the screen.
Add Face Unlock
In the same security settings of the phone, you will find the Face Unlock option as well. OnePlus 6T has a superb Face ID Unlock. It works before you blink your eye. Simply open Settings > Security & lock screen > Face Unlock and register your face. While using the Face ID, you will rarely use the under-display fingerprint scanner.
Use Utilities
The OnePlus 6T is loaded with some handy utilities. Here is how to access them and enable them.
Open Settings > Scroll down and click on Utilities.
You will now find the Gaming Mode here. Use the Gaming Mode to set up your phone for playing games.
Below Gaming Mode, you will find Parallel Apps. Here you will find all the apps that support dual instances. For example, if you wish to install 2 Facebook applications at the same time in your OnePlus 6T, you might be able to find the Facebook support in Parallel Apps.
OnePlus 6T comes with an inbuilt App Locker. This App Locker is much better and secure than your ordinary App Locker. It cannot be disabled or cracked. Use this App Locker to protect your applications.
You can turn on the Pocket Mode to avoid unusual touches on your phone while it is in your pocket.
Schedule your phone to turn on or turn off on your desired time.
Change Fingerprint ID Animation
This is by far the coolest feature I have found on the OnePlus 6T. You can actually change the animation of the fingerprint ID on your phone. I haven’t seen such a feature on phones like Huawei Mate 20 Pro, so I really give OnePlus the full marks for this feature. Here is how to change fingerprint ID animation on OnePlus 6T.
Open Settings and go to Security & lock screen.
Now click on Fingerprint and then click on Fingerprint animation effect.
You will find three options now which are as follows.
Cosmos
Wave
Stripe
Chose your desired animation and save the settings. That’s all.
OnePlus 6T Tips and Tricks in a Video
Conclusion
So folks, that is all with the OnePlus 6T Tips and Tricks. I hope that being a OnePlus 6T owner, you really like this guide. If this guide has helped you, drop your feedback below. If you have anything else to add to this list, please share it with us through the comment section or our contact us page.
With the help of this guide, you will be able to Hard Reset Nokia 7.1. There are a number of ways to factory reset Nokia 7.1 and we’ve posted all of them.
This is the best solution so far to boost up the performance level on an Android device. Moreover, it is the ultimate solution of all your hardware or software problems on Nokia 7.1.
Now before we move on and start telling you how to Hard Reset Nokia 7.1. Let me give you an overview of Nokia 7.1 so that you get to know why this device is so much heat.
Nokia 7.1 Official Specs:
The Nokia 7.1 was released in 2018, October. The Phone came out with a screen of 5.84 inches having 1080 x 2280 pixels resolution. Nokia 7.1 was powered by Qualcomm SDM636 Snapdragon 636 (14 nm), Octa-core 1.8 GHz Kryo 260 CPU and Adreno 509. It had internal storage of 64 GB, 4 GB RAM or 32 GB, 3 GB RAM. The camera at the back of this phone is 12 MP, f/1.8 – 5 MP, f/2.4 and on the front, it is 8 MP, f/2.0. Inside this Phone, there was a 3060 mAh battery. The Phone originally ran on Android 8.1 (Oreo), upgradable to Android 9.0 (Pie); Android One.
*You can Wipe all of your Data Stored on your device.
*Easily fix all the performance issue.
*Bypass screen lock through hard reset.
*Bring the factory state.
*Fix all the firmware issues.
*Get rid of signal problems, loop issues, rebooting problems and power problems.
How to Hard Reset Nokia 7.1:
Method 1:
First, Turn off your device by holding down the power button for a few seconds.
Once your device is completely turned off, Start Pressing Volume Up and Power button together.
When you see the Recovery Menu, release all the buttons you were pressing and holding.
In the recovery mode, you can navigate using Volume rockers and for selection, you will use the power button.
Scroll down in the recovery menu and highlight “wipe data/factory reset“, press to power button to confirm your selection.
After that, select “Yes–delete all user data” and press the power button.
Now you have to wait for the process to be finished. Once it does, select “reboot system now“.
That’s all.
Method 2:
Open Settings from the Home Screen.
Scroll down and Tap on Backup & Reset -> Factory Reset.
Now select Reset device.
To Confirm Choose Erase everything.
That will be all, wait for the process to complete.
That’s all. You have successfully Hard Reset Nokia 7.1. Please do tell us if you face any problem during this process.
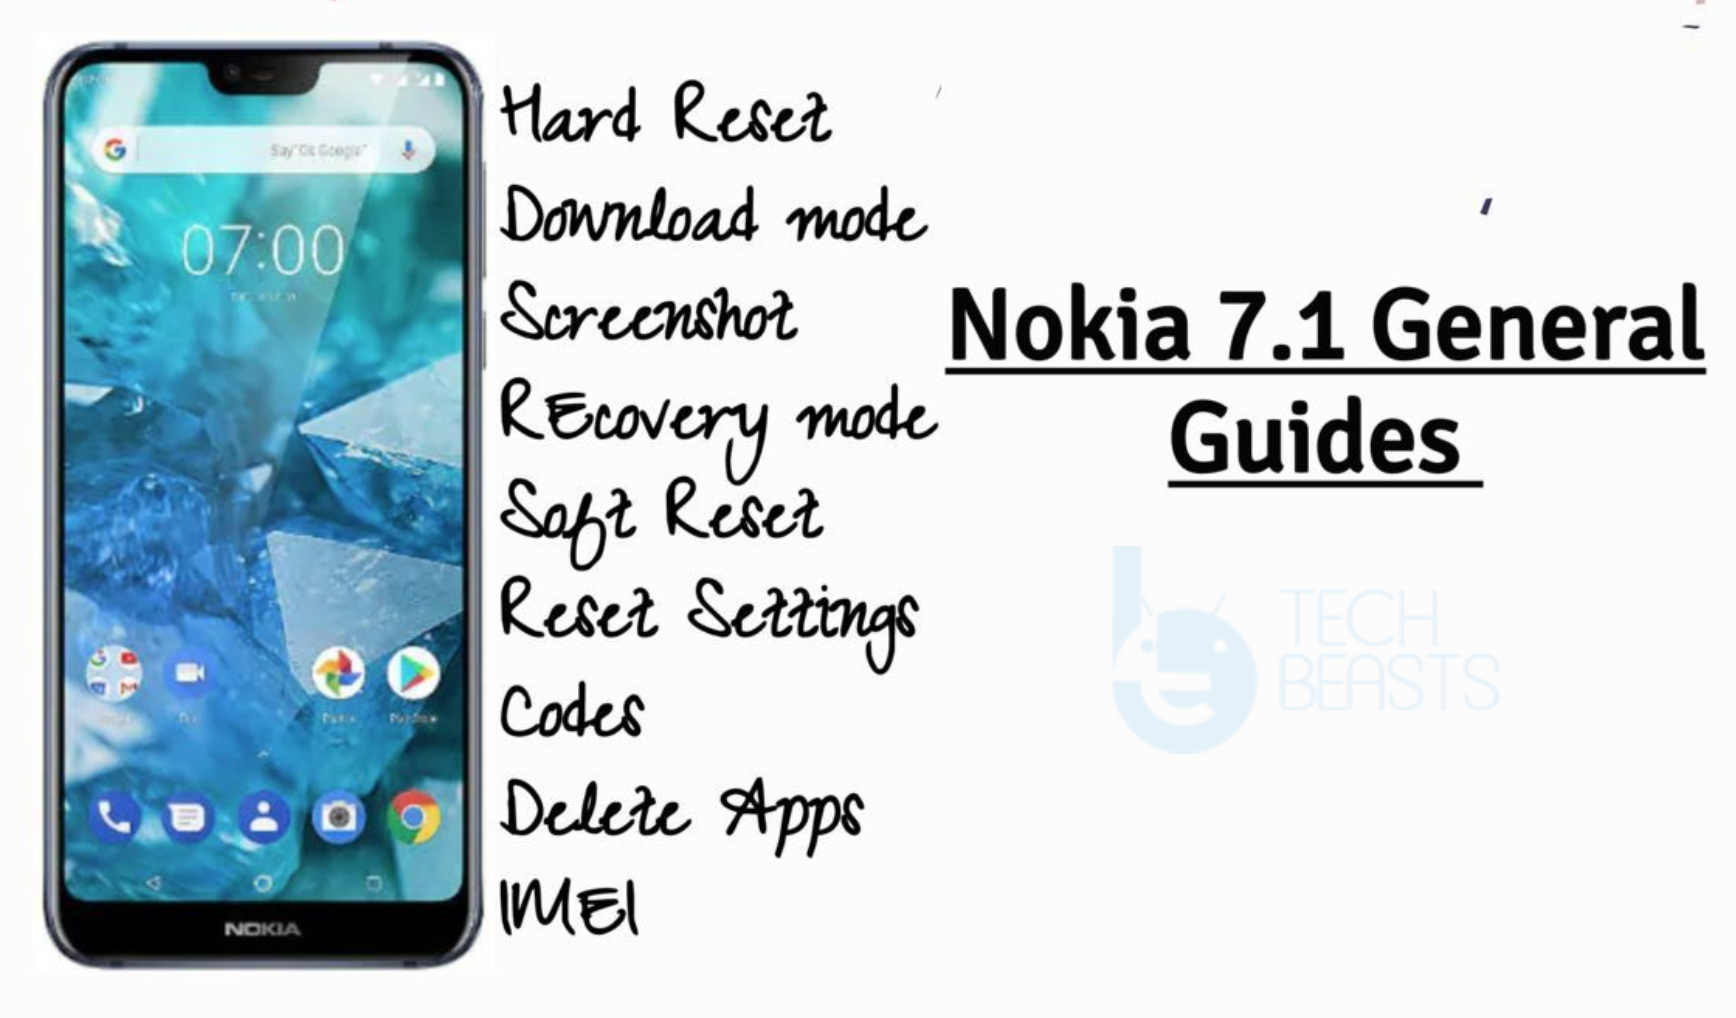
In this post, you will find Nokia 7.1 General Guides, it means you will know everything about Nokia 7.1. Such as, how to boot Nokia 7.1 into Recovery, Safe Mode, and Fastboot Mode. Also, you will learn how to hard reset Nokia 7.1, Soft reset, take screenshots and more. Let’s get started now.
Nokia 7.1 General Guides
Summary:
Topics:
Safe Mode
Fastboot Mode
Hard Reset
Soft Reset
Screenshot
Codes
Recovery Mode
Safe Mode
Clear App Data
USB Debugging Mode
Nokia 7.1 Official Specs:
The Nokia 7.1 was released in 2018, October. The Phone came out with a screen of 5.84 inches having 1080 x 2280 pixels resolution. Nokia 7.1 was powered by Qualcomm SDM636 Snapdragon 636 (14 nm), Octa-core 1.8 GHz Kryo 260 CPU and Adreno 509. It had internal storage of 64 GB, 4 GB RAM or 32 GB, 3 GB RAM. The camera at the back of this phone is 12 MP, f/1.8 – 5 MP, f/2.4 and on the front, it is 8 MP, f/2.0. Inside this Phone, there was a 3060 mAh battery. The Phone originally ran on Android 8.1 (Oreo), upgradable to Android 9.0 (Pie); Android One.
Nokia 7.1 General Guides:
In order to master Nokia 7.1, heed the instruction provided below. You can find all Nokia 7.1 General Guides here.
Soft Reset Nokia 7.1:
In order to Soft Reset your Nokia 7.1, all you have to do is hold down the power button for 2-3 seconds and your device will turn off.
Hard Reset Nokia 7.1:
Heed the instructions provided below in the link and you will be able factory reset Nokia 7.1.
First, Turn off your device by holding down the power button for a few seconds.
Once your device is completely turned off, Start Pressing Volume Up and Power button together.
When you see the Recovery Menu, release all the buttons you were pressing and holding.
In the recovery mode, you can navigate using Volume rockers and for selection, you will use the power button.
Fastboot Mode on Nokia 7.1:
First, Turn off your device by holding down the power button for a few seconds.
Once your device is completely turned off, Start Pressing Volume Down and Power button together.
When you see the Fastboot Logo, release all the buttons you were pressing and holding.
Safe Mode Nokia 7.1:
Hold the power button for a few seconds. Now Tap the Power off and after that, you will see a pop-up ” Reboot to Safe Mode “. Tap OK to proceed. When your device boots up you will be in Safe Mode.
Codes for Nokia 7.1:
Phone information
*#*#4636#*#*
IMEI Info
*#06#
Calendar
*#*#225#*#*
Debug info for Google Play Service
*#*#426#*#*
Access Google Partner Setup
*#*#759#*#*
Take Screenshot on Nokia 7.1:
In order to take screenshots on Nokia 7.1. All you have to do is press + hold Volume Down and Power button together.
USB Debugging on Nokia 7.1:
Go to settings.
In settings, scroll all the way down and locate About device section.
In the About device section, find build number in the Software details.
Tap the build number 7 times to enable Developer Options.
Once done, the Developer Options section will appear at the bottom where you found the About device option.
Now go to Settings > Developer Options.
Find USB Debugging mode in Developer Options and tap the radio button located next to USB Debugging mode to enable it.
Here’s How To Freeze Background Apps on Android Without Root. Android is the best-advanced OS, the reason behind this is pretty simple, Android offer much more freedom as compared to iOS. Moreover, third-party apps can acquire more privileges and because of that, we can do a lot more than we ask for.
As I said before, today we’ll tell you how to Freeze Background Apps on Android Without Root. Since on Android, you can do more tasks through apps because they run in the background. However, this may give us a little bit edge over iOS but on the other hand, because of apps running in the background, it drains the hell out of our battery. But thanks to Android we can freeze background apps on Android Nougat without root.
Before we proceed, keep one thing in mind. Although there is not rooting required but the process is not anything like a quick guide. We installed hundreds of apps on our Android devices and deliberately knowing that they will affect our battery life. But the features and tasks they offer in return are worth doing all this. There is another aspect, installing tons of apps is not the issue, ending up in the qucik battery drain is.
Since this problem is creating a lot of heat and Google is doing its best to putting a lesh to our freedom. And it did, as we have seen in Android O, Google put a number of restrictions to put background apps at bay. However, we are pretty sure that not all the devices will get the taste of Android O. So if you are among them who are running Android Nougat on their devices, you don’t need to wait for Android O. Heed the instrcutions below to Freeze Background Apps on Android Without Root.
Requirements:
Install ADB and Fastboot on your PC.
Make sure you have installed USB Drivers for your device.
This method is for Android 7.0+ Nougat.
Enable USB debugging.
You will be needing App Inspector. Install it form the link below.
Once you have setup everything, Open ADB & Fastboot folder.
Connet your device to PC using the original USB cable. Click on allow if you see a pop-up “Allows USB Debugging “on your screen.
Now to make sure your device is connected, open CMD and type the following command.
adb devices
If everything is right. Type the following command and replace the package name with your app package name and hit enter.
cmd appops set RUN_IN_BACKGROUND ignore
That will be all. See you didn’t required root to Freeze Background Apps on Android. Now in future if you want to revert the Settings. Use the following command.
cmd appops set RUN_IN_BACKGROUND allow
Once you hit enter after type the command given above. Everything will be back to the way it was.
That’s all. If you face any issue while trying this, you can reach us through comments.
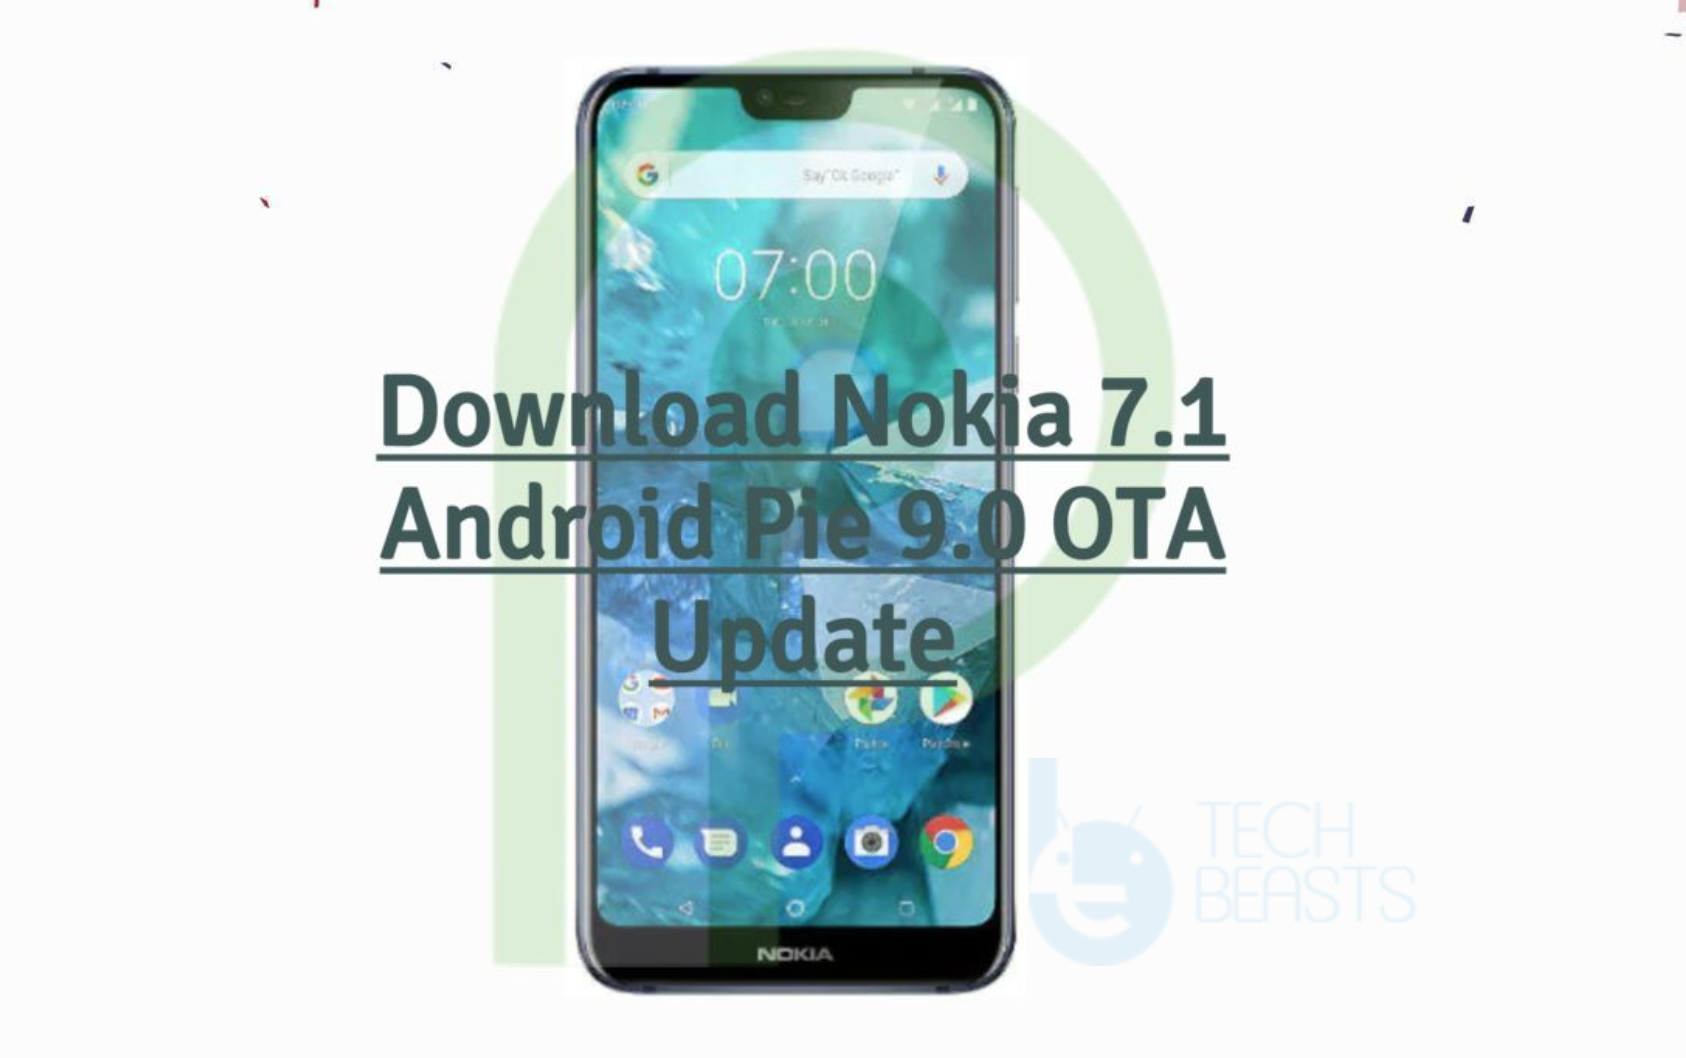
With the help of this guide, you will be able to download the latest Nokia 7.1 Android 9.0 Pie OTA Update. Nokia is setting is foot back into the smartphone world and the good news is that it is rolling out software updates frequently. Just a day back, Nokia has released a much-awaited Android 9.0 Pie update for Nokia 7.1.
This latest build brings all the new features from Android Pie. Once you have installed it, you will enjoy features such as a new navigation system, a much better setting menu, a new notification menu, and more. But the one thing which is worth talking about is the performance. This new update has improved the performance level, not only that, you will see better battery life.
Nokia 7.1 Android 9.0 Pie OTA Update is rolling out a bit slow. So for those who don’t want to wait for OTA, they can easily download Nokia 7.1 Android 9.0 Pie OTA Update from the following links.
Over the years we have seen a number of Android manufacturers are adopting the stock Android experience. We have seen devices like Google Pixel and One Plus has shown an awesome performance experience running Stock Android. That’s why to provide a better Android experience Nokia is also running stock Android on its devices. It will help them provide a smoother experience and also, they will provide quick updates for low-end devices.
Changelog:
Since it is a major update, everything is new and updated. If you want to see the complete changelog and Android 9.0 features. Use the following link.
Following are the download links you can use to download the Nokia 7.1 Android 9.0 Pie update. Since it is an official update you won’t be needing custom recovery or a third-party tool to flash it. You can flash this update using stock recovery.
This is how you can Download and Share Facebook Videos on WhatsApp. The Facebook team is doing whatever it takes to compete with Youtube. If you see the stats, you can see that Facebook is doing a pretty good job. Although you cannot deny the fact that YouTube has a larger library of video content. It is said that 85% percent of the video shared on Facebook are from third-party sources. Moreover, there is another thing, if you want to share a video from Facebook to the other sources is not that easy. Even though on the platforms they own now. So today, we will share different methods to share Facebook videos on WhatsApp.
We all are well aware that WhatsApp is now owned by Facebook Inc. Unfortunately, there is no quick and easy way to share Facebook Videos on WhatsApp. Strange thing is that there is still no help from the third-party developers. The one and only method which is available is to share the link of a video. Moreover, you can download Facebook video and then share it with others.
Download and Share Facebook Videos on WhatsApp:
Following are the best workarounds we found so far to Share Facebook Videos on WhatsApp. Let’s get started now.
Share Facebook Videos to WhatsApp on PC:
Open Facebook on your PC. Now right-click on the video you want to share on WhatsApp.
Now click on show video URL and copy it.
Head over to the Web.WhatsApp.com, and paste the link in the Chatbox of your contact.
Method2:
Open getfbvideos.com and paste the copied URL of the Facebook video.
Click on the download button in order to download the video from the given URL.
Once the video is downloaded, Open Web.Whatsapp.Com and share it with your contacts.
Share Facebook Videos to WhatsApp on Android (Root):
First, you need to Root your Android device. You can visit our Rooting section to Root your device if you haven’t.
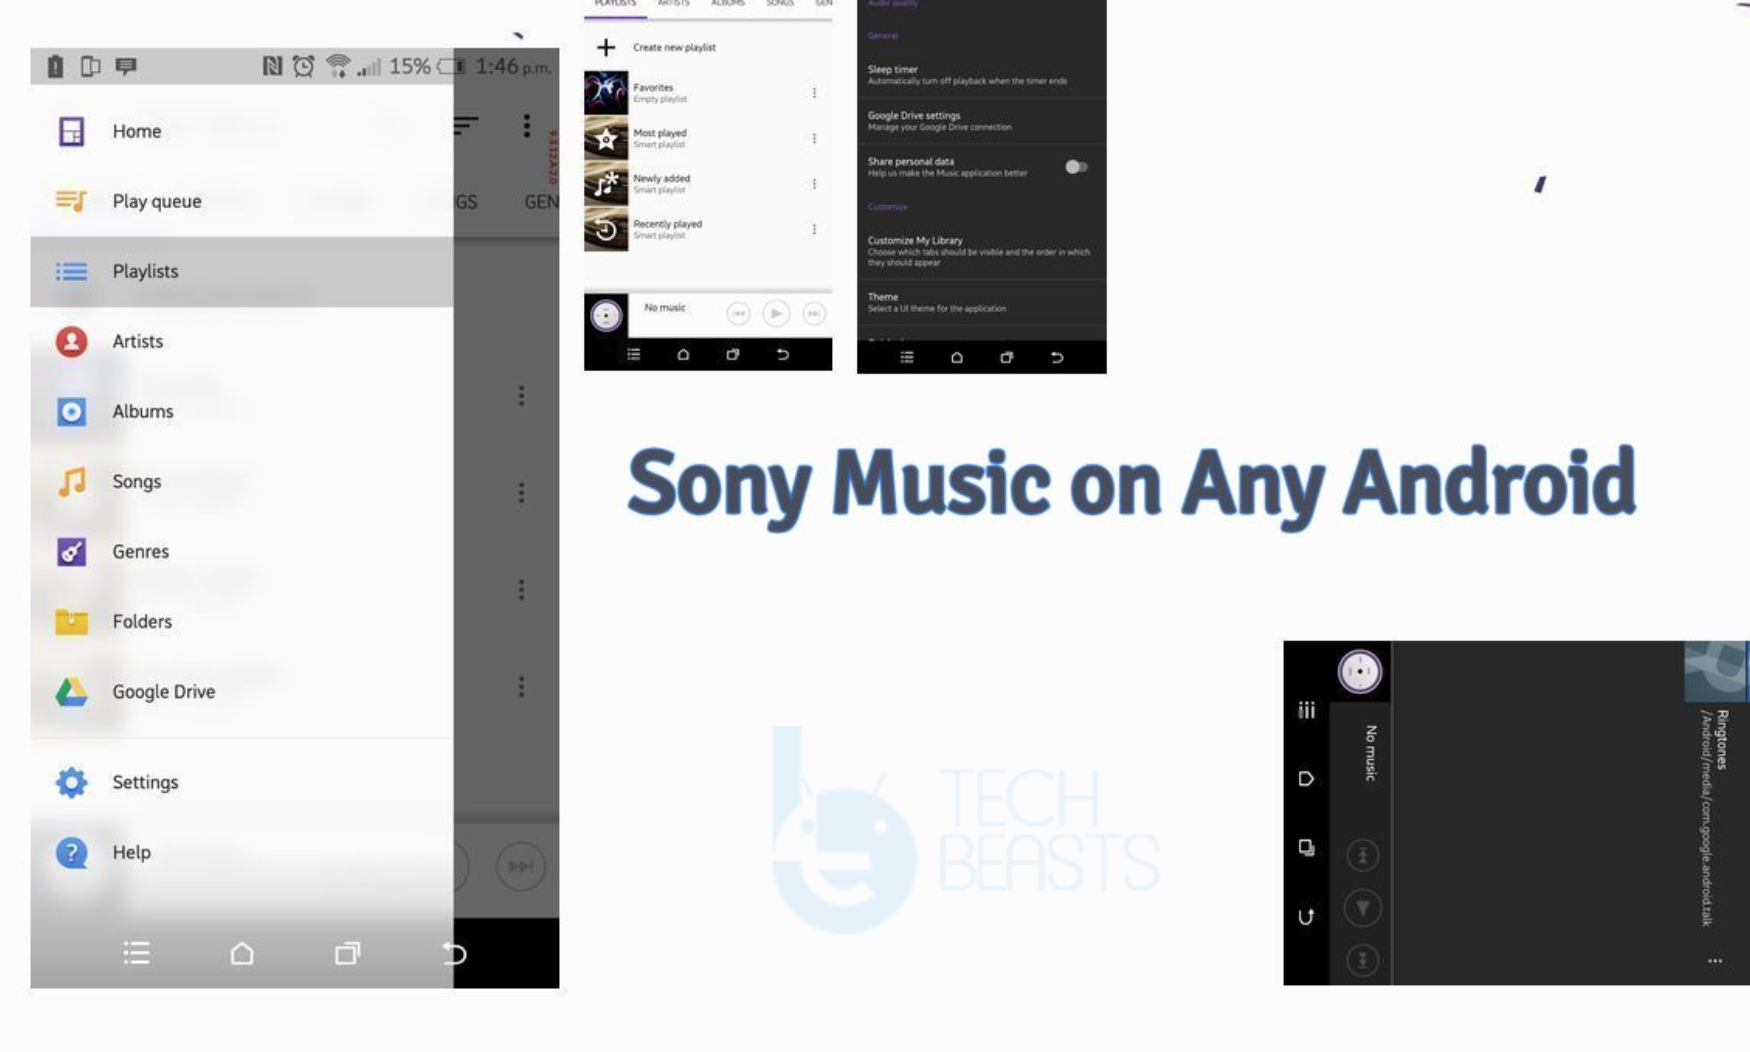
If you want to use Sony Music on Android devices then this is the right place for you. Today we’ll tell you how to download and Install stock Sony Music app on any Android device.
Xperia devices are not the limelight these days, there was a time when Sony Xperia devices were game changers but not anymore. However, the one thing which still excites many Android users is the Sony WALKMAN app. Although time is not right for Sony, there is no doubt that the Sony Walkman app is the best music player app. We’ve used all the versions of the Sony Walkman app, even though when we were not using Xperia devices.
As time passed things got changed, Sony decided to change the name of the Walkman app and nowadays it is called Music. Moreover, they did not only changed the name, but they also revamped the whole UI. Whether you like it or not the Sony Music app is still one to have. That’s why we have made this post, to tell you how you can Install Sony Music on Any Android device.
Now before we move on to the technical stuff, let me shed some light on the new Sony Music app. I am not going into the whole overview thing but I will tell you all the main things about Sony Music.
Sony Music:
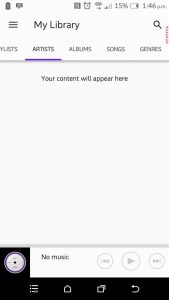
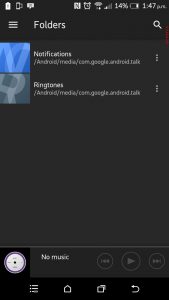
Let start now, once you have installed Sony Music on Andorid, when you launch the app you will see a neat and clean material based designed UI. Everything is categorized, you can easily navigate through all the tabs. On the home screen, you will notice a purple floating button. It’s a quick play button, you can use this button and set it for most played, newly added, favorite and more.
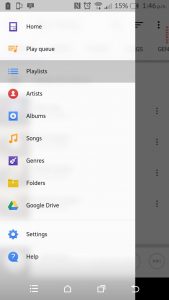
On the left side of the screen, you will see the menu. The menu includes a number of shortcuts, you can access your library, All Songs, Albums, and Settings. Moreover, when you are in the settings menu, you will see there is an option which let you change your app theme. So if you are not getting along with the current theme, you can change it.
Now let’s get started and tell you how you can download the latest Sony Music App. Also, at the end of the post, we have added the installation method.
Download Sony Music APK:
You can use the following link to directly download the latest Sony Music APK which is ported out straight from the Xperia devices.
Today, I got my hands on the all new Huawei Mate 20 X. I could not find the Google Play Store or anything called Google in the Mate 20 X and I was not surprised after seeing this. That is because I knew that the Mate 20 X belonging to China cannot have the Play Store and Play Services by default. I successfully installed the Google Play Store on my Huawei Mate 20 X and now I am going to share the same with all of you. If you have the Mate 20 X without the Google Play Store, follow the simple and easy steps given here to download Google Play Store on Huawei Mate 20 X.
Guide to download Google Play Store on Huawei Mate 20 X.
Why the Chinese Mate 20 X does not have the Play Store?
If you have ever used a Chinese smartphone before, you will definitely have an idea why the Chinese phones do not come with applications like the Play Store. However, if you are new to using a smartphone originating from China, let me explain the entire reason that makes such applications go missing in these phones.
The Chinese government has certain policies that all the applications have to follow in order to run within the premises of the Peoples Republic of China. When the applications do not comply with the policies of the Chinese government, it does not let them operate. Applications like Google, Facebook, WhatsApp, and all other such platforms keep an eye on the activities of the users. They can actually record each and everything that a user does on his/her smartphone. The Chinese government doesn’t want its very own data, or the data of its people to fall into the wrong hands. Therefore, it restricts all these applications. Another reason for the Chinese government to block all these applications is the fact that these applications originate from the U.S. The Chinese government, at any cost, cannot let the U.S authorities spy on its people.
Why do you need the Play Store on Huawei Mate 20 X?
The people living inside China are used to the missing Play Store on their phones. They have many other mediums to install the applications. It is highly unlikely that the Chinese residents would want to install the Play Store on their phones. The real problem is with the users who have to move out of China. Because outside China, the Chinese app stores will not work. So that is when you feel a dire need of the Google Play Store on the phone, and why not? The Play Store has nearly 1 Billion applications to date.
Now that the phones come without all the Google Apps, it doesn’t mean that you cannot install the Play Store manually. If you are planning of taking your phone out of the Chinese premises, you can definitely install the Google Play Servies and Play Store and use them outside China. This means that the Chinese Android phones are not completely restricted or locked out from the use of basic applications like Google Play Store, Gmail, Google Play Services, Calendar, and many other apps.
Downloading Play Store on Huawei Mate 20 X
It is very much easy to downloadGoogle Play Store on Huawei Mate 20 X. The method involves installing a couple of APK files on your phone and then manually installing the Play Store. The method is completely safe and sound. It will not harm your device at all. Furthermore, the APKs have been personally tested by me and they will work for your phone flawlessly. So, without any further ado, follow the steps coming up next to install the Play Store on your brand new Mate 20 X.
Play Store on Mate 20 X
Before going ahead, try these steps to enable Play Services and Play Store on Mate 20 X.
So, guys, it turns out that the Mate 20 X has the Google Mobile Services and Play Services installed by default. The services are not just activated. You can activate the services and avoid going through the long process given below. Here is how to enable Play Services and Play Store on the Mate 20 X.
Open the Application Gallery on your Mate 20 X.
Change the country to China in the Application Gallery.
Now search for Google Play Store.
As you find the Play Store, click on Update.
Once the update ends, click on Open.
The setup for the Play Store will appear now. Set it up and enjoy!
This should work fine, however, if this does not work, go ahead and install Play Store manually.
Required downloads
Google Core Framework Installer for EMUI 10 & Below – Download
Download GMSanzhuangqi APK and copy it to your phone’s internal storage.
Download Google Installer APK and copy it to your phone’s internal storage as well.
Preparation: Allow app installs from external sources
On your Mate 20 X, open Settings.
In Settings, go to Security & privacy.
Now click on More settings.
Find “Install Apps from external sources “.
Now click on Files > Turn on the button appearing next to “Allow app installs”.
Installing GMSanzhuangqi APK
Using your File Manager or Files application, locate the GMSanzhuangqi APK.
Open this APK to begin its installation now.
If it asks for any permission, click on “Install anyway”.
The installation will proceed and ask you to trust this application, at this point, check the option “Trust this application”.
After the installation ends, do not open the application and move to the next step.
Download Google Play Store on Mate 20 X
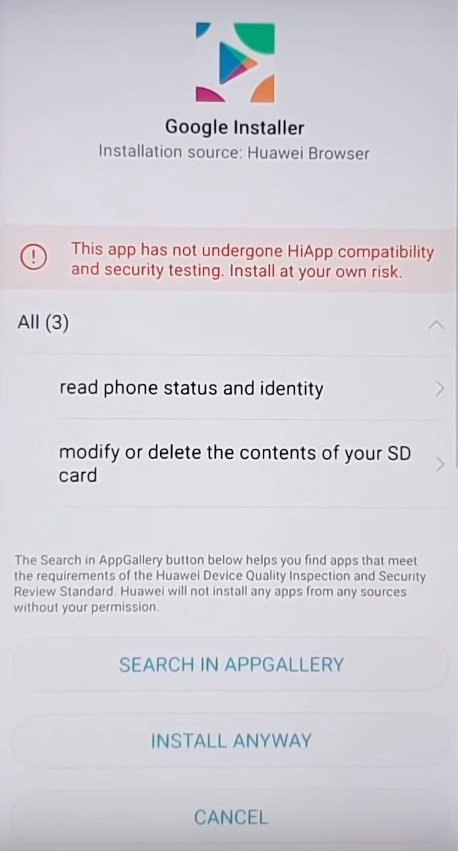
Now open the Files application once again and locate the Google Installer APK.
Start the Google Installer APK installation now.
Google Installer will ask for permission, click on “Install anyway”. After installation proceeds, it will ask to trust the application. Turn on “Trust this application” feature as well.
Now click on the Open button that appears right after the installation ends.
A big blue button will now appear on the screen showing “INSTALL”.
Click on this button to start the installation of the applications on your Mate 20 X.
It will now start the installation of all the Google Apps one by one. First of all, it will install the Google Services Framework.
During this installation, you will have to click on “Install anyway” once again and also turn on the “Trust this application” feature.
You will have to allow and enable this feature for all the 6 applications that will be installed now.
Once you have installed all the applications, the installer will show you a big red button mentioning “Play Store” which would mean that you are now set to launch the Play Store.
Press this button to open the Play Store to enjoy it now. That’s all.
Conclusion
That was my guide on accessing the Play Store on a Chinese Mate 20 X. Here in this guide, I have mentioned the Mate 20 X only, however, this very same guide will work for all other Huawei and Honor smartphones as well. If you face any kind of difficulties with the process given above or something else has gone wrong at your end, you can reach out to me immediately. I will try my best to help you out. Stay connected guys 🙂
In this post, you will find Nokia 6.1 Plus General Guides, it means you will know everything about Nokia 6.1 Plus. Such as, how to boot Nokia 6.1 Plus into Recovery, Safe Mode, and Fastboot Mode. Also, you will learn how to hard reset Nokia 6.1 Plus, Soft reset, take screenshots and more. Let’s get started now.
Nokia 6.1 Plus General Guides
Summary:
Topics:
Safe Mode
Fastboot Mode
Hard Reset
Soft Reset
Screenshot
Codes
Recovery Mode
Safe Mode
Clear App Data
USB Debugging Mode
Nokia 6.1 Official Specs:
The Nokia 6.1 Plus was released in 2018, August. The Phone came out with a screen of 5.8 inches having 1080 x 2280 pixels resolution. Nokia 6.1 Plus was powered by Qualcomm SDM636 Snapdragon 636 (14 nm), Octa-core 1.8 GHz Kryo 260 CPU and Adreno 509. It had internal storage of 64 GB, 4 GB RAM (6.1 Plus). The camera at the back of this phone is 16 MP, f/2.0 – 5 MP, f/2.4 and on the front, it is 16 MP, f/2.0. Inside this Phone, there was a 3060 mAh battery. The Phone originally ran on Android 8.1 (Oreo), upgradable to Android 9.0 (Pie); Android One.
Nokia 6.1 Plus General Guides:
In order to master Nokia 6.1 Plus, heed the instruction provided below. You can find all Nokia 6.1 Plus General Guides here.
Soft Reset Nokia 6.1 Plus:
In order to Soft Reset your Nokia 6.1 Plus, all you have to do is hold down the power button for 2-3 seconds and your device will turn off.
Hard Reset Nokia 6.1 Plus:
Heed the instructions provided below in the link and you will be able factory reset Nokia 6.1 Plus.
First, Turn off your device by holding down the power button for a few seconds.
Once your device is completely turned off, Start Pressing Volume Up and Power button together.
When you see the Recovery Menu, release all the buttons you were pressing and holding.
In the recovery mode, you can navigate using Volume rockers and for selection, you will use the power button.
Fastboot Mode on Nokia 6.1 Plus:
First, Turn off your device by holding down the power button for a few seconds.
Once your device is completely turned off, Start Pressing Volume Down and Power button together.
When you see the Fastboot Logo, release all the buttons you were pressing and holding.
Safe Mode Nokia 6.1 Plus:
Hold the power button for a few seconds. Now Tap the Power off and after that, you will see a pop-up ” Reboot to Safe Mode “. Tap OK to proceed. When your device boots up you will be in Safe Mode.
Codes for Nokia 6.1 Plus:
Phone information
*#*#4636#*#*
IMEI Info
*#06#
Calendar
*#*#225#*#*
Debug info for Google Play Service
*#*#426#*#*
Access Google Partner Setup
*#*#759#*#*
Take Screenshot on Nokia 6.1 Plus:
In order to take screenshots on Nokia 6.1 Plus. All you have to do is press + hold Volume Down and Power button together.
USB Debugging on Nokia 6.1 Plus:
Go to settings.
In settings, scroll all the way down and locate About device section.
In the About device section, find build number in the Software details.
Tap the build number 7 times to enable Developer Options.
Once done, the Developer Options section will appear at the bottom where you found the About device option.
Now go to Settings > Developer Options.
Find USB Debugging mode in Developer Options and tap the radio button located next to USB Debugging mode to enable it.
With the help of this guide, you will be able to Hard Reset Nokia 6.1 Plus. There are a number of ways to factory reset Nokia 6.1 Plus and we’ve posted all of them.
This is the best solution so far to boost up the performance level on an Android device. Moreover, it is the ultimate solution of all your hardware or software problems on Nokia 6.1 Plus.
Now before we move on and start telling you how to Hard Reset Nokia 6.1 Plus. Let me give you an overview of Nokia 6.1 Plus so that you get to know why this device is so much heat.
Nokia 6.1 Official Specs:
The Nokia 6.1 Plus was released in 2018, August. The Phone came out with a screen of 5.8 inches having 1080 x 2280 pixels resolution. Nokia 6.1 Plus was powered by Qualcomm SDM636 Snapdragon 636 (14 nm), Octa-core 1.8 GHz Kryo 260 CPU and Adreno 509. It had internal storage of 64 GB, 4 GB RAM (6.1 Plus). The camera at the back of this phone is 16 MP, f/2.0 – 5 MP, f/2.4 and on the front, it is 16 MP, f/2.0. Inside this Phone, there was a 3060 mAh battery. The Phone originally ran on Android 8.1 (Oreo), upgradable to Android 9.0 (Pie); Android One.
*You can Wipe all of your Data Stored on your device.
*Easily fix all the performance issue.
*Bypass screen lock through hard reset.
*Bring the factory state.
*Fix all the firmware issues.
*Get rid of signal problems, loop issues, rebooting problems and power problems.
How to Hard Reset Nokia 6.1 Plus:
Method 1:
First, Turn off your device by holding down the power button for a few seconds.
Once your device is completely turned off, Start Pressing Volume Up and Power button together.
When you see the Recovery Menu, release all the buttons you were pressing and holding.
In the recovery mode, you can navigate using Volume rockers and for selection, you will use the power button.
Scroll down in the recovery menu and highlight “wipe data/factory reset“, press to power button to confirm your selection.
After that, select “Yes–delete all user data” and press the power button.
Now you have to wait for the process to be finished. Once it does, select “reboot system now“.
That’s all.
Method 2:
Open Settings from the Home Screen.
Scroll down and Tap on Backup & Reset -> Factory Reset.
Now select Reset device.
To Confirm Choose Erase everything.
That will be all, wait for the process to complete.
That’s all. You have successfully Hard Reset Nokia 6.1 Plus. Please do tell us if you face any problem during this process.























![How To Hard Reset Nokia 7.1 [ Tutorial ]](https://techbeasts.com/wp-content/uploads/2018/11/Screen-Shot-2018-11-29-at-5.35.09-PM.png "How To Hard Reset Nokia 7.1 [ Tutorial ]")






![Hard Reset Nokia 6.1 Plus [ Tutorial ]](https://techbeasts.com/wp-content/uploads/2018/11/Screen-Shot-2018-11-26-at-6.35.25-PM.png "Hard Reset Nokia 6.1 Plus [ Tutorial ]")