Home Blog Page 382

How To Fix Samsung Galaxy Note 4 Battery Issue After Lollipop Update
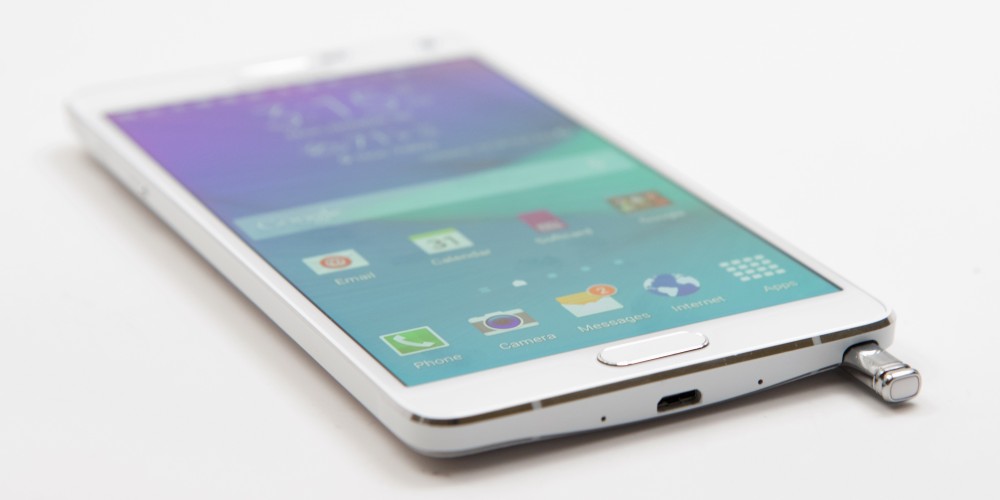
How To Fix Samsung Galaxy Note 4 Battery Issue After Lollipop Update

Samsung Galaxy Note 4 got the Lollipop update last month and with this new update comes a lot of new features. Galaxy Note series is famous for their battery life, but i’ve read on many forums that after update Galaxy Note 4 on Lollipop people are facing battery life issue. If you are the one among many others then here’s how you can fix Samsung Galaxy Note 4 battery issue after Lollipop update.

Following are the different methods which will fix your battery life issue on Galaxy Note 4, we are not using any rooting method. Please follow all the steps as mentioned in the following guides.

How-To-Fix-Galaxy-Note-4-Battery-Life-Issue-After-Lollipop-1000x500

How To Fix Samsung Galaxy Note 4 Battery Issue After Lollipop Update:

Step#1: First go in to the settings of your Galaxy Note 4->Power Saving-> Check which third party app is eating up your battery. Remove the app.

Step#2: Boot your device in Safe mod in order to find the app who is using battery more, Press the Volume Down key and Power button and keep holding.

Step#3: Restart your Galaxy Note 4, take out the battery for few seconds and turn on your device.

Step#4: Turn off Wifi, Bluetooth, NFC, GPS, mobile data and see how much it effects on battery life.

Step#5: Use a simple plan Wallpaper like Black, Setting > Wallpaper > Home and Lock Screens > More images > Choose the Wallpaper.

Step#6: Use the third party launcher instead of the default TouchWiz.

Step#7: Downgrade your Galaxy Note 4 back to Android 4.4.4.

Step#8: If none this help use the built power saving modes on Galaxy Note 4.

How to Run Apk with ARC welder on Mac or PC [ Tutorial ]

0
How to Run Apk with ARC welder on Mac or PC [ Tutorial ]

Now a days we can run Android Apps on PC, there are many third party emulators like BlueStacks, Andy and more. Today i’ll tell you another emulator which can be installed as chrome extension. ARC Welder is the latest Chrome extension which allow you to run Android apps by installing Apk of the games and apps. In the following guide i’ll tell you How to Run Apk with ARC welder on Mac or PC.

Before going any further let me tell what you need, latest version of Chrome and install ARC Welder from Chrome store. At the moment ARC Welder is in beta stage so not all the Apps will run properly.

How run Android Apk with ARC Welder

How to Run Apk with ARC welder on Mac or PC [ Tutorial ]:

Step#1: Open Chrome on your Mac or PC.

Step#2: Now download ARC welder here.

Step#3: You’ll be in Chrome store, now click on add to Chrome.

Step#4: Now open Google Play on your Mac or PC.

Step#5: Choose a App whom you want to install.

Step#6: Copy the Url given in the address bar.

Step#7: Open this site form here.

Step#8: Now paste the url that you’ve copied from Google Play Store in the give filed.

Step#9: Click on Generate Download link then click here to download.

Step#10: Now Open ARC Welder from your Mac or PC.

Step#11: Click Add your APK and find the APK that you downloaded.

Step#12: Now Click on Launch App.

All Done ! You’ve successfully installed the Android App using ARC Wilder, its much easier then other emulators and also better in performace.

How to remove the Google Search bar from your homescreen

0
How to remove the Google Search bar from your homescreen

Using Android device give you many advantages as compared to iOS devices, you can add different widgets on home screen and also you can add many other things to your home screen. There is on widget that comes pre-loaded with every Android device Google Search bar, its helpful in many ways but not every one finds it interesting. Today i’ll tell you how you can remove the Google Search bar from your home screen.

Google Search bar on your home screen gives quick access to Google search, you don’t have to open chrome or Google search app in order to search any thing. As i said not every one thinks the same way, so following is a step by step guide to remove Google Search bar from your home screen on Android.

remove Google Search bar

How to remove the Google Search bar from your homescreen:

Step#1: Open your App tray from home screen.

Step#2: Tap on Settings icon. You can also access setting from the notification panel.

Step#3: Scroll down and Tap on Application Manager.

Step#4: Now swipe left and goto all Apps tab.

Step#5: Search for Google Search and tap on it.

Step#6: Tap on disable.

Step#7: Tap on Ok to confirm it.

All Done …

You can also use third party launcher to change your default home screen, the best Android launcher i suggest Apex and Nova Launcher. You can download both of these launchers from Google Play Store.

Download the Best HD Husky Wallpapers for iOS and Android

Download the Best HD Husky Wallpapers for iOS and Android

I am back with new collection of HD Wallpapers, today i’ve collected the best HD Wallpapers of Siberian Husky. May be most of you people don’t know about Siberian Husky you can find the all the details hereThe best thing about these Husky Wallpapers is that one Husky is the most adorable/Cute dog and with the high definition colours these Wallpapers look so real. All of these Husky Wallpapers are full HD and you can use these Wallpapers on Any Android and iOS device.

You can check our Wallpaper gallery in order to download the best hd wallpapers for free. We have uploaded HD Wallpapers for Desktop, Laptop, PC and Smartphones.

6847852-husky-wallpaper

Download the Best HD Husky Wallpapers for iOS and Android


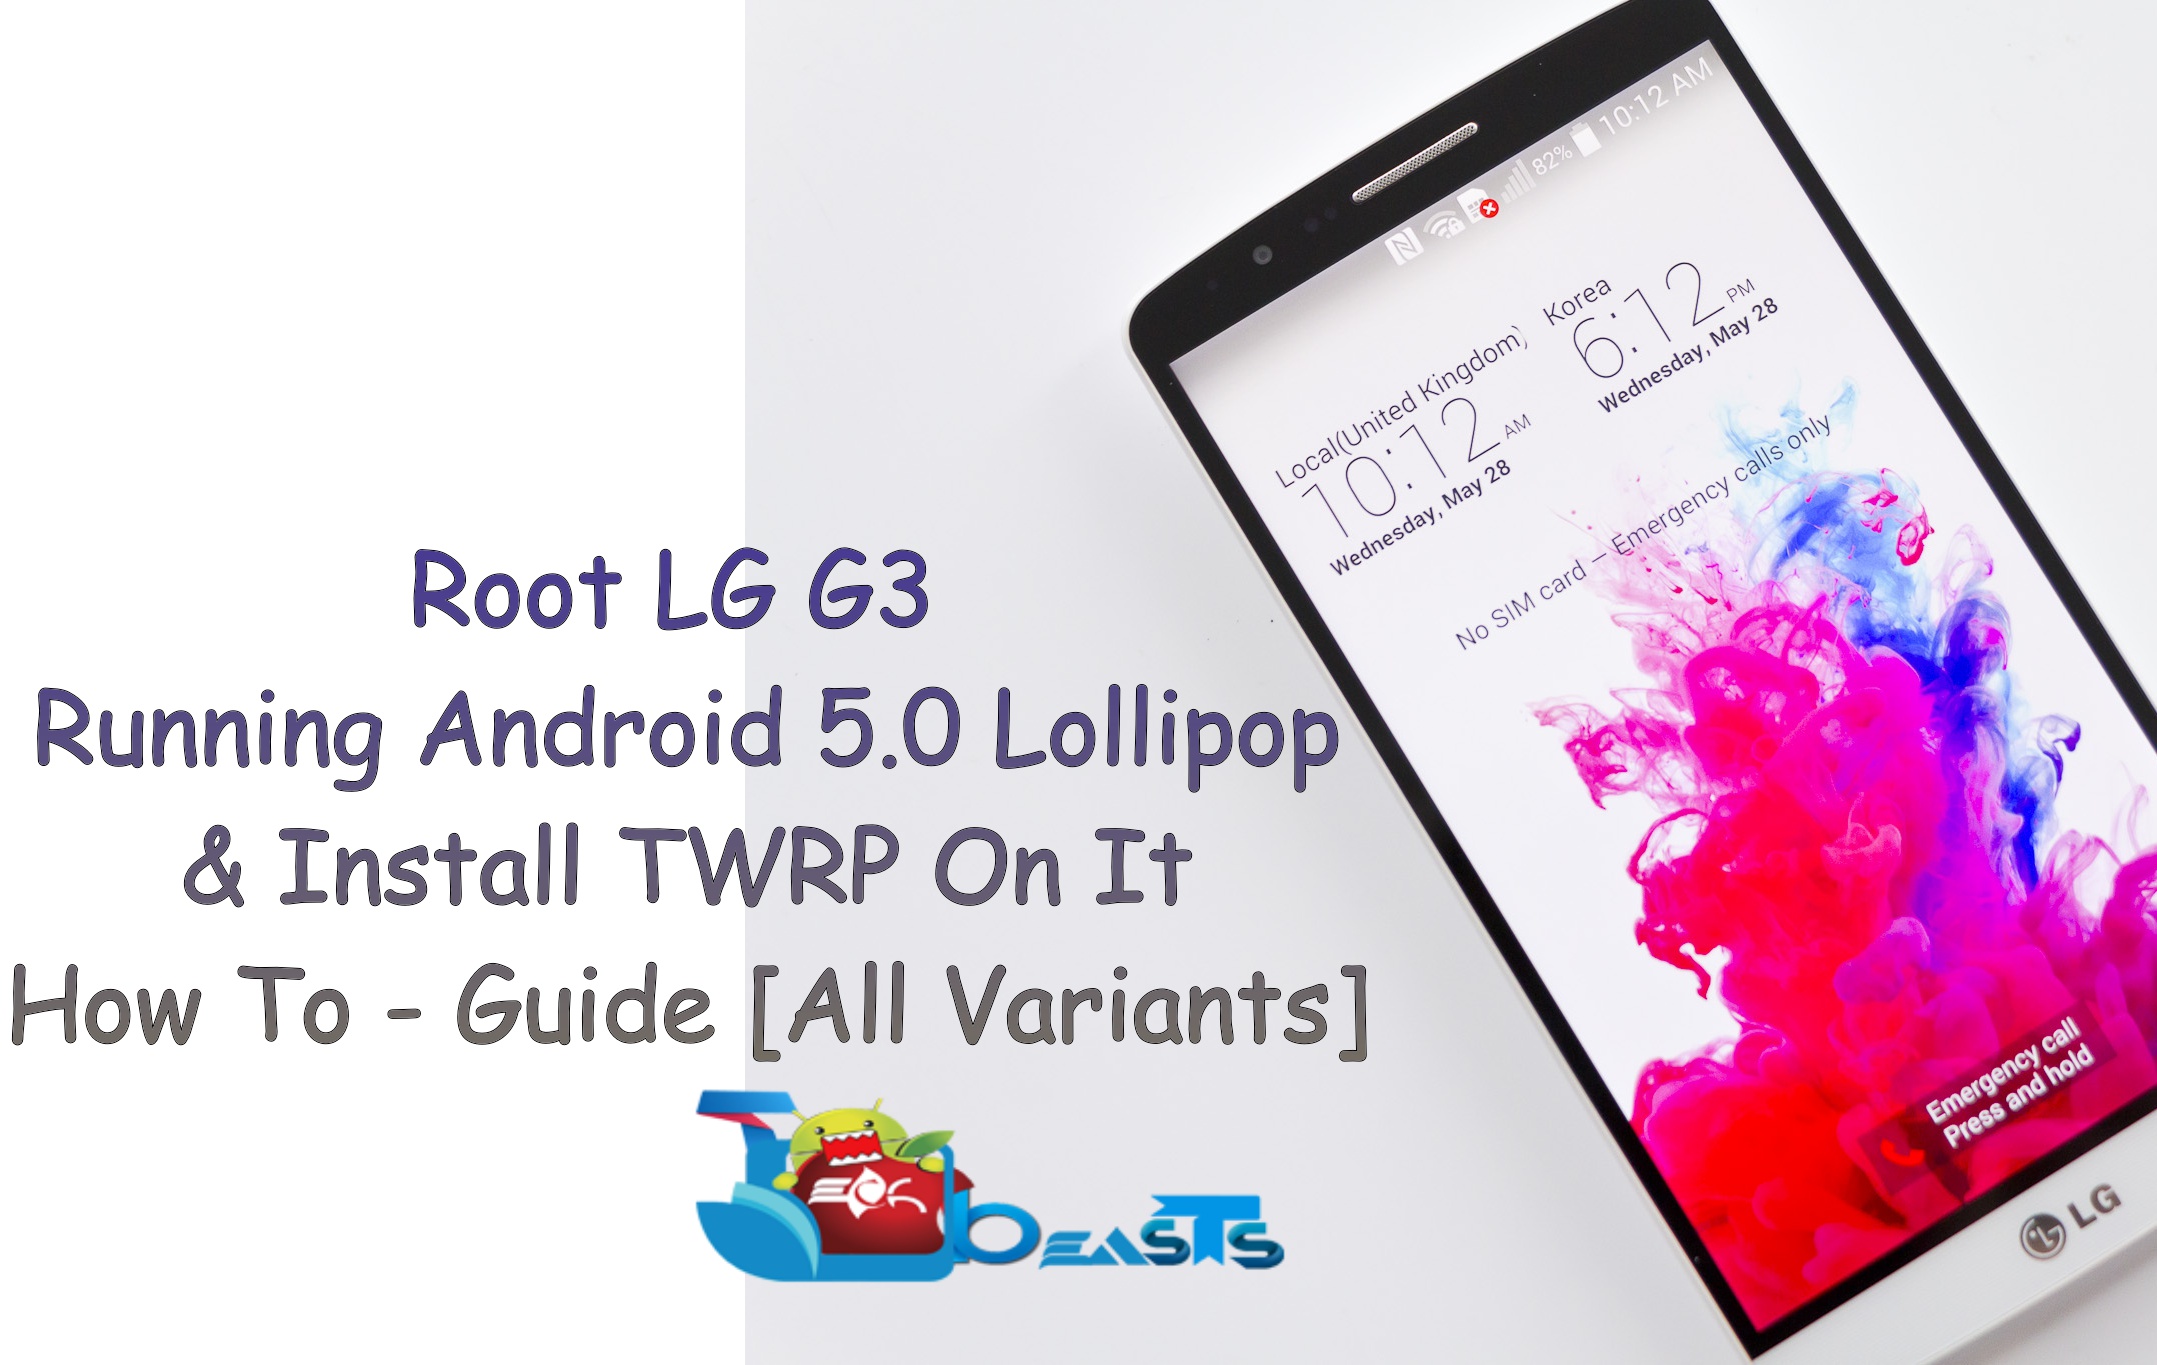
Root LG G3 Running Android Lollipop & Install TWRP Recovery On It

Root LG G3 Running Android Lollipop & Install TWRP Recovery On It

LG’s last year’s star, the G3 was updated to Android Lollipop after a few days Google rolled out the firmware officially. This made G3 one of the lucky devices to receive the best and the biggest update of Android in the first list. Android Lollipop added a little extra charm to the functionality of the LG G3. The revamped Material Design UI looks stunning on the QHD display of this device. It’s worth updating your G3 to this latest and greatest version of Android, but if you are an Android power user you may dislike your device after updating to Android 5.0 Lollipop as it will break the root access first of all, and there isn’t an easy way to go beyond the boundaries as LG patched almost all root exploits with the Lollipop release.

The firmware is out for quite a while now, so developers have got a chance to play with it and get some workaround to gain the root access once again. Updating your LG G3 to Android 5.0 Lollipop won’t be restricting you to stock Android anymore. You can enter into the vast world of open source Android OS and maximise the customisations on your device. Having your LG G3 rooted will help you to get the best out of it and unleash its power in the true ways.  This job has been done by XDA member topet2k12001, who successfully rooted the LG G3 running Android Lollipop. This guide will work for several variants of the LG G3, after following the tutorial you will have bump’d TWRP installed with your device & have it rooted as well. Let’s go through some early preparations & then begin with the procedure.

LG_G3_1

  1. This guide is only for LG G3, the variants listed below. After following this guide, you will be able to
    • Root & Install TWRP Recovery On LG G3 D855 (International)
    • Root & Install TWRP Recovery On LG G3 D850
    • Root & Install TWRP Recovery On LG G3 D852 (Canadian)
    • Root & Install TWRP Recovery On LG G3 D852G 
    • Root & Install TWRP Recovery On LG G3 D857
    • Root & Install TWRP Recovery On LG G3 D858HK (Dual SIM)
  2. Disable OTA updates on your LG G3.
  3. Backup EFS partition of your LG G3. This is highly recommended so that if a mishap occurs and results in messing up your EFS partition, you can still restore it and fix your device’s phone capabilities.
  4. Backup your important contacts, call logs & text messages.
  5. Follow this guide to the letter in order to avoid any mishaps.

Disclaimer: The methods involved in flashing custom recoveries, roms and rooting your phone are highly custom and may result in bricking your device, and has nothing to do with Google or the device manufacturer that is LG in our case. Also rooting your device will void its warranty and you will be no longer eligible for any kind of free device services by the manufacturers/warranty providers. In case of any mishap we may not be held responsible. Follow these instructions to the letter to avoid any mishap or bricking. Make sure that whatever you do, you are doing it at your own responsibility.

Required downloads & preps:

  1. Download stock Android Lollipop firmware KDZ/TOT file for your LG G3 carefully.
  2. Download LG Firmware Extractor tool for Windows.
  3. Now extract the firmware files as explained in this guide.
  4. Download the required tools for flashing the extracted images, as per listed below.
    • Flash2Modem.zip
    • Flash2System.zip
    • Flash2Boot.zip
  5. Download TWRP Recovery for your variant of LG G3 & bump it using this guide.
  6. Download Sharpening Mod Script.zip file.
  7. Copy the following files to your device’s external SD card now.
    • Android Lollipop System.img, boot.img & modem.img (you will get these files after extracting the firmware mentioned above.)
    • Sharpening Mod Script.zip file.
    • Flash2Modem.zip, Flash2System.zip & Flash2Boot.zip.
    • Bump’d TWRP Recovery
  8. Now create a folder named “flash2” on your device’s internal storage.
  9. Copy the following files into this “flash2” folder now: system.img, boot.img & modem.img.
  10. Now copy the following files on the internal storage of your device:
    • Flash2Modem.zip, Flash2System.zip, Flash2Boot.zip.
    • Sharpening Mod Script.zip.
    • Bump’d TWRP Recovery.
  11. Now make sure that you’ve performed the above steps properly, and let’s install the recovery & root your LG G3 now.

How To Install TWRP Recovery On Your LG G3 & Root It Now

  1. Since you’ve copied the Bump’d TWRP recovery on your device, the recovery exists in your phone now. Boot into TWRP recovery now. To do so, follow these steps.
  2. Press & hold the Volume Down + Power button until you see the LG logo.
  3. Once you see the logo, release both the buttons for a second and then press and hold them again. This time you will see a Factory Reset option.
  4. Now select “Yes” in order to boot your LG G3 into TWRP recovery mode.
  5. Now tap the “install” option in TWRP recovery and select “Flash2System.zip” file and flash it.
  6. Once done, flash the next file now that is “Flash2Modem.zip” and after that flash “Flash2Boot.zip” file as well.
  7. Now flash the Sharpening Mod Script.zip file as well and select your desired sharpening level.
  8. Follow the on-screen instructions now in order to get your boot.img file Bump’d.
  9. After following the procedure you will be able to see the finish message, press finish and you will be asked to reboot your device.
  10. Do not reboot it, close the tool without rebooting your device.
  11. Now go back to the main menu in TWRP Recovery and tap Reboot, now reboot into System.
  12. TWRP Recovery will prompt a message now notifying about missing SuperSu on your device and it will ask you whether you want to install it or not.
  13. Swipe from left to right now and install SuperSu now.
  14. Once done, reboot your device.
  15. Phewww! That’s it, you have successfully installed TWRP recovery on your LG G3 & have it rooted as well.

In case anything goes wrong, feel free to reach us out through the comment box below. Good Luck 🙂

Download and install HTC One M9 Home Launcher, Keyboard, Gallery and Widgets

Download and install HTC One M9 Home Launcher, Keyboard, Gallery and Widgets

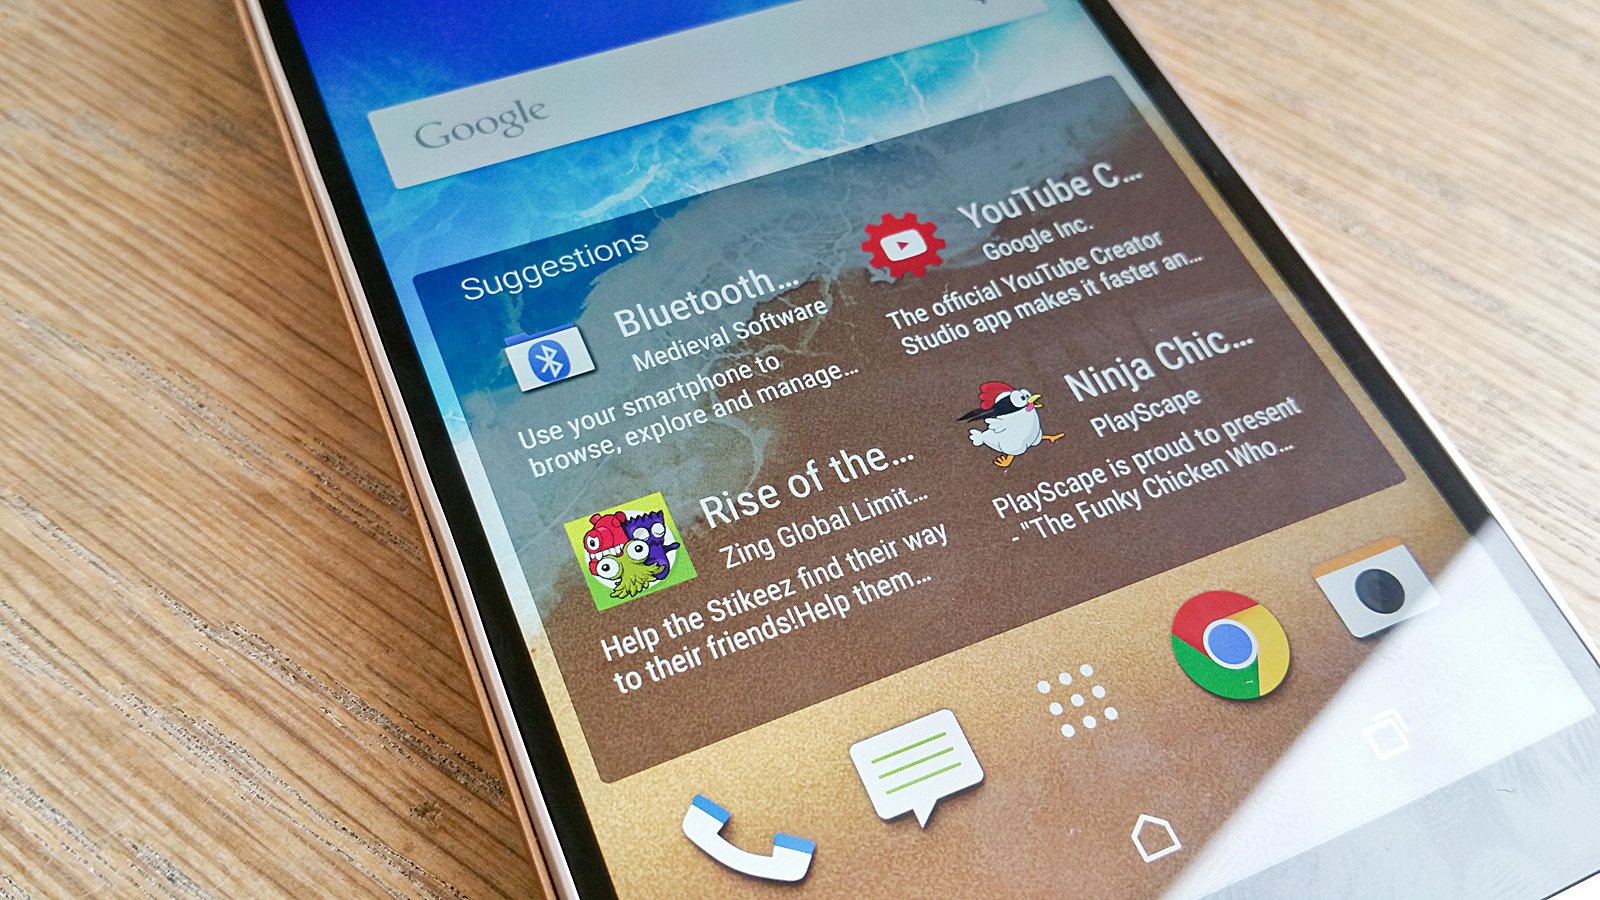
HTC One M8 was a big success and its was nominated the best device of 2014, HTC One M8 got everything that is needed in a awesome smartphone. Now HTC released a new model HTC One M9 a whole new experience to enjoy. HTC One M9 comes with everything new Home Launcher, Keyboard, Gallery and Widgets. Today i’ll tell you how you can download and install HTC One M9 Home Launcher, Keyboard, Gallery and Widgets on other Android devices.

Before going any further let me tell you about few things that you’ll required in order to install HTC One M9 Home Launcher, Keyboard, Gallery and Widgets on Android devices.

Requirements:

  1. Rooted Android device.
  2. Lollipop based rom running on your Android device.
  3. 150 MB free space on system.

List of HTC One M9 Apps:

  • HTC One M9 Home Launcher
  • HTC BlinkFeed
  • HTC Weather
  • HTC Keyboard
  • HTC Gallery
  • HTC Music Player
  • HTC Video Player
  • HTC Clock
  • HTC Voice Recorder
  • HTC File Manager
  • HTC Widgets.
  • HTC Camera

HTC One M9 Home Launcher

Download and install HTC One M9 Home Launcher, Keyboard, Gallery and Widgets:

Step#1: First download the HTC One M9 Apps Package: HTC_One_M9_apps.zip

Step#2: Now copy the downloaded file to your memory card.

Step#3: Turn off your device.

Step#4: Boot your device into Recovery Mode.

Step#5: Take a backup of your current rom.

Step#6: Select install Zip.

Step#7: Locate HTC_One_M9_apps.zip. Use power button to select it.

Step#8: Select Yes to confirm the installation.

Step#9: Once completed, Reboot your device.

All Done !!….

How to Use ES File Explorer To Transfer Files From PC To Android

0
How to Use ES File Explorer To Transfer Files From PC To Android

Android has grown a lot in the past 4 years. Every year a new version of Android is released by Google. The most important thing that differentiates Android from iOS and many other Mobile Phone OS’s out there is its ability to seamlessly transfer files from one device to another. It is really convenient to just connect your Android device to your PC using Data Cable and drag a whole bunch of files to transfer it. But, with the advent of technology, you can easily transfer files from Android to your PC and vice-versa without using any data cable at all. ES File Explorer has been one of the most loved and most high rated Android file managers of all time. There is a hidden feature in it that allows users to connect PC and Android device, and then transfer files between the two devices. Follow the given steps in order to do so.

Pre-Requisites

  • You must have an Android device running Android 2.2, Froyo, or higher.
  • You must have a Windows PC for this job.
  • You need to make a folder on your PC, which you will share your files to and from your Android device.
  • You also need the ES File Explorer installed on your Android device.

ES-File-Explorer-2

How To Transfer Files From Your PC To Android Device Using ES File Explorer

  1. On your Computer, find the desired folder that you will now use to share the files to and from your Android device.
  2. Right-Click on it, and click on Properties.
  3. Now, after the small window pops-up, click on the ‘Sharing‘ tab.
  4. Now, find and click on the Share button.
  5. Another window will pop-up, asking user to share this folder with with single user or a group.
  6. Select ‘Everyone‘, and click Ok.
  7. Now, on your Android device, launch ES File Explorer.
  8. Tap the Hamburger (three lines) menu button, and from there tap on the ‘Network‘ tab to reveal yet another drop-down menu. From there, tap on ‘LAN
  9. Now, tap on New, and fill the the required boxes that the app demands.
  10. For that, you need to obtain the IP Address of your PC. Now, leave the Domain Name box empty, and fill up the rest of the boxes.
  11. Tap on Ok to Confirm.
  12. Great work! Now to share your files to and fro of your PC or your Android device, you just need to copy/paste the required file/folder into the folder you created in the initial stages.

If you have any queries regarding this guide, feel free to leave a comment below.

Samsung Announces Galaxy Blade Edge, World’s First Smart Knife

0
Samsung Announces Galaxy Blade Edge, World’s First Smart Knife

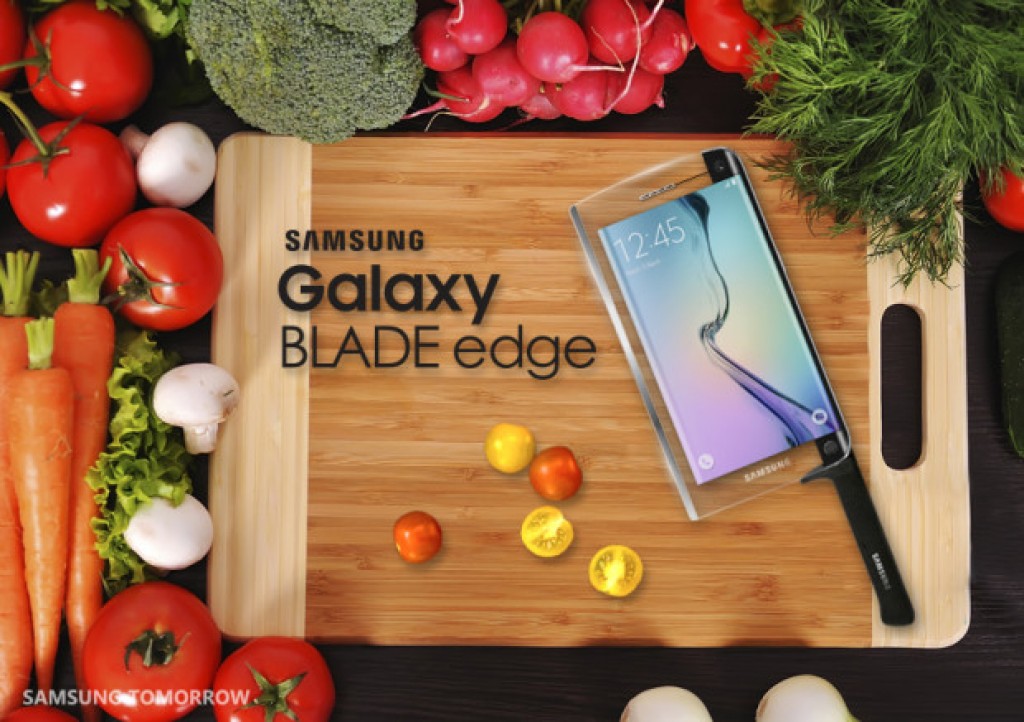
The world is getting smarter every day. Samsung has been managing to keep itself a pioneer in the world of smart gadgets, and we do see a lot of innovation done by this giant. This time around, Samsung has kept today’s chef in view. Samsung has introduced a knife, named as Galaxy Blade Edge. The name says it all, it’s a smartphone embedded in a knife, that has a blade on the edged-side. Galaxy Blade Edge sports almost all the features that the Galaxy S6 & Galaxy S6 Edge do, the only addition to this device are the cutting capabilities in the Edge.  With the launch of Galaxy Blade Edge, Samsung aims at making the ordinary Chef knives obsolete. Samsung says that the Galaxy Blade Edge is so “Strong & Sharp”.

galaxy-blade-edge-3-620x437

According to Samsung, the Galaxy Blade Edge powers up some specific sensors, and some particular algorithms have been used to build this device that make it 50% faster then the ordinary kitchen knife. There are different options to cut & chop different stuff in this knife. There’s a sensor that helps this device to detect whether it’s cutting the stuff or it’s going to touch your skin. The finger detection capabilities of this device help it to draw back the blade before it cuts your skin. Samsung aims to innovate a Chef’s life by introducing the Galaxy Blade Edge.galaxy-blade-edge-1-520x465 galaxy-blade-edge-2-620x437

Never mind! It’s a prank done by Samsung as April 1 is on the door, so, Happy April Fools Day!

Source

How to get double tap to wake on Nexus 6 – No Root Needed

5
How to get double tap to wake on Nexus 6 – No Root Needed

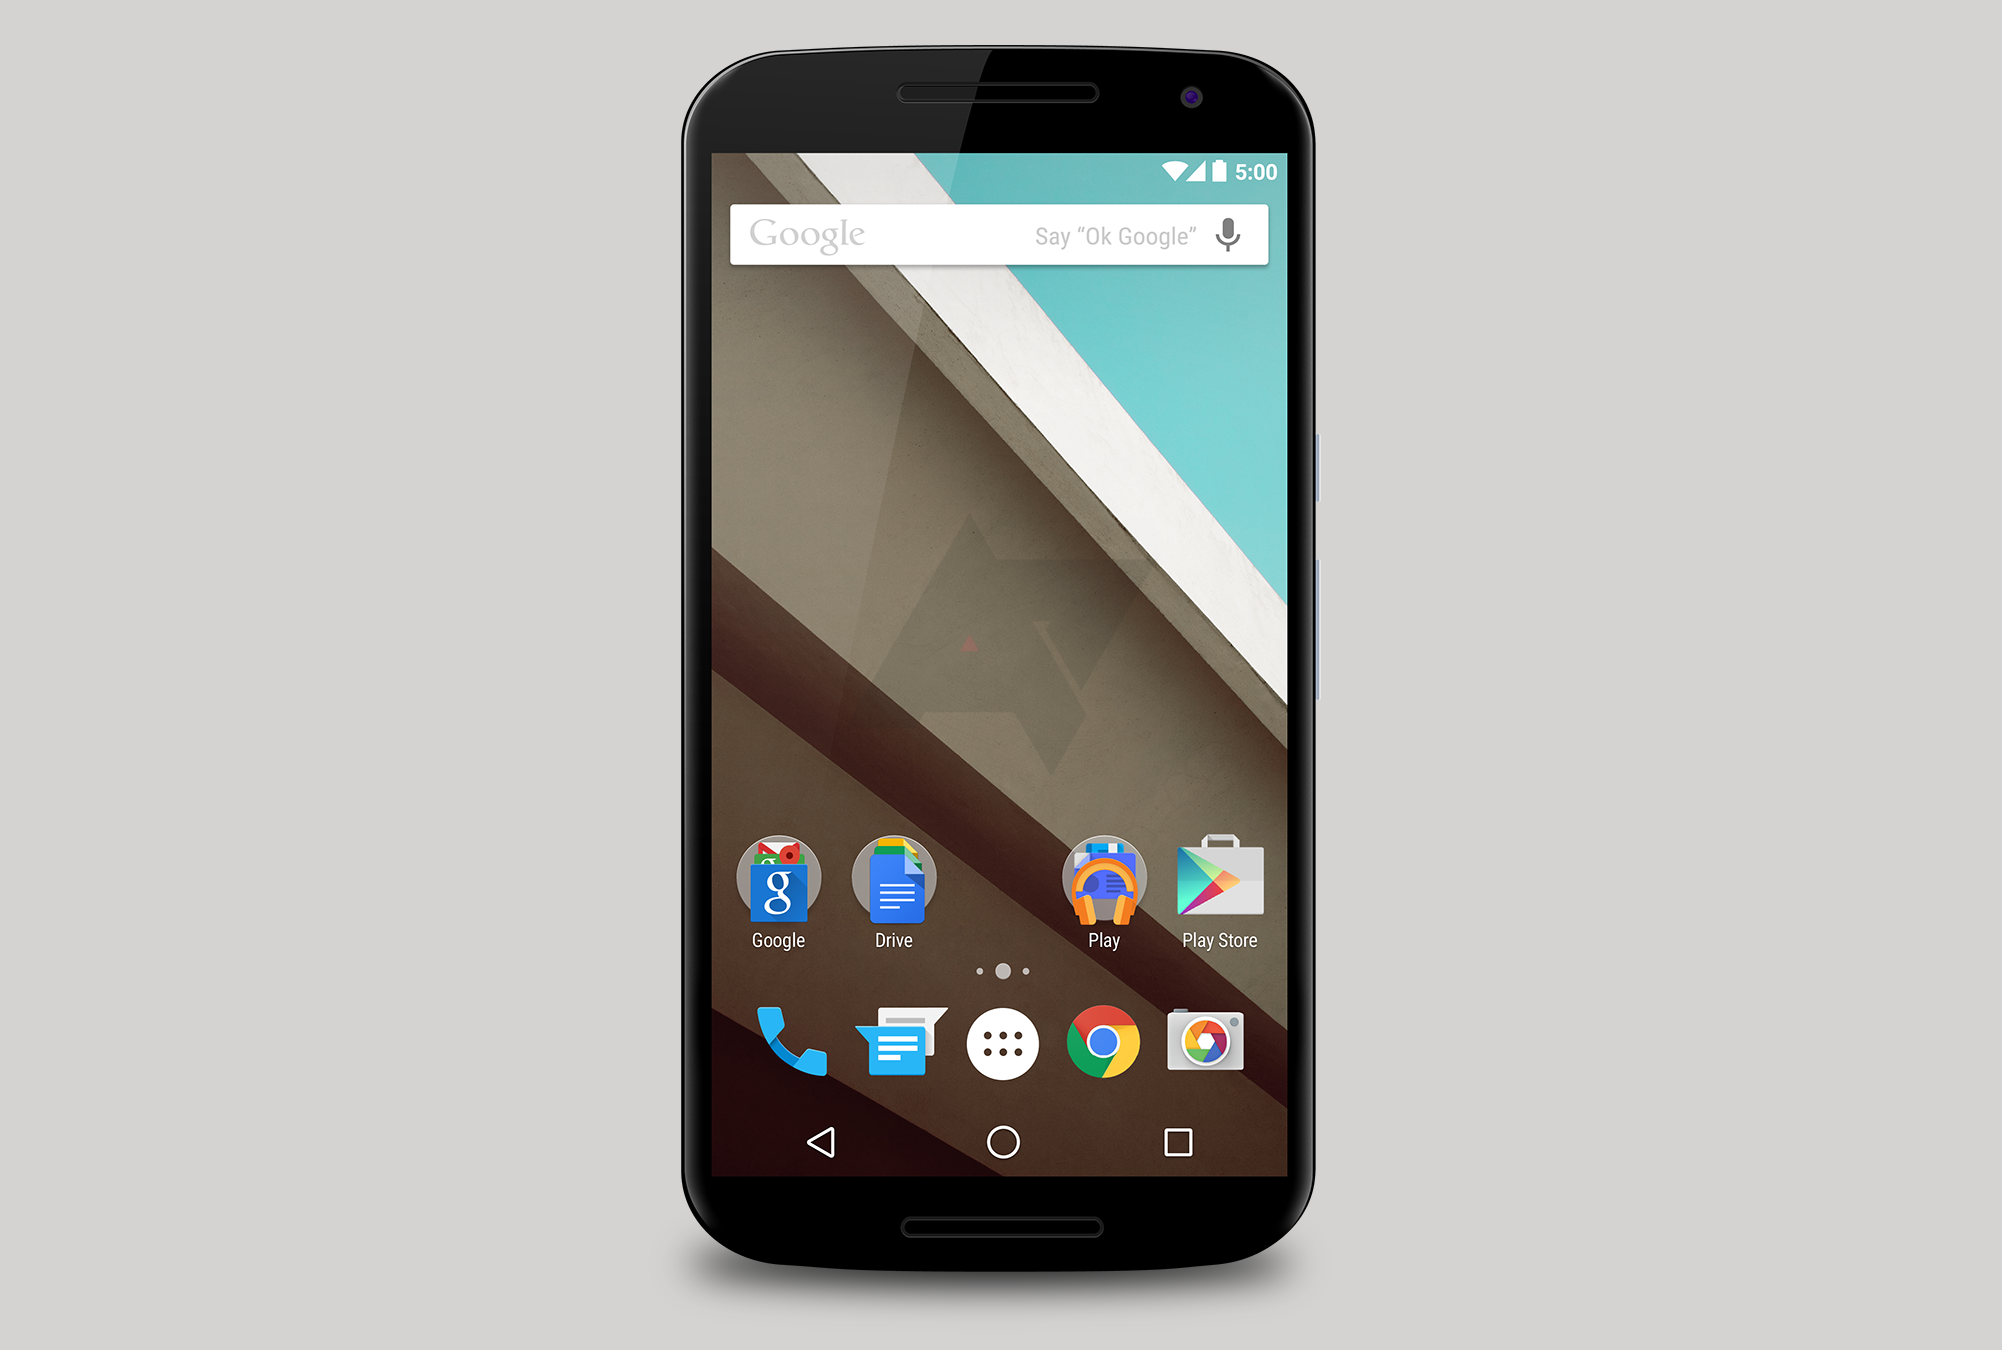
Double tap features is really awesome feature and also it helps us save our power button by using it less. First this features was introduced in LG G2 and LG G3. Today i’ll tell how you can install double tap on Nexus 6, you can easily install double tap feature on Nexus 6 because it already has the capability for double tap to wake built in. But for some reason Google didn’t enabled it on Nexus6.

You don’t need to root your Nexus 6 in order to install double tap to wake feature, here’s how to get double tap to wake on Nexus 6. Follow all the instruction carefully in order to get double tap to wake on Nexus 6.

nexus2cee_n6lf3

How to get double tap to wake on Nexus 6 – No Root Needed:

Step#1: Download the double tap to wake on the Nexus 6.

Step#2: Boot your device into recovery mode, press and hold Volume Down and Power.

Step#3: Use volume key to scroll and press power button to select recovery.

Step#4: Now press and hold volume up button to enter in recovery menu.

Step#5: Tap on install in recovery mode.

Step#6: Now Tap download.

Step#7: Select the Zip file you downloaded in first step.

Step#8: On your screen swipe to right in order to confirm the installation.

Step#9: After you see success message, Reboot your Nexus 6.

All Done,  You have successfully installed double tap to wake on Nexus 6. If you face any sort of problem please do tell me in comments.

Download And Install CM 12 GApps On CyanogenMod 12

0
Download And Install CM 12 GApps On CyanogenMod 12

If you happen to be running CyanogenMod 12, then you might find that there aren’t some applications like G-Mail, Google Tasks, Hangouts, or even the Play Store itself. This is because the package of the ROM that you installed has no GApps or Google Apps installed in it, thus making it a light ROM to download. But the Google Play Store is a essential on an Android device. Without the Google Play Store, you wouldn’t be able to get automatic updates to your apps, and you won’t be able to download applications directly. In this guise, you are going to learn how to flash the CM 12 GApps on your CyanogenMod 12 running Android device.

Pre-Requisites

  • Make sure your Android device is rooted and is running CyanogenMod 12.
  • Also make sure that you have a custom recovery installed. We recommend TWRP.
  • You need the CyanogenMod 12 GApps for your device. Download it by clicking here.

one-m8-cm12-cyanogenmod-12-rom

How To Install CM 12 GApps On CyanogenMod 12

  1. Download the ZIP file from the above link on your PC.
  2. Now, connect your PC with the USB Data Cable, and transfer the ZIP file onto your device’s onboard memory.
  3. Unplug your Android device, and completely switch it off.
  4. Now reboot into your recovery mode.
  5. Tap on ‘Install’.
  6. Find and select the ZIP file that you just transferred on your device.
  7. Tap on Install.
  8. Wait for a while.
  9. Now, clear and factory reset your device’s memory.
  10. Now, reboot your Android device.

Voila! You’ve now successfully installed the CM 12 GApps on your CyanogenMod 12 Android device! If you have any queries, refer to us in the comments section below.

How to Enable WhatsApp Web Client on iOS

0
How to Enable WhatsApp Web Client on iOS

WhatsApp Web Client, well I am not much of fan of it, but in most of the cases it does helped me in saving the time to look at the mobile for a single reply and in most of the cases just to look at the message, while on the other hand, if you are talking to someone in secret, then this feature is not good for you, unless you are either home alone or at-least room alone. This feature was long available for Android devices, since the security of an Android users is in his hands not in the hands on OEM or WhatsApp community, while we have Apple and iOS who are just to un-secure about giving the WhatsApp Web Client, that they didn’t give it, although we have the Jailbreak Community, that is always there to help, at-least in these type of cases.

WhatsApp Web Enabler is the tweak that enables the WhatsApp Web Client on your iPhone or the iOS platform, all you need is to install the Tweak and locate the WhatsApp Web button, we will get to it in the tutorial below, the rest of the process is as simple as on Android. The developer has given the option to Enable or disable the Tweak within the app settings. The recent update has removed a lot of bugs and problems that users were facing in the first use. In this article, we will show you How to Enable WhatsApp Web Client on iOS, without further ado let us continue.

How to Enable WhatsApp Web Client on iOS

Enable WhatsApp Web Client on iOS:

whatsappwebenabler1

  1. Open Cydia
  2. Search for WhatsApp Web Enabler
  3. The tweak is available for free from the BigBoss repo.
  4. Download and Install it.
  5. Now Navigate to web.whatsapp.com from your PC.
  6. Open WhatsApp > Settings > WhatsApp Web and Scan the QR Code.
  7. That is it, your WhatsApp will be mirrored on your Browser
  8. The Official Support is on its way, stay tuned for that or try this tweak.
  9. Enjoy!

Gallery Doctor, Delete Unnecessary Photos from your Android

0
Gallery Doctor, Delete Unnecessary Photos from your Android

There comes a time in every Android user life, when he wants to delete a lot of unwanted media, which mostly includes photos, since no one download much videos on mobiles, so the main subject left behind are the Pictures only, most of the times you have duplicate pictures, taking a lot of your precious memory, since latest cameras resolution and quality makes the picture size reach up-to 3-4mb, having to many of duplicate pictures can take a lot of space and the worst case scenario, having hundreds of them can cause a lot of trouble in removing them too, which is why we need something that can remove all the unnecessary pictures at once.

While on the other hand, digital age has made picture taking so easily and burst frame rate type of applications have ruined a lot of things, we don’t care while using such high frame rate applications, but then comes a time when we have to make sure that the Gallery looks empty or at-least clean. Gallery Doctor is an app that does the job for us, you don’t have to do a single thing, it will analyse all your pictures, depending on the size of memory they take, it will either take time or not, so let it be run in Background, once done you’ll be notified. In this article, we will show you how to use Gallery Doctor application to remove unnecessary pictures from your Mobile, without further ado let us continue.

Gallery Doctor, Delete Unnecessary Photos from your Android

How to Use Gallery Doctor App:

gallery-doctor-1

  1. Download and Install the app from Play Store.
  2. Once done, let it analyse the whole Gallery.
  3. It will take time, be patient.
  4. Now you’ll see three options or recommendations.
  5. The first one show the Duplicate or similar photos, cause of the Burst shots.
  6. Second one show the poor result photos taken in Poor light.
  7. Third one is completely manual, letting you choose which one to keep or delete.
  8. Tap the Review and Clean button on any of three recommendations and watch the Magic happen.
  9. Every option has its benefits, so make sure to choose the right one.
  10. Enjoy!