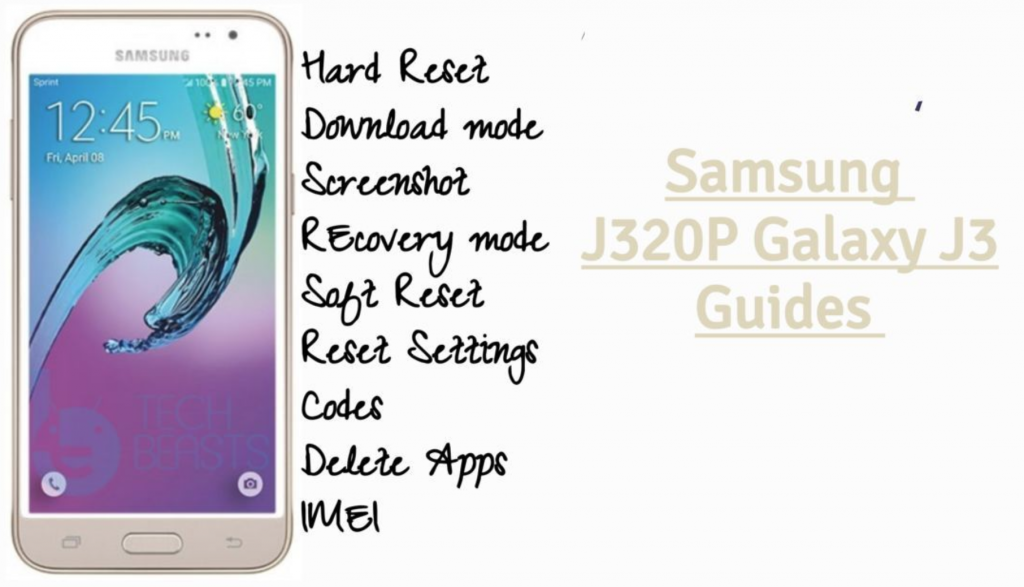
Samsung J320P Galaxy J3 Guides Post: We’ve made this post for Samsung J320P Galaxy J3 users. They can learn how to Hard Reset, Boot Into Recovery, Safe Mode, Download Mode and much more. You can say that this is the ultimate guides post for Samsung J320P Galaxy J3. Now before we move on to the Samsung J320P Galaxy J3 Guides & Tricks. Let me give you an overview of Samsung J320P Galaxy J3 specs.

Contents
Samsung J320P Galaxy J3:
The Samsung J320P Galaxy J3 was released in 2016, January. The Phone came out with a screen of 5.0 inches having 720 x 1280 pixels resolution. Samsung J320P Galaxy J3 was powered by Exynos 3475 Quad ( Quad-core 1.2 GHz Cortex-7 ) CPU and Mali-T720. It had internal storage of 16 GB, 1.5 GB RAM. The camera at the back of this phone is 8 MP, f/2.2, AF and on the front, it is 2 MP. Inside this Phone, there was a 2600 mAh battery. The Phone originally ran on Android 5.1.1 (Lollipop).
Samsung J320P Galaxy J3 Guides & Tricks:
Summary:
Download Mode
Recovery Mode
Reset Network Settings
Clear App Data
USB Debugging Mode
Heed the instructions below and you will find out how you can Clear App data, New Software Update, Safe Mode, Recovery Mode, Download Mode and more on Samsung J320P Galaxy J3.
Hard Reset J320P Galaxy J3:
Heed the instructions provided in the following link and you will get to know how to hard reset Samsung J320P Galaxy J3.
Clear App data:
- On your Android phone, go to Settings.
- Find the Application Manager or Application settings.
- In the Application settings, swipe towards the All or the Running Applications tab.
- Select the application of which you want to clear the cache and data.
- A list of further options will appear now, tap the Storage option.
- Under the Storage option, you will find Clear Cache and Clear Data options.
- Tap the button according to your liking.
- That’s all.
Check New Software Update on Samsung J320P Galaxy J3:
- Open Settings Apps.
- Scroll down and Tap on software update.
- It will now check the available software update.
- If there is any, you will be notified and follow the on-screen instruction in order to proceed.
Enter Recovery Mode on Samsung J320P Galaxy J3:
- Power down your phone completely.
- Now press and hold Volume Up + Home + Power keys.
- Your phone will take a while to boot up. As soon as it does and shows you the Samsung logo, let the key go.
- Your phone will now load the recovery.
- Let the recovery load. Once done, you can operate the recovery mode freely using Volume Up, Down & Power keys.
Boot Samsung J320P Galaxy J3 into safe mode:
- To boot into Safe Mode, turn off your phone completely. Now turn on your phone. While your phone boots up press the Volume Down key and keep it pressed until the phone boots into the system.
- As your phone boots into the system, you will find the Safe Mode watermark on the lower left corner. This means you are now in the Safe Mode.
Wipe cache partition on Galaxy J320P Galaxy J3:
- Shut down your phone.
- Boot into the recovery mode. Using the instructions provided above.
- Scroll down and highlight “wipe cache partition”.
- Press the Power button to make a selection.
- Highlight Yes and let the phone wipe its cache now. That’s all.
Reset network settings on Galaxy J320P Galaxy J3:
- On your phone, open Settings.
- Now in settings, go to About device.
- Tap Reset > Reset Network Settings > RESET > RESET.
Enable developer options and USB debugging on Galaxy J320P Galaxy J3:
- Go to settings.
- In settings, scroll all the way down and locate About device section.
- In the About device section, find build number in the Software details.
- Tap the build number 7 times to enable Developer Options.
- Once done, the Developer Options section will appear at the bottom where you found the About device option.
- Now go to Settings > Developer Options.
- Find USB Debugging mode in Developer Options and tap the radio button located next to USB Debugging mode to enable it.
- That’s all.
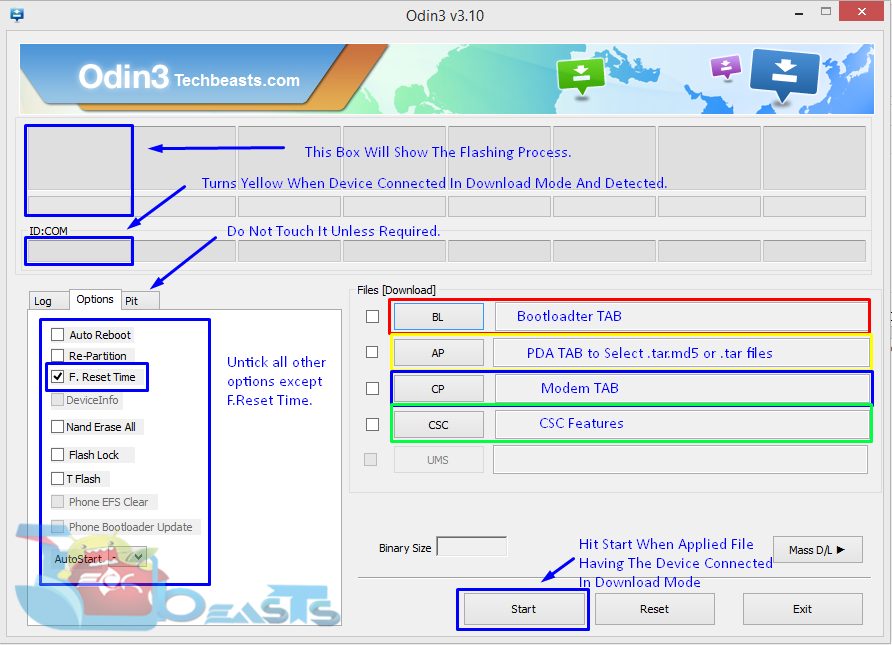
Enter download or Odin mode on Galaxy J320P Galaxy J3:
- Turn off your phone completely.
- Now press and hold Volume Down + Volume Down + Power button.
- Your phone will turn on and show you a warning.
- Press the Volume Up button to continue into Download Mode now. That’s all.


