
Samsung Galaxy A3 2017 comes with a handful of goodies on-board. Galaxy A series has been doing quite good for quite a while. That is one reason for Samsung to continue its mid-range series and release the same model numbers for every new year. Galaxy A3 2017 touts a 4.07 inch display with 720 x 1280 pixels resolution protected by Corning Gorilla Glass. The phone runs on Exynos 7870 Octa-core CPU. It has 16 GB internal storage accompanied by 2 GB of RAM. Galaxy A3 2017 equips a 13 MP shooter at its back and an 8 MP shooter on the front. Galaxy A3 2017 has a 2350 mAh battery which is good enough to last long for a day. The phone runs on Android 6.0.1 Marshmallow out of the box.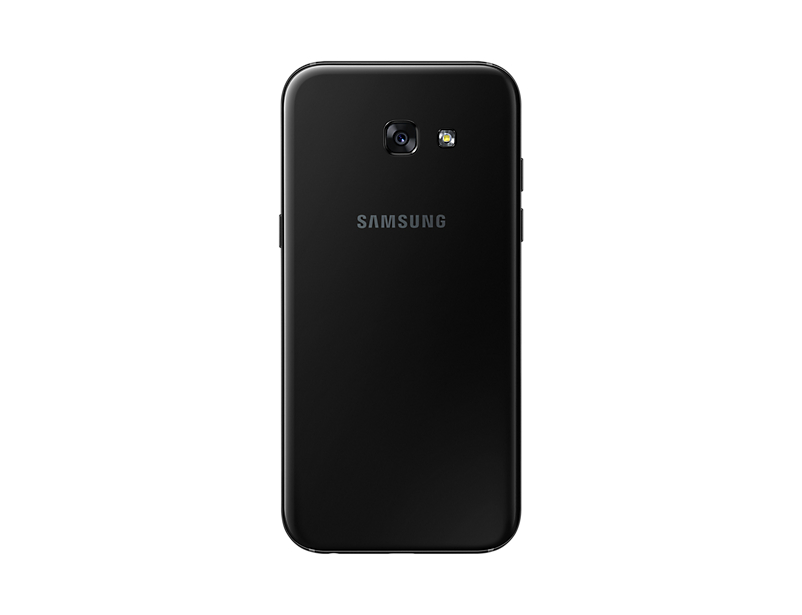
Galaxy A3 is among the phones which are under active Android development. For the phone, you may come across many custom ROMs, customisation MODs and tweaks. To begin tearing apart everything stock from your phone, you first need to bring in a custom recovery i.e. TWRP recovery and then you need to have the phone rooted as well. Galaxy A3 2017 has been successfully rooted as its TWRP recovery was out. This work has been done by none other than Ashyx. Now you are all set to unleash the true potential of your Galaxy A3.
There are number of things that you would want to do after flashing a TWRP. You can create Nandroid backup, and backups of every single partition of your phone easily through the TWRP. The install feature of TWRP makes it easy to install any zip files on the phone. Using the wipe feature, you can wipe the cache, dalvik cache, system and data partitions of your phone. On the other hand, root access makes it possible to install specific applications which add new features to your phone or simply make it easy to perform a lot of tasks which are not do-able otherwise.
We are about to take a swing through the process to Root and Install TWRP Recovery on Galaxy A3 2017. This covers the A320F, A320FL and A320Y variants of the A3 2017. While following the procedure, you only need to be sure about the risks you are going to involve. In case of a mishap, the recovery devleoper or TechBeasts cannot be held responsible. The procedure is custom and it can void the warranty of your smartphone.
Important prerequisites
TWRP recovery and root files will work for the Galaxy A3 2017. Do not try this method on any other device as you will result in bricking it because of invalid files.
Charge your phone up to 50% to avoid power issues during flashing process.
Enable USB deubgging from the developer options in your phone.
Enable OEM Unlocking on your phone from the developer options as well.
Backup all your important contacts, call logs, sms messages and media content.
Use your phone’s original data cable to connect it to your PC.
If you have Samsung Kies installed on your PC, turn it off while using Odin.
Disable Firewall/Antivirus in order to download the files properly.
Get a microSD card or a USB OTG since you need to copy the files to it.
Follow the rest of the method being very careful.
Contents
Root and Install TWRP Recovery on Galaxy A3 2017
Files you need to download:
- Install Samsung USB drivers on your PC.
- Download Odin 3.11.1 on your PC and extract it to get Odin3.exe.
- Download TWRP Recovery for Galaxy A3 2017: twrp_3.0.3-1_sm-a320f_24217
- Download SuperSU.zip and DM-Verity file and copy these files to an external SD card or a USB OTG.
How to Install TWRP Custom Recovery and Root Galaxy A3 2017
- Open Odin3.exe file from the extracted Odin files that you downloaded above.
- Put your Galaxy A3 2017 in download mode now. To do so, turn off your phone first. Now turn it on by pressing and holding Volume Down + Power + Home button. As soon as your device boots up showing a Downloading screen, leave the keys.
- Connect your phone to your PC now. Odin should show an “Added” message in the logs and also show the blue light in the ID:COM box. This will verify a successful connection between your phone and your PC.
- Now click on the “AP” tab in Odin and select the TWRP Recovery.img.tar file according to your device carefully.
- The options ticked in Odin should be only “F.Reset Time“. Make sure that the Auto-Reboot option is not checked, we do not want to reboot the phone after flashing TWRP recovery.
- After selecting the file and checking/unchecking the options carefully, hit the start button. Odin will now flash the TWRP and show you a PASS message in a few minutes.
- Once done, disconnect your device from your PC now. Do not reboot your device.
Root and disable forced encryption
- Now you need to boot directly into TWRP Recovery. Turn off your phone completely and turn it on by pressing and holding Volume Up + Home + Power key now. Your phone should successfully boot into newly installed custom recovery.
- TWRP will ask you whether you want to allow modifications or not, you will need to swipe finger to the right to enable modifications. Swiping the finger to right will trigger dm-verity, if you will need to disable it immediately. Leaving it enabled will not let you boot the phone neither root it. This is an important stuff since we want to be able to modify the system.
- Now tap “Wipe > Format Data > type “yes” to format data. This is important to disable encryption. This step will factory reset your phone, so make sure that you’ve backed up the entire data at hand.
- Now make sure that you’ve copied the SuperSU.zip and dm-verity.zip files in external SD Card or USB OTG, if not then transfer both these files to your external SD Card by using MTP mode in TWRP now.
- Once you’ve the files, tap “Install > locate the SuperSU.zip according to the location where you copied > flash it”.
- Now once again tap “Install > locate the dm-verity.zip file > flash it”.
- Once done flashing, reboot your phone to system.
- That’s all. You’re rooted and have a TWRP recovery installed. Best of luck.
- Verify root now: How to check Android phone is rooted or not using Root Checker
Let me know if I can help you guys any further. That’s all for now.


