Home Blog Page 395

How to remove Mac malware for free [ Mac OS X ] [ Tutorial ]

0
How to remove Mac malware for free [ Mac OS X ] [ Tutorial ]

Mac was supposed to be the safest and secure operating system, but now things have changed. We’ve seen many malware threats last year. Today i’ll tell How to remove Mac malware for free, i’ve prepared a step by step guide. There are many software that claims that they can remove malware, but in reality there are the main cause of infecting your Mac with malware. I will tell you the name of the sites or software whom you should avoid to use.

In order to protect your Mac from malware or to defend your Mac from different malware, you’ve to apply the following steps properly.

How to remove Mac malware for free

How to remove Mac malware for free:

Following are the name of the Mac OX malware you should watch out for.

  • MacDefender
  • MacProtector
  • MacSecurity

Guide:

Step#1: If you are using Safari and you get a warning about malicious software. Stop using the Safari at once close it.

Step#2: Go to download and drag the files to trash, which are auto downloaded.

Step#3: Now to make sure that these files are deleted, empty your trash.

Step#4: If by any means you think that malware app is installed. You have to delete it.

Step#5: Now open Utilities folder and press Command-Shift-U.

Step#6: Open Activity Monitor..

Step#7: Now close all process.

Step#8: Now look for the apps named as, MacDefender, MacSecurity or MacProtector.

Step#9: Select the app and Click the Quit Process button.

Step#10:Quit Activity Monitor.

All Done !!!..

Update Samsung Galaxy Note 3 SM-N900 To Android 5.0 Lollipop [Official Firmware]

Update Samsung Galaxy Note 3 SM-N900 To Android 5.0 Lollipop [Official Firmware]

Samsung is pretty good at surprising its users. Earlier we saw the Android 5.0 Lollipop update coming out for the Samsung Galaxy S5 G900F without any prior notification or signs of the update, and just a day before, Samsung began rolling out the Android 5.0 Lollipop for the Galaxy Note 3 SM-N900 owners in Russia. The firmware, as expected, came up with massive changes. Atop of the list are the UI changes inspired by Google’s material design that has given Samsung a push to finally change it’s boring and old TouchWiz UI into something cool. Samsung has also changed the UI of the applications to comply with material design. Earlier, a leaked firmware surfaced over the web, but the firmware that just came out now is a complete build, stable and bug free.

The device’s performance has been improved all-over. Android 5.0 Lollipop for the Galaxy Note 3 promises great battery life as well. The update also carries some features from the phablet’s successor (Galaxy Note 4) and adds a new life. Currently the firmware is rolling out to the users in Russia through OTA updates or Samsung Kies, however the region is not a restriction in the on-going case. You may update your device to this firmware using Samsung’s flashtool Odin3. Wondering how you can taste the official Lollipop on your device? Well, that’s what we are here for.
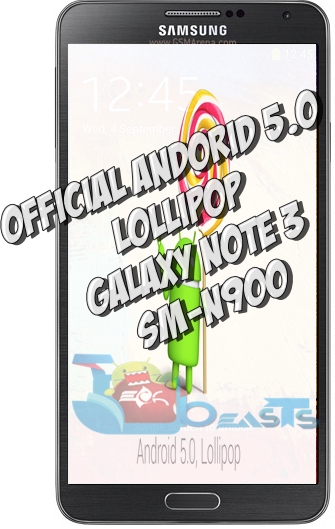
samsung-galaxy-note-3-1

In the proceeding guide, we are going to install/update Android 5.0 Lollipop XXUEBOA6 official firmware on our beloved Exynos Galaxy Note 3 SM-N900. This firmware won’t void the warranty of your phone and is all safe to flash. All you need is, you got to follow the guide carefully. Let’s go through firmware details and then head towards the installation guide.

Firmware details

  • Model: Galaxy Note 3 SM-N900
  • Region: SER – Russia
  • Version: N900XXUEBOA6
  • OS: Android 5.0 Lollipop
  • Build Date: 13.1.2015

Early Preparations

1. This guide is only for Galaxy Note 3 SM-N900

Make sure that your device is exactly as mentioned above. To check out what device you have, go to Settings > More/General > About Device or Settings > About Device and match the model number. Be careful about the device model number, flashing a file on a device not listed here might result in bricking it up. In that case, we may not be held responsible.

2. Battery should be charged at least 60%!

Your device’s battery shouldn’t be weak. In case your device goes dead during the flashing process, your device may get soft bricked and you might be in need of flashing stock firmware and that will ultimately result in wiping up your data as well. So, make sure that you charge your device before you start the flashing process.

3. Use the OEM data cable to establish connection!

Always use the original data cable to establish connection between your Android device and your computer / laptop. Using ordinary data cables might interrupt the flashing process, so to avoid any mishap, you need to meet this requirement as well.

4. Backup everything!

Just to be on the safe side, you may consider backing up each and everything from your Android device. This is highly recommended so that in case anything goes wrong, you still have the access to all of your data and you can restore it immediately. Also, clean install is always recommended, that means you will probably have to wipe your device to install the new firmware. So, you may backup everything as listed below.

Backup SMS Messages
Backup Call Logs
Backup Contacts
Backup Media – Copy your files manually to your PC or Laptop.
Backup EFS – If rooted, otherwise skip this step.

5. Install Samsung USB drivers

In order to be able to establish connection between your PC and your Galaxy Note 3, you need to have the Samsung USB drivers installed on your PC. You can find all Android USB drivers here on our site.

6. Turn off Samsung Kies and other softwares while using Odin3!

Make sure that you turn off Samsung Kies while using Odin3 flashtool. Samsung Kies will interrupt Odin3 and will result in causing errors and may not let you flash your desired firwmrae. Also, make sure that you turn off any antivirus software you’ve installed and also disable firewall to avoid any connection and flashing issues.

Required Downloads & Installations

  1. Download and extract Odin3 v3.09.
  2. Download and extract firmware file to get the .tar.md5 file.

How To Update Samsung Galaxy Note 3 SM-N900 To Android 5.0 Lollipop [Official Firmware]

  1. Make sure that you read the instructions listed above carefully and you’re all set to go ahead now.
  2. Wipe your device complete in order to attain a neat installation. You may boot into the recovery mode and perform a factory data reset.
  3. Open Odin3.exe.
  4. Put your SM-N900 in download mode. To do so, turn it off and wait for 10 seconds. Turn it on by pressing and holding Volume Down + Home Button + Power Key simultaneously, You should see a warning, press Volume Up to continue. In case this method doesn’t work for you, try one from this guide.
  5. Connect your device to your PC.
  6. As soon as Odin detects your phone, the ID:COM box should turn blue.  Make sure that you’ve installed Samsung USB drivers before connecting.
  7. For Odin 3.09 hit the AP tab. Select the firmware.tar.md5 or firmware.tar, that you downloaded and extracted above.
  8. If you’re using Odin 3.07, you will select “PDA” tab instead of the AP tab, rest of the options remain untouched.
  9. Make sure that the options selected in your Odin are exactly as shown in the pic.Odin-3.09-explained.-2
  10. Hit start and wait till the firmware  flashing is complete, The flashing process box will turn green upon successful flashing.
  11. Once the flashing process has been completed successfully, disconnect your device and reboot it manually. You can pull out the battery, place it back and turn on.
  12. Once the device boots up, checkout the new firmware now.
  13. Your device will be running on official Android 5.0 Lollipop firmware.
  14. That’s all!

Got any queries? Make sure that you drop em’ in the comment box below. Good Luck!

How To Fix Unable to Delete Songs in the Music App [ iOS 8 -iOS 7 ]

0
How To Fix Unable to Delete Songs in the Music App [ iOS 8 -iOS 7 ]

Today i’ll tell you how to fix Unable to Delete Songs in the Music App running iOS 8- iOS 7.. I have been getting mails form my readers that they can not delete all music from iPhone. The main reason of this issue is iCloud Backup and iTunes Match. Following is a step by step guide on how to fix unable to delete all music from iPhone running iOS 7 – iOS 8.

Fix Unable to Delete Songs in the Music App

How To Fix Unable to Delete Songs in the Music App [ iOS 8 -iOS 7 ]:

Step#1: Open Setting on your iPhone.

Step#2: Now tap on Music.

Step#3: Tap and Turn OFF the switch for iTunes Match.

Step#4: Also turn off Show All Music.

Step#5: Now open task switcher and quit Music app.

Step#6: Restart your device.

Step#7: Now when you phone boots up, try deleting the Songs for Music app.

Step#8: If you want to delete all the music at once.

Step#9: Go to Settings.

Step#10: Tap on General.

Step#11: Tap on Usage.

Step#12: Tap on Music.

Step#13: Now tap on Edit.

Step#14: Tap on Music and then tap on Delete to delete all music.

How To Add Close All Button In Sony Xperia Z Series’s Recent Apps Menu

1
How To Add Close All Button In Sony Xperia Z Series’s Recent Apps Menu

Are you tired of swiping the applications in recent apps menu away one by one in your Sony Xperia Z series smartphone? Well, that’s one missing feature that annoys most of the users, Xperia devices up to the Sony Xperia Z2 do not have a close all button in the recent apps menu, nor a kill all apps button. Users have to close the applications one by one by swiping towards left or right and guess what, if you’ve opened a plethora of apps, it’s going to take a while for you to close all the applications or the simplest thing you may be able to do is to restart your device and have all the apps closed at once. But that doesn’t seem to be a good approach at all. To overcome this lacking feature in the Xperia Z series, XDA member MagicHunta came up with a small application named as “TaskKiller 1ClickCloseAll”.

TaskKiller 1ClickCloseAll intelligently adds a close all button to the task manager or recent apps menu of your Sony Xperia Z series smartphone. The application does’t require root access, you can simply install it using an APK file and you’re all good to go with it. We’ve tested it and found it working on Xperia Z1, the application is found to be working on almost all Xperia Z series phones and some other Xperia smartphones as well and supports almost all Android versions from Android 4.2.2 Jelly Bean to Android 4.4.4 KitKat. If you’re wondering how you can get it working, we’ve cooked up this small how to guide. Let’s move a little ahead and learn how to add the Close All button in recent apps menu or task manager on your Xperia smartphone.

This application adds close all button in the recent apps menu or task manager of Sony Xperia Z, ZR, ZL, Z1, Z2, Z Ultra, Z1 Compact and others running Android 4.2.2, 4.3 or 4.4 KitKat.

How To Add Close All Button In Sony Xperia Z Series’s Recent Apps Menu

  1. Download TaskKiller 1ClickCloseAll APK File. Link 1.
  2. Copy the APK file to your Sony Xperia Z smartphone.
  3. Now go to settings > security > unknown sources > check allow.
  4. Now locate the downloaded APK file using some file manager on your Xperia smartphone.
  5. Tap the APK, begin with the installation and complete it.
  6. Now open some applications on your phone and minimize those.
  7. Now open the task manager / recent applications. You will find a close all button.
  8. Press close all button, all apps will be turned off / closed. That’s all.

10953109_10205216774671587_1772056327_n

OS X Yosemite Spotlight Bug, How to Fix it

0
OS X Yosemite Spotlight Bug, How to Fix it

No matter how much a company claimed that they have the Perfect OS, when it comes to Software, there is nothing that is free of Bugs, no matter how many updates have been released or not. Apple is doing their best to create a perfect OS, for both the Portable devices and Mac too. However, with every new update there is something new brought in the game and that thing might trigger another problem related with Old versions. With the arrival of OS X Yosemite,Spotlight has started to show some bugs, now most users have feared that it will release their private information, including your IP address to outside world.

If you are a regular user of Apple Mail app, then you have all the rights to freak-out and start Panic, cause this issue specifically hits the users of Apple Mail. The Problem starts, when your Spotlight app doesn’t stop showing the Preview of Mail attachments, allowing spammers to send Tracking Pixels and which allows them to Gather data, which not only lets them to manipulate it cause once the IP is leaked, everything is done for. So today we will show you how to get rid of this bug.

OS X Yosemite Spotlight Bug, How to Fix it

How to Fix Spotlight Bug in OS Yosemite:

  1. Open System Preferences.
  2. Click on Spotlight to open it settings.
  3. From the Options mentioned, un-tick the Mail & Messages option.
  4. That’ll fix the Spotlight Bug related with Mail and Attachments.
  5. Now while using Spotlight, if you see any other bug, just move to settings and un-tick the Faulty option.
  6. Enjoy! and do share your thoughts with us

5 Best Music Cydia Tweaks for iOS 8 [ Ever Green ]

0
5 Best Music Cydia Tweaks for iOS 8 [ Ever Green ]

Apple stocks apps are not that good as they seems, thanks to Cydia Music tweaks we can enjoy a fresh look. Today i’ve collected the 5 Best Music Cydia Tweaks for iOS 8. Jailbreak gives us freedom on iDevices, we can add thirdparty apps to get rid of stock boring apps.

You can change the color, interface and also increase the limit, Cydia tweaks can do anything what we want. You can also check Best iOS 8 Cydia Sources/Repos of 2014

top-cydia-tweaks

5 Best Music Cydia Tweaks for iOS 8:

1. ColorFlow:

ColorFlow gives you the option to change the color of you lock screen and also of your Music app. There were no configure option in the last version, but in the latest version you can configure it.

Price: $1.99 | Repo: BigBoss

2. Spectral:

Spectral is a free Cydia tweak form Bigboss, it helps you design you screen lock with blown up and blurred artwork.

Price: Free | Repo: BigBoss

3. Aria:

Aria gives you full access of your music app, while playing a song you have full control on what you want. It add quite exciting features on music app, tap and hold on a song you’ll get three options play now, next and last.

Price: $1.99 | Repo: BigBoss

4. Colorize:

Colorize change the UI of the music app according to artwork of the current song. There is not much to configure in Colorize.

Price: $0.99 | Repo: BigBoss

5. MiniPlayer:

I found MiniPlayer Cydia tweak one of the best among hundreds, the best feature of this tweak is it let you import iTunes 11 MiniPlayer to your iPhone/iPad.

Price: $1.99 | Repo: BigBoss

Line Stage For PC – Windows XP/7/8/8.1 & MAC

0
Line Stage For PC – Windows XP/7/8/8.1 & MAC

Line seems to be making the perfect use of those cute characters it introduced in it’s social chat application. Recently, a number games coming out from Line Corporation has been showing off the characters in different games like Line Cookie Run, Line Trio, Line Rangers etc. Another addition to this lineup is Line Stage, Line’s musical application that allows the users to pick up their favorite character, choose a song and then press the buttons to make the characters dance accordingly. You need to perform side flicks, up and down flicks according to the music rhythm to pass a stage or level. Better you do it, better are the points you’re supposed to earn. You can unlock new music with by passing each stage, wear great costumes to entertain your audience, rival against your friends and have the extreme fun. The game over all is away addictive and enjoyable.

I actually loved playing this game and wasn’t able to get my hands off from the phone for a while. It’s available in the Google Play Store for free, but just in case you can’t play it on an Android device or an iOS device, you may want to have this game installed on your Windows PC or MAC. In case you’ve been looking for such tutorial, you may have spotted the right place. As you move forward, you will come across a guide to install Line Stage on your Windows XP/7/8/8.1 powered PC or a MAC. Let’s go through the game features now and the install this game on PC.

Line Stage1

[Description] LINE’s first music game is here for you! Meet [STAGEES] and its popular LINE characters!
Tap and flick to the rhythm of exciting music! A fun music tour is just starting!

[Story] Five friends dreamed of becoming super stars. One day, one of them betrayed the whole group and they were never the same.
After getting some guidance from the nice but sometimes harsh Rhythm Fairy, the friends once again dream of becoming super stars. Will they be able to mend the broken friendship with the betrayer friend and achieve stardom?

[How to play] – Select a song and a mission at each stage.
– Tap at each music note and control the button at the bottom using side flicks and up & down flicks.
– The more accurately you hit the notes, the better flick call and score you get. Try to clear the mission.

* Have fun clearing missions
Every stage comes with a variety of missions. Clear missions to get new music.
Visit great cities and meet warm-hearted fans!

How To Install Line Stage On Windows PC Or MAC
  1. Download & install Bluestacks Android Emulator.
  2. Once installed, download Line Stage APK file.
  3. Now locate the Line Stage APK file on your PC or MAC and click on it to begin installation with Bluestacks.
  4. Bluestacks will quickly install the APK file, once done, open Bluestacks and locate Line Stage in all installed apps.
  5. Login in to Line Messenger now to access the game, if you haven’t installed Line yet, install it using Play Store within your Bluestacks Android Emulator.
  6. Once you’ve logged in Line and bypassed the initial screen, you’re all set to play Line Stage.
  7. Follow the on-screen instructions to play the game now.
  8. Have fun!

How to Change the Apple ID in App Store on iOS 8

0
How to Change the Apple ID in App Store on iOS 8

In this following guide i’ll tell you how to change the Apple ID in App Store on iOS 8. Most of iDevice users know how to change the Apple ID in App Store, but there are many new users who don’t know yet. Apple ID is the most important thing for any iDevice, it helps you to download apps, use FaceTime, iMessage and also protect your device if stolen.

I’ll tell two methods from which you can change Apple ID in App Store on iOS 8. Following are the both methods please follow all the steps properly.

How to Change the Apple ID in App Store on iOS 8

How to Change the Apple ID in App Store on iOS 8:

Step#1: Open Settings on your iPhone/iPad.

Step#2: Now Tap on iTunes & App Store.

Step#3: You’ll see your Apple on ID on top of your screen, Tap on it.

Step#4: When the Popup appears, Tap on Sign Out.

Step#5: You will be logged out from your current Apple ID.

Step#6: Now add the other Apple ID whom you want to use.

How to Change the Apple ID in App Store on iOS 8: [ Jailbreak ]:

Step#1: You need a Jailbreak iPhone/iPad.

Step#2: Open Cydia on your iPhone/iPad.

Step#3: Now install IDBox.

Step#4: Open App Store there you’ll see a new button on bottom of the Screen called ID Box, Tap on it.

Step#5: Now you’ll see a list of your Apple ID’s. Tap on the one you want to use.

All done !

Line Rangers For PC – Windows & MAC

0
Line Rangers For PC – Windows & MAC

Line corporation has been coming up with a number of nice games recently. Their latest addition, Line Rangers seems to be an addictive one. Sally has been kidnapped by Aliens and they’ve taken her to another valley, you got to use your rangers and fight against the aliens to free up your Rangers. The application comprises of some cute characters resembling those presented in the Line social chat app, to  battle against the Aliens and find Sally, you got to go through different stages (valleys basically) and dispatch your Rangers against the enemies. You can upgrade your Rangers, you can also avail help from the friends of Rangers to smash up the Aliens. Once you’re done beating up all the Aliens, you will get through the stage and have a level passed away.

Line Rangers is currently available in the Google Play Store and iOS app store for free, but you may want to take this gaming experience to a bigger screen, i.e. play this game on your Windows XP/7/8/8.1 powered PC or maybe a MAC. You can do so with the help of an Android emulator. Just in case you’ve been looking for one such method, you may stop looking around as you already have it here once you scroll a little bit down. The following tutorial explains how you can play Line Rangers by Line corporation on your PC using Bluestacks. Let’s go through the game features now and then head towards the how to tutorial.

Line Rangers For PC

Line Rangers Features:

Finally, here comes a battle game with LINE characters for LINE!
“LINE Rangers,” the easy and enjoyable defense battle game with adorable LINE characters.

* LINE Rangers
Sally, LINE’s cutie, has been kidnapped by the Alien Army!
To rescue Sally, LINE friends turned into Rangers!
Let’s go with LINE friends!

* Cute, adorable characters.
Totally different sides of the LINE friends that you have never seen before!
Other than the original LINE friends, many new characters have been added!
Cute little battles of more than 150 types of adorable characters!

* Level-up system.
Send LINE characters to battle or combine them to level up! Leveled-up characters become stronger Rangers.

* Play with your friends on LINE.
When a battle gets difficult, ask your friends on LINE for help.
You can summon your friends’ characters to win a difficult battle.

How to Install & Play Line Rangers On Windows PC Or MAC

  1. Download & install Bluestacks Android Emulator.
  2. Once installed, download Line Rangers APK file.
  3. Now locate the Line Rangers APK file on your PC or MAC and click on it to begin installation with Bluestacks.
  4. Bluestacks will quickly install the APK file, once done, open Bluestacks and locate Line Rangers in all installed apps.
  5. Click on Line Rangers now and start playing it.
  6. Use your mouse to play the game.
  7. Have fun!

Download iOS 8.1.3 Firmware IPSW for iPhone, iPad, iPod via Direct Links

0
Download iOS 8.1.3 Firmware IPSW for iPhone, iPad, iPod via Direct Links

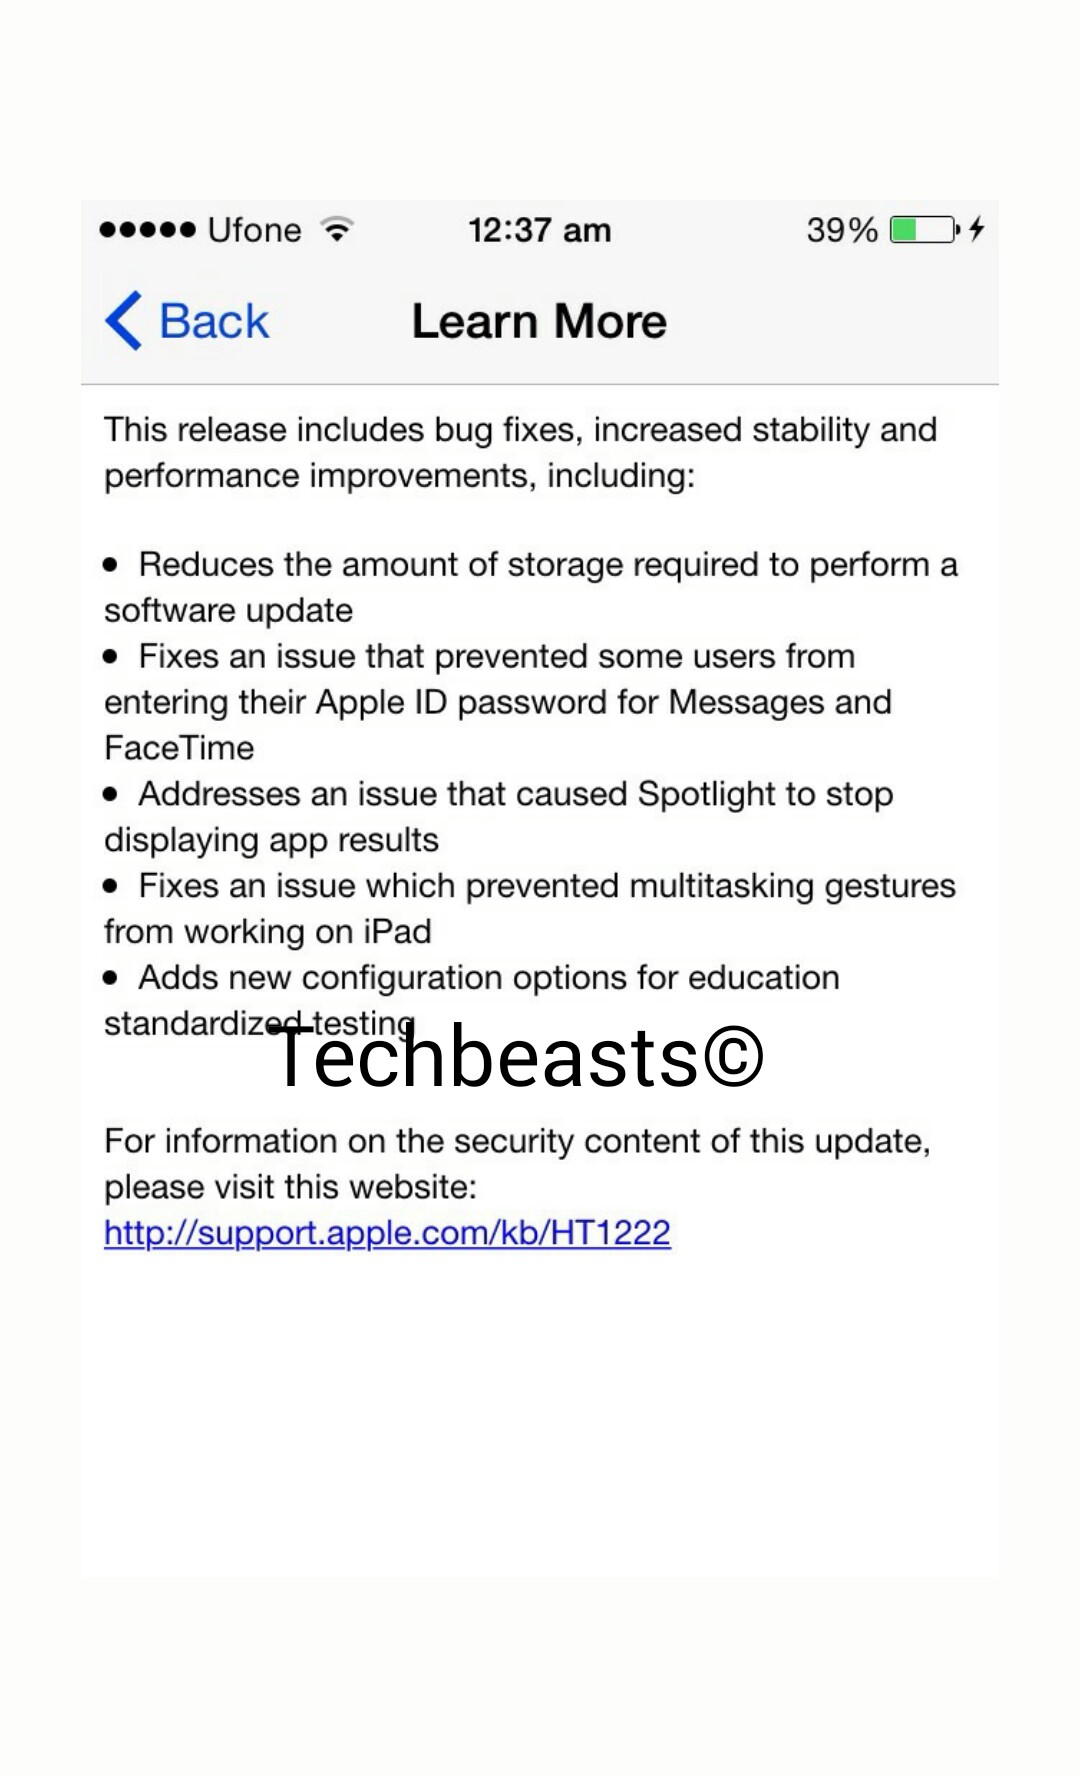
Apple has released their latest iOS 8.1.3 today with lot of improvements and bugs fix. You can update your device through OTA by going in to your iPhone/iPad settings->General->Software Update. Those who have Jialbreak their devices on iOS 8.1.2, i would suggest that no need to update your devices because there is no word for iOS 8.1.3 Jailbreak yet. Following are the iOS 8.1.3 Firmware IPSW for iPhone, iPad, iPod & Apple TV via Direct Links

iOS 8.1.3 is compatible Devices:

  • Phone 4S, iPhone 5, iPhone 5c, iPhone 5s, iPhone 6, iPhone 6 Plus
  • iPad Air 2, iPad mini 3, iPad 2, iPad (third-generation), iPad (fourth-generation), iPad Air, iPad mini, iPad mini with Retina display
  • iPod touch 5G

  iOS 8.1.3 Download

Download iOS 8.1.3 Firmware IPSW for iPhone, iPad, iPod & via Direct Links:

Download iOS 8.1.3

Gift a Movie, Album, TV Show from iTunes

0
Gift a Movie, Album, TV Show from iTunes

There is nothing better than expressing your love to your loved ones, than by sending a Gift to them, doesn’t matter whether that gift is a Softcopy or a Hardcopy, whether it has been given by hand or sent via any E-Mail, whether it a Toy or an app, it doesn’t matter what it is as long as it is a gift, everyone will be happy and with these gifts you can also give someone a reason to remember you forever, or as long as that gift is there. At first on Christmas, Apple allowed users to send and receive apps as gifts, but now that part has gone a step ahead, now there is even more than just apps.

Despite that Gift Cards are available at the Retail outlets of Apple, but those Gift cards have a little problem, they might not what the other person have wanted and even worst, one cannot ask about what type of Gift you would like, so to minimize all the risks and problems, why not gift them a Movie, a TV Show or a full album in iTunes, sow without further ado, let us continue and the best part, you can use both your PC and Mobile to do so.

Gift a Movie, Album, TV Show from iTunes

Gift any Media using iTunes:

  1. Open iTunes.
  2. Choose anything you want to send as a Gift.
  3. Now remember, you can’t choose any free item as a gift.
  4. Locate the Price of the Item.
  5. Next to the Price, there will be a drop down menu
  6. From the Options, choose Gift this Item.
  7. Now in the next Window, enter the E-Mail of the person you want to send the gift to, along with a 200 Character Max Message, if you want.
  8. You can Specify the date, when you wish to send the gift and Click Next.
  9. There is even an option to choose Theme for the Mail.
  10. Apple will then ask you to confirm the action, enter the iTunes password to Proceed.
  11. That is it, you have just your gift.

How to Refund a Purchased App from Mac Store

0
How to Refund a Purchased App from Mac Store

Most of the times, we purchase an app just to see whether it works or not and if it works then we keeps it, otherwise most of us wanted a Refund, especially if the app doesn’t do what has been mentioned that it will do, however, Paid apps works most of the times, although not all of us likes them. Sometimes, purchasing a Wrong app makes a user to think that he should be refunded, although chances are too low that it will happen, but in rare cases if anything were to happens like this, there should be a way to get a refund for the app.

In Mac Store if you have made such a mistake, or if the App has been advertised in a wrong way, or if it contains bugs and other issues, for all these problems there is a really simple solution, just get a Refund. However, not all the apps can be refunded, but if you case is genuine, then your credit card funds will be reversed and the App will be removed from your account, without further ado, let us continue towards the tutorial.

How to Refund a Purchased App from Mac Store

Refund a Purchased App:

First of all make sure that the app you have purchased is not older than 90 days.

  1. Open iTunes on your Mac.
  2. Navigate to iTunes Store
  3. Navigate to View Account.
  4. Scroll Down to Purchase History.
  5. Click See All to see all of your Purchases.
  6. Click on Report a Problem.
  7. Now Click Report a Problem against the app you want to Refund.
  8. On the Next Step Specify the Details and Reason for Refund
  9. If you have purchased the app by Mistake, Click the “I didn’t Authorized the Purchase
  10. Click on Request a Refund
  11. You’ll be contacted via E-Mail whether you request has been accepted or not