Home Blog Page 343

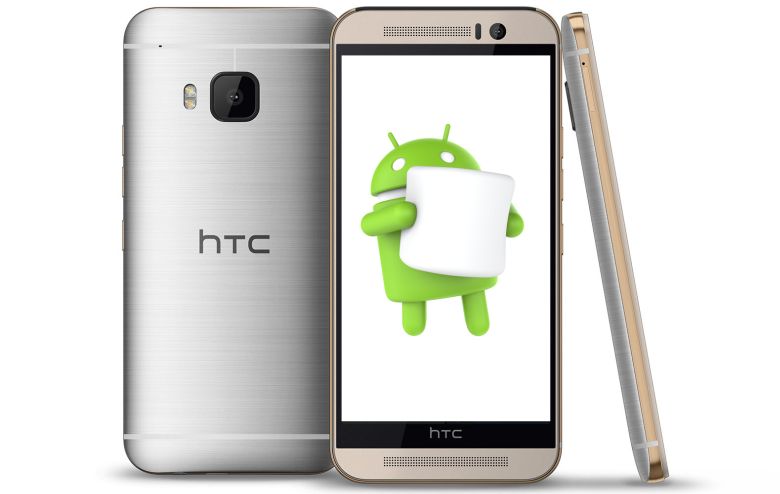
HTC Rolls Out Android 6.0 Marshmallow for HTC One M9

0
HTC Rolls Out Android 6.0 Marshmallow for HTC One M9

Good day for HTC pals. HTC just announced the Android 6.0 Marshmallow roll out for its latest flagship the One M9. HTC update the One M8 to Android 6.0 Marshmallow almost 3 weeks back. The Marshmallow sweetness for the latest HTC One gunner is one the roll now.HTC-Marshmallow

Marshmallow for HTC One M9 brings all new Android Marshmallow goodies including new fingerprint APIs, Android Pay, new app permissions, new battery and performance enhancements. The update was announced by VP of product management at HTC, Mo Versi. The tweet mentions the arrival of Android 6.0.1 for the HTC One A9 and Android 6.,0 Marshmallow for HTC One A9.

Happy Holidays! Updates to the Unlocked A9 6.0.1 and Unlocked M9 6.0 will be able to be downloaded within next 24 hours! Enjoy :-)

The update will arrive in 2 different parts. At first HTC One M9 users will get a 99 MB update which will prepare the phone for Marshmallow. Afterwards there will be an update of 1.2 GB for Android Marshmallow.

It may be noted that this update is rolling out to the users owning an unlocked version of HTC One M9. Users with a carrier branded HTC One M9 will have to wait for this update.

How To Install Android 6.0 Marshmallow Beta on Galaxy S6, S6 Edge

0
How To Install Android 6.0 Marshmallow Beta on Galaxy S6, S6 Edge

Samsung has got the Galaxy S6 and S6 Edge users one step closer to the Android 6.0 Marshmallow update. Just today Samsung started accepting the users for the Marshmallow beta public program. Samsung started rolling out the beta version of Android 6.0 Marshmallow to all the Galaxy S6 and S6 Edge users inside UK. If you’re living inside the UK and you also happen to own a Galaxy S6 or S6 Edge, there may be a great chance for you to taste the sweetness of Marshmallows right away. In order to request Samsung to accept you into the beta program, you’ve to follow a complete procedure. Once you’ve requested Samsung, it’s entirely up to Samsung to accept you for the program and roll out the update to your phone. So far Samsung has accepted in a plethora of users, so chances are pretty high that if you try it right now, you’re going to get Marshmallow on your S6 or S6 Edge. We’ve found the method to install Android 6.0 Marshmallow beta on these phones. We will be showing you the method in a while, but before going ahead we will have a brief over-view of what you’re going to have in this Marshmallow update.

Android 6.0 Marshmallow for Samsung Galaxy S6 and S6 Edge includes a whole new UI. Samsung has revamped the TouchWiz UI once again in accordance with the Android 6.0 Marshmallow. There are performance and battery consumption enhancements. TouchWiz includes less bloatware and the software is much smoother then before.

In order to be able to install Android 6.0 Marshmallow on your S6 or S6 Edge, your phone must be running on Android 5.1.1 Lollipop BTU firmware. You can download the BTU firmware from here and use this guide to install this BTU firmware. Let’s have a look on how to get yourself enrolled in this Beta Android 6.0 Marshmallow program.

  1. First of all check your device’s model number under Settings > More / General > About Device. Make sure that your phone is Galaxy S6 SM-G920F or Galaxy S6 Edge SM-G925F. Also make sure that you’re not using any carrier branded phone. Your phone should be an unlocked variant.
  2. After checking the device model number, you’ve to check the firmware version. You can check the build number or baseband version in the About Device section and find out the BTU code. If your device isn’t running on the BTU firmware, you can use the guide linked above to install it.
  3. Now download the Galaxy Care application and install it on your phone. You can either download it from the Google Play Store.Galaxy Care application
  4. Open the newly installed Galaxy Care application from the app drawer and follow on-screen instructions to get into the main menu of the application.
  5. Now swipe through the featured slider of the Galaxy Care application which is showing different pictures, you will find the a picture having this caption “Participate Galaxy Beta Program”. Tap Join button next to it.
  6. Once you’re in the beta program screen, tap the “Registration” button at the bottom and agree to the license terms. That’s all! You’re all set to get the download option for beta Android 6.0 Marshmallow. Samsung will review your submission and provide you the beta Marshmallow update within next 24, so wait patiently.CW2GT0SWcAAdd0r (1)

That’s all. Let us know if this tutorial worked for you or not. Also, if you’ve got your hands on Android Marshmallow, do inform us with your experience.

How to Install vShare on iOS 8-9,9.1 without Jailbreak

0
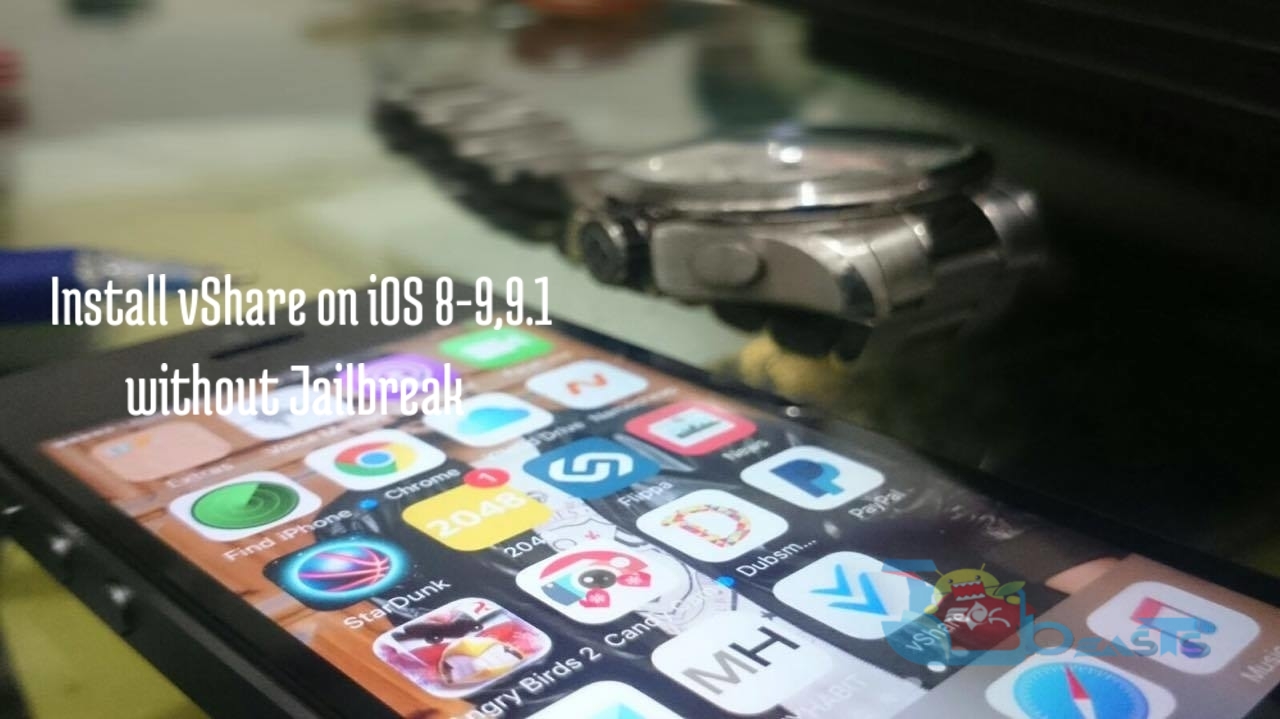
How to Install vShare on iOS 8-9,9.1 without Jailbreak

There are a number of apps for iPhone, iPad and iPod Touch in the Appstore, but unfortunately the good ones are not available for free and you have to spend some amount of money to get to use them on your devices. However, luckily, two apps, Installaous and AppCake, were introduced that let the users download their favorite apps for free.

Those of you who have been using Installaous and AppCake to get their favorite apps on iPhone for free, you must devastated to see that both of these apps are no more available for download in the AppStore. As these two apps were shut down, another app grabbed everyone’s attention. VShare has replaced the previous two apps and helps the users download all of their favorite apps for free that otherwise cost money. Previously, this genius app was not as easy to get as it was only possible to download the app once your phone had been jailbroken. Luckily, now VShare can be downloaded by all and it is no longer to jailbreak your iPhone in order to get VShare.

install vshare on iphone

VShare works in a simple manner. It creates a custom app store and includes all the paid apps from Apple’s Appstore. From here, users can easily downloaded these paid apps for free.

If you want to Install VShare on iPhone without Jailbreak, follow the guide below.

  • Launch Safari Browser from your iPhone or iPad.
  • Now, go to the web address; http://www.vshare.com/
  • At the bottom, you will see two options to download VShare; Jailbroken and UnJailbroken. Choose UnJailbroken and tap on Install in the Pop-up menu to begin downloading VShare.
  • Once VShare has been successfully installed, open the app.
  • A Pop-up menu will appear with a warning of Untrusted App Developer. Click on ‘Trust’.
  • That’s all. VShare has now been successfully installed without having to jailbreak your device.

Now you can proceed with downloading your favorite paid apps absolutely free of cost.

Note: Some users may get an error while downloading the apps through VShare. The error may state; “cannot connect to ssl vshare.apvv api error.” If you face such error, you can fix it by closing all the tabs in your Safari Browser. Now, go to the home screen and close all the apps currently running in the background (double tap home button). Now try again.

How to Fix the “Cannot Connect to iTunes Store” Error [ Tips ]

0
How to Fix the “Cannot Connect to iTunes Store” Error [ Tips ]

At some point you might have experienced a failure to connect to iTunes. If you have come across an error while trying to connect to the iTunes, Appstore or Game Centre, you might not be the only one. This error is displayed as “Cannot Connect to iTunes Store” and mostly occurs if either the App Store is being updated or due to Internet issues.

Whatever the case might be, there is a solution to this problem and here you will learn how to fix this issue.

Cannot-connect-Tunes How to Fix the “Cannot Connect to iTunes Store” Error [ Tips ]:

Enable/Disable iTunes Parental Controls:

  • This is the first thing that you may try to fix the issue as it has worked wonders for most iOS users.
  • To do so, Launch iTunes and from the top menu select Preferences.
  • Now head to the ‘Parental’ tab. From here select Disable>Access to iTunes Sore and allow access to iTunes U. Click Ok.
  • Having done that, exit iTunes and relaunch iTunes. If you are headed to the iTunes U directly, you can now go to the Preferences>Parental Control and select Enable access to iTunes Store.
  • Now, repeat> Exit iTunes and re-launch it. You should be able to successfully connect to the iTunes Store without any error.

2. Internet Connectivity:

  • The second thing you may do to fix the error is to check your Internet Connectivity.
  • Make sure that you have an active internet connection.
  • See if your other devices such as your PC is able to connect to the Internet.
  • To fix the Internet issue, try to reset your WiFi Router.
  • If you are still facing issues, try to fix the issue through ‘troubleshoot WiFi network and Connections.

3. Restart device’s WiFi or switch to WiFi to 3G network:

  • One of the common reasons why you might face this kind of error is due to low internet signal strength.
  • In order to fix this, try to restart your network by turning it off and back on.
  • Exit iTunes and try to Swtch to 3G network. Now launch iTunes again.
  • If you are using 3G network, try to switch to WiFi network and then launch iTunes.

4. Change Date:

  • Yes, you are right. You might be just the lucky one for whom this old trick might just work even now.
  • Head to your device’s Settings. Go to General and open Date&Time.
  • Turn ‘Set Automatically’ feature On.
  • Now re-launch iTunes.

5. Software Update:

  • You must ensure that your device’s software is up to date. Check for new updates available.
  • Go to Settings. Open General> Software Update.
  • Along with Up to date Software, make sure that your device is running on up to date Mac OS X as well as Safari and iTunes.

6. Troubleshoot Firewall:

  • If you are using Firewall, it is pretty much possible that the settings are become hindrance
  • in way you connect to iTunes. If this is the case, you might need to Configure Firewall. You might also need to Reset Keychain.
  • If none of this works for you, you should contact your Service Provider and enable Ports and Servers.
  • In other case, if you try to connect to iTunes but, it displays nothing and is empty, you should try the following to fix it.
  • Try to Troubleshoot iTunes Store connectivity in Windows.
  • Having done that, you will also be required to configure Windows firewall and let iTunes connect to iTunes Store.
  • In addition to that, disable proxies as well to avoid issues.
  • Lastly, try to Reset Host Files to default.
  • You can find host files fromC:\Windows\System32\drivers\etc\hostsfile.
  • Click on the hosts file to create a copy of hosts.
  • Now, click and drag the original hosts file to place it on your desktop.
  • Open the duplicate file in Notepad. (Right click on the duplicate file, select open and choose Notepad.)
  • From Notepad, go to Edit from the menu bar and click ‘Select All’.
  • Now, go to File from menu bar and click ‘Save’.
  • Close Notepad and re-name the duplicate file to ‘hosts’.
  • Once done, restart your computer and try to connect to the iTunes Store again.

7. Reboot Your Device:

If you have tried all of the above mentioned solutions and still fail to fix the error, try to either simply reboot your device or try to hard reset by long pressing the Power and Home buttons. Once the phone is shut, press the power button to turn the device on.

Download Heroes of 71 APK

0
Download Heroes of 71 APK

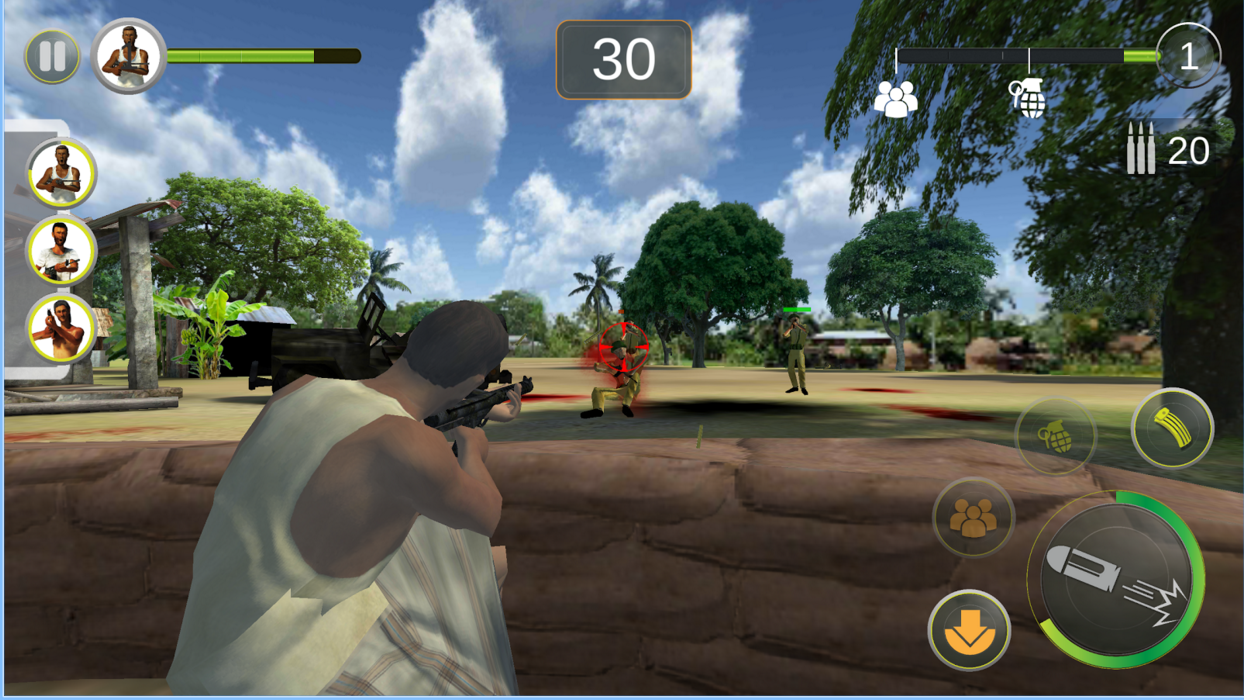
Heroes of 71, a game based on the Bangladesh liberation war that happened back in 1971 is up in the Google Play Store. The game takes the players back to the battlefield where the civil areas are invaded by the enemy forces. The villages have got guns and they are doing there best to defend themselves. Your target in this game is to take the enemies down and avoid any kind of invasion. You can hid yourself behind the walls, sacks full of stones and fire at your enemies. Heroes of 71 comes with a tons of levels that are going to fulfil your appetite of shooting in this third person shooting game. Now it’s up to you how you save your motherland. Let’s have a look on the plot of this game.

Heroes-of-71-for-pc

In 1971 people of Bangladesh marched into a heroic fight for freedom against the Pakistani occupying forces and their collaborators. Mukti Bahini became a dynamic people’s fighting force with civilians from all professions. The game, in this historical setting, depicts the heroic tale of one such guerilla group, Shamsu Bahini. Members of the Shamsu Bahini, Shamsu, Badi, Taposh, Sajal, Kabir, are from different walks of life yet united in one sublime vow to fight for the emancipation of their motherland from the clutches of the Paki Junta and their collaborators. Their mission is to attack and capture a strategically crucial enemy base near Shonir Char. Capturing and holding the base would allow the Mukti Bahini Central Forces to break through the enemy lines into mainland Barisal. Shonir Char, on the bank of river Madhumati, is the vantage point of the blitz-attack. The group attacked crossing the river with a full advantage of the element of surprise. The unprecedented attack takes the enemy regiment, with its base in a school building, off-guard. The watch-tower sentry with a heavy machine gun and patrolling ground forces fell helplessly to the combined action. With Shamsu’s order, Badi, a sharp-shooter, took down the watch-tower sentry and took control of it, Sajal and Kabir moved in throwing grenades with Shamsu and Taposh cover firing. The enemy regiment retreated with heavy losses only to attack again with reinforcements.
Now, Shamsu Bahini faces a challenge to survive and hold their ground till the Mukti Bahini attacks. It is a fight to death for them, and also a fight for honor.
Do you have what it takes to defend your motherland ?

Heroes of 71 is absolutely free.  You can download it free of cost from the Google Play Store for your Android smartphone and tablet. Just in case Heroes of 71 isn’t appearing in the Google Play Store at your end or the Play Store at your end is going through some hiccups while you’re willing to play this game, you may want to grab its APK file. We’ve pulled out the APK file of Heroes of 71. You can go ahead and download Heroes of 71 APK file in order to install it manually on your Android powered device. We have also explained the instructions below to install Heroes of 71 APK.

Download Heroes of 71 APK and install it

  1. Download Heroes of 71 APK
  2. Download the file to your phone straight away, or copy it to your phone from your PC.
  3. Now on your phone, go to settings > security > allow unknown sources > check this.
  4. Now using a file manager, locate the APK file that your just copied or downloaded.
  5. Tap the APK file and finish installation using the on-screen instructions.
  6. Once installed, access the newly installed game through app drawer.
  7. That’s all. Enjoy Heroes of 71!


Install TWRP Recovery and Root Galaxy Tab S2 T710/T715 on Android Lollipop

Install TWRP Recovery and Root Galaxy Tab S2 T710/T715 on Android Lollipop

Samsung Galaxy Tab S2 is the successor of Samsung’s premium tablet line, the Galaxy Tab S. Galaxy Tab S2 first appeared back in July, 2015. Just like its predecessor, this device also carries an elegant design and a premium look + feel. Galaxy Tab S2 comes in two variants. The one we are going to talk about in this post is the 8.0-inch variant of the Galaxy Tab S2 which comes under the model numbers SM-T710 and SM-T715. Galaxy Tab S2 8.0 is equipped with an 8-inch display with a resolution of 1536 x 2048 pixels and 320 ppi. This device is powered up with a Quad Core CPU clocked at 1.9 GHz and one Quad Core CPU clocked at 1.3 GHz. You may find a RAM of 3 GB under the hood, 32 and 64 GB storage options with an extendable memory card slot. Galaxy Tab S2 carries an 8 MP camera at its back and a 2.1 MP on the front. Galaxy Tab S2 originally ran on Android 5.0.2 Lollipop out of the box, Android 5.1.1 Lollipop for this device is also there.SamsungGalaxyTab_S2-8__1_

The Galaxy Tab S series has liked by many because of its top-notch specifications. Tab S series is a great choice to go with if you’re looking to use a tablet that got some great computing capabilities. It’s spec-sheet, design and build quality definitely kicks away those ordinary tablets available around. If you’re one luck owner of the Galaxy Tab S2 8.0, or if you’re planning to get your hands on one, you may want to extend its functionality by going a little out of the boundaries set by Samsung. To do so, you will need to achieve root access and have a custom recovery installed on your Galaxy Tab S2.

Root access will allow you to install root-specific applications like Titanium Backup, System Tuner, Greenify etc to enhance the functionality, features and battery life of your device. A custom recovery will allow you to create a Nandroid, EFS, system backup and also allow you to wipe cache and dalvik cache along with many other handy features. Installing a custom recovery and rooting your Galaxy Tab S2 is going to be pretty easy as we have compiled up the method in this guide. We’ve picked up TWRP recovery, which is one of the only two available custom recoveries for Android. In the first part, we will help you to install TWRP recovery and then we will flash CF-Autoroot to root your Galaxy Tab S2. Let’s go ahead now and install TWRP recovery and root your Galaxy Tab S2 8.0 SM-T710 and SM-T715 running Android 5.0.2 or Android 5.1.1 Lollipop.

Preparations

  • This guide is only for Galaxy Tab S2 SM-T710 and SM-T715. Do not try this on any other device.
  • Charge your device up to 50%.
  • Use original data cable to establish connection between your PC and your phone.
  • Backup your important data as a safety measure. Use the backup guides linked below.
  • Follow this guide to the letter to avoid any mishap.

DISCLAIMER: FLASHING CUSTOM RECOVERY AND ROOTING THE DEVICE VOID ITS WARRANTY. IN CASE OF A MISHAP, TECHBEASTS OR SAMSUNG MAY NOT BE HELD RESPONSIBLE. MAKE SURE THAT YOU’RE DOING EVERYTHING AT YOUR OWN RISK AND WITH YOUR FULL UNDERSTANDING.

Required Downloads:

Install TWRP Recovery and Root Galaxy Tab S2 T710/T715 on Android Lollipop

  1. Open Odin3 V3.10.6.exe that you extracted on your PC.
  2. Enable OEM Unlock on your Tab S2. To do so on your phone, go to settings > about device > tap the build number for 7 times to enable developer options. Get back to the settings and open developer options. Under developer options turn on “OEM unlock.
  3. Put your Tab S2 in download mode now. To do so, turn it off completely. Now turn it on by pressing and holding Volume Down + Home + Power Key. Once your phone boots up, press the Volume Up key to continue.
  4. Connect your phone to your PC now. The ID:COM box in the top-left corner of Odin3 should  turn blue. This indicates that your phone is connected properly.
  5. Now click the “AP” tab in Odin and select the TWRP recovery.tar file that you downloaded. It will take a second or two for Odin3 to load this file.
  6. Make sure that your Odin3 looks like this. The only option ticked should be F. Reset Time.

  7. Odin 3.10.6 Explained_Techbeasts
  8. Now you’re all set to flash the recovery. Just click the start button in Odin3 and sit back.
  9. Once the process box above ID:COM box shows green light and flashing process is finished, disconnect your device.
  10. Now turn off your device properly as we are going to boot into recovery mode.
  11. Now turn it on by pressing and holding Volume Up + Home + Power Key. This will boot your device in recovery mode. It should be TWRP recovery that you just installed.
  12. Once you’ve verified that TWRP recovery is working fine, turn off your phone. Put it in download mode again using the instructions in step 3.
  13. Now connect your phone to your PC again.
  14. Open Odin, and using the instructions in step 5, 6 flash Custom kernel.tar if you’re running Android 5.1.1 Lollipop, otherwise skip this step.
  15. Now once again restart turn off your device, and reboot it into download mode again. Connect it to your PC again and open Odin3.
  16. This time select CF-Autoroot.tar file according to your device using the same instructions as explained in from step 3 – 8.
  17. Once done, reboot your device manually.
  18. As it boots up, checkout the SuperSu in application drawer. Also install BusyBox from Play Store.
  19. Verify root access using Root Checker.
  20. That’s all. You’re now set to unleash the open source nature of Android.

Don’t forget to backup Nandroid now.

Stuck with anything? Reach us out through the comment box below!

how you can delete ‘other data’ from your iPhone, iPad and iPod Touch.

0
how you can delete ‘other data’ from your iPhone, iPad and iPod Touch.

Storage is always an issue on the smartphones and with all these new apps and games, we need even more storage. Also, we love to always have storage space for the photos and videos we want to store our memories in. Since we have control over what things to keep and what to discard, there is one thing that you might have noticed called ‘’other data’’ which insanely occupies a lot of space, even more than the storage space occupied all your photos, videos, music and pretty much everything else.

remove_other_data_itunes

This unusually occupying space is basically the ones taken up sneakily by the app’s cache, other cache, album art and cookies, etc. Most people just keep on wondering about how to get this space unoccupied but are not successful in doing so. Good news is that you can actually free this space for your usage and that too in a not so complicated manner.

Here is how you can delete ‘other data’ from your iPhone, iPad and iPod Touch.

  1. Go to your device’s Settings. Open General>Usage.
  2. Now tap on any app that occupies a lot of space, it can be Facebook app or Whatsapp. In the details, you will see a huge amount of data stored under the ‘Documents and Data’. This space is much more than the app itself. This is the same data that shows under the ‘other apps’ and usually includes cache, cookies, browser history, database downloaded files and more belonging to the same category.
  3. Most of this ‘other data’ is not directly used by you and still occupies huge amount of storage space. So, it is better to safely free up this by clearing ‘other data’. Follow the steps below to delete ‘other data’ from your device.
  4. Firstly, use iTunes to take the backup of all of your data. You can also iCloud for that matter if you prefer using that.
  5. After successfully taking the backup, now reset your device. Go to Settings>General>Reset and select ‘Erase All Content and Settings.
  6. Now, restore the backup by connecting your device to iTunes. That’s all.
  7. Most of the temporary files, cookies and cache have been deleted now. There will still be some amount of ‘other data’ left. From now onwards, make sure that you keep on erasing unwanted stuff and cookies and cache from time to time and not let things bulk up to choke the memory again.
  8. If you think that most of your device’s space is occupied by data from your music files, you will have to remove all music data from your device and then re-sync through your iTunes.

Gods of Rome APK Download

0
Gods of Rome APK Download

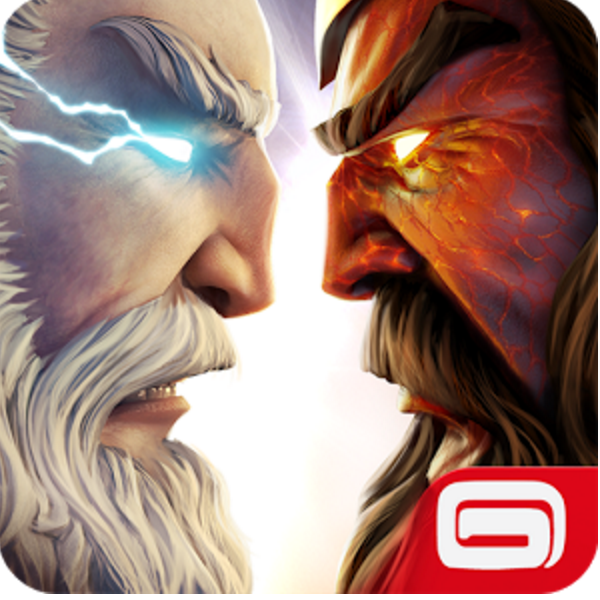
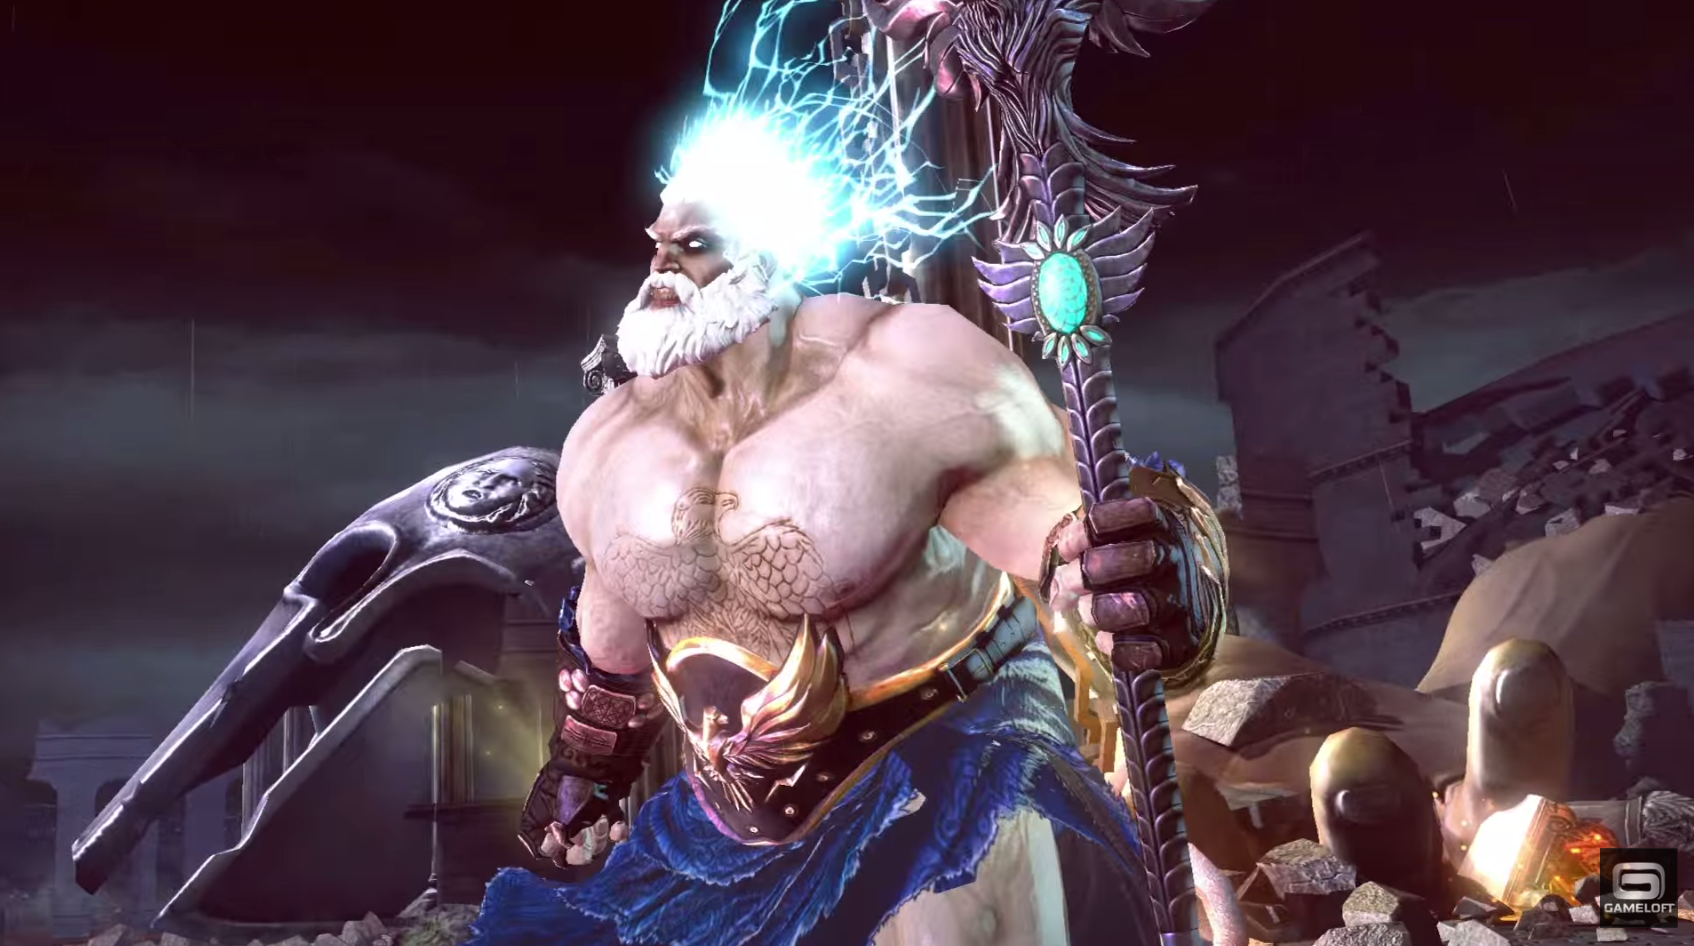
Gameloft just pushed their latest game into the Google Play Store. The latest game is titles as “Gods of Rome” and falls in the action category. Gameloft seems to be putting the players in the battle of Gods this time. Gods of Rome is all about the battles between Gods and warriors, in which you’re going to play the role of an Ascender. You’ve to save the Gods and warriors which have been captured by the evil lord Tenebrous. Lord Tenebrous wants to use the souls of these Gods and warriors to rule over the peaceful world. He wants to take over both heaven and hell. Now it’s your job to save these Gods and warriors and stop lord Tenebrous from succeeding in his evil plans. Gameloft has packed this game with crispy and stunning graphics. The game comes with some cool locations that make this game worth a try.Gods of Rome image

Gods of Rome just made its way to the Google Play Store. In case you’re unable to find it at your end, you may have to install this game using its APK file. For users who are willing to play Gods of Rome and can’t find it yet, we have pulled out its APK file and linked it here. You can go ahead and download Gods of Rome APK. Instructions to install Gods of Rome APK are also explained below.

Gods of Rome APK and How to Install

  1. Download Gods of Rome APK
  2. Download the file to your phone straight away, or copy it to your phone from your PC.
  3. Now on your phone, go to settings > security > allow unknown sources > check this.
  4. Now using a file manager, locate the APK file that your just copied or downloaded.
  5. Tap the APK file and finish installation using the on-screen instructions.
  6. Once installed, access the newly installed game through app drawer.
  7. That’s all. Enjoy Gods of Rome!

Swing Copters 2 APK Download

0
Swing Copters 2 APK Download

Creator of Flappy Bird has come up with 2 new games. One of these games is the sequel of Swing Copters, which was related much to the Flappy Bird. Swing Copters 2 sports pretty much same concept as that of the original Swing Copters. In the game you simply have to assist your pilot to fly up and go through the obstacles without hitting them. Once you hit the wall or any obstacle, that’s where your game is over. Swing Copters 2 is pretty tough. The challenge is to control the motion of your pilot, which is pretty much out of control. By flying your pilot through these obstacles, you can earn a number of points and using these points you can hire some new pilots to make a powerful flying squad. Swing Copters 2 just landed in the Google Play Store today. At the time of writing this post, Swing Copters 2 isn’t available in the Google Play Store globally but in select regions. If you’re wishing to get your hands on Swing Copters 2, you may need to download its APK file.Screenshot at Dec 17 18-40-45

We’ve pulled out Swing Copters 2 APK file from the Google Play Store and linked it here. You can download Swing Copters 2 APK file and install it on your Android smartphone or tablet using the APK file. Instructions to install Swing Copters 2 APK file are listed below. Go ahead and get the purpose done now.

Swing Copters 2 APK and How to Install

  1. Download Swing Copters 2 APK
  2. Download the file to your phone straight away, or copy it to your phone from your PC.
  3. Now on your phone, go to settings > security > allow unknown sources > check this.
  4. Now using a file manager, locate the APK file that your just copied or downloaded.
  5. Tap the APK file and finish installation using the on-screen instructions.
  6. Once installed, access the newly installed game through app drawer.
  7. That’s all. Enjoy Swing Copters 2!


Run Multiple Whatsapp accounts on iPhone without jailbreak [ How To ]

3
Run Multiple Whatsapp accounts on iPhone without jailbreak [ How To ]

If you want to run two Whatsapp accounts on your iPhone, here is how you can do it without the need to jailbreak your iPhone. Through the method given here, you will be able to run two Whatsapp accounts on a single phone, both with different phone numbers.

This method works on the latest versions of iOS 9.1 and iOS 9.2 as well as iOS 9.0 to 9.0.2.

Note: this method involves installing second Whatsapp through a source which is not trusted by Apple. While we did not face any issue while running the app, you are advised to only proceed at your own risk.

On that note, let’s move ahead to the method to install your second instance of Whatsapp.

12386623_10208157314553930_1854675044_n

Run Multiple Whatsapp accounts on iPhone without jailbreak:

For the first Whatsapp account, go to the Appstore and download Whatsapp. After installing the app, activate it through your phone number.

  1. To Install the second instance of Whatsapp on the same phone, go to the Safari browser from your iPhone.
  2. Go to the following link from your Safari browser; ios.othman.tv.
  3. Now find Whatsapp 2 and tap on Whatsapp 2.
  4. Having done that, you will now see a Whatsapp icon in Orange color. Find the green button right below this icon and tap on it to begin downloading Whatsapp 2. Choose
  5. Install once the permission window appears.
  6. Once Whatsapp 2 has been installed, launch Settings app by going to Settings> General>Profile.
  7. Here, you will need to select Trust “VNE Software and…”. Choose ‘Trust’ when the dialogue box appears.
  8. That’s all. Now you can open Whatsapp 2 and register in the same way, giving your second Phone Number for account activation.

Now you can use two Whatsapp accounts on one iPhone without Jailbreak.

How to make any Android phone look like a Nexus

0
How to make any Android phone look like a Nexus

Are you a fan of Google Nexus and its simply amazing interface? Well, most of you might be and if you wish to make your phone look like Nexus, you have come just to the right place. Luckily, there are a bundle of apps available and here we’ll show you how you can use them to change your phone into Nexus instead.

Google-Nexus-5-2015-vs-Nexus-5

This simple way will bring the stock Android features on your phone, even if it is not a Nexus device, that too by not going through any rooting or flashing process. Just some easy steps will get your non-Nexus device just the way you want it and will refurbish the following features;

  • Home screen
  • Wallpaper
  • Contacts
  • Camera App
  • Photos
  • App Drawer
  • Phone App

Please note that this method will not be able to bring any changes to your notification settings or quick settings.

Google Now Launcher:

Screen Shot 2015-12-17 at 16.12.00

  • This amazing launcher is going to completely change your phone’s interface, working on your device’s home screen and App drawer.
  • After you have downloaded the app, select it as your ‘Default Launcher’ ‘Always’ when asked.
  • If at any time you wish your phone’s original interface, you can reverse it by going to Settings>Home.

Google Photos:

Taking the next step forward, if you do not feel so good about your phone’s photos you can change that too and get Google Photos. This will give you the privilege to save your photos on its cloud giving free storage as well as option to rearrange them into folders.

Google Camera:

Screen Shot 2015-12-17 at 16.12.16

Along with the Photos, you can also get Google Camera. This app has some additional features packed with the basic ones. New features like Photo Sphere Panorama tool to take photos without any angular boundaries. The app goes best with Google Photos.

Nexus Wallpaper:

How can your phone’s look be complete without a proper Nexus wallpaper? You can get a full range of nexus wallpapers from here and in order to change your current wallpaper, just go to your phone’s Settings>Display>Wallpaper>Homescreen to choose one of these Nexus wallpapers.

How to Check you have been blocked on WhatsApp

0
How to Check you have been blocked on WhatsApp

Whatsapp has this amazing feature that let’s its user block unwanted messages from random contacts. But it can be concerning if one of your contacts or to make it more accurate, if one of your friends has blocked you on Whatsapp. The app does not send any notifications for that. So how would you know if your friend has blocked you onWhatsapp? Luckily, there are some ways to know if you have been blocked. Find them out right here.
check you are blocked on whatsapp

In order to protect user privacy, WhatsApp team has made it quite difficult to find out if someone has blocked ou. However, if the four signs mentioned below relate to you, you might have been blocked.

Check their Profile Picture:

check you are blocked on whatsapp 1

If your contact frequently changes his/her profile picture on WhatsApp and you notice that they haven’t been doing so in a while, this might be a sign that he/she has blocked you. If a contact blocks you, you will no longer be able to see their latest picture updates. A way to find this out is grabbing the phone of a mutual contact and checking their picture through their phones. However, this is not just the right thing to do. And problem also lies if your contact never really bother to change their profile picture in the first place.

So, let’s move on to the next sign then.

Check their ‘Last Seen’:

check you are blocked on whatsapp 2

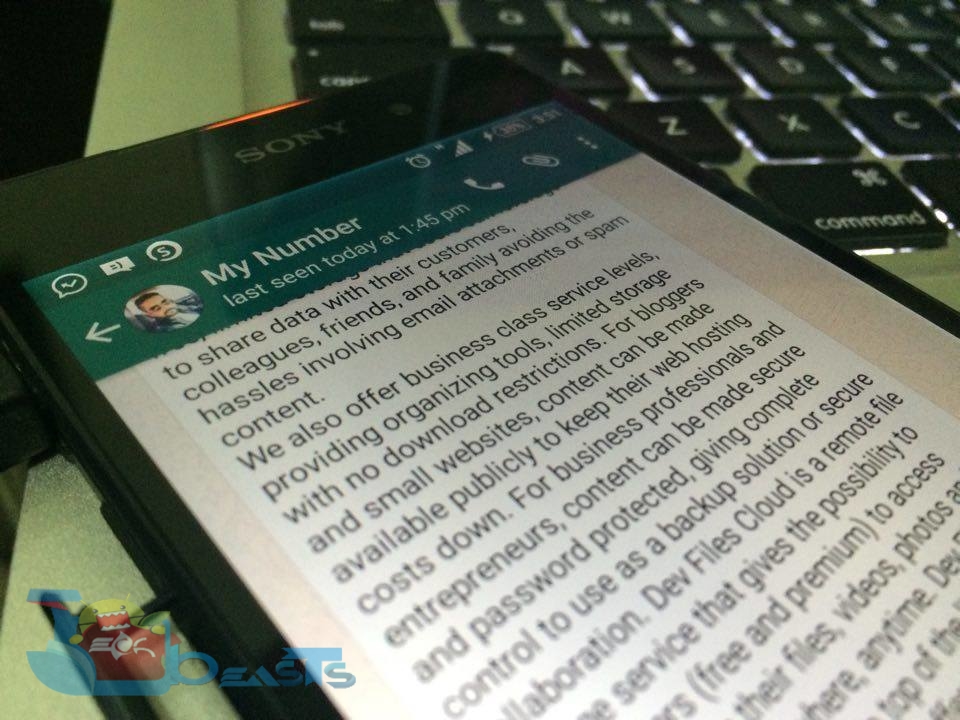
Whatsapp displays the ‘last seen’ time of your contacts to make it easy for you. ‘Last Seen’ is usually displayed on the top of the chat window under contact’s name. If you notice that you are not able to see your contact’s ‘last seen’ time, you might have been blocked and that is why. However, in some cases, the ‘last seen’ does not appear even if you have not been blocked. Check for the next sign.

Check if your messages are being received:

check you are blocked on whatsapp 3

An amazing feature Whatsapp bring to the curious you is to notify you about your sent messages status. In any Whatsapp conversation, a small Tick mark is displayed on the messages you send. Shortly after, another tick mark appears which means that your message has been received. To make it more precise, the double tick turns blue once your contact has read your message.

If you notice that your messages are not being received since quite a while and the tick mark appears single, this can be a sign that your contact has blocked you and is no longer receiving your messages. However, be sure that your contact has been having an active internet connection or you might just have been paranoid and nothing else wrong.

Try Calling Your contact:
check you are blocked on whatsapp 4

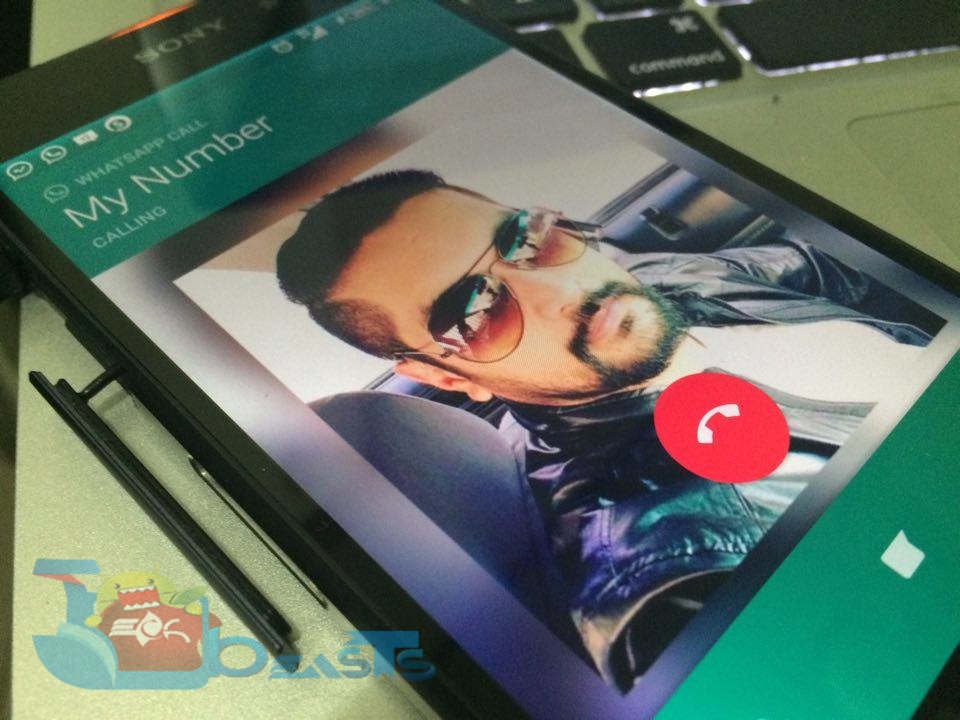
Another way to find out if your contact has blocked you is by simply calling them through Whatsapp. If your calls are unable to connect or go through, this indicates that you have been blocked. So check for this sign combined with the other sign mentioned here to see who no longer wants to connect with you on Whatsapp.

If you are still unsure, your last resort might be to just walk up to them and ask about it. Sometimes, things just get mixed up and the signs you see do not display the real picture.