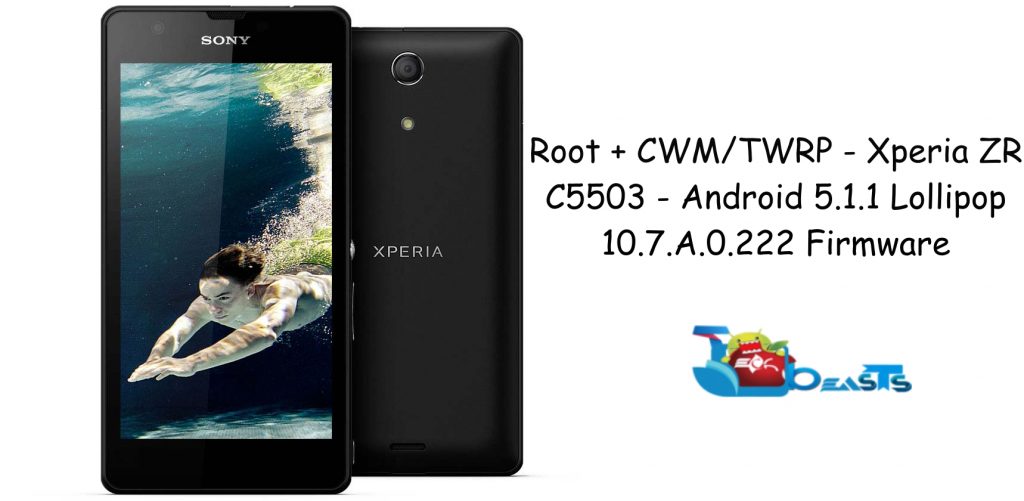
In case you’ve updated your phone or you are going to update your Xperia ZR to this latest Android 5.1.1 Lollipop, you may loose the root access on your device. The new system is not directly root-able, so, in order to gain root access you will have to use a different path. Before you start finding a method here and there, we have already written this comprehensive guide for our Xperia ZR users. In the proceeding post we will show you a detailed method which will help you to root & install TWRP/CWM recovery on your Xperia ZR C5503, C5502 running latest Android 5.1.1 Lollipop 10.7.A.0.222 firmware.
Let’s go ahead and gain the root access on Xperia ZR running Android 5.1.1 Lollipop right away.
Contents
Steps For Rooting Xperia ZR C5503, C5502 10.7.A.0.222 Firmware
1. Downgrade to .283 Firmware and Root It
- If you have already updated your smartphone to Android 5.1.1 Lollipop, then you have to downgrade your device to KitKat OS and Root it.
- Use this guide to Install .283 firmware.
- Root using this guide.
- Now you have to Install XZ Dual Recovery (Steps below).
- Now phone is rooted, USB Debugging must be enabled.
- Download latest installer for Xperia ZR from here. (Z-lockeddualrecovery2.8.xx-RELEASE.installer.zip)
- Connect phone to PC using OEM date cable and run install.bat.
- It will install the custom recovery.
- Now work here is done. Lets move on to next step.
2. Make A Pre-Rooted Flashable Firmware For 10.7.A.0.222 FTF
- Download C5503 latest 10.7.A.0.222 FTF. | C5502 latest 10.7.A.0.222 FTF
- Now create a Pre-Rooted flashable firmware using this guide: How To Create Sony Xperia Pre-Rooted Firmware With PRF Creator.
- Now copy the pre-rooted firmware.zip file to the internal or external storage of your Xperia ZR.
3. Root and Install Recovery on ZR C5503, C5502 5.1.1 10.7.A.0.222 Lollipop Firmware
- Custom recovery was installed in the first step.
- The pre-rooted firmware was created and copied to phone in next step.
- Now you have to turn off phone.
- Turn it on again and press volume up or down to enter either TWRP or CWM recovery.
- Now for TWRP recovery, tap Install > scroll all the way to bottom and select the copied pre-rooted firmware.zip file.
- After selecting the file, swipe finger from left to right on the bottom to flash.
- Once flashed, reboot your device and you will have pre-rooted 10.7.A.0.222 Lollipop firmware.
- For CWM, select Install Zip > Choose Zip from SD card > locate pre-rooted firmware.zip file > select yes to flash.
- Once flashed, reboot your phone and you will have 10.7.A.0.222 rooted Lollipop firmware.
- Now verify root access using an app like Root Checker.
- That’s all.
Stuck with something? Reach us out through the comment box below. We would love to help you out.


I got the error at 9th step, while creating Pre-rooted firmware.
@disqus_IdEEzdxMju:disqus uncheck the “Sign Zip” option and then create the PRF again. Flash that firmware and update me on how it goes.
i got an error in easy root kit where msg keeps displaying ”creating vm(lol java sucks)”
and freeze there
can I flash it using flash tool?
My mobile Xperia XR stuck in reboot loop. I tried to enter in recovery mode but failed. Please help
@amitsave:disqus Flash the ftf.zip file once again. Also wipe cache and dalvik cache after wiping.
reboot loop also happened on 10.7.a.0.228.
I am having the same problem. Even after flashing again and wiping cache and dalvik cache it is still stuck in bootloop.. Please help.
@akifhadeed:disqus Flash stock firmware and recover your phone. Also, tell me what firmware are you running.?>
If I want to flash a cyanogenmod after which step can i install it so that i dont lose my recoveries?
@disqus_YD6RyvbNJK:disqus you can flash cyanogenmod after installing a custom recovery only.
when i flash a cyanogenmod with custom recovery will i lose my root access?
@hendriklouismahdi:disqus you can enable the root access in cyanogenmod ROM as well. that’s not an issue.