Home Blog Page 513

How to bypass Samsung Galaxy Note 3’s regional lock: RegionLock Away app

0
How to bypass Samsung Galaxy Note 3’s regional lock: RegionLock Away app

We’ve been hearing about the now regional lock policy by Samsung which says that as long as you activate your Note 3 with a SIM card from the region your unit has been locked into, you’ll be all fine using international SIMs when roaming. Unfortunately, a significant number of people have found that this is not always the case. This policy currently applies to Note 3, but Samsung plans to take it down to its earlier devices as well, like S3 and Note 2. However, if you’re into a similar displeasure of regional lock, then this (short) guide on how to bypass the Samsung Galaxy Note 3’s regional lock is meant for you.

NOTE:the app is currently tested only for the European SM-N9005 model. We’ll update this guide once this becomes available to a broader public.

Just go through these simple steps:

Step One:

There’s currently only one way (requires root access), and that’s XDA developer Chainfire’s RegionLock Away app. There are two ways you can get this app, buy it from the Play Store or download it from XDA.

Please note that this app is currently only tested for the SM-N9005 model of the Note 3.

The-easy-way

Step Two:

To install this app you’ll need to turn sideloading on and for that you’ll have to go to Settings > Security > and then tick Unknown sources. This is because sideloading allows you to install apps that are not necessarily on the Play Store. We suggest that you revert this change once you’ve got RegionLock Away installed and running.

Sideloading-RegionLock-Away

Step Three:

Now that you can sideload, you’ll need to transfer the .apk file you’ve downloaded in step one  to your device so you can execute it. There are a lot of ways to go about this: copy-paste to the Sd-card, bluetooth it to the device, send yourself an e-mail with the file or use a cloud service.

Step Four:

Now you have the .apk file on the device, open it on your Android device and it will automatically start installation.

Sideloading-RegionLock-Away (1)

Step Five:

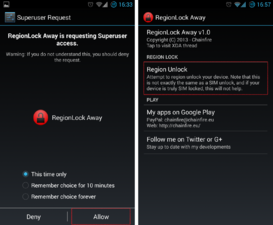
Once you open RegionLock Away, you’ll be asked to grant the app Superuser (root) access. Let it have that. Once the app starts running, simply click the Region Unlock button and wait for the hack to happen, accept the prompt to reboot, and there you go! Free shall you roam now! 😉

Sideloading-RegionLock-Away (2)

We hope you found the guide easy to practice. If you have any queries, please have your voice raised through commenting below, we are always here in your service.

|Source

iPhone 5s HD Wallpapers For Free – Downlaod here

1
iPhone 5s HD Wallpapers For Free – Downlaod here

Hello! I am back with new cool stuff for your iOS devices 🙂 . Today, i got my very own iPhone 5s and as I love to change wallpapers and other stuff related to display almost daily. First thing that I did after unpacking was to look for HD Wallpapers for my iPhone and I have collected a pretty cool and HD quality wallpapers. So, after adding all the wallpapers to my device, I thought why not share with our users, so here it is today’s freebies. iPhone 5s HD Wallpapers For Free, if you want to get max resolution kindly click on images. And for Android user’s, I have also added Galaxy Note 3 HD wallpapers do check them.

Septimius_14
HD wallpapers for iphone 5s- Download Free

apple logo_04

Source

Apple-Logo-IPhone-5-Wallpaper

Source 

Blue-Drops-iphone-5-wallpaper-ilikewallpaper_com

Source


darksiders-2-iphone-5-wallpaper-ilikewallpaper_com

Source

Download-iPhone5-Retina-HD-Wallpapers-12

Source

Galaxy-iphone-5-wallpaper-WowWindows8_com

Source

iphone-5-wallpapers-1346

Source

iphone-5-wallpapers-1362

Source

mbe3myW44x1rhztfto1_1280

Source

mbeka88wGn1rhztfto1_1280

Source

Metal-Apple-Logo-iphone5-wallpaper-WowWindows8_com

Source

single-tree-on-hill-iphone-5-wallpaper-Seavn_com

Source

Skull-IPhone-5-Wallpaper

Source

Space-Sketch-iphone-5-wallpaper-ilikewallpaper_com


Source

Please Comment and Share this post with your friends, I will be back with new cool things 🙂 Cheers Have fun !


Samsung Galaxy Note 3 Review, Pros and Cons

1
Samsung Galaxy Note 3 Review, Pros and Cons

Introduction: Samsung’s Experimented Note series that turned out to be a trendsetter, has got a new family member recently. The giant Galaxy Note 3 has got an elegant look, a better design and a premium feel in hands. Boasting off a 5.7-inch Full HD display and an improved S Pen Stylus, which is not just an S Pen now but has changed into a screen digitizer. With the Air Command feature, Its small button magically communicates with the device and lets you operate it by hovering over. Of-course the S-Pen stylus is the exclusive feature of the Samsung’s Note series.

Users can choose either a Exynos 5 or a Snapdragon 800 version Note 3. Samsung has taken the credit of introducing the USB 3.0 in a mobile/pocket device for the very first time.

Samsung pulled the curtains off from it’s next generation phablet the Galaxy Note 3 at the IFA event held in Berlin on 4th of September, 2013. With a lot of improvements, the phablet  is warmly welcomed by the users and has eventually beocome the best phablet available on the market.

Note 3: Innovation

The innovation in the Galaxy Note 3 requires some serious attention. Samsung has smartly improved the phone’s look first of all taking the criticism about the design and build quality first of all. Under the hood this giant monster has got a 5.7-Inch Full HD Super AMOLED display with 386 ppi, that is just awesome. The S-Pen stylus has been revamped, the S-Note app has been upgraded. Features like Air-Command have been introduced for the S-Pen having Pen-Window, S-Finder etc. Boosted up processor, huge RAM, and USB 3.0 are there to add to its innovation.

Unboxing the Samsung Galaxy Note 3:

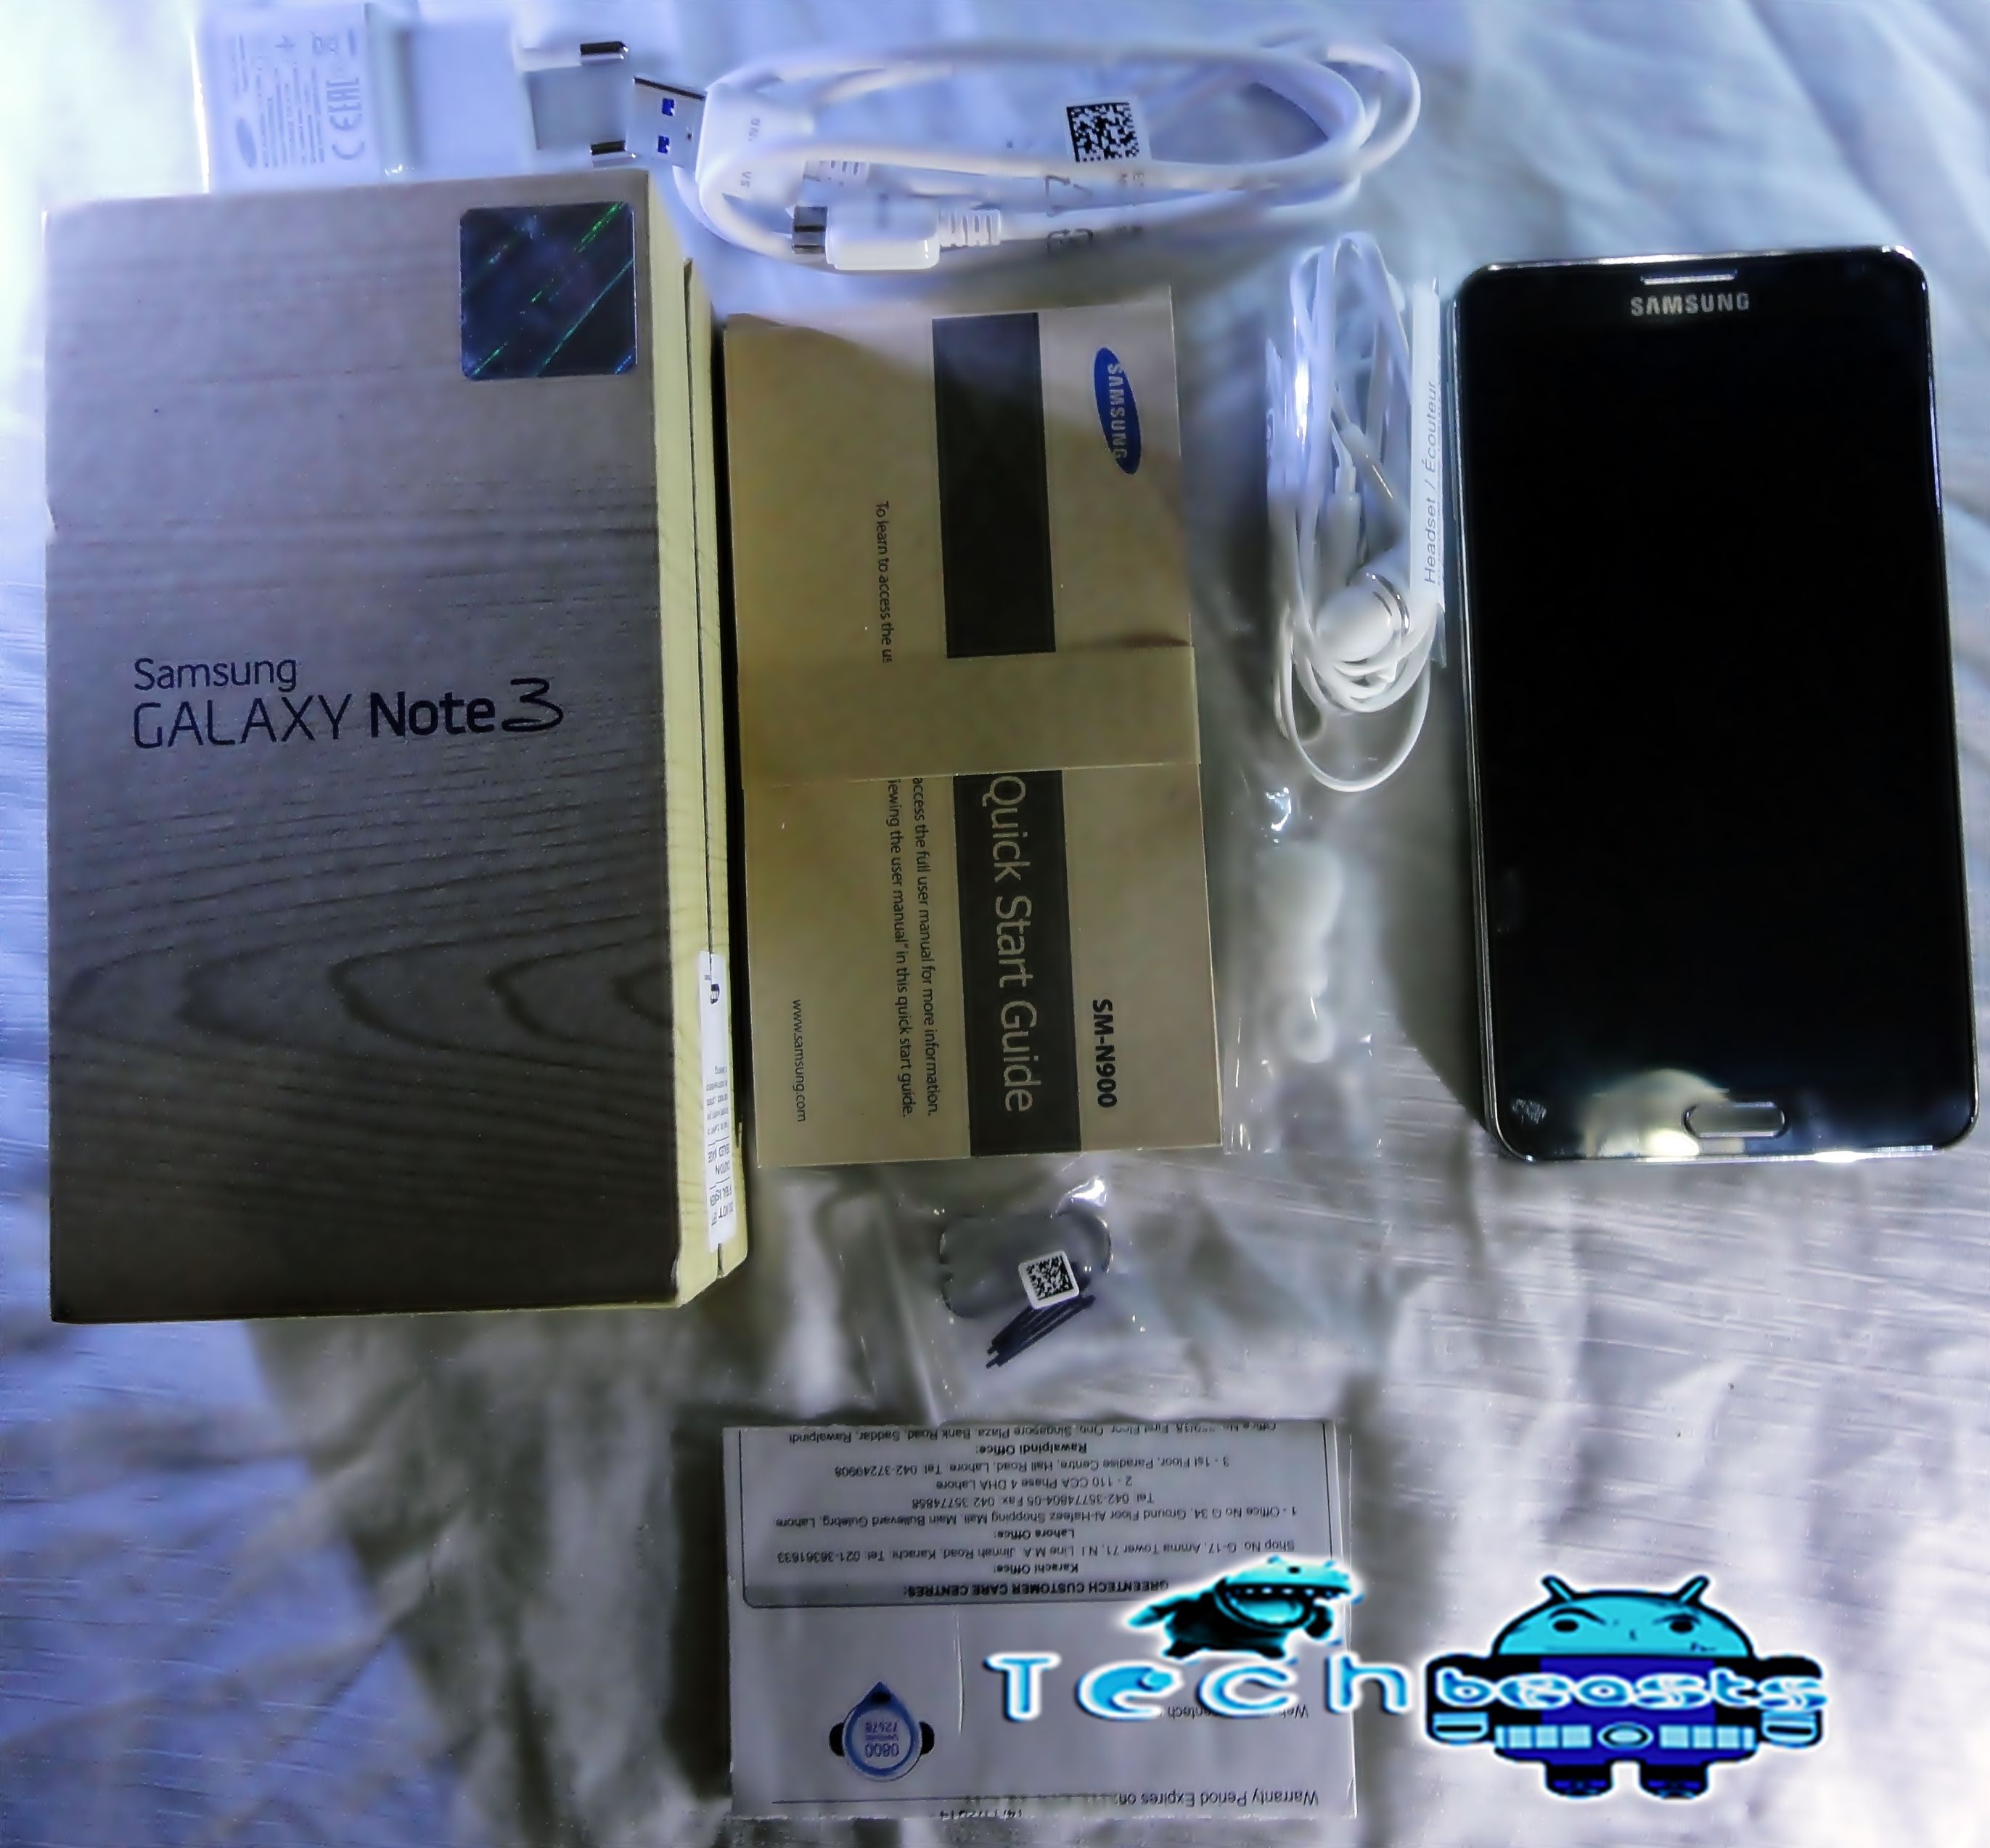
Here is the Galaxy Note 3, getting unboxed by Techbeasts. Showcasing the wooden-type brown eco friendly box, 2A charger and microUSB 3.0 cable and earphones.
DSC02326

Design and Build Quality: 

Being criticized over the plastic body and the same old design, on a serious node Samsung went with the new design all the way. The note 3 boasts off a premium look and elegant design. Samsung has sharply changed the plastic back of the phone into a stitched leather look and feel, although it’s plastic but what matters is it’s look and feel that is grippy and nice. Samsung has also shown the smart work in the display department by increasing the display from 5.5” of the note 2 to 5.7 with in the same frame. Measuring at 6-inch of height, 3.1-inch wide and 0.33 mm thick, this new monster is merely a hair bigger than it’s predecessor.
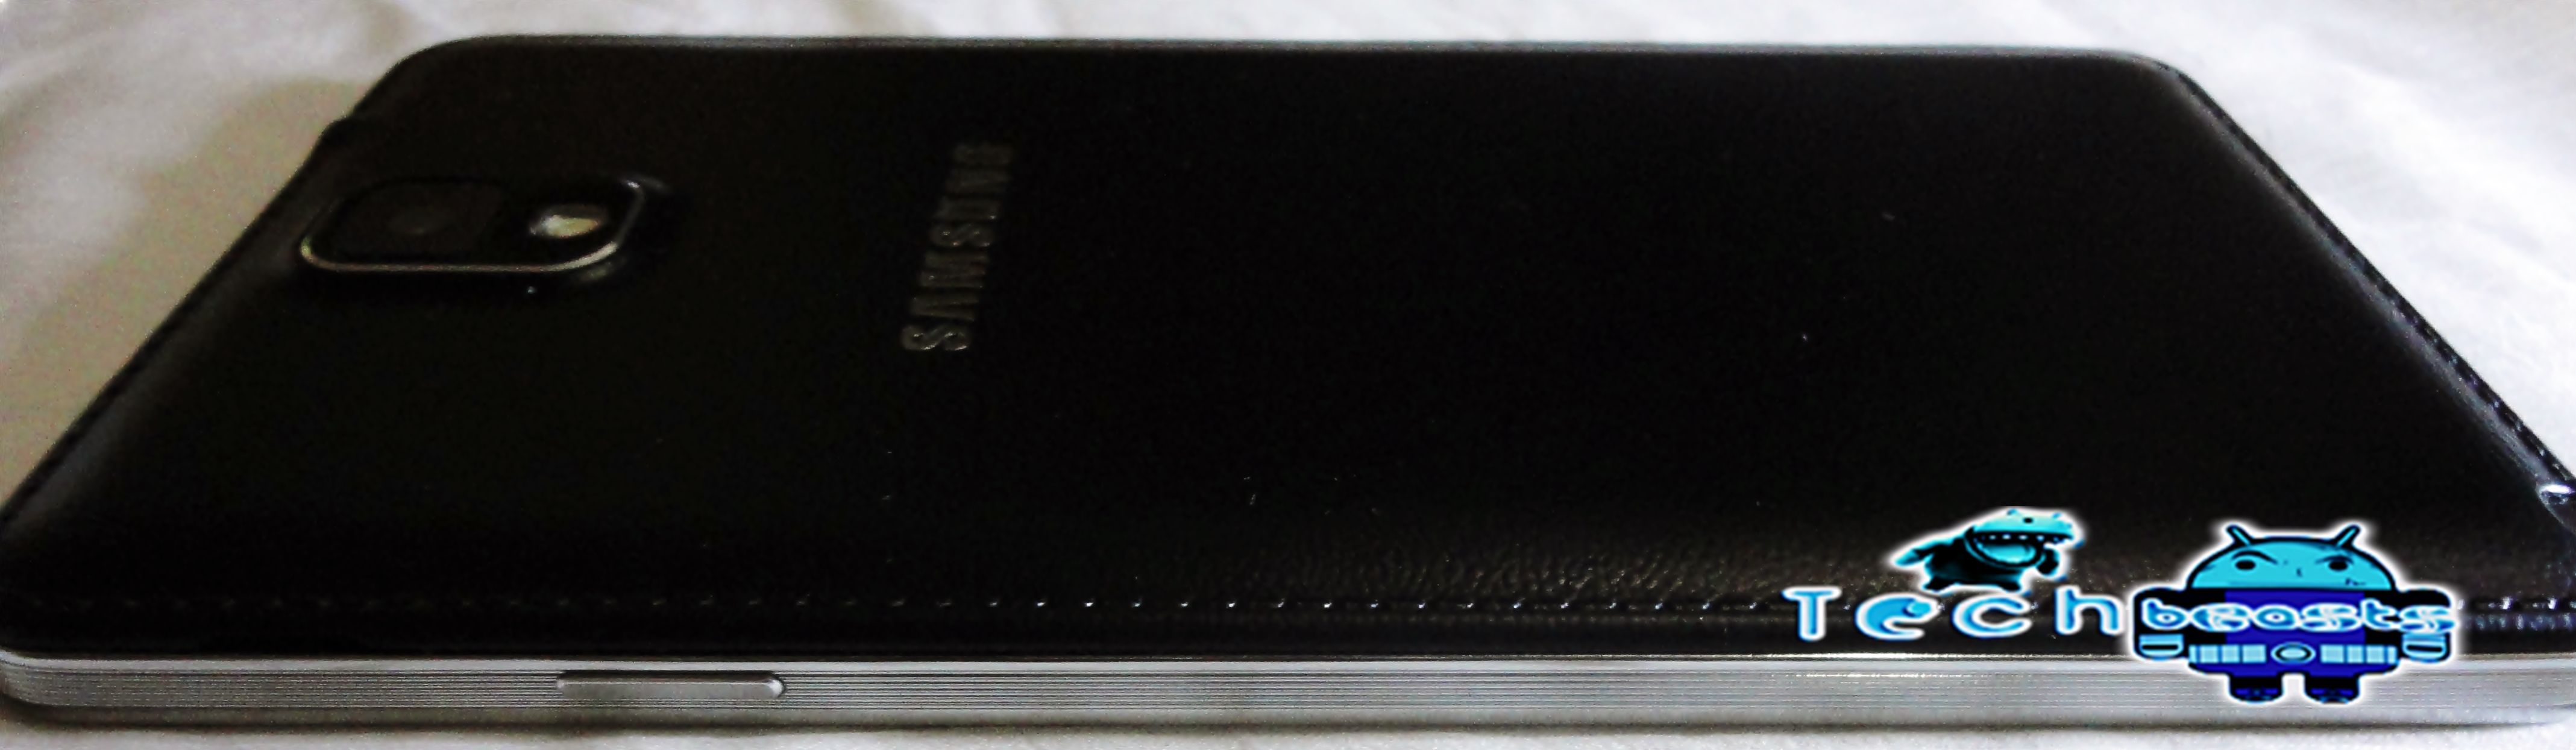
DSC02334

Alongside the display size and dimensions, Samsung has also reduced the weight of the 3rd generation Note. The device weighs at 168 grams that is a huge improvement as compared to the size of its predecessor that was weighed at 183 grams. This is by far the most sleekest Note, but still falls behind the time’s smartphones e.g HTC One, Samsung Galaxy S4 in the sleekness department.
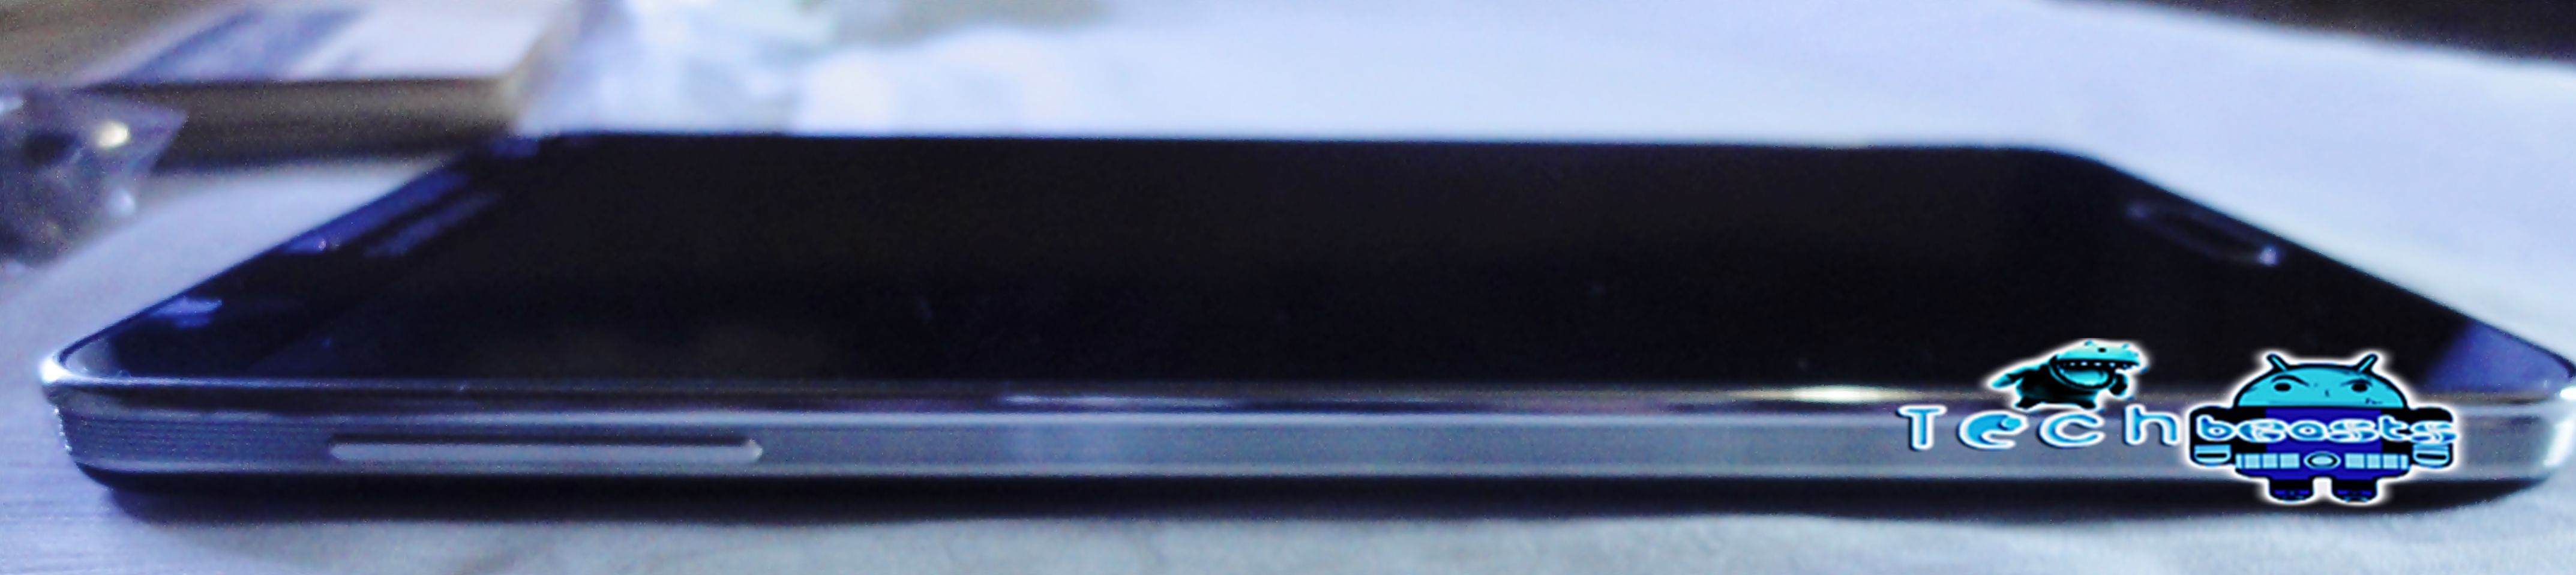
DSC02339

The design department has got a lot of improvements. Specially, the oval frame of the Galaxy Notes and Galaxy S smartphone, that Samsung skipped this time and brought up a new Rectangular chasis ringed with flashy chrome riged edges, and as mentioned earlier the fake stitched leather back that is hyper-glazed and glossy,  adds charm to its look.

Stylus:

The S-Pen stylus has received efficient updates. The capacitive buttons now work with the S-Pen stylus, so you can navigate on your Note 3 using the S-Pen only if you wish. New shortcuts, and features like Air-Command as mentioned earlier have been added.

Display:

The gorgeous display being sported on the Note 3 is not less then the others at all. Note 3’s 5.7 – inch Full HD Super AMOLED display, having 385 ppi with 1920 x 1080 pixels gives you the best of the graphics.  The display simply outdoes the displays of the smartphones like HTC One, Samsung Galaxy S4 and iPhone 5 and of -course the previous note series phablets as well.

DSC02345

The viewing experience is far better then Note 2.  Note 3’s high contrast display produces well saturated colors with very wide viewing angles and deep blacks.

Hardware:

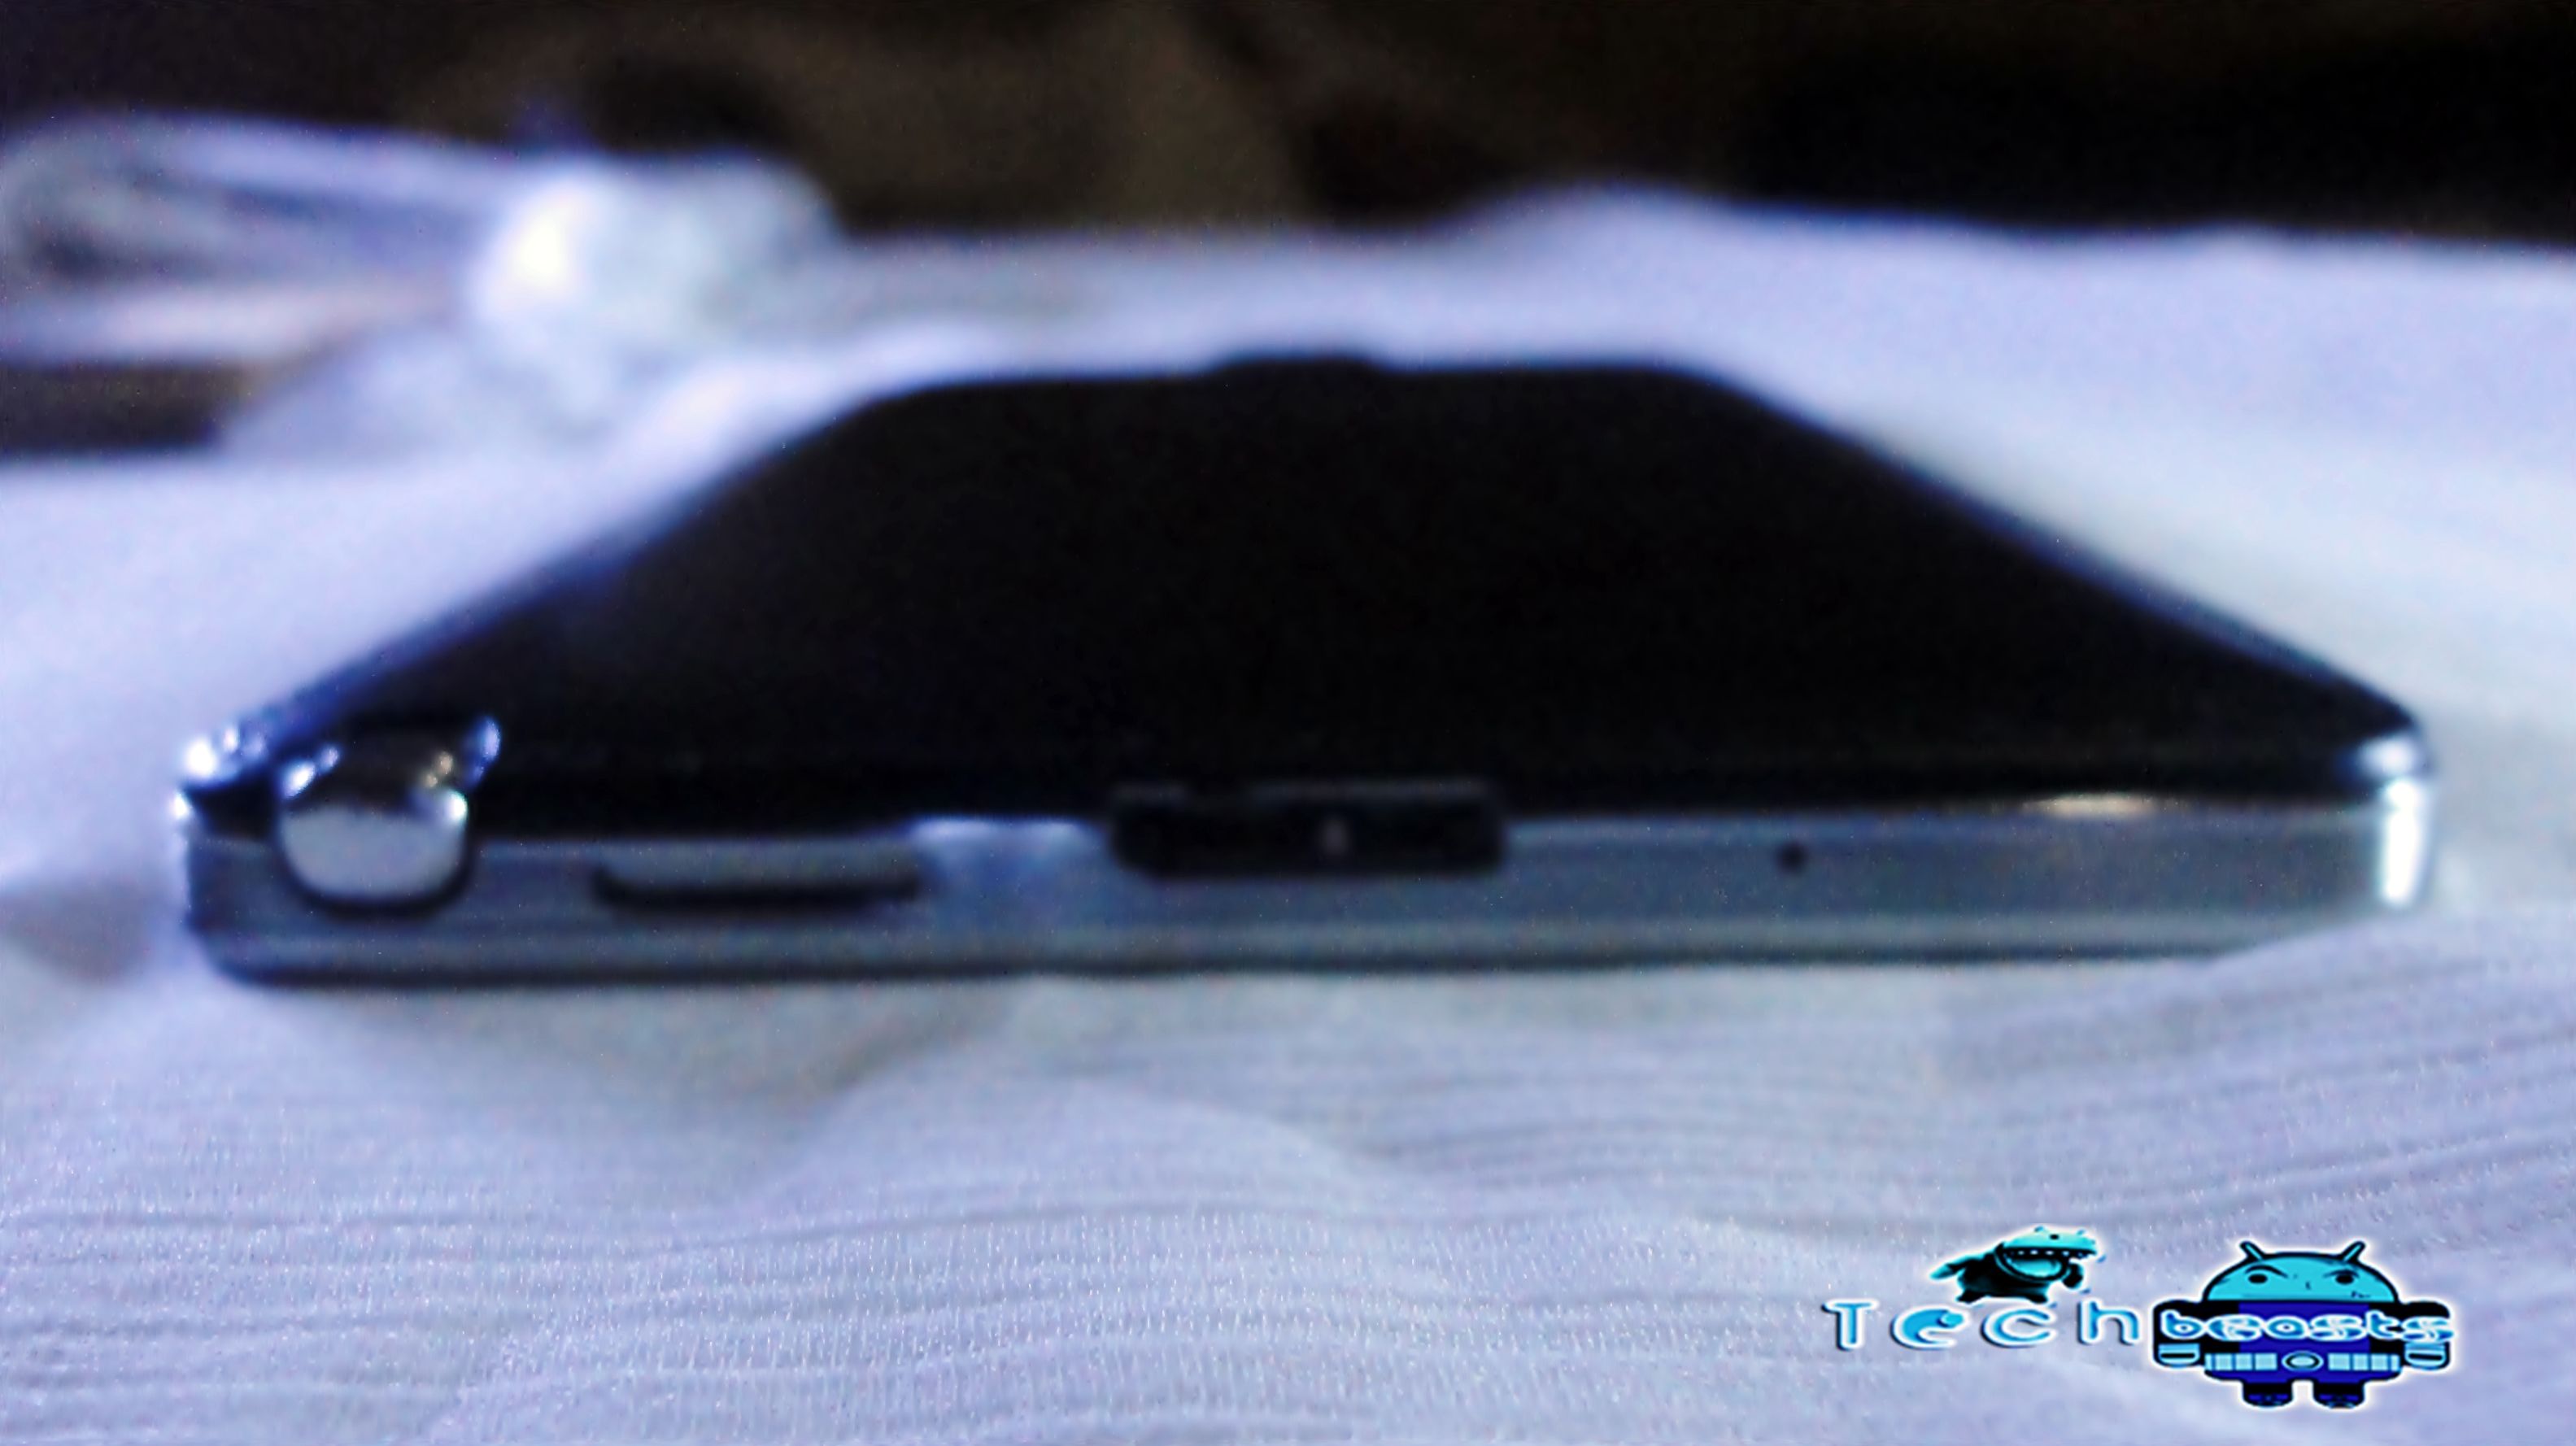
Below the 5.7-inch FHD display screen with 386 ppi and 1920 x 1080 pixels, it has got the typical capacitive keys with the home button. Below is a USB 3.0 port that has been introduced for the first time in a mobile device. The loudspeaker grill has been shifted from the back to the bottom besides the mic, that’s a good move by Samsung. Besides the USB 3.0 port and loudspeaker, the S-Pen holder is there.

DSC02341

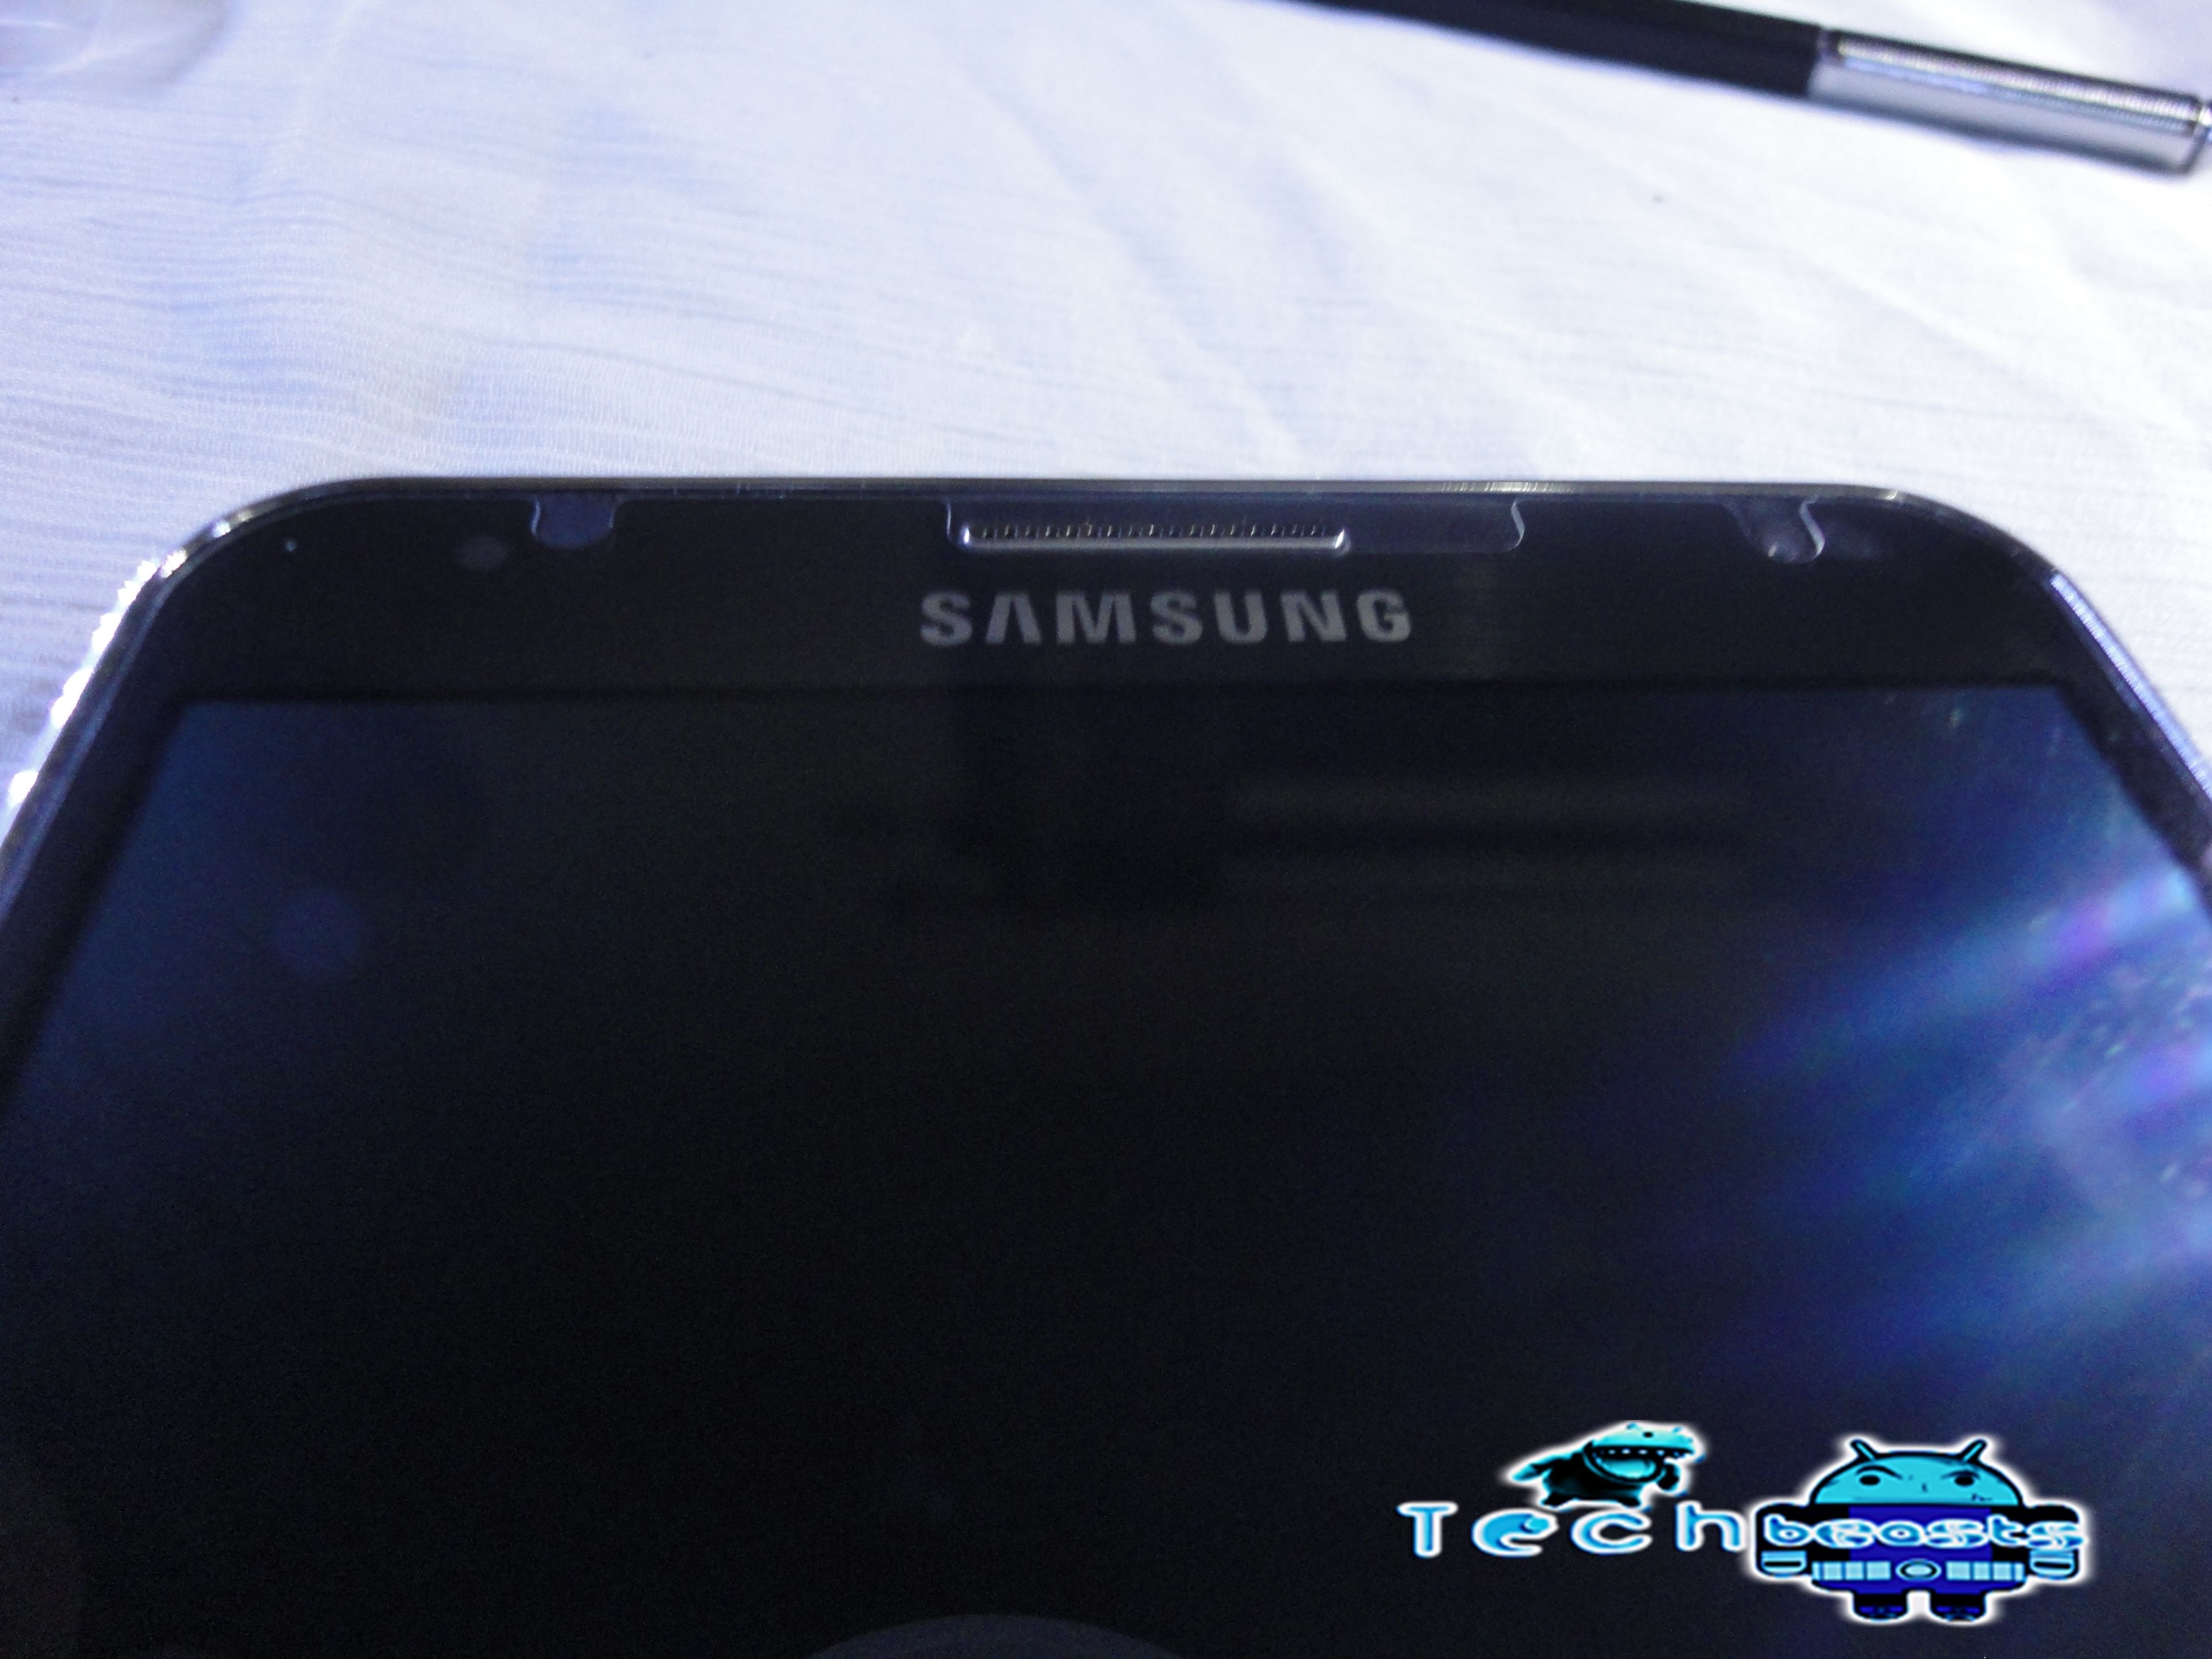
Above the display it has got a 2MP front facing camera that is capable of recording 1080p videos. Besides the camera there is proximity sensor, ambient light sensor and the motion sensor that is responsible for air gesture feature.
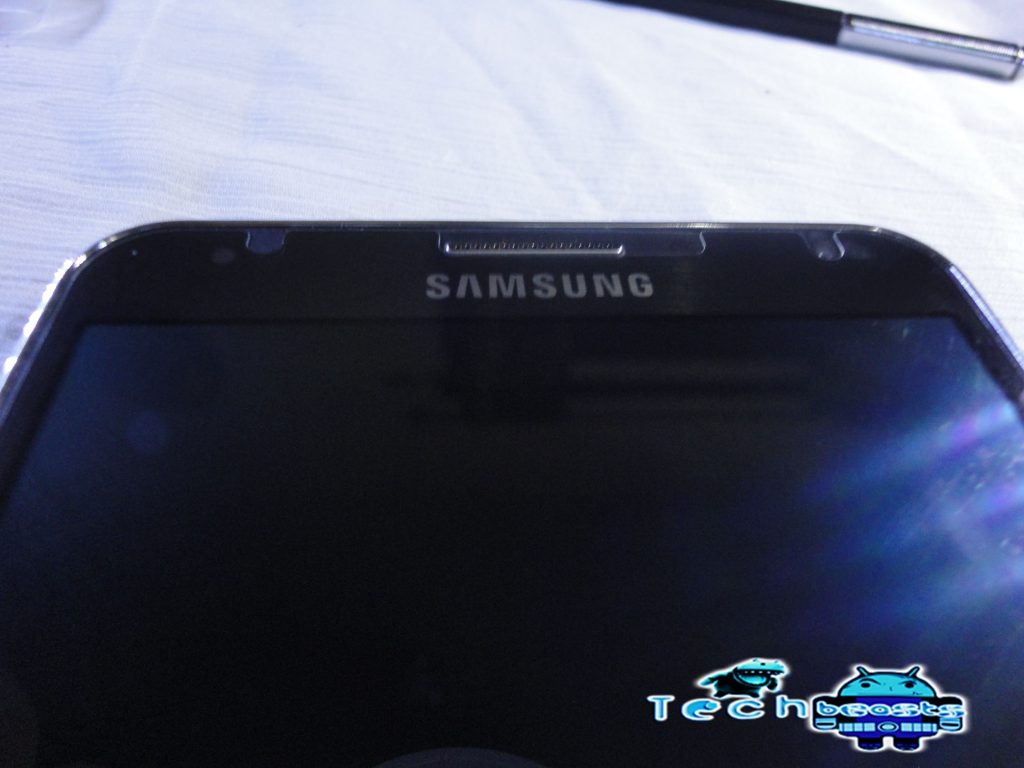
DSC02352

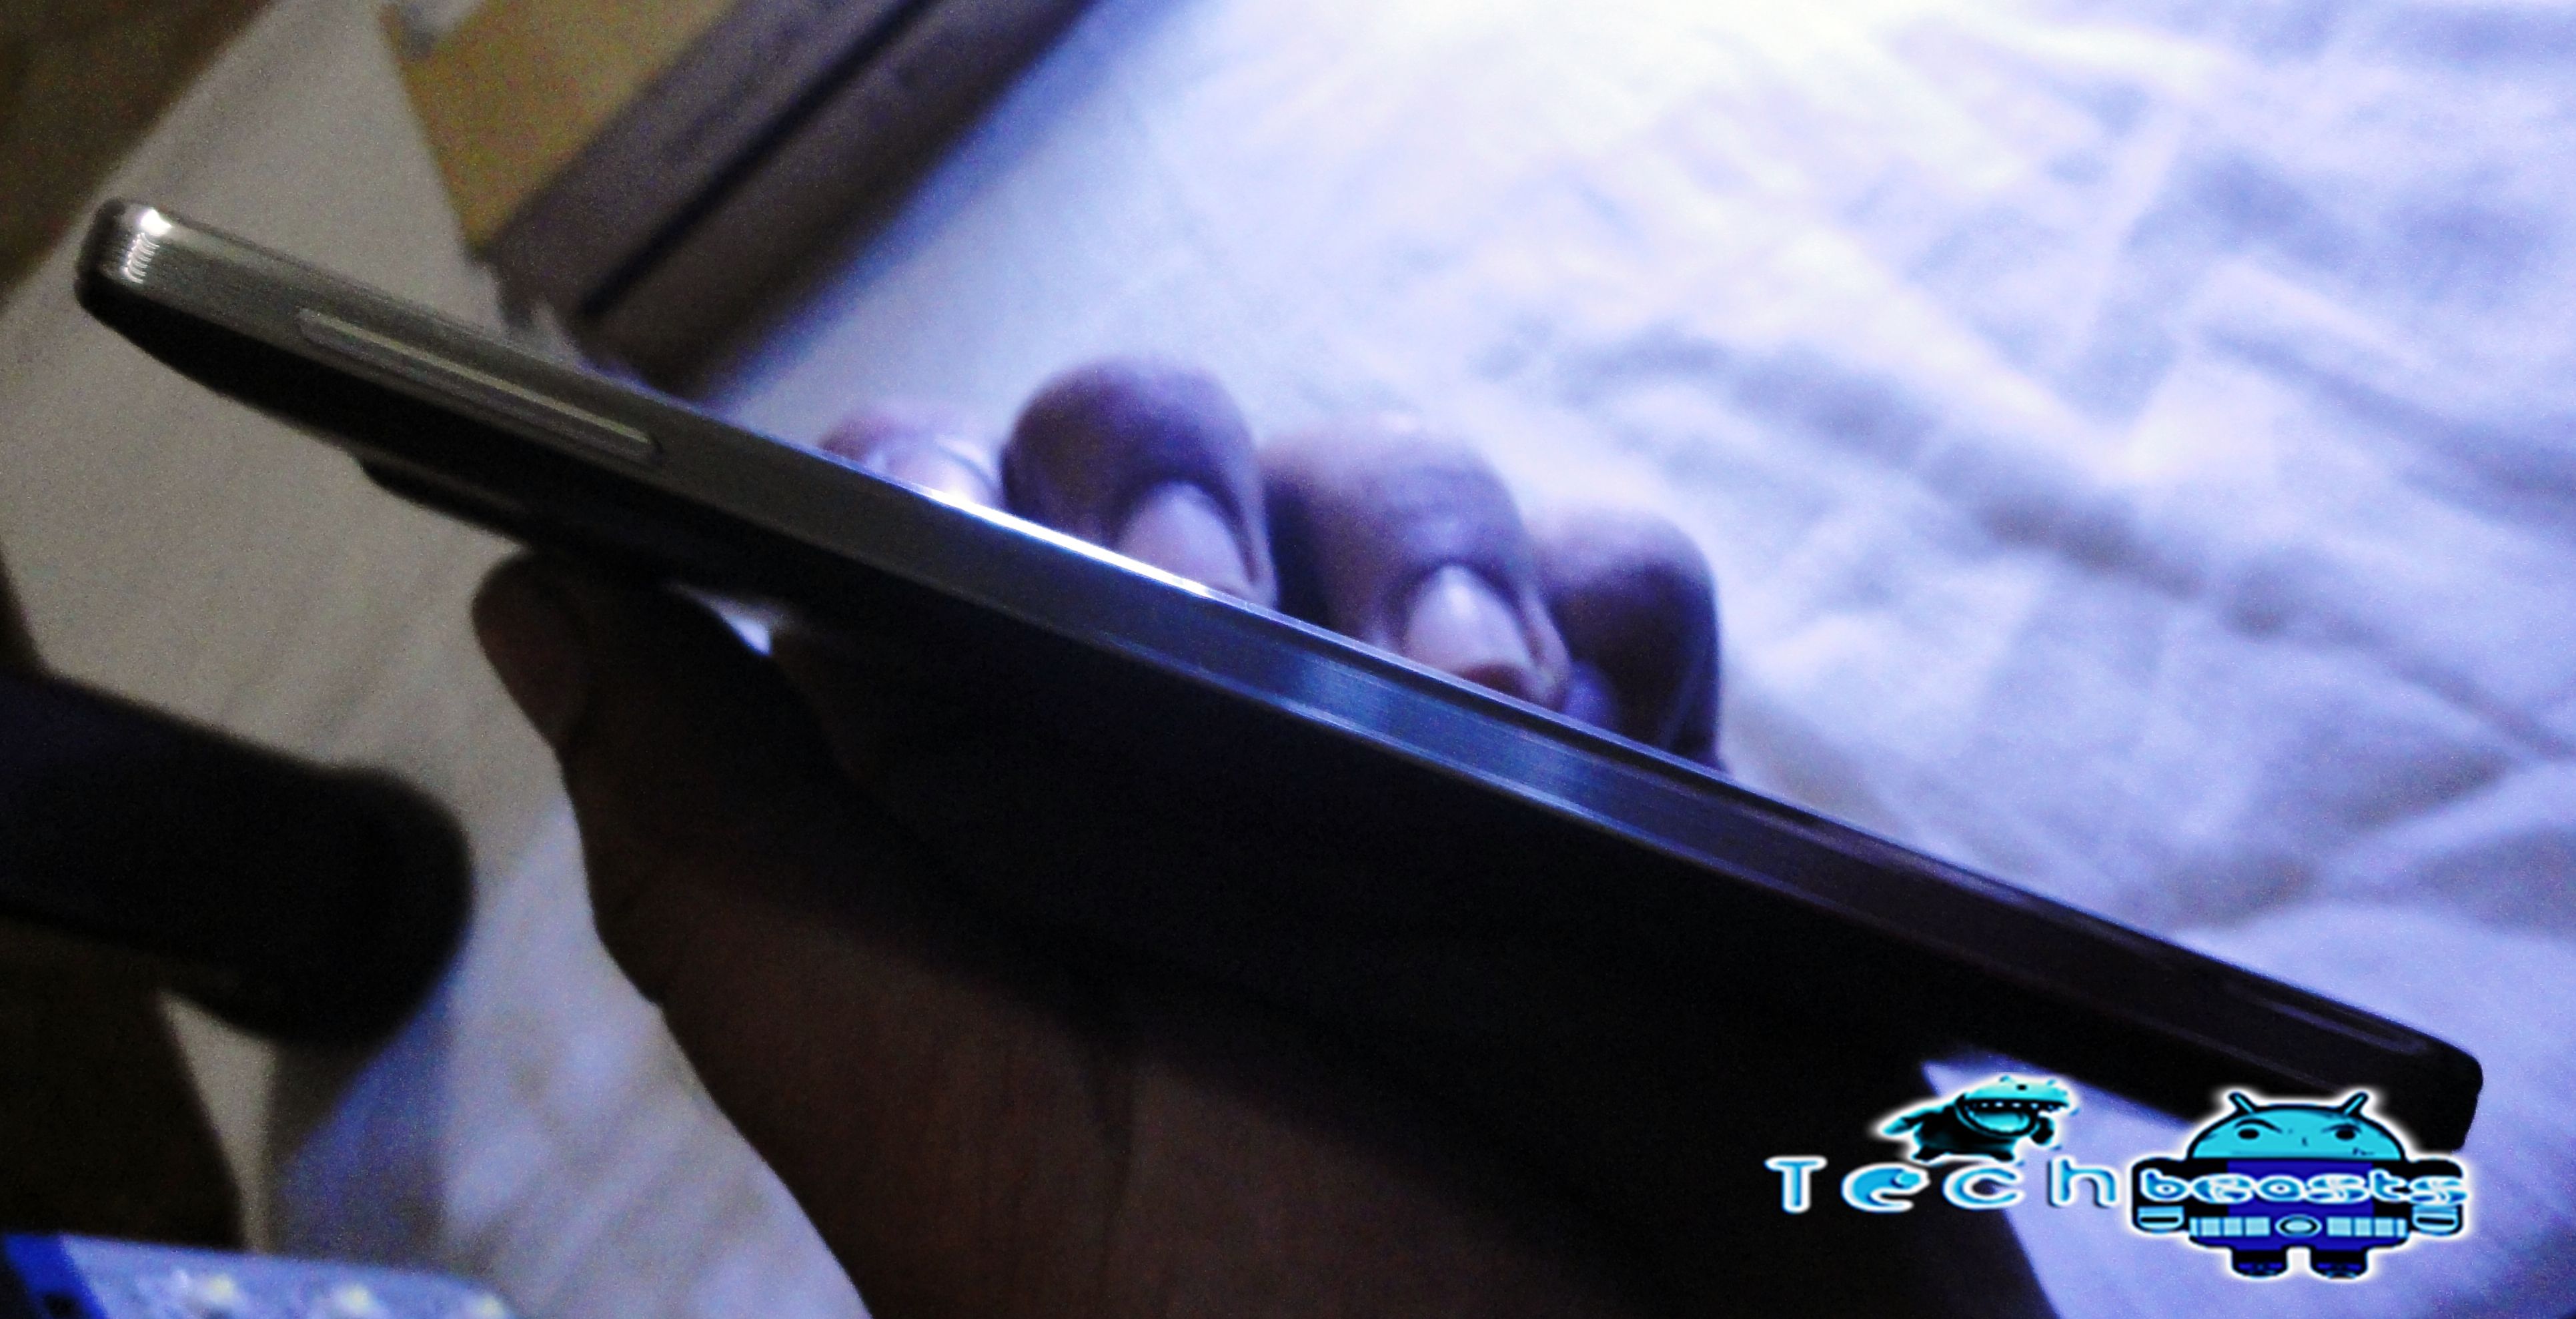
The sides as usual have the Volume Up, Down keys on the left, while the power key on the right.
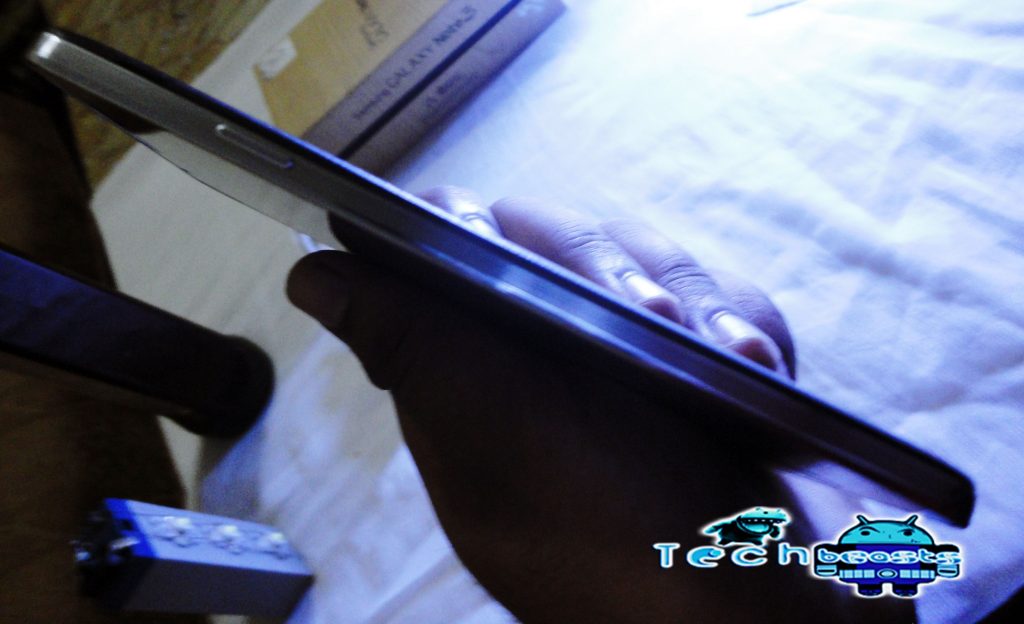
DSC02373 DSC02374

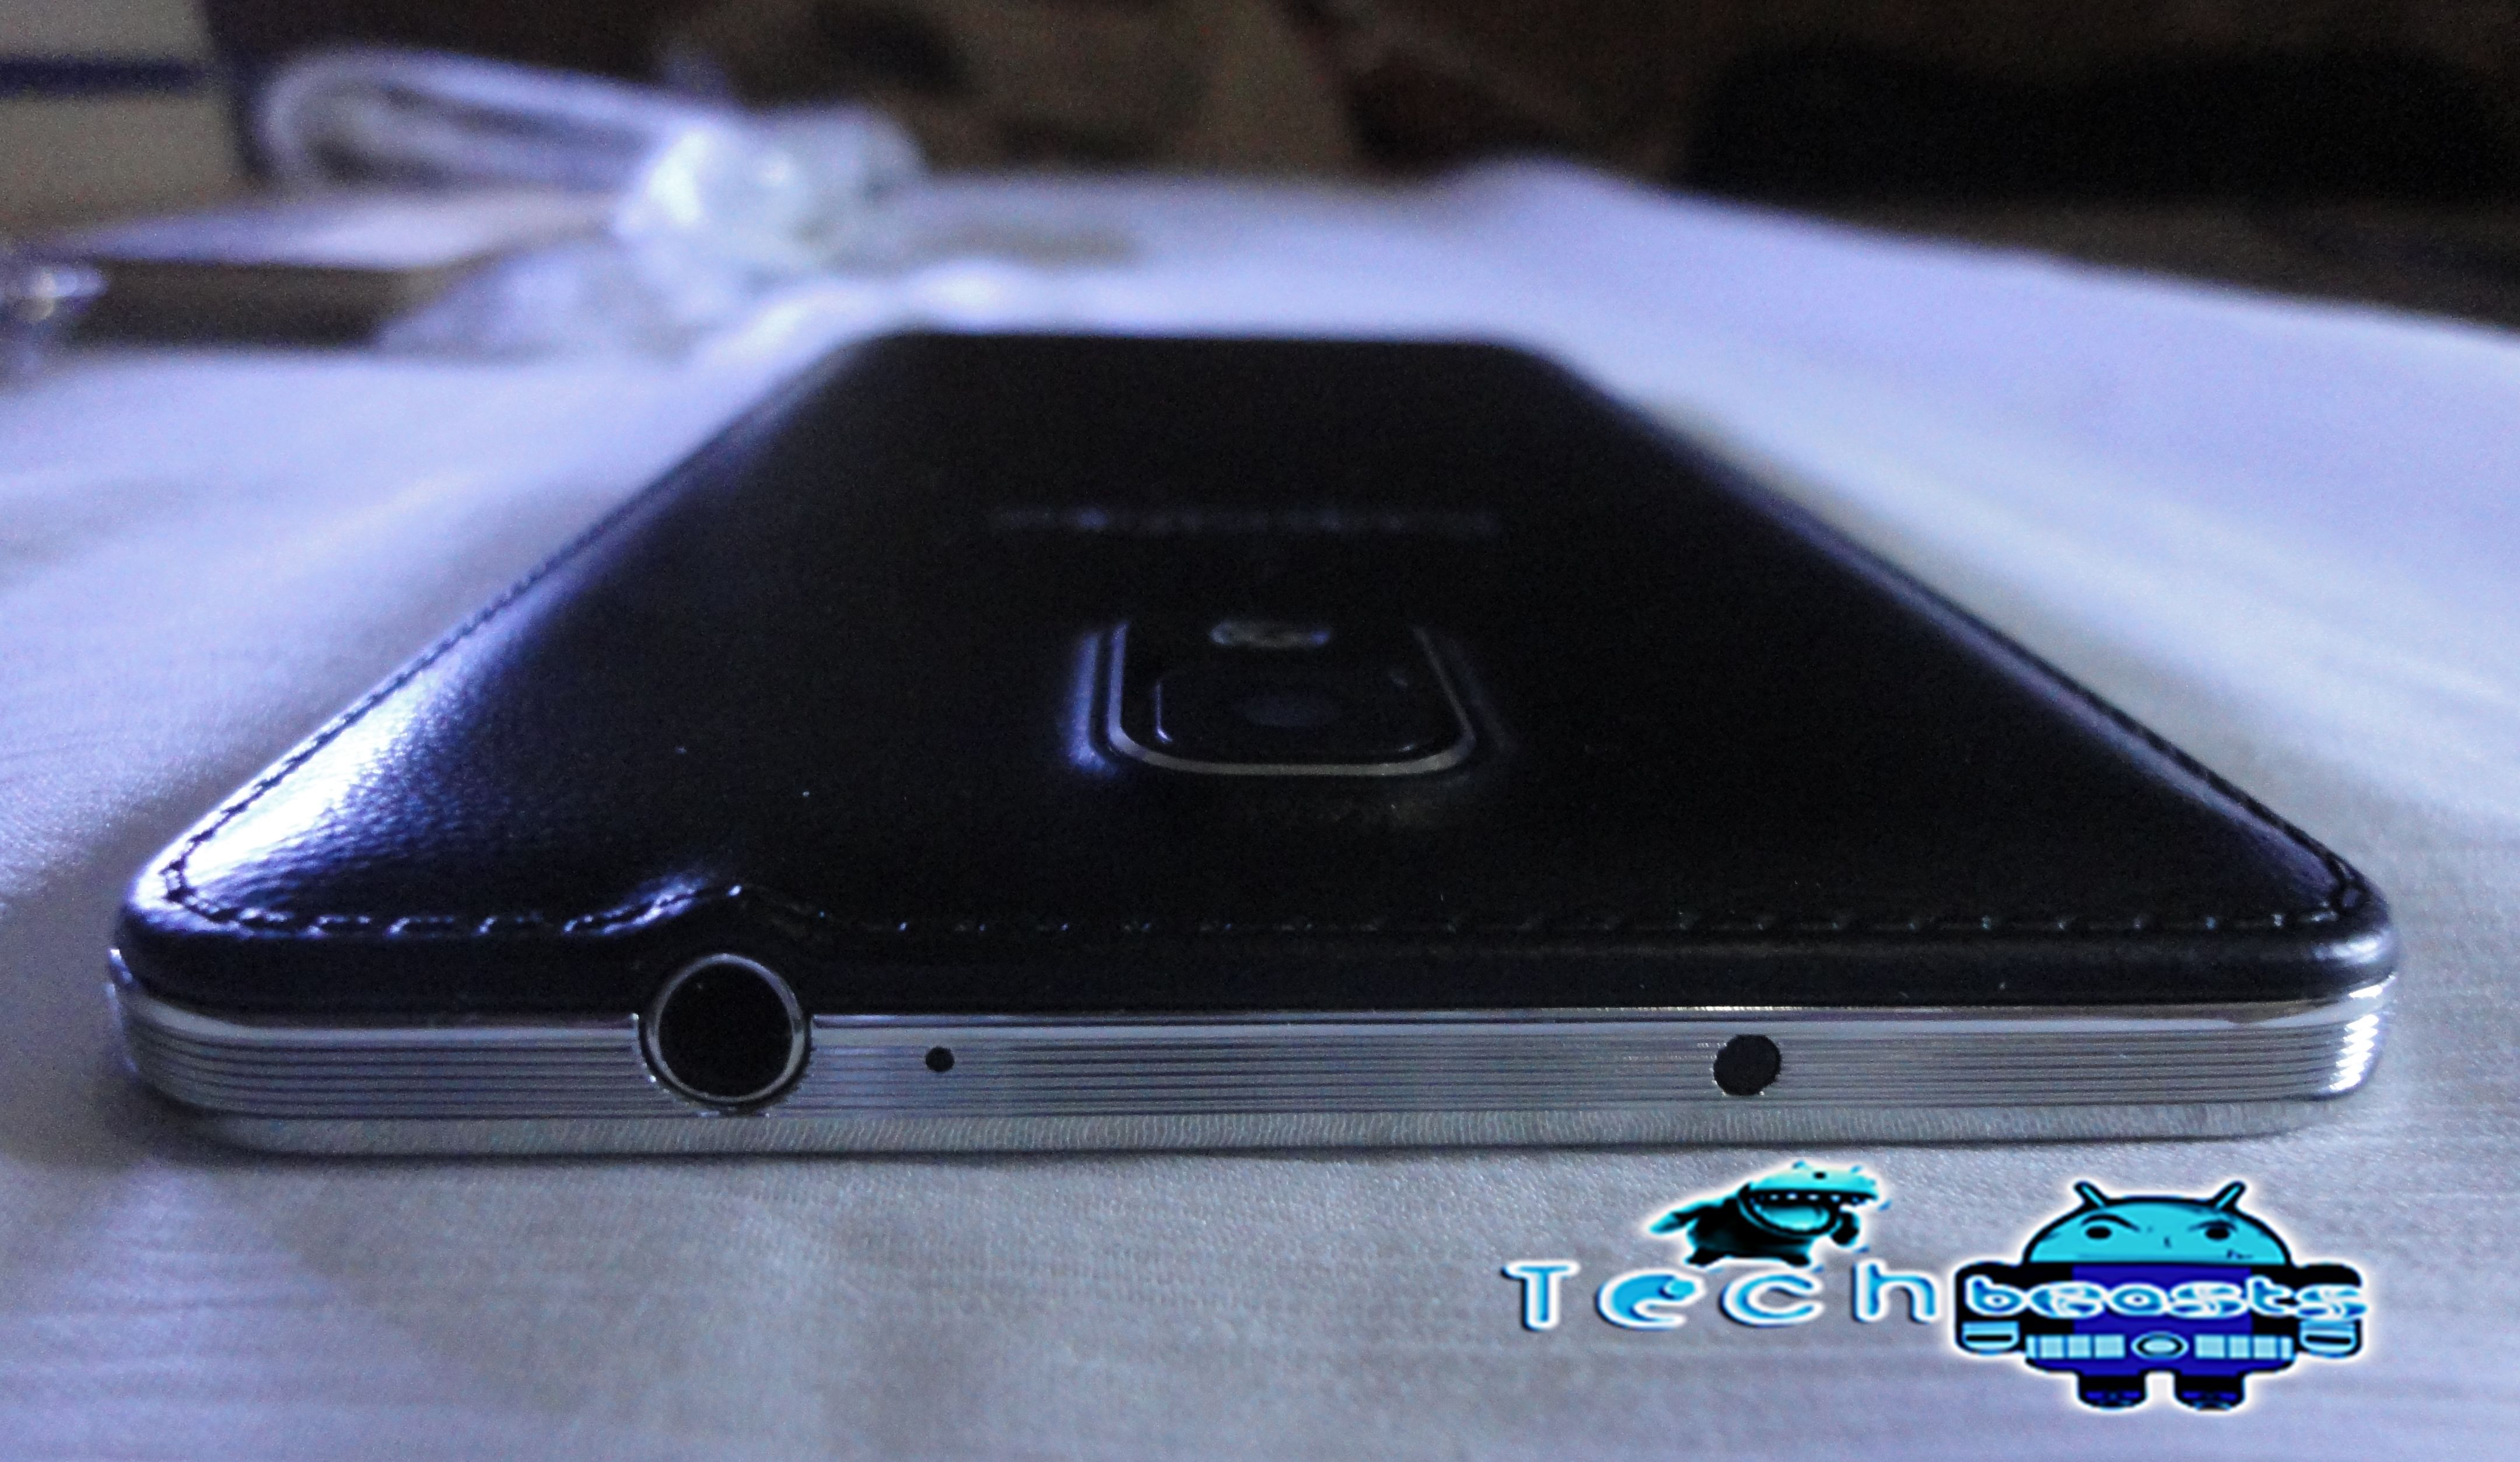
On the top there is a 3.5mm audio jack besides another mic and the IR blaster, that Samsung recently introduced in the Galaxy S4 and is responsible for the IR remote feature using Samsung Watchon.

DSC02342

At the back it has got a 13 MP camera sensor and a flash under it. Under the cover it has got a huge 320o mAh battery along the microSD card and SIM card slot. The note 3 comes with 32 GB / 64 GB internal storage space, and supports a microSD card upto 64 GB. The Samsung Galaxy Note 3 is powered up with Samsung’s Exynos 5 Octa clocked at 1.9 GHz or Snapdragon 800 Quad Core CPU clocked at 2.3 GHz. The device is packed up with 3 GB of RAM. The Exynos version has Mali GPU while the Snapdragon one has the Adreno 330 GPU.

DSC02357


S Pen:

The S-Pen, an essential part of the Note series is there in it’s compartment at the bottom of the Galaxy Note 3. The S-Pen is same in size to that of the Note 2’s S-Pen. It has got a small button below the center that plays role in screen capturing and other features. The top of the S-Pen is groovy, just like the Note 3’s sides. It is made up of plastic, and is a bit flattened.

DSC02349

Based on my personal observance, there are hardly a few people that really use the S-Pen. It seems like Samsung took this part seriously as well this time and introduced new features and shortcuts for the Galaxy Note 3’s S-Pen. As stated by Samsung, the S-Pen has been revamped in the Galaxy Note 3 and Galaxy Note 10.1 2014 edition to give the users, a refinement of the existing features of the previous Galaxy Notes.

Air-Command: 

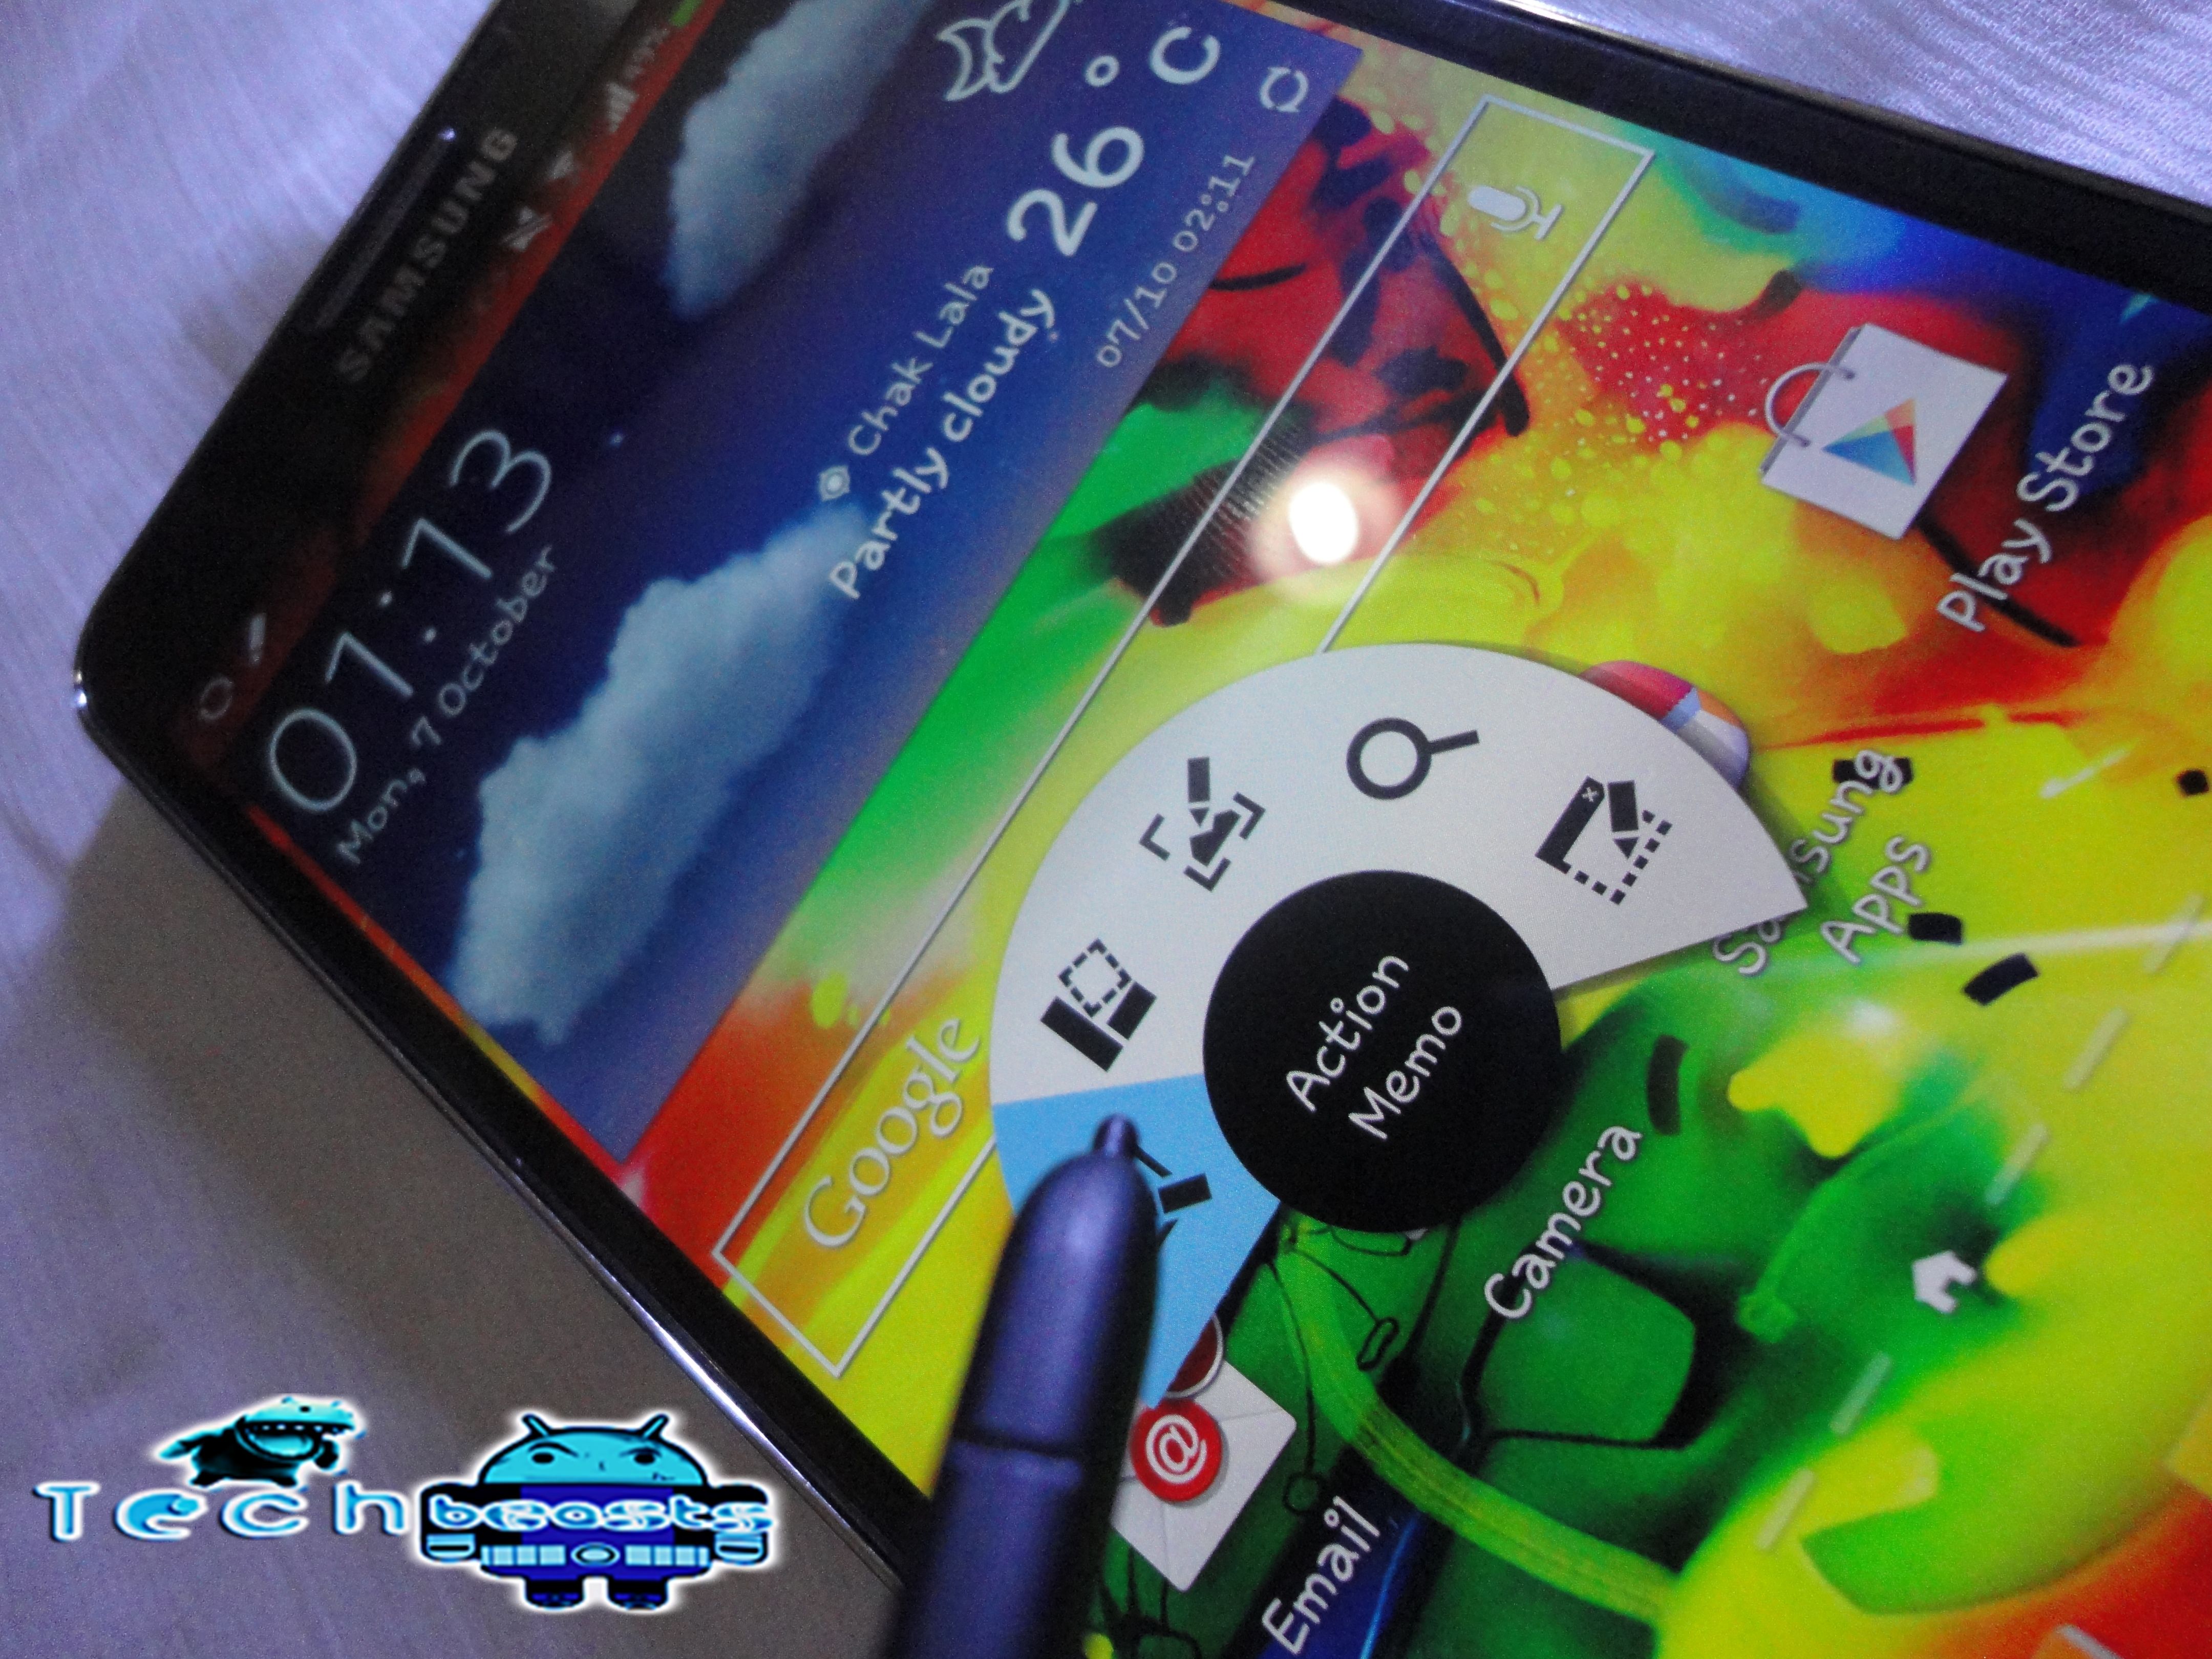
We’ve been talking about this exclusive feature of the Galaxy Note 3’s S-Pen, it’s time to know what is it actually. The Air-Command is a feature added to the S-Pen’s software. The Air-command pops up by simply pulling out the S Pen or by pressing the small button on the S Pen and hovering it over the screen.

DSC02378

There is S-Finder, Pen Window, Action Memo, Scrap Booker and Screen Write feature in the Air-Command. I find this feature pretty cool. Specially the Pen Window that allows you to use the available applications in a small window above your other running applications, it is easy to minimize and maximize the Pen Window applications.

DSC02379

      • Action Memo: Helps the users take notes using S-Pen.
      • S-Finder: Finds the required content across the device and over the web, displays the lists in forms of sets. This is the most easiest way to find anything in the device.
      • Pen Window: Opens a small window of another app above the running app.
      • Screen Write: Captures a screen, and lets you write on it.
      • Scrapbook: Lets the users capture screens and paste in the documents.

Unlike the previous note’s S Pen, this S Pen now supports the capacitive keys as mentioned earlier. It is easy to navigate across the device using the S Pen only now, the users do not need to use the fingers to press the capacitive keys.

S View Cover:

The S View is improved as well. That is a lot bigger than that of the S4’s S View. Note 3’s S View allows the users to read the messages as well unlike the Galaxy S4’s. The S-View also allows the users to use S-Pen. Please note that the S View cover is an extra accessory and does not come inside the box.

img_acc2

Software:

Out of the box, the Galaxy Note 3 runs on Android 4.3 Jelly Bean and the TouchWiz UI. The lockscreen widget feature is there, that is same to the one introduced by Samsung in Galaxy S4’s Android 4.2.2.

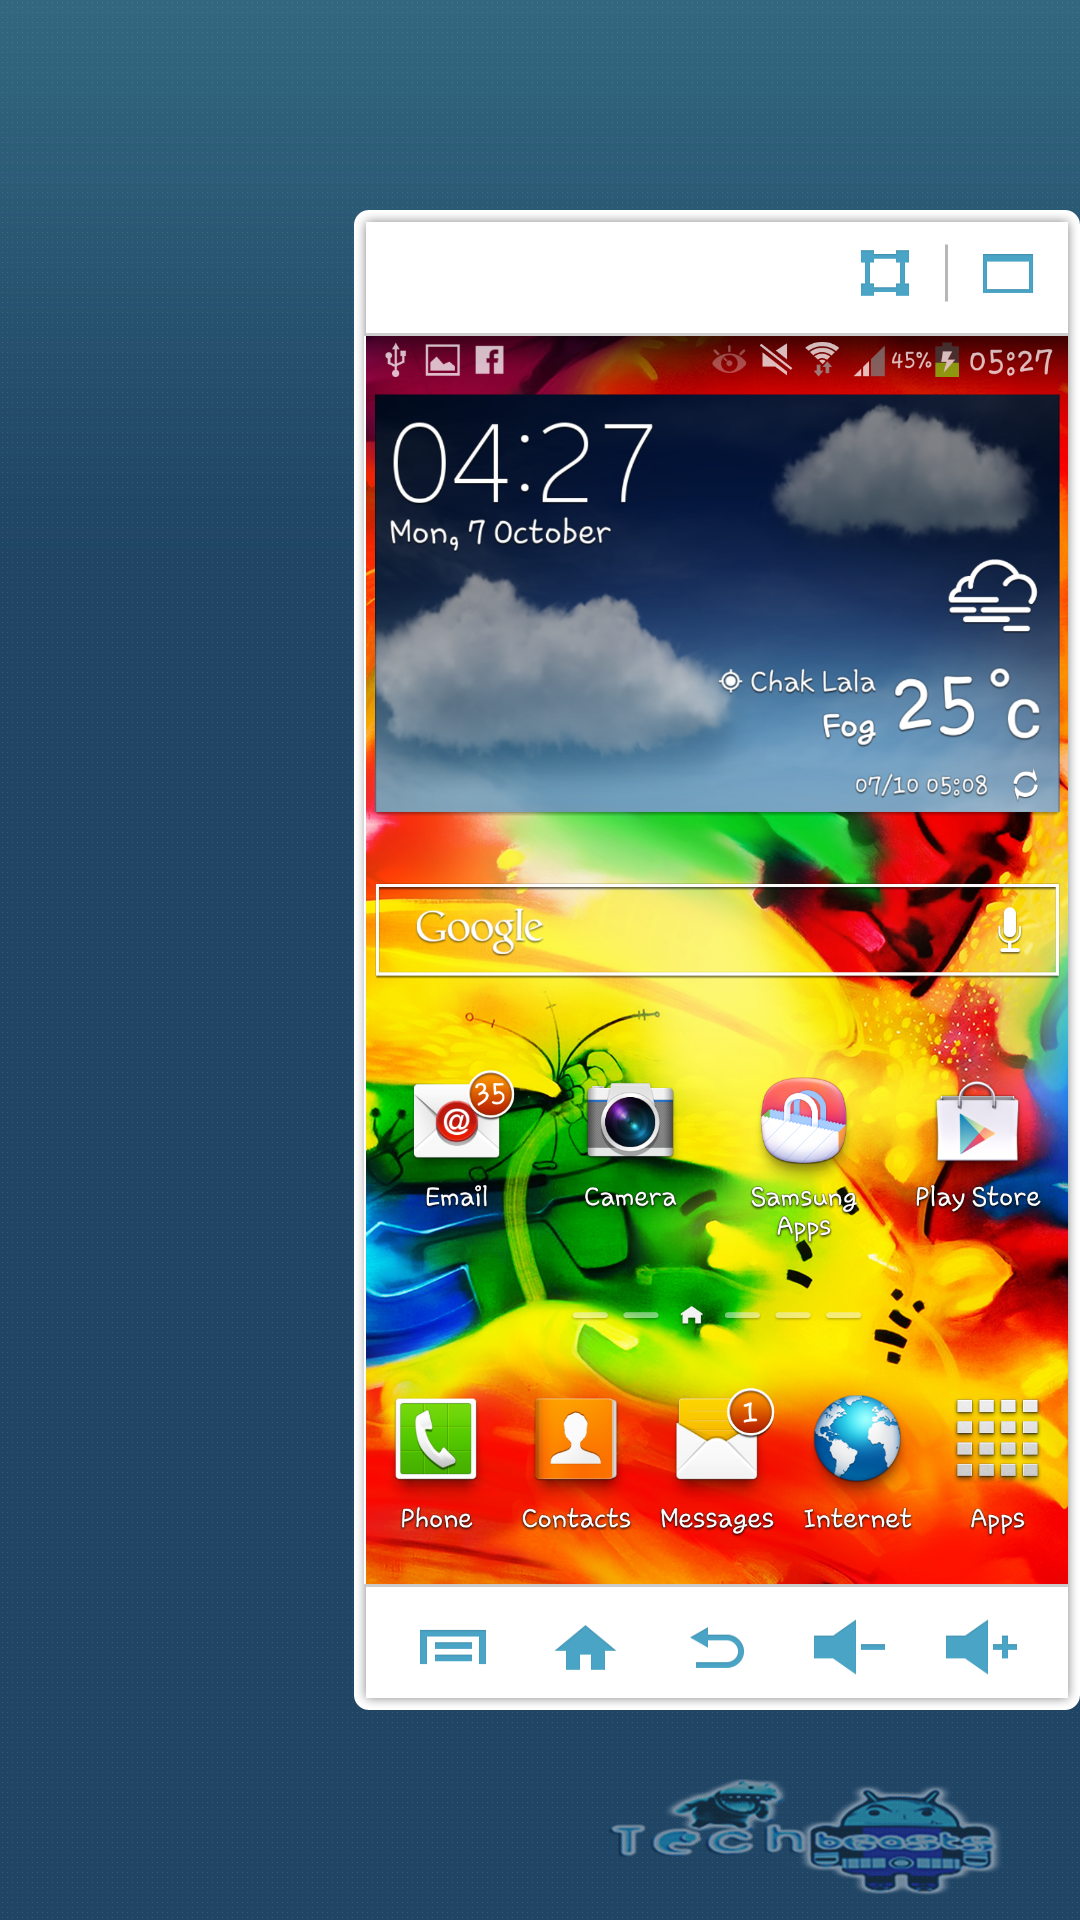
Samsung has improved the Multi Window feature in the Galaxy Note 3, that allows the users to use the two same apps up and down simultaneously now. The One handed operation is a handy feature. Unlike the Galaxy Note 2 and 1 that just allowed the keyboards to be one handed – The Galaxy Note 3 takes the whole screen to one handed operation.

The other upgraded software features include:

  • Phonebook has been revamped
  • New Gallery Layout
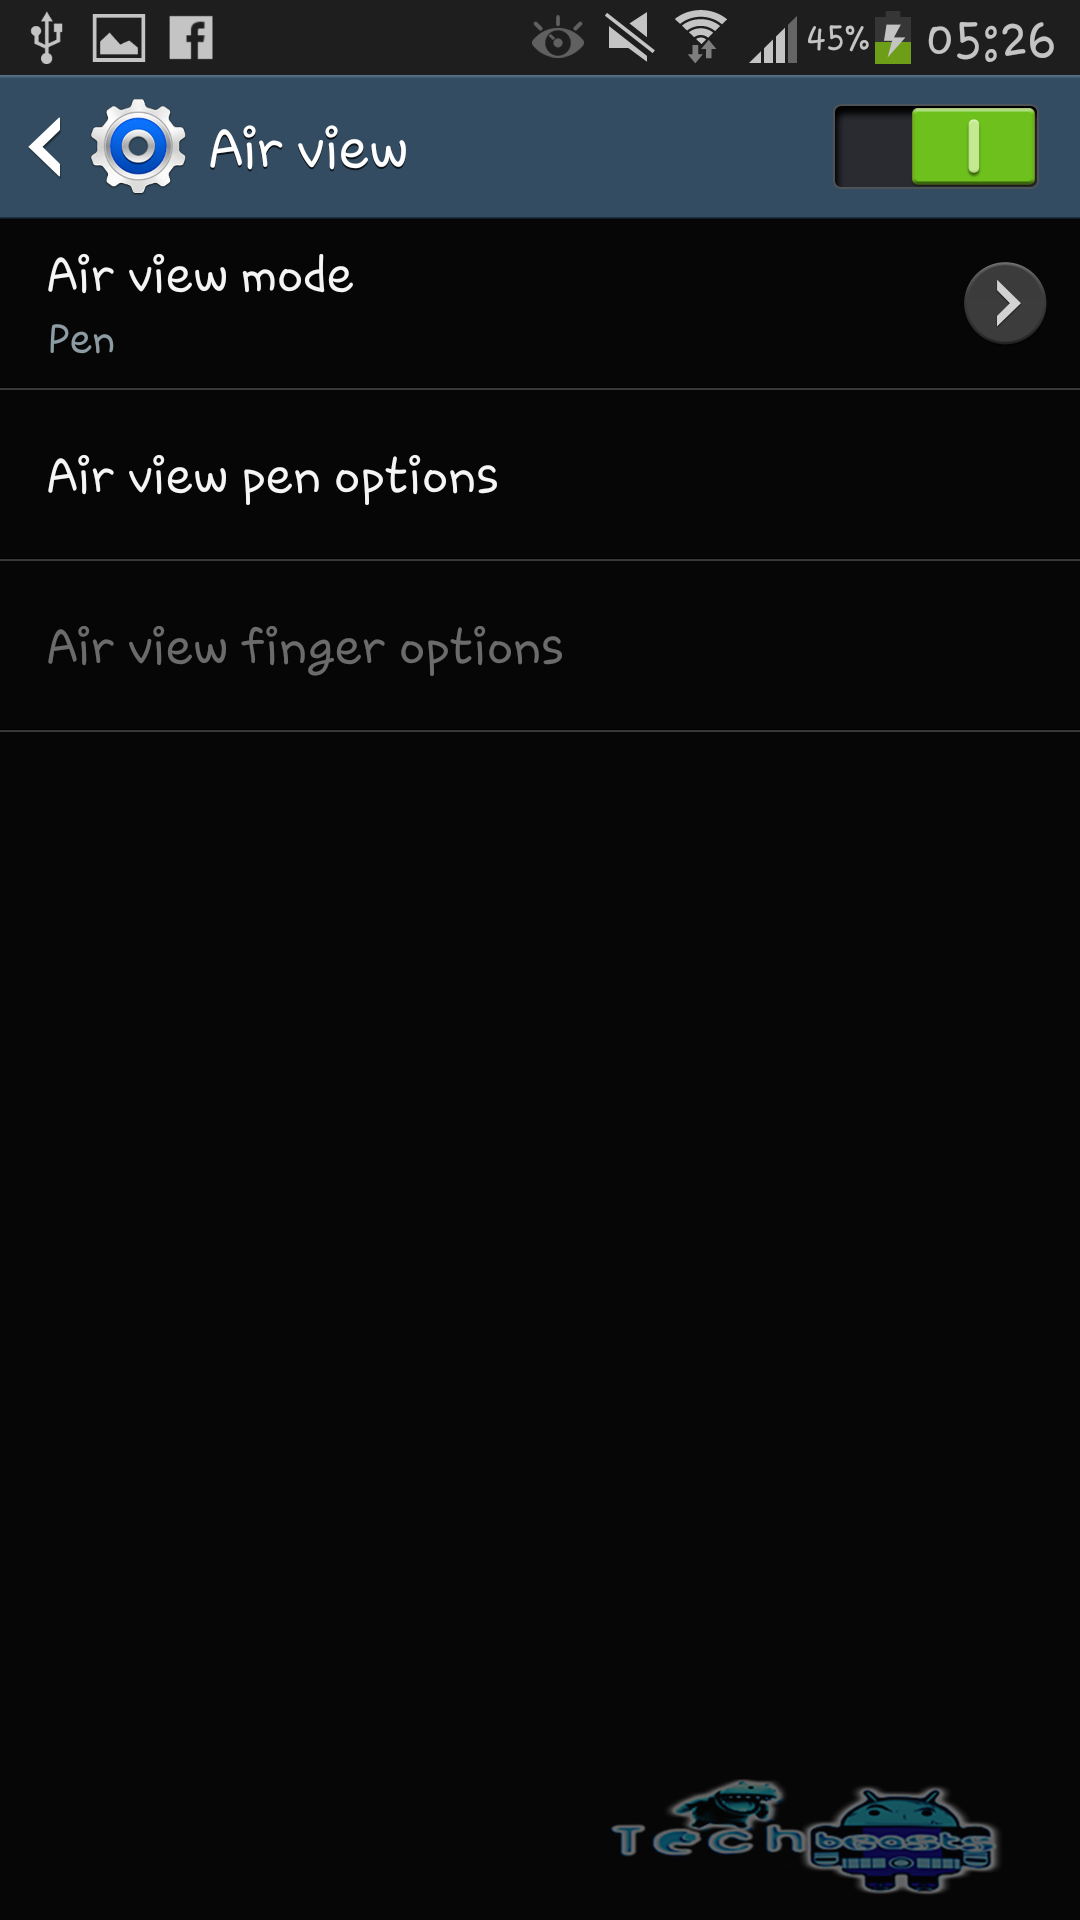
  • Air View: Now works with the S-Pen and the Fingers as well.
  • Better Video Player
  • Folder Support in the Music Player
  • New Equalizer Layout
  • Best Audio Quality
  • Gesture Support for the Web Browser
  • One handed operation

Samsung also introduced its very own security feature named as Samsung Knox in order to ensure the user’s security. Samsung Knox is approved by the government, and is keeps device highly secure.

Let’s have a look at the software upgrades:

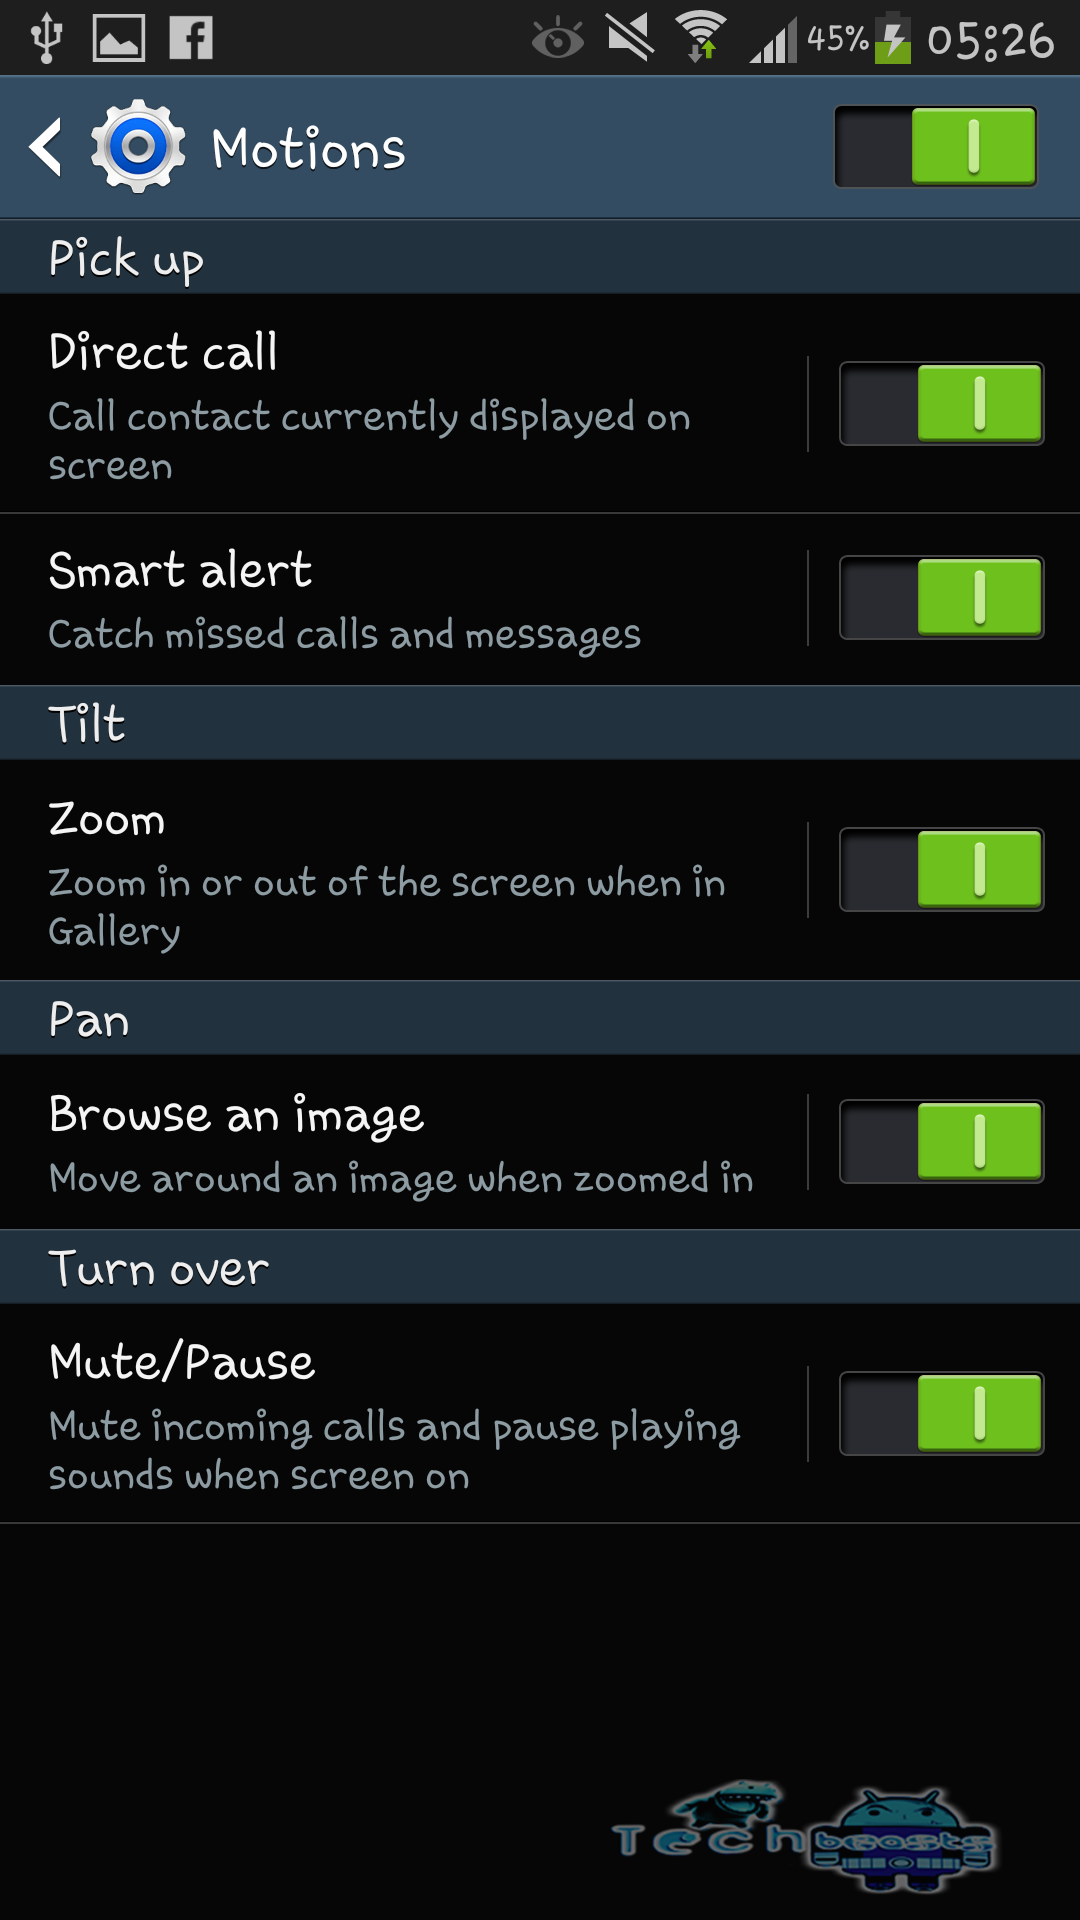
Screenshot_2013-10-07-05-25-09Screenshot_2013-10-05-03-24-56Screenshot_2013-10-05-03-24-10Screenshot_2013-10-05-03-15-45Screenshot_2013-10-07-05-24-54Screenshot_2013-10-07-05-25-02Screenshot_2013-10-05-03-14-57Screenshot_2013-10-07-05-25-45Screenshot_2013-10-07-05-25-51Screenshot_2013-10-07-05-26-13Screenshot_2013-10-07-05-26-18Screenshot_2013-10-07-05-26-23Screenshot_2013-10-07-05-26-31Screenshot_2013-10-07-05-26-39Screenshot_2013-10-07-05-26-52Screenshot_2013-10-07-05-27-00Screenshot_2013-10-07-05-27-06Screenshot_2013-10-07-05-27-25Screenshot_2013-10-07-05-27-52Screenshot_2013-10-07-05-28-20Screenshot_2013-10-07-05-28-25Screenshot_2013-10-05-03-20-01Screenshot_2013-10-05-03-20-29Screenshot_2013-10-07-05-24-05


Camera: 

The Camera on the Galaxy Note 3 has is improved. The 13 MP sensor at the back now supports 4K video recording and the front facing Camera ranged at 2 MP supports 1080P video recording.

The 13 MP camera is quite good to take the pictures of up to 414128 x 3096 pixels.  The new features introduced in the Galaxy Note 3 camera include Surround Shot that takes a sphere like photo. The other scenes, features and modes are same as that of the Galaxy S4’s camera, but are a bit improved.

Camera interface is based on the Galaxy Camera’s interface.

Showcasing a few pictures taken with the Galaxy Note 3 SM-N900:

1379529_10201730216309807_2114127651_n1379589_10201730217029825_119302224_n1381634_10201730218029850_2083809741_n1382177_10201730216829820_1004350134_n

4K Video Recording:

The Samsung Galaxy Note 3 LTE – Snapdragon 800 version supports 2160p video recording that is also known as Ultra HD or 4K video recording. It translates to a video of 3840 x 2160 pixels or in simple words it is 4 times higher then the 1920 x 1080 pixels Full HD clips.  The 4K video recording doesn’t allow the users to use Dual shot or capture the screen during the recording.

The 4K video recording carries 47 Mbps bitrate that is almost 3 times higher than that of the 1080p videos, while the audio is recorded at a bitrate of 123 kbps.

The 4K video recording gets slow down if zoomed more than 2x, while the 1080p recording allows to zoom up to 4x.

Battery: 

The part i loved most while using my Galaxy Note 3. The battery time is way too good on the Galaxy Note 3. The battery is huge – 3200 mAh. The battery lasted for around 18 hours on continuous talk time, 9 hours on continuous web browsing, almost 14 hours on video play back – these battery times are according to the tests conducted by gsmarena.

DSC02362

Before we head to the conclusion, Let’s have a brief look a the Specs, Pros and Cons of the Galaxy Note 3:

Specs and Pros:

  • OS: Android 4.3 Jelly Bean with Touchwiz UI
  • Display: 5.7 inch FHD Super AMOLED, 386 ppi, 1920 x 1080 pixels.
  • S Pen Stylus
  • Camera: Primary: 13 MP with autofocus and Primar ranged at 2MP
    • N9005: 2160p video recording @30 fps, 1080p video recording @60 fps, 720p video recording @30fps.
    • N900: 1080p @30 fps, continuous autofocus and stereo sound
    • Dual Shot and Dual Screen video recording , Surround Shot, Golf Shot, Shout and Sound.
  • Processor:
    • SM-N900: Exynos 5 Octa Core clocked at 1.9 GHz with ARM Mali T628 – MP6 GPU
    • SM-N9005: Qualcomm Snapdragon 800 Quad Core CPU clocked at 2.26 GPU with Adreno 330 GPU
  • RAM: 3GB
  • Memory: 32/64 GB, microSD card slot, supports upto 64GB.
  • Connectivity: Quad-band GSM/GPRS/EDGE, Quad-band 3G with HSPA, LTE (SM-9005 Only)
  • Features:
    • Wi-Fi a/b/g/n/ac, Wi-Fi Direct and DLNA
    • GPS with A-GPS, GLONASS
    • Bluetooth v4.0
    • NFC
    • IR blaster
    • USB 3.0
    • Standard 3.5mm audio jack
    • Accelerometer, proxmity, light ambient, gyro, barometer, thermometer sensors
    • Smart screen features
    • IR sensor for Air Gesture
    • New Multi Window
    • Air Command, Air View
    • Smart Volume and adapt sound features
  • Battery: 3200 mAh

Cons:

  • SM-N900 does not support 4K video recording and LTE connectivity.
  • No FM Radio.
  • No OIS.
  • Shared Camera Interface is a bit tricky.
  • Single handed operation gets problematic on this large phone.

Conclusion: 

Compiling up the review, the confusions should go away if you are going to buy a new device and selecting one for yourself at the moment. The Galaxy Note 3 is the device you should get. The perfect combination of the Hardware / Software is boasted off in the Samsung Galaxy Note 3.

Samsung has credited itself with the new features once again with the Galaxy Note 3. The price is reasonable as well as Samsung cares for the customers. As compared to other devices like LG G2, Xperia Z1 / Z Ultra or the upcoming HTC One Max – the Galaxy Note 3 is far better and will simply outdate all others.

DSC02375

The S-Pen stylus is the thing you won’t find in any other smartphone or phablet, give Samsung its credit. It is true that the phablet is a little big, but believe me its not hard to put it into the pocket as i keep it in my jeans all the time. The camera, display, software, hardware – everything is improved and provides a better user experience. Samsung has done a good job in the battery department as well, so if your device runs out of battery while you are travelling then the Galaxy Note 3 may not disappoint you.

Official Gallery: 
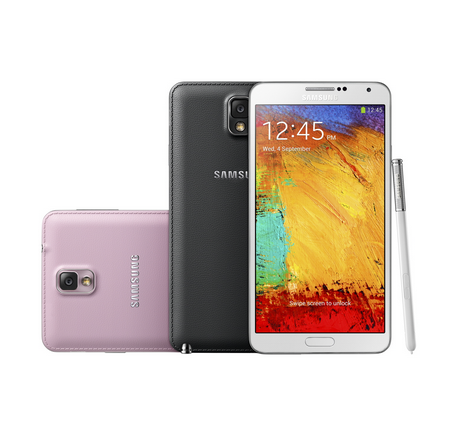
That’s all for now. We would love to listen about the Galaxy Note 3 from you. Feel free to leave a comment below. Thanks All


Recover Deleted Files From Android.

3
Recover Deleted Files From Android.

Due to frequent transfer of data and other media from PC to Mobile or From Mobile To PC, most users just disconnect the cable instead of properly ejecting them, due to this action the next time they connect it they found out that all their data is corrupted and the only way now they have is to format it.

While on other hand, if you accidentally delete some of your favourite data, there is way you can restore it. The same thing happened to me a couple of days ago, when I tried to use a third-party app to free some of the space from my card, what I got was a full clean up of 5GB, that app deleted all my photos and videos too. Once again Mighty Google came to help me and I find something very useful ia m about to share with you.

images

In This article we will tell you how to Recover Deleted Files From Android. That does mean ,your Photos, your Music, your videos along with your Apk files, on the other hand Messages and Contacts.

Follow these links to Back-up and Restore all your Contacts and Messages:

Recover Deleted Images:

If you are contiously adding Photos to your device, we strongly recommend to make a Back-up of all those photos, use Dropbox, it’s quite better and you can upload photos from anywhere. If not then after you call a day, connect your device to PC and copy all the new images to a specific folder you have created for your photos.

Now what is the benefit of all this, you know Bad things happened without knowing, suppose your device is stuck in a bootloop or you have to format your device became of any virus or stuff, you won’t regret it, because all your precious jewels are saved in your PC. But if by any chace you have deleted your photos, there is a software for it called Android Photo Recovery.

Install this program, run it as administrator, connect your device to PC or just insert the memory card. Refresh and Select your device and Click Start button to scan the recoverable images, select the image thumbnails and click to Recover.

android-photo-recovery-tool


Recover Deleted Files From Android:

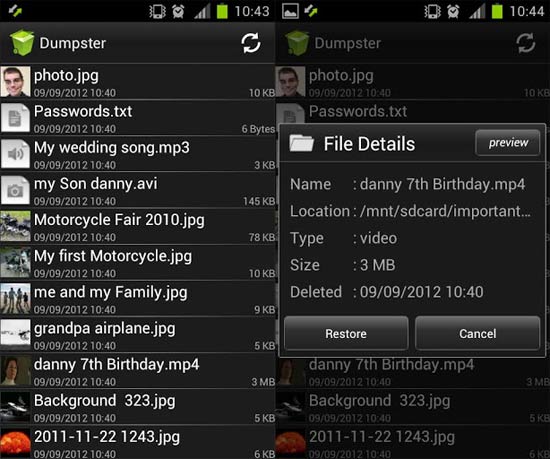
Now to Recover the deleted files, such ans Music, Videos, Apk and photos ,there is an app called Dumpster  it basically act as the Recycle Bin of your Android device, everything that you will delete after installing this app will go to Dumpster, where you can restore in case of an accidental delete or if you have changed your mind. But keep in mind that Dumpster must be installed before you delete such file, if you install it afterwards Dumpster will not help you in any case.

dumpster-app-android


It is a must have app for every Android user, install it as your device will take the first run. Having this app will not only ensure that all your data is safe even after you delete it but you can restore all the deletes if you want anytime anywhere.

How to Download & Install Paid Apps for Free on Android 2017

15
How to Download & Install Paid Apps for Free on Android 2017

Google Play Store is full of the awesome apps and most of them are paid. You can download and install the Paid apps for free, wondering how? well, no worries. You need to follow the simple easy steps explained below, or watch the video we made for you.Android-Market-3.4.4-apk

How to Download & Install Paid Apps for Free on Android

1. Go to Google Play

2. Find your desired app.

3. Open it’s description and check the version number.

4. After you have noticed the version, go to Google.com and find the app with it’s version number and writing ”apk” at the end.

apk stands for Application Package File and contains the setup of the app you want to install in your android phone.

For example you want to search Osmos Hd – paid version. You will simply have to check it’s version number and type it as ”Osmos Hd Version 2.0.2 apk” in google, and you will find a number of sites having it’s apk, You need to put a little effort here and find a working apk file for your game and download it.

5. After you download, goto your file manager and open the apk file you downloaded.

6. It will ask you to allow the unknown sources, tap the settings and make sure that unknown sources option is checked.

7. Continue the setup, complete it and start playing the game.

Here’s a video tutorial as well for a better learning.

Thank’s to our buddy Hayder Amin for making this video tut. I hope it helps you.

We would love your feedback, Got any confusions? feel free to leave us a comment below.

Download10 iOS 7 Wallpapers That Look Great On Your IPhone

0
Download10 iOS 7 Wallpapers That Look Great On Your IPhone

Apple has released their new flagship with a new designed iOS 7. I have recently updated my iPhone 5 on iOS 7, finally Apple has added new colors and different icons in iOS 7 that  looks great but a little same as old one, only graphics and icons are changed and rest all is good. Today, I was searching for iOS 7 wallpapers and found really cool and HD wallpapers for iOS 7 , and that’s why I am sharing it with you all.

iOS-7-Logo1

Download Free iOS 7 wallpapers for your iPhone and iPad.
1-730x1071 iOS 7 Wallpapers 4-730x1071 iOS 7 Wallpapers iOS-7-Download-Nebula-Dots-Wallpapers iOS 7 Wallpapers iOS-7-Wall-7 iOS 7 Wallpapers iOS-7-Wall-8 iOS 7 Wallpapers ios-7-wallpaper-galaxy iOS 7 Wallpapers ios-7-wallpaper-pink-blue-dots iOS 7 Wallpapers iPhone4-4s-iOS7wallpaper iOS 7 Wallpapers Screen-Shot-2013-06-13-at-4.43.16-PM

How to Update Samsung Galaxy Note 2 GT-N7100 to Android 4.3 Leaked Test Firmware [Guide]

0
How to Update Samsung Galaxy Note 2 GT-N7100 to Android 4.3 Leaked Test Firmware [Guide]

It’s been long since the users are waiting for Android 4.3 Jelly Bean update for their beloved Samsung Galaxy Note 2 but Samsung is taking too long and is getting late this time, and finally today, Android 4.3 Jelly Bean has been leaked in a wild for Samsung Galaxy Note 2 while Samsung was busy testing it before rolling out officially. The firmware is scheduled to roll out in the months of November and December to the users through OTA updates. While the official launch is far away, you may wandering how you can update your Note 2 to the leaked Android 4.3 Jelly Bean firmware.

Galaxy_Note_2

Here’s the guide, Follow the steps to the letter and have Android 4.3 installed on your Samsung Galaxy Note 2 🙂

Make sure that you’ve at least 60% of your battery charged. Back up all your important data, Contacts, Messages and Call logs as you are going to wipe the factory data after flashing the Stock Firmware.

Please keep in mind that this is leaked firmware and will not void your phone’s warranty or raise the flash counter.

Here’s how to update:

    • Download Odin from HERE and unzip it. – Get HERE
    • Download and Install Samsung USB drivers – Get  HERE.
    • Download the Stock Leaked Firmware Android 4.3 Jelly Bean from HERE
    • Unzip the downloaded Android 4.3 firmware file once.
    • Put your phone in download mode, in order to do so turn off your phone by pulling out the battery or by long pressing the power button and wait for 30 seconds. Turn on your phone now by pressing and holding Volume Down + Home Button + Power Key simultaneously.
    • Connect your phone to your PC using the original data cable. As soon as the Odin detects it, the ID:COM box should turn blue or yellow depending upon your Odin version. Make sure that the options selected in your Odin are exactly as shown below.
  • Odin_TechBeasts
    • Select PDA and select the extracted firmware file , it should be in .tar.md5 format.
    • Hit Start and the firmware installation process will begin.
    • As soon as it ends, your phone will restart… phewww! you’ve installed Android 4.3 Jelly Bean on your Note 2 successfully.
    • Now turn off your device and agian go into download mod connect your device with PC open odin click on PDA then select { .tar.md5 } from the extracted folder, then click start it will take few minutes. Once done your device will restart, this whole process is for your network. If you don’t install this file you device will not get signals.
    • Now turn off your phone once again, and boot into recovery, in order to do this turn on your phone by pressing and holding Volume Up + Home Button + Power Key. Now when you are recovery mode, wipe Factory data and reset cache here.
    • That’s all! Reboot the phone and enjoy the latest Android 4.3 Jelly Bean on your device before others get it 😀

Here’s a look at the changes..

    • New lockscreen, Music Player and Calculator.
    • Move apps to SD has arrived for Note 2 as well now.
    • New look for the Settings Panel.
    • New toggles in the Notification Panel and a lot more.. we’ll post a complete review soon on our site.

563129_10202529617828000_1533934242_n1378854_10202529629588294_955508511_n1380773_10202529643068631_2066551266_n

599782_10202529623828150_269651994_n1381730_10202529618948028_1679937971_n1383917_10202529646948728_537895690_n

1229817_10202529903235135_451649106_n

There is no official date announced for the Android 4.3 Jelly Bean complete Stock Firmware, if you can’t wait, then this leaked firmware will do the job for you.

We hope that you found this guide helpful. In case you face any issues, feel free to leave us a comment. We will try our best to sort it out. Thank You and Good Luck.

Switch Tabs In FireFox Using Mouse Gesture.

0
Switch Tabs In FireFox Using Mouse Gesture.

You can easily switch Tabs In FireFox Using Mouse Gesture. Follow the instructions below and you’ll learn how to do so.

Switching Tabs in a browser is quite annoying for me when I had open at least more than 10. Using mouse while on Laptop to switch tabs is just not good, using the keyboard is slow and using touchpad is stupid, the only thing left is if your Laptop is touch screen it will at least give you a bit ease in this matter. But there is a solution to every problem and in this case, there is one.

Switch Tabs In FireFox Using Mouse Gesture:

Switch Tabs In FireFox
Switch Tabs In FireFox Using Mouse Gesture.

If you are using Firefox, then there is an extension called Tabflip, installing it will let you switch tabs more easily. Just press the Right Click and move your Mouse horizontally. Flicking to the right will switch the right tab and flicking it to left will switch the tab to left. Even if you are using a Touch-Pad while running Windows you can perform it quite gently, but it will be rather difficult on a Mac Book Pro.

But you can use a mouse on a Mac to perform such action but the right-click pop-up menu will tease the hell out of you, while on Touch-Pad, you won’t have such luck from both sides. On Windows, there will be no pop-up menu when you press the right-click.

tabflip_610x438
Switch Tabs In FireFox Using Mouse Gesture.

There are some settings you must do before starting. First check the box for Wrap settings so you won’t hit a dead end, instead of like infinite scrolling you move back to the first tab of you switched from the last one. The Scroll flipping settings allow you to perform two-fingered touch to scroll between tabs if you are using a touchscreen. Last but not least, if you think that the extension is too sensitive, you can change the number of pixels a flick must cover to register a command.

How to disable the iOS7 parallax effect

0
How to disable the iOS7 parallax effect

Here’s How to disable the iOS 7 parallax effect: As already reviewed, iOS7 has this feature that makes the background move as you move tilt or move your Apple smartphone. It gives an amazing feeling of depth yet there are users who cannot stand this motion and experience nausea, vertigo or headaches. It is making users suffer from a similar feeling as of car-sickness.

Anyway, no matter how cool is it, if its causing discomfort, we need to do away with it. Gladly, we have a way to get rid of this parallax effect. Just follow these simple steps:

How to disable the iOS 7 parallax effect:

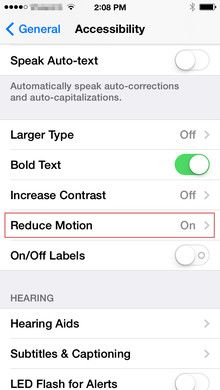
  1. Go to settings
  2. Select General
  3. Go to accessibility
  4. Activate “Reduce Motion”

iOS 7 parallax effect


Now, that you’ve done what the above steps say, your background has stopped moving around and you can enjoy using the iOS7.

iOS 7 parallax effect:

Apple’s iOS 7 intends to amuse through unpretentious utilization of exuberant UI activity and impacts, utilizing material science, translucency, smoked boards and other visual traps to accomplish its multi-layered appearance. Among them is the purported parallax impact that makes a feeling of measurement by putting your Home screen symbols onto a layer separate from your experience picture.

It springs up while moving your gadget around, which tilts the backdrop behind the symbols somewhat. The impact is additionally detectable in a couple of different places all through the framework and is going to your most loved applications by means of new APIs in iOS 7. In the event that you’ve at any point pondered about the science behind the enchantment, here’s your answer…

Read more

HTC Butterfly 2 5.2″ rumored to be waterproof

1
HTC Butterfly 2 5.2″ rumored to be waterproof

It was rumored earlier that HTC Butterfly 2 flagship will be coming as Q3 launch. As Samsung Galaxy Note 3 and LG Optimus G2 have already been announced, HTC is now fueling up the smartphone market with rumors about its upcoming flagship.

Untitled

Judging from the leaked pictures, HTC Butterfly 2 fills the gap between 4.7″ HTC One and the huge 6″ HTC One Max Tablet with a 5.2″ full HD display. The leaked pictures also predict the colors of the front panels i.e white, black and blue. Snapdragon 800 is expected to be running the smartphone. What’s exciting is that the device will be waterproof. Looks like HTC has finally started learning from its rivals.


The second Butterfly edition is said to come with an UltraPixel camera and Boomsound frontal speakers then, so all in all, a pretty awesome handset to look forward to.

We might see HTC Butterfly by next year January and no earlier than that, say sources.

|Source

How to install CWM and Root Samsung Galaxy S4 Mini GT-I9190/GT-I9195 [Guide]

24
How to install CWM and Root Samsung Galaxy S4 Mini GT-I9190/GT-I9195 [Guide]

Through this guide, you can install CWM and Root Samsung Galaxy S4 Mini. Samsung has started a trend of pulling out the minimized versions of its flagship devices, following the trend, Samsung introduced the mini version of it’s popular and most recent flagship the Samsung Galaxy S4. Samsung Galaxy S4 mini hit the shelves occupying a 4.3-inch qHD Super AMOLED display, a Qualcomm Snapdragon 400 Dual-Core Krait CPU clocked at 1.7 GHz, 2GB RAM and 8GB internal memory with an sd card slot. It sports an 8 MP camera at the back, while 1.9 MP on the front. Out of the box, the device runs on Android 4.2.2 Jelly Bean.

CWM and Root Samsung Galaxy S4 Mini

I hope that recap was enough in case you forgot. Getting back to the topic, Some of you might be looking to enjoy the locked features on your device or unable to install the apps which require root access or you may be looking to modify your device by flashing some mods or custom ROMs. While this isn’t possible without having root access, to fulfill your need we’ll learn today how we can Root Samsung Galaxy S4 Mini GT-I9195 (LTE) and GT-I9190(3G).

Before we begin, I would like to take some precautions. Follow this guide to the letter to avoid any mishap.

Rooting your Samsung Galaxy S4 Mini will void its warranty. Make sure that you do it at your own risk.

While rooting your phone, please keep it in mind that the Root Process isn’t official and has nothing to deal with Google Inc and the device manufacturer, which is Samsung in our case. Follow the guide carefully to prevent any damages to the device as the method is completely custom.

Check your device’s model form Settings>About Device>Model and select and download files for your device carefully from the attached links below.

Install CWM and Root Samsung Galaxy S4 Mini:

Make sure that you have the battery charged over 60 % and have backed up all your important ContactsCall Logs & MessagesIt is highly recommended in case of any mishap or data loss to backup all your important data.

Files you need to download:

Samsung Galaxy S4 Mini GT-I9190:

Galaxy S4 Mini GT-I9195:

How to Install CWM Recovery:

    1. Extract the downloaded CWM recovery file for your device once.
    2. Open Odin
    3. Put your phone in download mode, in order to do so turn off your device by pulling out the battery or by long pressing the power button and wait for 30 seconds. Turn it on by press Volume Down + Home Button + Power Key simultaneously and wait until it shows you a warning. Press Volume Up to continue, now your phone should be in download mode.
    4. Connect your phone to the computer using the genuine data cable, as soon as your phone is detected the ID:COM should turn blue or yellow in your Odin screen depending upon your Odin version.
    5. Select the PDA tab and give it the extracted CWM file.
    6. Make sure that the options selected in your Odin are exactly as shown below.Screenshot_2
    7. Hit start, the process should be fast, as soon as it ends you should see a PASS indicator in the Odin screen and your device should restart.
    8. Congrats! You have the ClockworkMod recovery install now. To boot into recovery, turn off your device and then turn it on by pressing Volume Up + Home Button + Power Key simultaneously and it should boot into the custom recovery now.

How to Root your Galaxy S4 Mini:

    1. Place the downloaded root file for your device and place it on your device’s SdCard.
    2. Boot your phone into the recovery mode. In order to do so, turn off your device and then turn it on by pressing Volume Up + Home Button + Power Key simultaneously and it should boot into the custom recovery now.
    3. Select Install zip from sd card > Choose Zip and select the file you placed on your SdCard.
    4. Select yes in the next step and it should flash the rootkit file.
    5. As soon as it gets done flashing the rootkit, reboot your device.
    6. Congrats! You’ve rooted your device + you’ve already installed the CWM recovery!

Now wondering what to do with your rooted phone? 

Here’s the answer for you!

Rooting your phone gives you complete access over all the data which is apparently locked by the manufacturers. This includes removal of the factory restrictions and making changes to the internal system and the operating system. Gaining the root access gives you the privileges to install various applications to enhance the performance of your device, allows you to remove the built-in applications/programs, helps you to upgrade the battery life of your device & install the apps which require the root access for the proper functionality and modify your device in so many other ways e.g using mods and custom ROMs.

How to keep Root after OTA Updates

The OTA updates rolled out by the manufacturers wipe the root access on your phone. In case you don’t know how you can restore the root access after OTA update, you’ll have to root your phone once again, but there is no need to do it as you can restore it using the OTA Rootkeeper App which is available in the Google Play Store. The app creates the backup of your root and simply restores it after an OTA update.

Credits: If the guide helped you, please donate to the original developer HERE.

That’s All! In case you face any issues, or need any assistance feel free to leave us a comment, we will try our best to sort it out. Thank You All!

Speed Up iOS 7 On Older Devices.

0
Speed Up iOS 7 On Older Devices.

Here’s how you can Speed Up iOS 7 On Older Devices. iOS 7 has been released for iPhone 4 and further iPhones, but there are some limits for hardware to endure such high-level OS. If you are using iPhone 4S or below, you will notice that iOS 7 is a bit laggy on it and won’t running as smooth as it is on iPhone 5 or iPhone 5S. Thankfully there are some tricks that can help you to increase the speed of iOS 7 running on older devices. But before we begin, remember these things:

These tricks will not make it feel like a new iPhone any some of the features you will find attractive or useful, but they will increase the performance of your older device running iOS 7, or you can just wait till your contract is up so you can buy a new device.

Speed Up iOS 7 On Older Devices

Clear Space:

If you have listened to our advice and ready to speed up your device, first of all, make some space in your device, if your hard drive is full, remove some apps and clear some space, it will be resulting in a speed boost. To see the free space, Go to Settings > General > Usage, at the top of the page under Storage Header you will see how much free space you have. Along with that, you will find a list that will show you how much space an app has taken. Delete all the unnecessary apps, just Tap and Hold on the app until it starts Wiggling and Tap the X in the upper left corner.

Photo_Sep_26,_2_50_52_PM_270x405

Kill The Background Processes:

The best way to increase the speed on any device is to make sure that there is no unnecessary background apps are running, sometimes an app refreshes itself on the back and that process lags your on-screen app. It’s another great way to preserve the battery life. On the other hand, disabling automatic updates can also help you in saving the battery life and increasing the speed. To disable such feature, Go to Setting > App Store, scroll down to the Automatic Updates section and turn off the Apps and Updates, and if you want more, Disable the automatic downloads for Music and Books too.

Photo_Sep_26,_2_50_52_PM_270x405


Disable Auto Background Refresh:

Apps refresh their content whether there is a need of them or not, for example, Facebook will refresh the news feed after the time interval set, without your knowledge. The process will take the CPU along with the Battery of your iOS device. So in order to kill that, Go to Settings > General > Background App Refresh and flip the toggle switch off or turn the apps off manually.

BackGround-App-Refresh-iOS-7

Turn off Transparency, Blur, and Parallax :

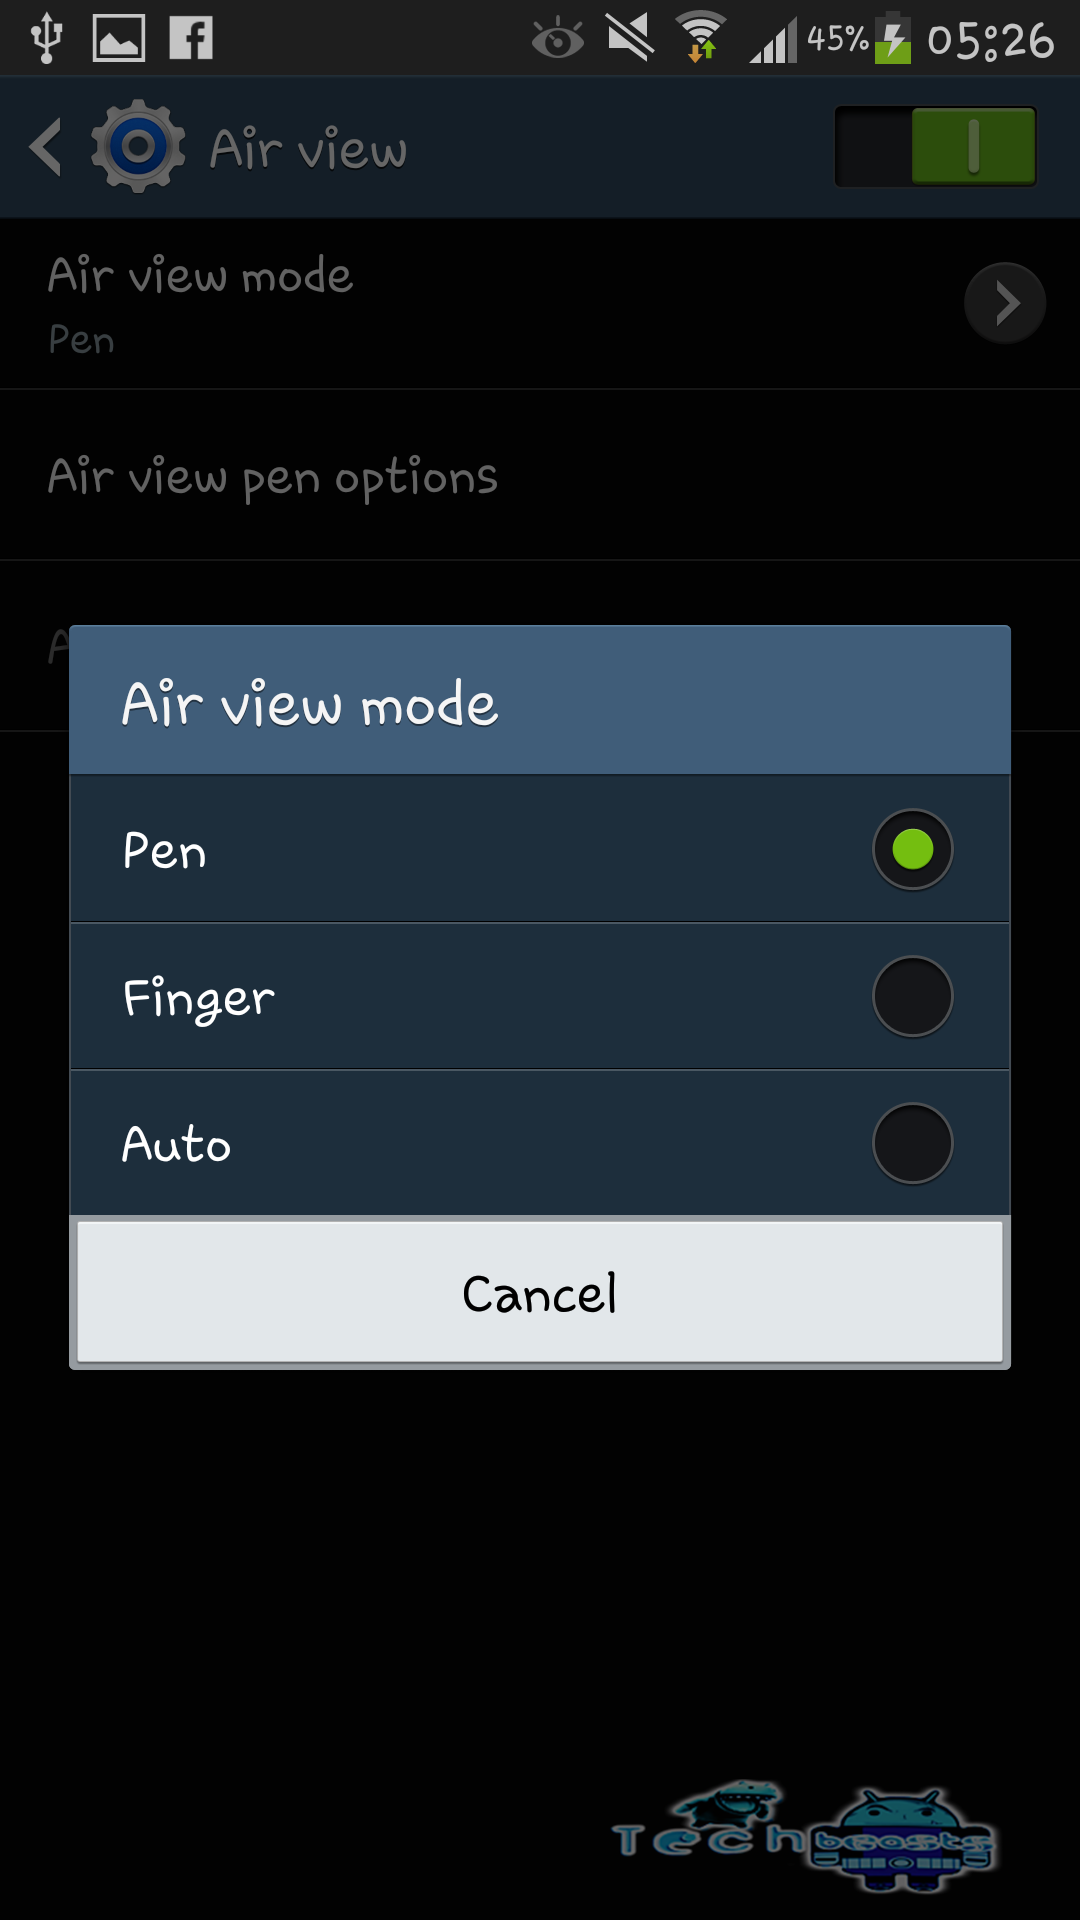
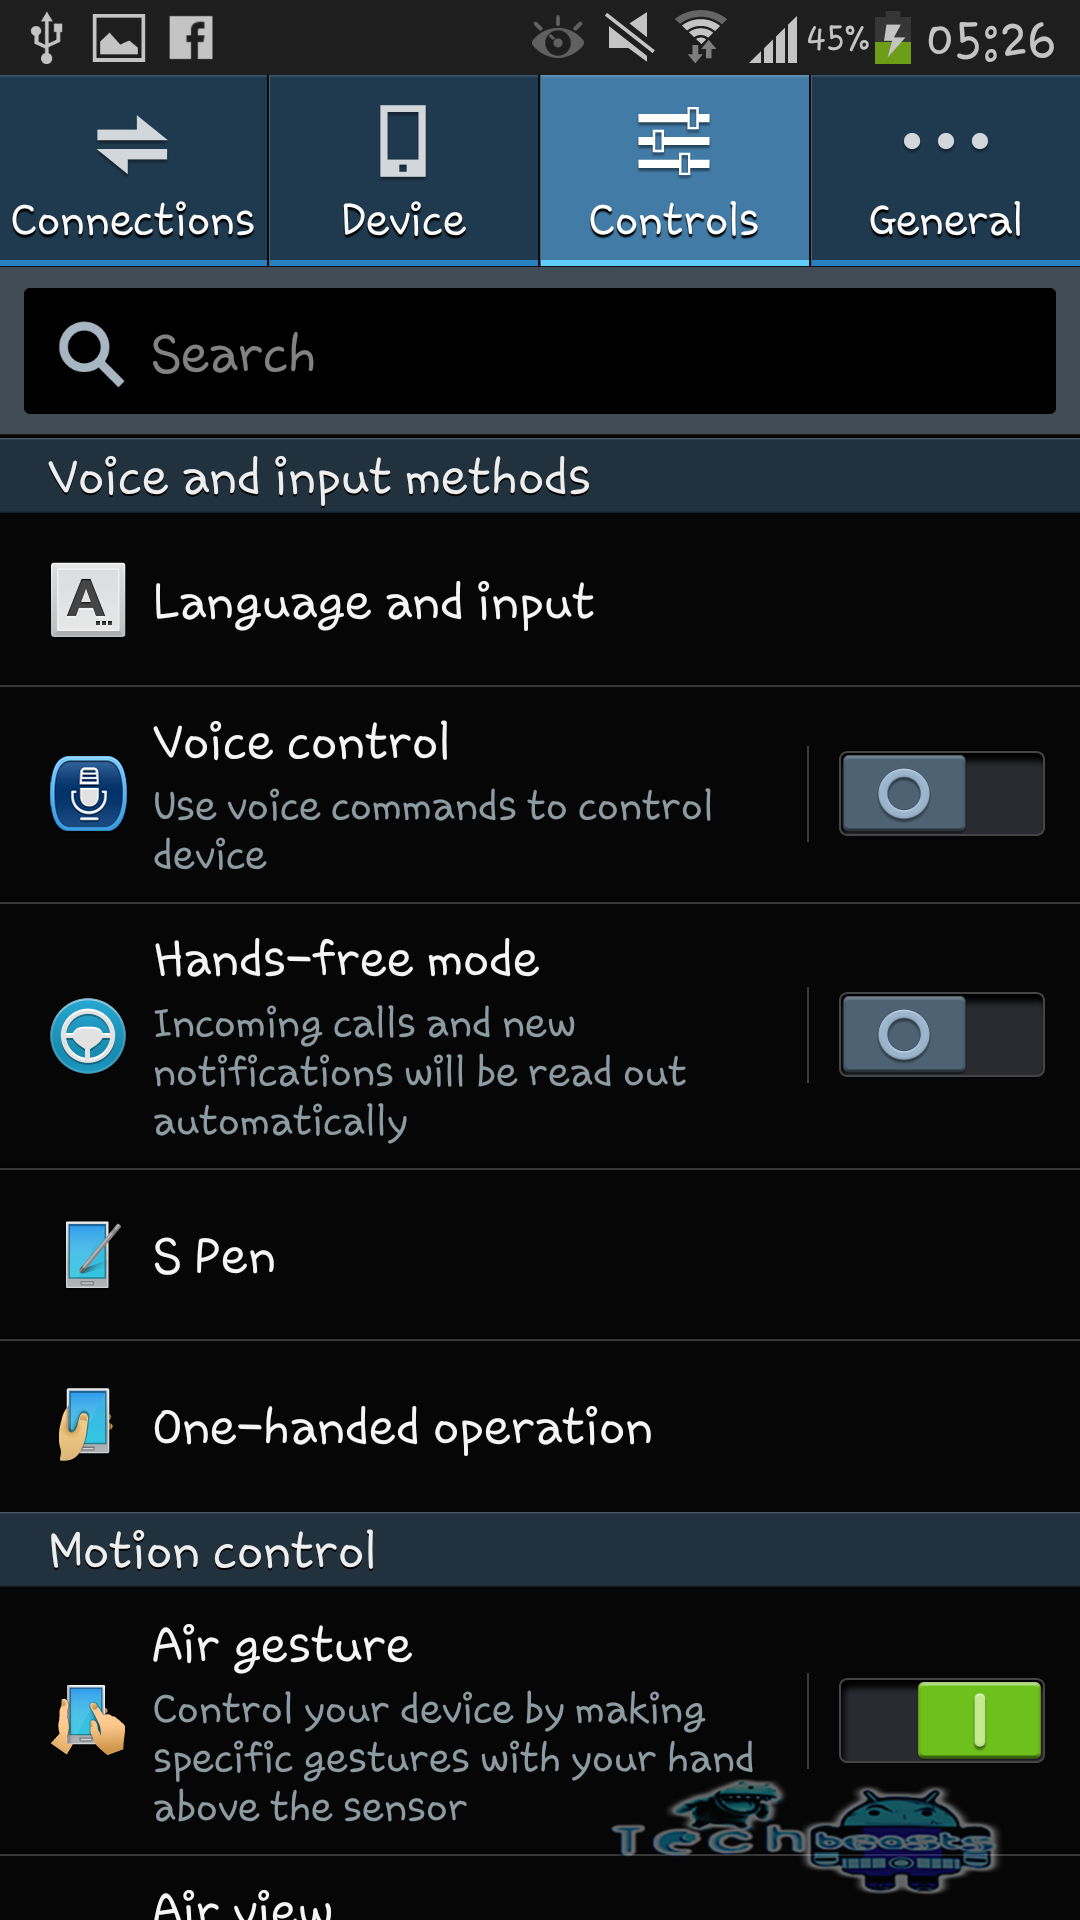
All the new animations in iOS are a good cause to decrease the speed of your iOS device. Turning off all these animations can increase the speed of your device, To do that go to Settings > General > Accessibility and Tap on Reduce Motion. On the next screen, flip the slider on, it will reduce the motion including the parallax effect of a screen.
Photo_Sep_26,_2_48_21_PM_610x458


Hope all these tricks help you to increase the speed of the iOS device if you have any problem, feel free to comment below.