Home Blog Page 484

How to Get Flappy Bird on BlackBerry

0
How to Get Flappy Bird on BlackBerry

BlackBerry owners, are you feeling jealous or sad that you couldn’t get your hands on Flappy Bird while the game was there? Well, the most frustrating game ever has come to an end as the developer has removed it from the Google Play Store and iOS app store. Many of the people who couldn’t get their hands on the game while it was available, might be in sorrows now. It’s a bit hard to get the app on Apple devices but you can still get this app on Android devices as we pulled out the APK file for our viewers.

In the following post we’ll be installing Flappy Bird on BlackBerry 10 smartphones using the APK file. So just in case you own BlackBerry Z10, Z30, Q10 or Q5 or any other device powered with BlackBerry 10.2.1 OS and you’re eager to play this most challenging game on your BB 10 device, the following post is definitely for you. Let’s move ahead and get it installed on your device.

How to Install Flappy Bird on BlackBerry 10 Device:

      1. Make sure that your BlackBerry device is running on BlackBerry OS 10.2.1
      2. Download Flappy Bird APK v1.3 from here.
      3. Copy the downloaded APK file to your phone.
      4. Locate the copied file on your phone and tap it.
      5. Once tapped, it will start the installation.
      6. Complete the installation and go back to the homescreen of your phone.
      7. Navigate through Apps and find Flappy Bird.
      8. Open the game – Play it.
      9. Phewww! That’s All. Don’t hit your phone on the floor just because you couldn’t score 10 on the game 😀
      10. Enjoy!

Guide to Install Android Apps [APKs] On BlackBerry 10 Smartphones

0
Guide to Install Android Apps [APKs] On BlackBerry 10 Smartphones

In this great warfare of Apple’s iOS devices and Google’s Android powered Samsung’s Galaxies, HTC, Sony’s Xperias and others, BlackBerry is still the best choice among a number of users, specially those running businesses are die hard fans of BlackBerry’s services. In the recent past, BlackBerry’s charts have been going down and to give a lift to it’s drowning ship BlackBerry brought it’s most precious app BlackBerry Messenger for Android and IOS users. BlackBerry 10 series hasn’t been able to earn BlackBerry much respect and maybe that’s the only reason pumping up BlackBerry to move towards something new and add some cream on it’s dull cake to make it light.

With the latest BlackBerry OS update [10.2.1] BlackBerry has added the ability to install Android’s APK files in it’s OS. Just in case some of you are not familiar, APK stands for Application Package File and is exactly same as that of .exe files for windows. This refers to setup files basically, that means APK files have the setup of Android Applications packed inside. This sounds quite awesome right? Well, this may win BlackBerry some cool reviews as well and add charm to it’s OS. BlackBerry 10 powered devices include Z10, Z30, Q10 & Q5.

What’s the big deal here is, BlackBerry 10 powered devices will be able to run all of the most viral and popular apps that have just brightened the name of Android. Although there will be no play store and as the title suggests, you will have to install Android Applications on your BlackBerry 10 device using APK file of your desired application.

You may be wondering how you can get an APK file and how you will be able to install it, well we will definitely get you through the procedure and end up having your desired apps installed on your phone. Let’s go ahead.

How to find an APK file of your desired app:

In this case a little googling can be the life savior. You simply need to find for an APK file using your desired apps’ name followed by .apk extension at it’s end. For example you need to find the APK file for Flappy Bird, you will simply type “Flappy Bird.apk or Flappy Bird apk” in Google search and it will immediately show you the working links you can select from. Although this works fine but we recommend using our guide that can help you to download APK files straight to your PC and you can then copy the APK files to your BlackBerry phone.

How to Install APK file on your BB 10 device:

      • Copy the downloaded APK file to the storage of your BlackBerry device.
      • Locate the copied file on your BB device and tap / open it.
      • In case you’re unable to locate the file, use your phone’s search option to do so.
      • Once tapped, the APK file will begin the installation. Hold on while it completes.
      • Once the installation is finished, close the opened window / file manager and get back to the homescreen.
      • Navigate through the BlackBerry App Menu and locate the application you installed now.
      • Open the application and run it.
      • It will run exactly as it runs on any Android device.
      • Phewww! That’s all with the installation!

BBAndroidApp BBAndroidApp2

Although the update by BlackBerry officially allows the installation of Android applications on BB 10 powered devices, but it maybe kept in mind that BB 10 devices are not the Android devices to the core. Do not expect all the apps to work properly, you may face some apps crashing down because of smartphone compatibility.

That’s all. In case you got any queries or you face any difficulties regarding this post, please feel free to stop by the comment box below and drop us your words. We will get back to you as soon as possible. Thanks all.

Hill Climb Racing V1.14.0 Apk – Download Here.

0
Hill Climb Racing V1.14.0 Apk – Download Here.

Hill Climb Racing is one of the most addictive games available on Android, in the game you will start with the player named Newton Bill. He is an Uphill racer and he is embark on a Journey with such destiny in mind, where no one has ever reached before, Keeping in mind the Law of physics, I mean only where a car can possibly reach. This hill climbing will be quietly unique for you, since there aren’t much games that offer such experience and the cars will be different in each track thus increasing the fun in game. I have gotten through Users Reviews, as I do always before installing a game, those reviews were positive and everyone there loved that game.You can download this game From Google Play store, but we are hearing a lot of people having problem with Google Play Store, so we are providing the link of Apk File of Hill Climb Racing.

Hill-Climb-Racing-1

Before we get any further, lets look at the Features of Hill Climb Racing:

  • 14 different vehicles with unique upgrades (many different vehicles: bike, truck, jeep, tank etc)
  • Upgradeable parts include engine, suspension, tires and 4WD
  • 14 stages with levels to reach in each (Countryside, Desert, Arctic and the Moon! +++)
  • Share your score with a screenshot with your friends!
  • Cool graphics and smooth physics simulation
  • Designed to look good on low resolution and high resolution devices (incl. tablets)
  • Real turbo sound when you upgrade your engine!

How To Install Hill Climb Racing Apk.

Pre-Requirements:

  1. Allows your device to Install from Unknown Sources. Go to Settings > Security and Tap Unknown Source.
  2. Download Hill Climb Racing Apk: LINK

Screenshot_4


How To Install Hill Climb Racing Apk.

  1. Download the Above file.
  2. Connect your Device with PC.
  3. Copy the Apk file to your device.
  4. Disconnect the Device.
  5. Install the Apk like normal and Run Online the First Time.
  6. While installing, if ask for any Installation Process, Choose “Package Installer” and if there is a Pop-Up Choose “Decline”

If you Have any problems, Feel free to comment in the comment section below.

DynamicNotifications Gives Notifications A Splendiferous Look On Your Android’s Screen

DynamicNotifications Gives Notifications A  Splendiferous Look On Your Android’s Screen

Connectivity is the most important thing in today’s era and Android has paved way for the people to connect to their loved ones all around the world having fixed a small device in pockets with tons of Applications. A number of social chat messengers takes birth every day with and each of them has something unique to offer. What has added charm to this is, the Notifications. Quick notifications (whether these are missed calls, text messages, social messengers, emails or anything else) on Android have allowed the people to get the connected or come across the happenings related to them without any delay.

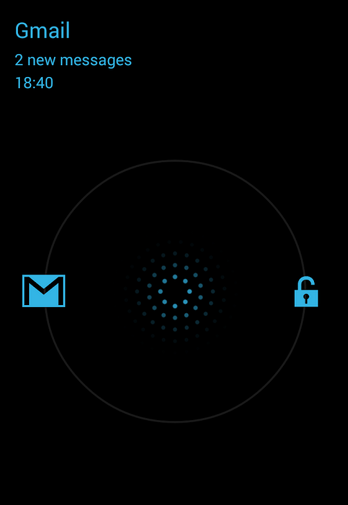
Android devices display notifications in bar atop of the screen, you can pull down the notifications bar and go for further details. All the social messenger’s notifications, email notifications, call logs notifications and all other apps display notifications in the notification bar and few of em’ like missed calls / sms messages display on the lockscreen of some devices as well, but how about giving the notifications an awesome look? and them displayed on the lockscreen of your homescreen with your desired style and desired background? Well that’s possible now. If you’re just tired of your phone’s old style notifications, then we’ve found something that will give our phone a new style. DynamicNotifications is a great app that displays the multiple notifications on your Android smartphone’s lock screen and makes it a lot easier to come across the missed things without unlocking your device and then opening the notification bar. The app shows it all on the go…

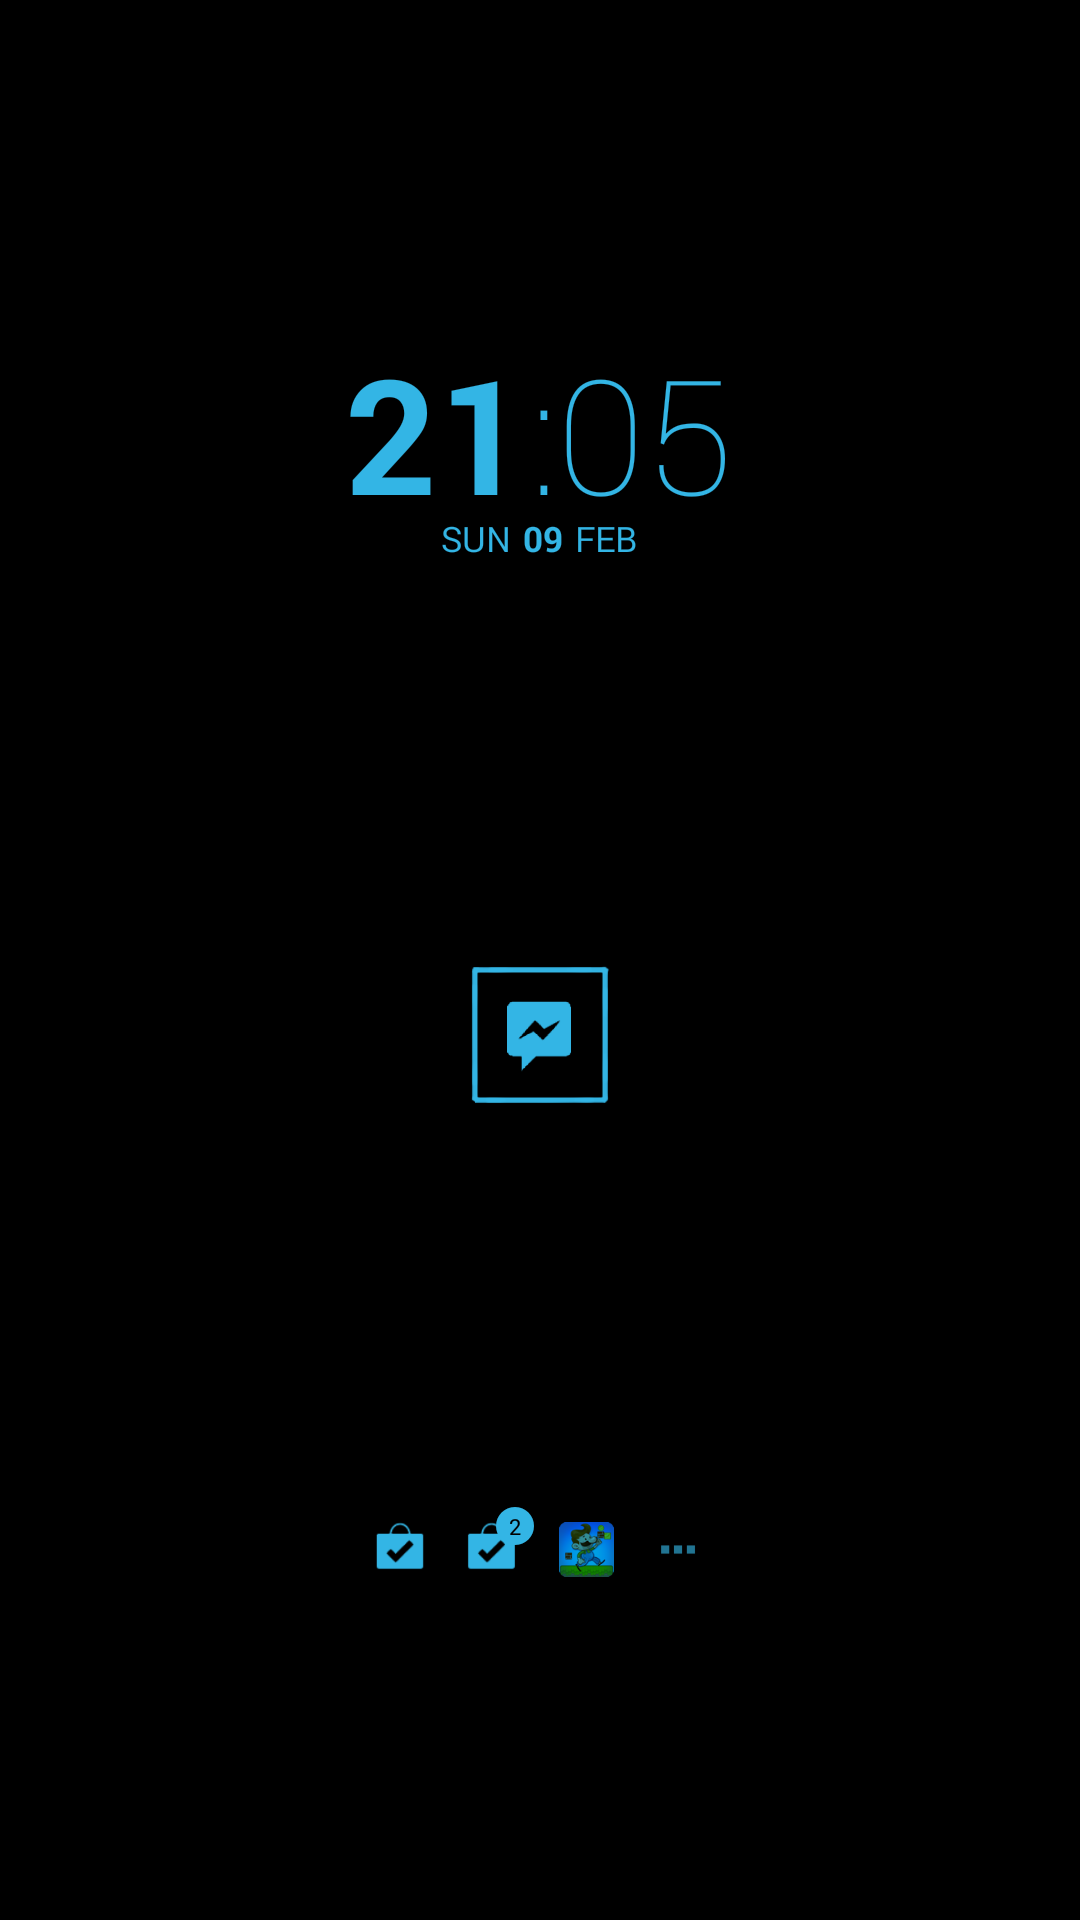
There’s a number of apps available in the Google Play Store that give a nice UI to the notifications on your Android device, but DynamicNotifications is prominent in that list having it’s unique style and offerings. The app allows you to display a notification screen on the lock screen of your phone. Whenever you receive something new, the app lights up your screen with it’s background that you can set in the settings and tells you about what’s new or else pressing the power key / home key shows you the UI of DynamicNotifications on the lockscreen. Pressing the app’s icon, from which the notification has popped up, shows you more details and you can simply drag that icon to unlock or drag it to open that specific app.

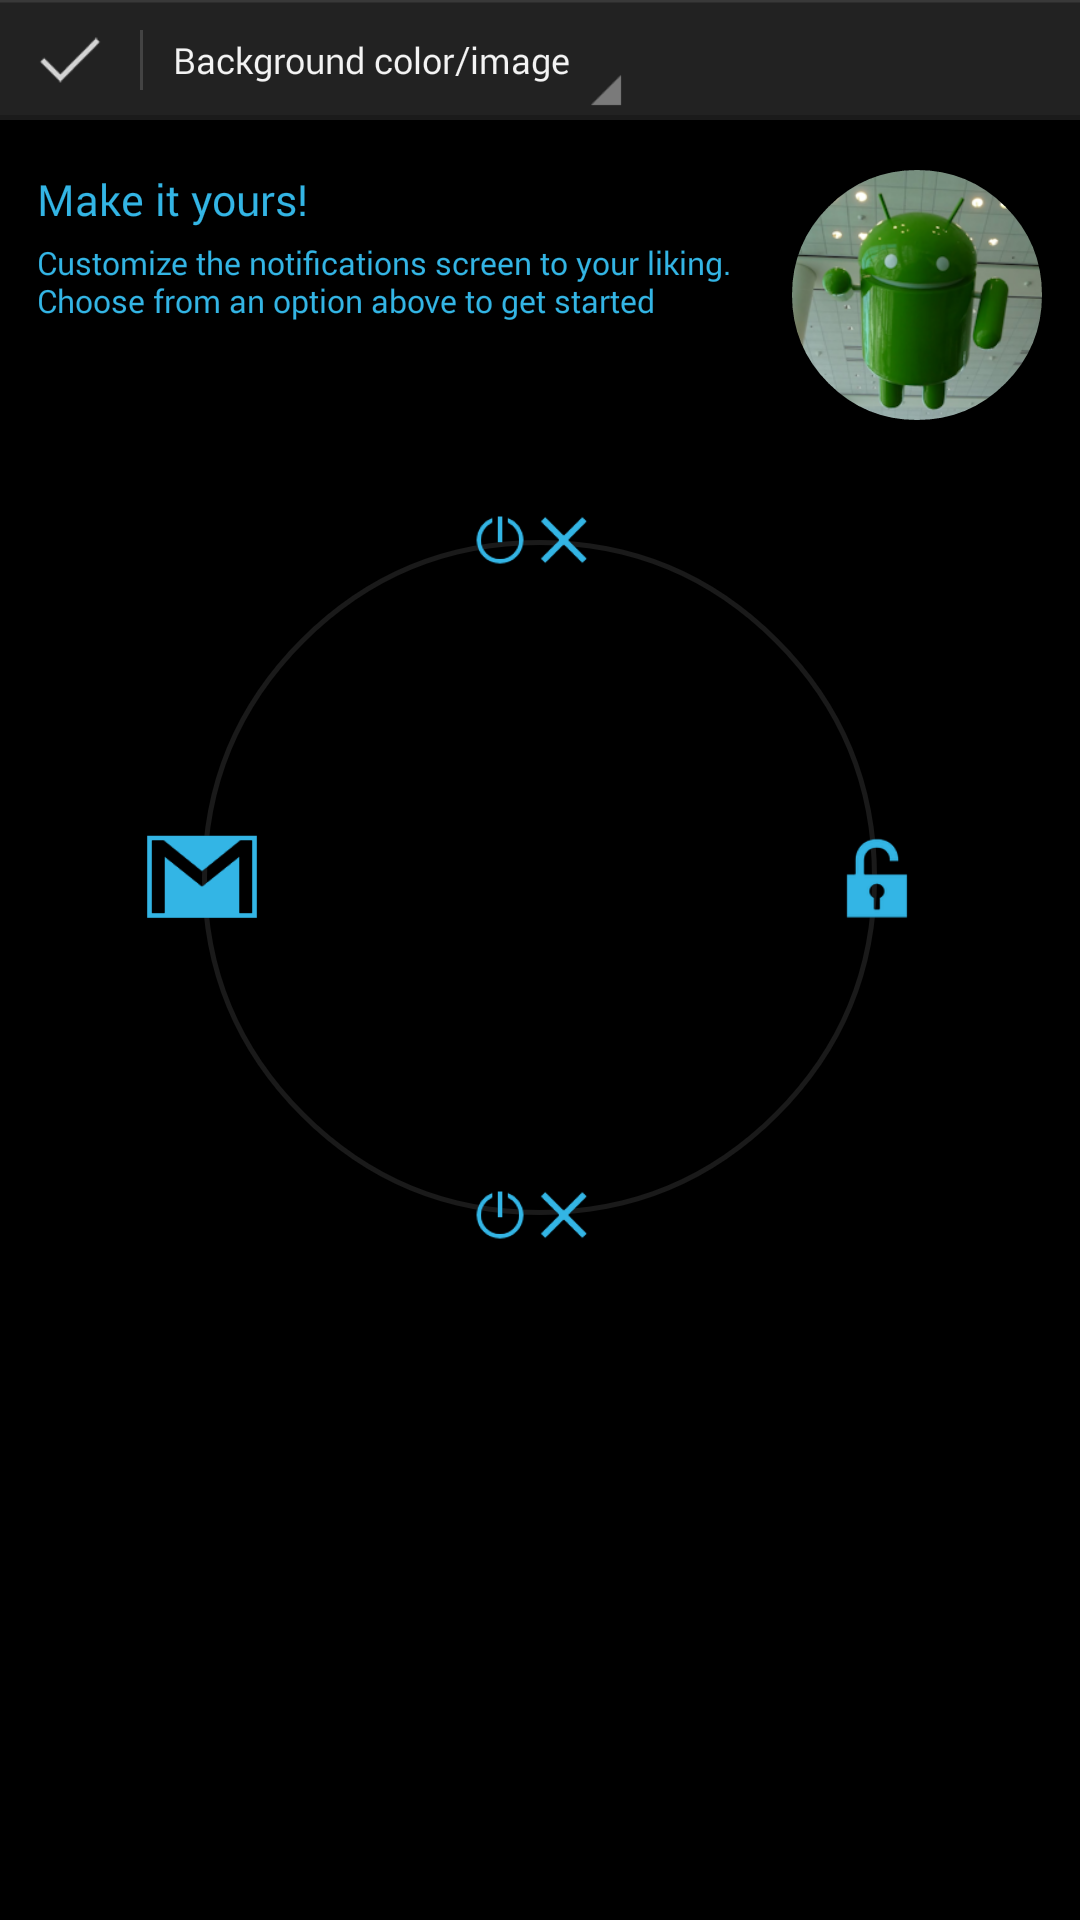
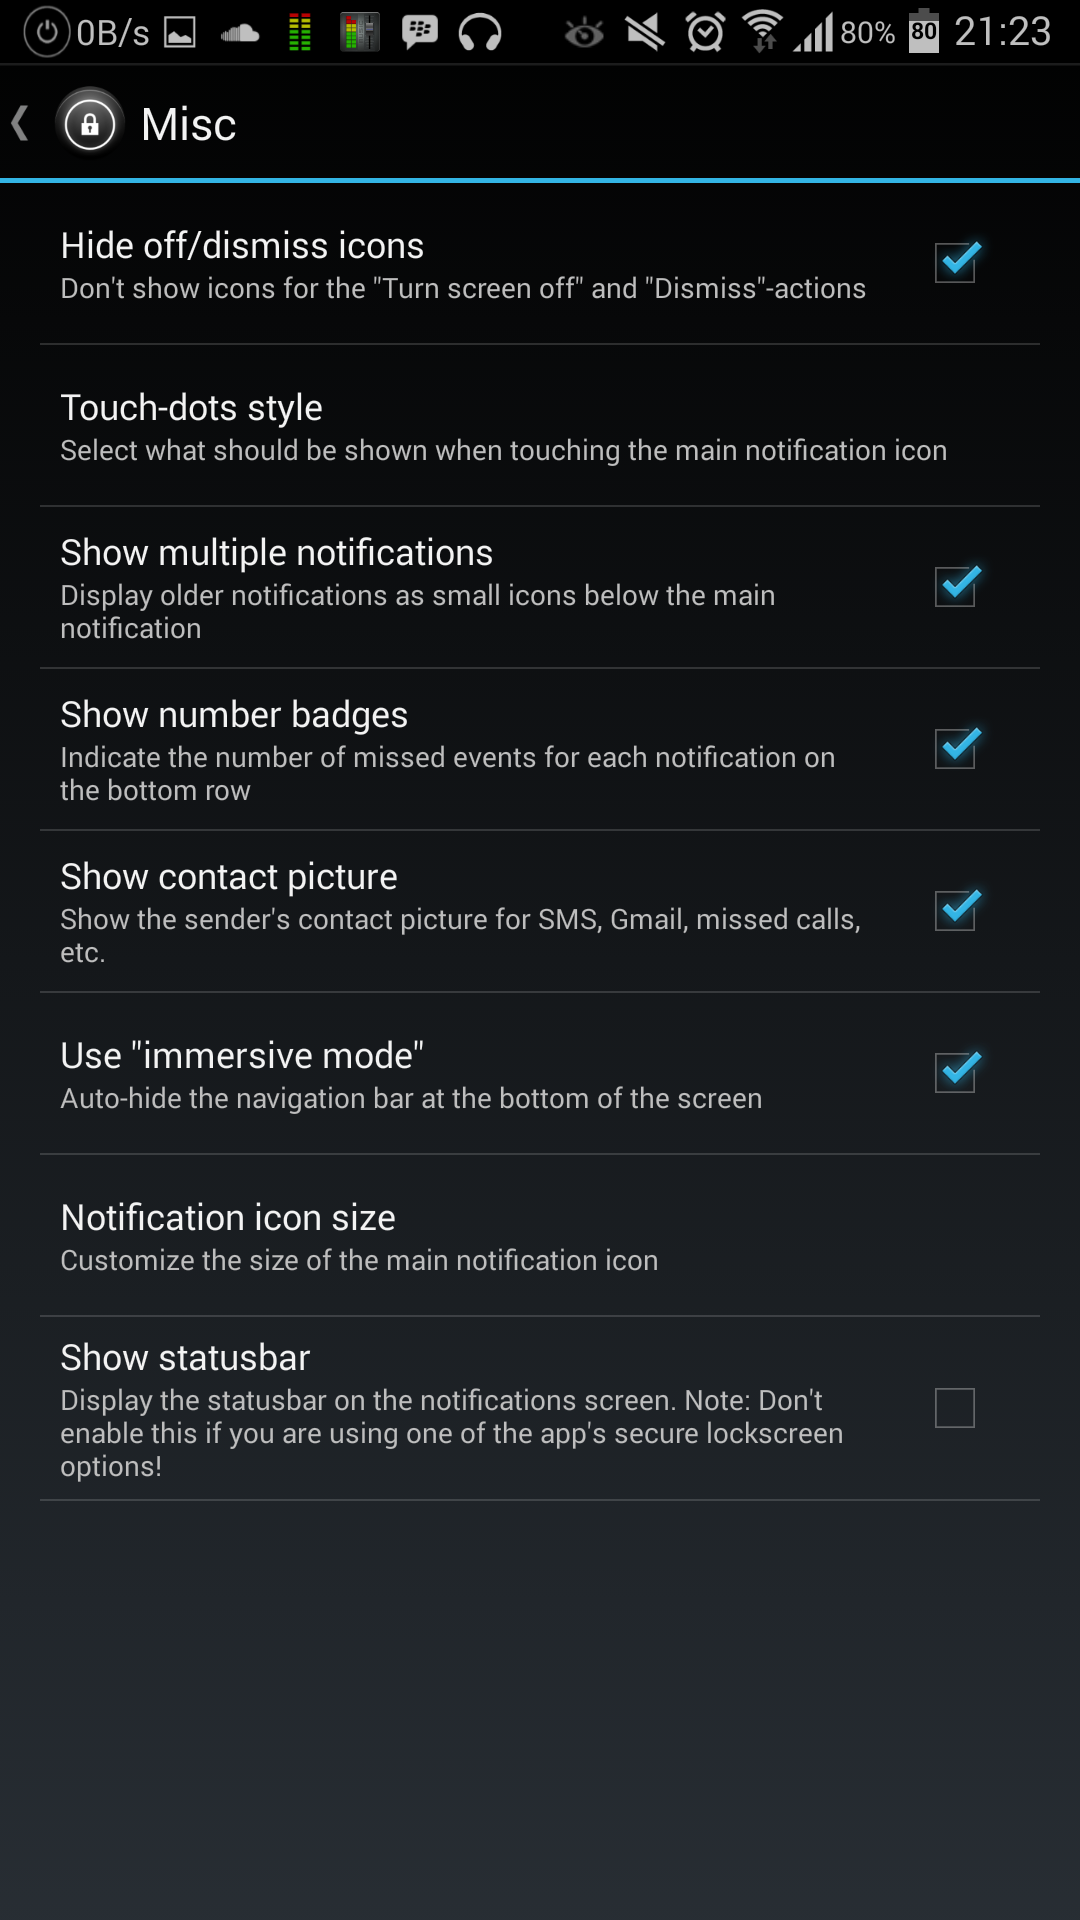
Dyamic Notifications comes pre-loaded with a number of options / modifications that you can made. These include complete modification the UI with a number of different Clock styles available inside the app. As mentioned, you can change the background image to one of those available in the app or else you can also pick up a custom background image and put it on the notification screen. Advanced options allow you to change the notification icon size, show multiple notifications, change touch dot styles and much more. For some more awesome features, a pro version of DynamicNotifications is available as well that only costs $1.99. Not too costlier specially when the app has something cool to implement.

Here are some screenshots from the app:

Dynamic Notifications _ Techbeasts (1)Dynamic Notifications _ Techbeasts (6)Dynamic Notifications _ Techbeasts (5) Dynamic Notifications _ Techbeasts (4)Dynamic Notifications _ Techbeasts (3)Dynamic Notifications _ Techbeasts (2)

You can download this app here: DynamicNotifications Free | DynamicNotifications Pro

Moto G, Root and Install CWM Recovery and Restore Stock Firmware With MotoTool[Guide]

0
Moto G, Root and Install CWM Recovery and Restore Stock Firmware With MotoTool[Guide]

Last year Google Purchased Motorola making everyone thinks that Android has another Serious player. To give itself a boost, Motorola Launched a High-end device Moto X and to give it more deep and wide reach, they also released a low-end device Moto G. While there are rumors regarding sale of Motorola to Lenovo, there is no doubt that both Moto X and Moto G are amazing smartphones. Moto G is cheap and in terms of specs a great device and its popularity among users promises some solid aftermarket development.

moto-g-1543

If you have already purchased Moto G and wishing to gain mush more control on it by rooting it, you are on the exact right place. This rooting method is way too easy for anyone to try.Alonsoch from XDA has developed a new multi-functional tool for the Moto G. Mototool is by far the easiest way to root your Moto G. Here is the list of features that Mototool can do:

  • Install stock recovery
  • Install ClockworkMod recovery
  • Install TWRP Recovery
  • Reboot Moto G in recovery mode
  • Reboot to fastboot mode
  • Install Moto G USB drivers to your computer
  • Restore Moto G back to stock (firmware version XT1032 US RETAIL)
  • Root Moto G by pushing SuperSU to SD

Necessary Requirements:

  • Time
  • Read all the tutorial
  • Moto g
  • Unlocked Bootloader
  • Enable USB debugging mode
  • Motorola USB Drivers: Link

Downloads:

MotoTool with Root and Recovery: MotoGRc1.1.zip ( To only Root the Device)

MotoTool with Firmware Restore Function: MotoGRc1Restore.zip ( To restore the Device to Locked Bootloader)

MotoTool Update Package: UpdatePackage 1.1.zip (To update Mototool)

Disclaimer: 

The methods involved in flashing custom roms and rooting your phone is highly custom and may result in bricking your device,and has nothing to do with Google or the device manufacturers which is Samsung in our case. In case of any mishap we may not be held responsible. Follow these instructions to the letter to avoid any mishap or bricking. Make sure that whatever you do, you are doing it at your own responsibility.

Warning:

Rooting an Android device Voids Manufacturers Warranty, this Rooting method for Moto G is tested and Found Working. If you don’t follow theProcedure as we instructed, You only are responsible for your device. We won’t be liable if any damage occurs to your device and/or its components.

All done and good, let’s head towards the Next page to See, How you can Root Motorola Moto G.

Pages: Page 1 | Page 2

Keep Yourself Motivated to Lose Weight with Nexercise

0
Keep Yourself Motivated to Lose Weight with Nexercise

Keeping the fitness of your body perfect is one of the essential parts of life specially in today’s era. In this busy world, schedules are getting tough, routines are getting messed up and one may lose the fitness having no time to perform some physical activities/exercises. With the advent of Android, iOS and other OS powered devices, it has eventually become a little easy to maintain routines, keep the things up to the mark on time and organize the things. Technology has definitely given the world a new direction, the highly functional gadgets thus play an important role in one’s life.

Android and iOS app stores are full of Weight loss coach apps / health / fitness and other similar categories. All these apps require you to go through different exercises and just give you a track record of your fitness with time. But that’s not really interesting? There are no rewards, there’s no fun in simply exercising and just seeing the status of our body’s fitness on the phone’s screen, there should be some fun activity at least to keep the interest alive in exercise. After having my weight increased by a few LB’s I’ve been trying to use different apps on my Galaxy Note 3 and trying to maintain my routine but failed using the bored fitness apps whether it’s Samsung’s default app or a 3rd party app but it doesn’t help enough to stay regular, but it looks like I’ll get regular now and lose the increased weight in short span of time as there’s an app that seems to help the people like me.

So, are you one of those wishing to lose their weight and something’s not letting that happen? Well, it maybe laziness, or maybe it makes you feel bored or there’s no motivation? if so then there’s something good knocking on the door that may help you to get rid of this state of being lazy and motivate you to get up and start exercising. We are talking about Nexercise, dubbed as fun weight loss by the developers.

Nexercise is a game-type exercise app consisting of different activities and upon completing each activity the users are rewarded with different prizes in app. With over 200 different activities, Nexercise allows the users to choose their favorite exercise and each activity / exercise has different rewards (medals). There’s a number of wight loss / health apps available for Android and iOS but Nexercise is one of it’s own kind that keeps the users’s interest alive and helps to maintain the body’s fitness at its best. It also keeps a track record of user’s fitness once the profile is settled up.

Nexercise 1

The app is absolutely free for both Android and iOS. You may go ahead and get it on your device right now and start losing your weight right from today.

Download: Android | iOS

Create Your Own Customized Widgets On Android With Zooper

0
Create Your Own Customized Widgets On Android With Zooper

Having a wast development platform and open source nature, Android has absolutely changed the world and gave it a new direction. Not only that, Android has paved a way for the developers and the users as well to enhance their development skills and ease their lives respectively. With the customization that Android has to offer, it has allowed the people to design their phone’s UI the way they want and put things on according to their liking. Not only that, Android’s modifications have also allowed the users to make system tweaks but that’s not a part of our concern right here as we are focused on the UI only here.

One of the basic things in an Android phone’s UI, that becomes the cream on cake is the use of Widgets. There are various in-built widgets on different smartphones inserted by their manufacturers according to the interface they are offering like Samsung’s TouchWiz, HTC’s Sense and others. Besides that, different apps also come with in-built widgets that allow the users to get everything on the go without having opened the whole app. If we specifically talk about the widgets to just make our phone’s homescreen look nicer, there are a few widgets that allow this but having limited options to select from. What we’ve found for you today is a Widget app named as Zooper that allows you to create your own awesome widgets and make your Android’s homescreen look sexy.

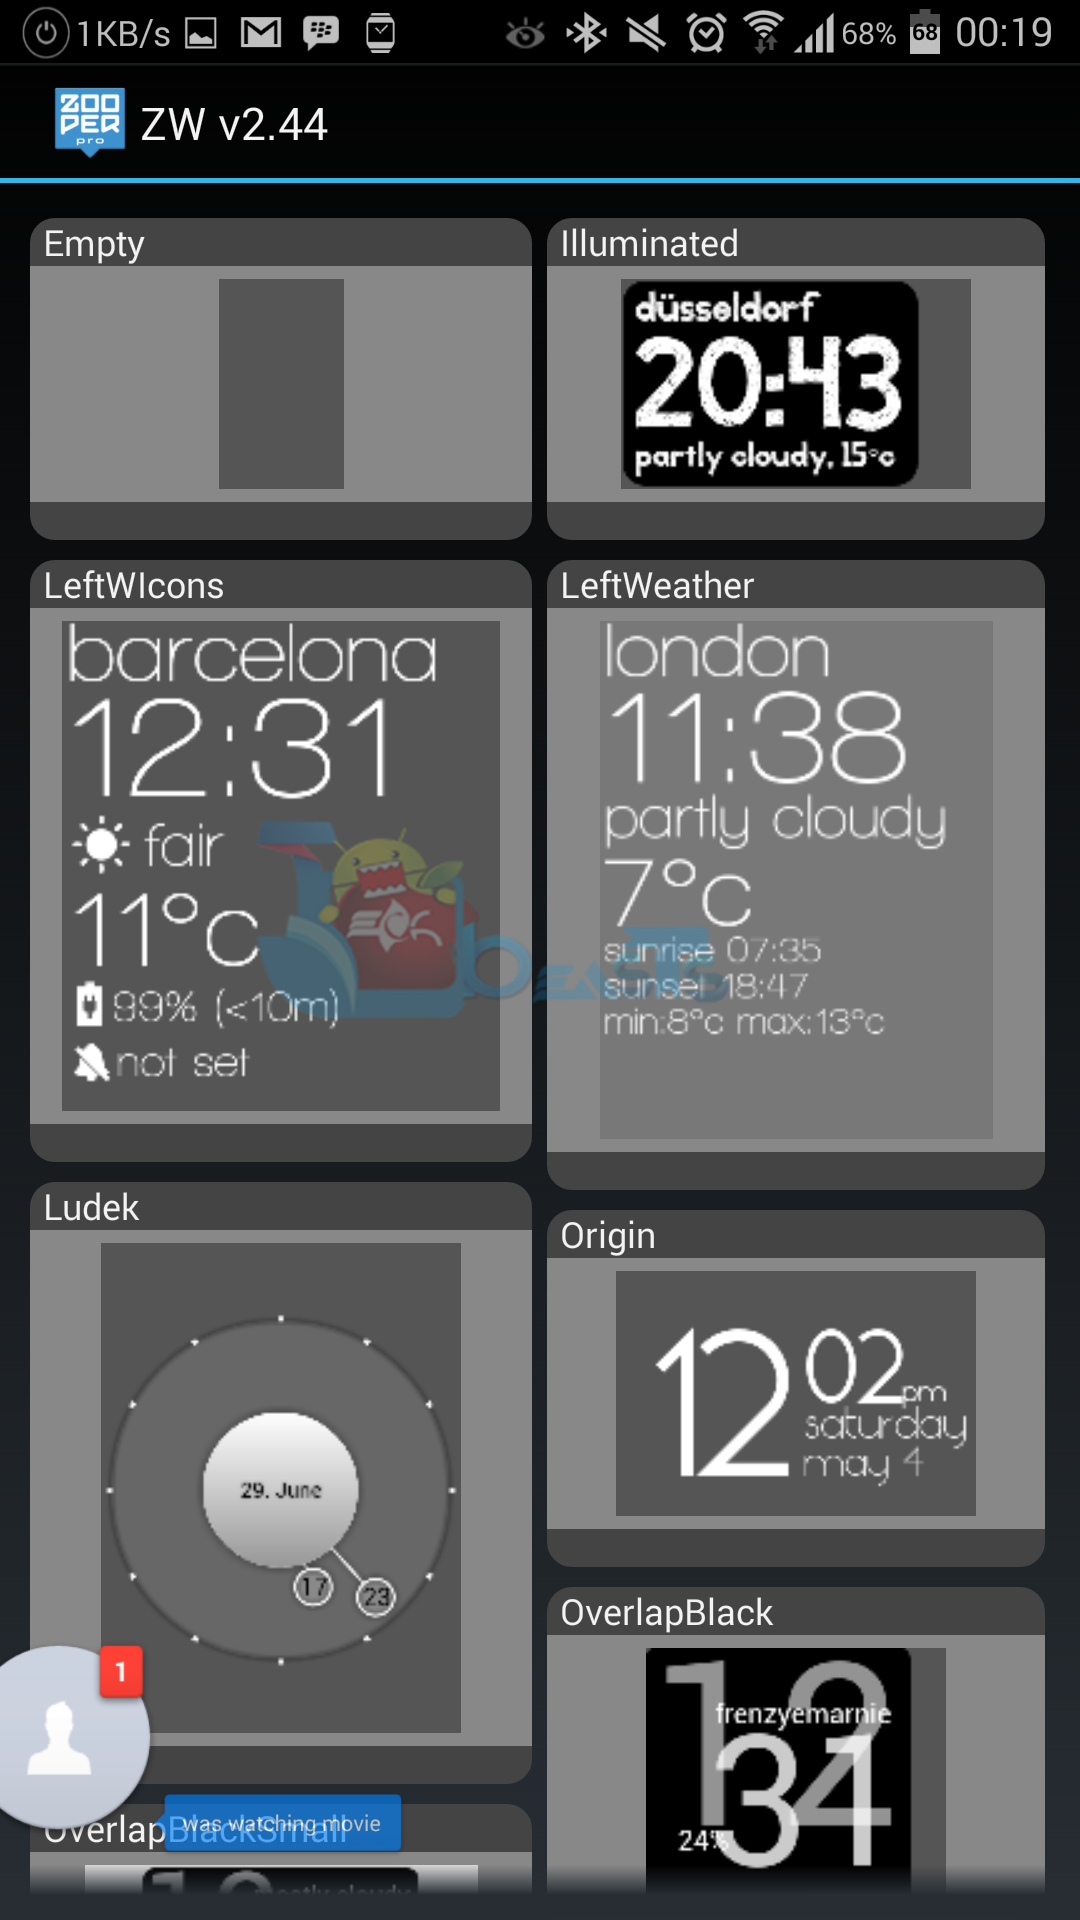
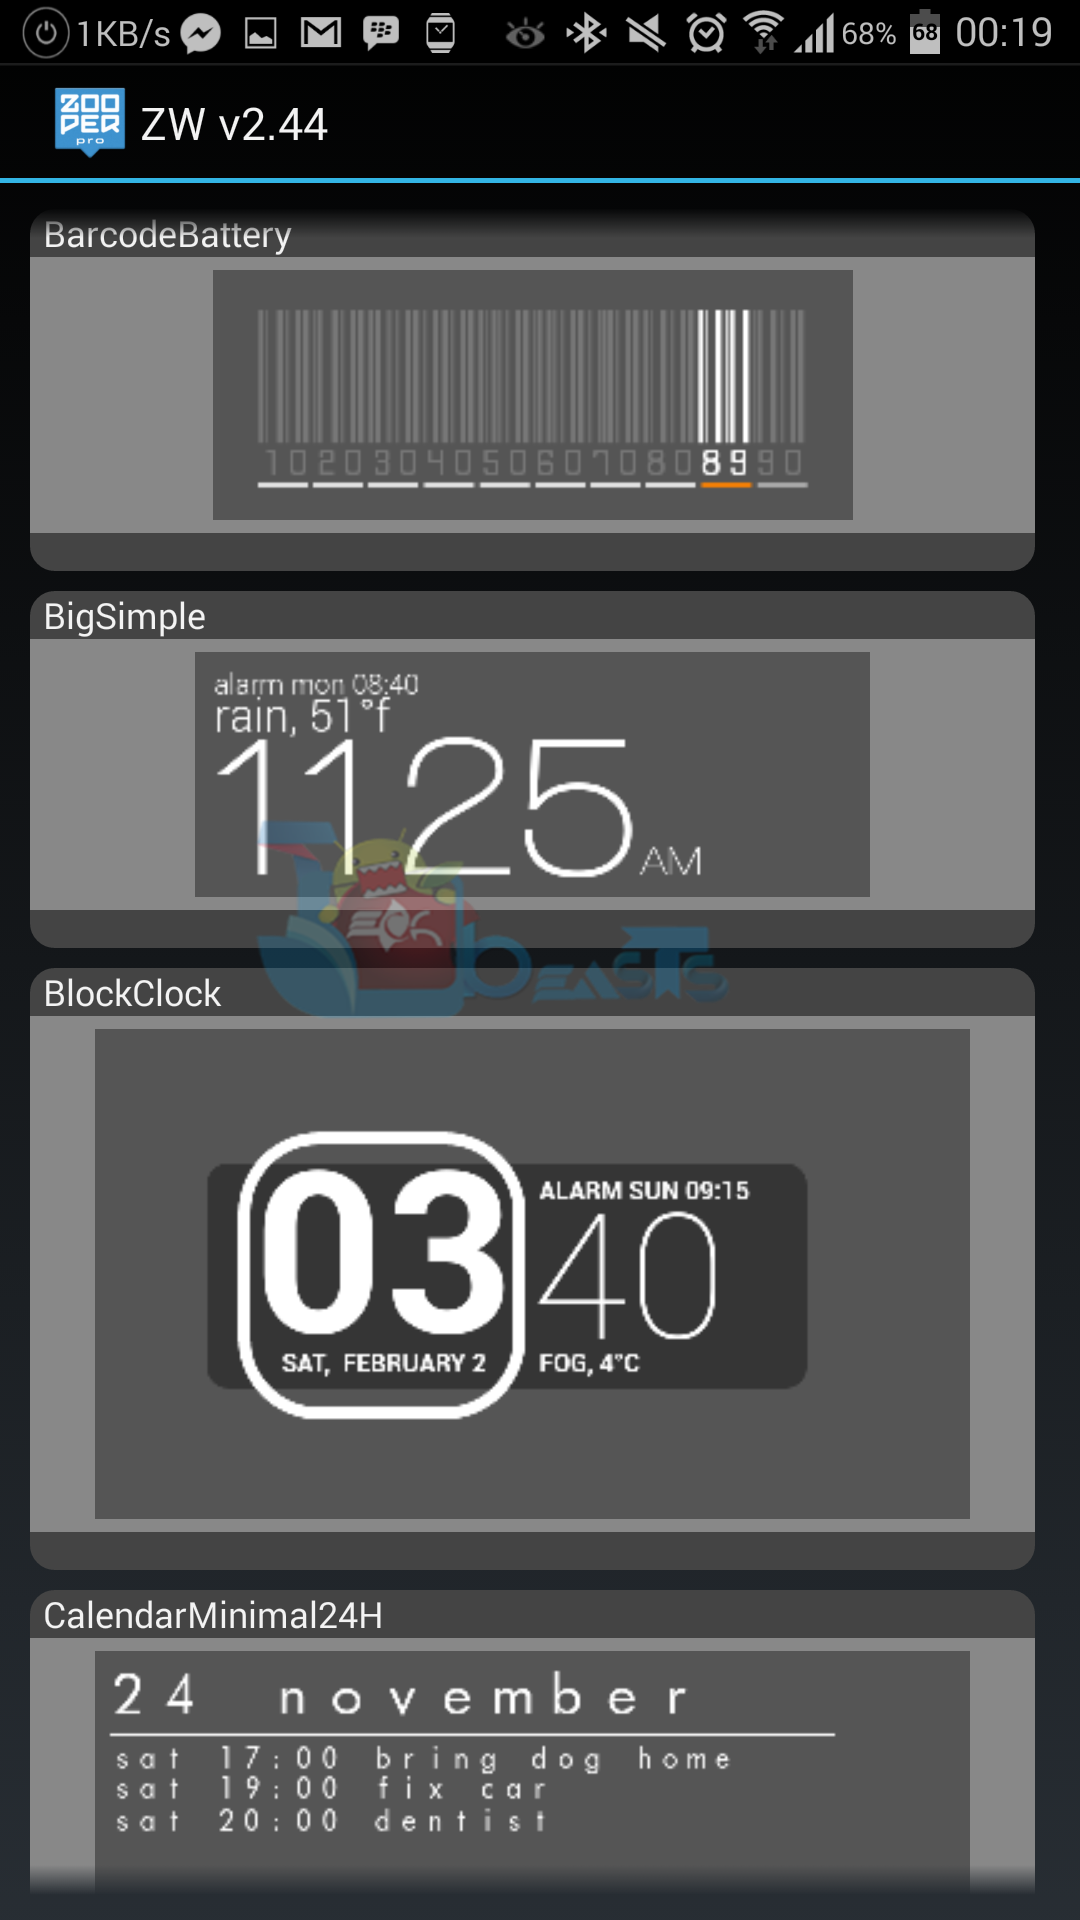
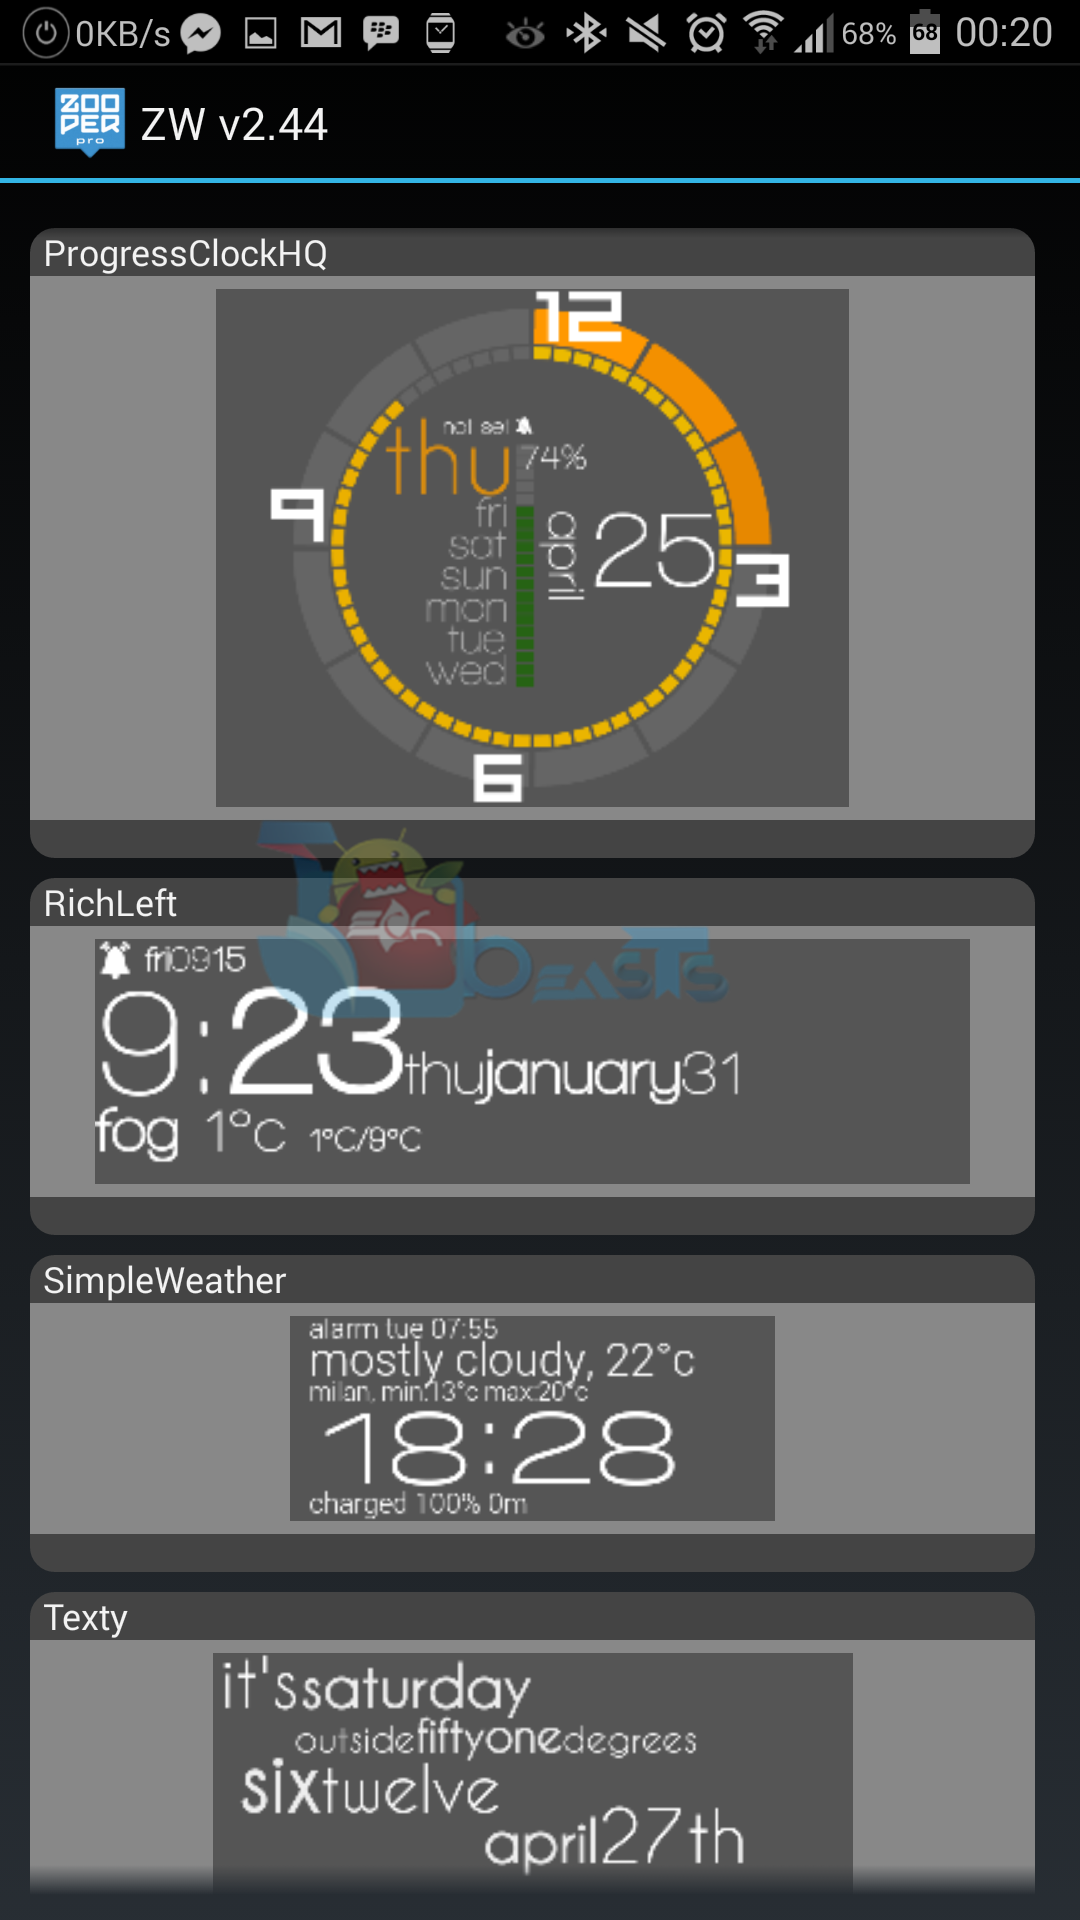
Zooper allows you to create your own custom widgets using the graphics, effects, variables and templates that it has by default. You can simply use all that data and give it a look the way you want. Zooper comes packed up with a number of sample templates that you may use on your phone or you may simply get an idea from and build your own accordingly. The key features include ability to create completely custom widgets, custom fonts, full math expressions, date calculations, battery info, system info, etc. Clock styles in Zooper are awesome, weather widgets also make the screen look neat and there’s an option to set the opacity of widgets as well. Zooper also offers a wide list of widget sizes that you can use to build your desired template. What keeps Zooper at the top of list is it’s minimal nature and extremely low battery consumption. This may be kept in mind when you use widgets that for high battery backup you always need to use lite widgets that doesn’t bother your phone’s CPU and that’s where Zooper becomes handy. There’s a pro version of Zooper available as well that allows you to save the widgets in your phone’s memory for use at a later time or transfer to another Android device and a few other features.

Zooper_Techbeasts (1)Zooper_Techbeasts (2) Zooper_Techbeasts (3) Zooper_Techbeasts (4) Zooper_Techbeasts (5) Zooper_Techbeasts (6) Zooper_Techbeasts (7) Zooper_Techbeasts (8)

Let’s have a look at the features of Zooper’s free version:

Sample templates included, no need to download anything else
– Some custom fonts already included, additional can be added on sdcard/fonts
– Create your templates easily, no functional limit, tons of variables and controls
– WYSIWYG editor with layers like Photoshop / Gimp
– Build your style and change everything: color, text, shapes, position and more!
– Completely customizable date and time (day of the year, week number, number to text…)
– Date calculations (countdown, time to or from any date, calendar event or system attribute)
– Full Math expressions supported (like Star Trek stardate)
– Battery info (remaining time, percentage, temperature, voltage)
– World clock (multiple timezones on the same widget)
– Weather for current or multiple locations on the same widget
– Up to 5 days forecast from multiple providers (Open Weather Map, YR.NO)
– Calendar info with free customization
– System info, like uptime, next alarm, SD card space
– WiFi network name, cell operator, signal strength, connection type
– Network traffic data stats for current day, week, month and more
– Missed calls, unread SMS, unread GMail (multiple accounts and labels)
– Sunrise, Sunset and Astrological Nautical or Civil twilight
– Moon Rise, Set and Illumination percentage
– Series for days, months and more!
– Completely dynamic and customizable TTF and PNG iconsets
– Static Bitmaps (PNG with alpha and JPG)
– Progress Bars customizable with any numeric variable such as min/max and value
– Tasker integration (see website)
– Jelly Bean lock screen support

Here are some samples from Zooper:
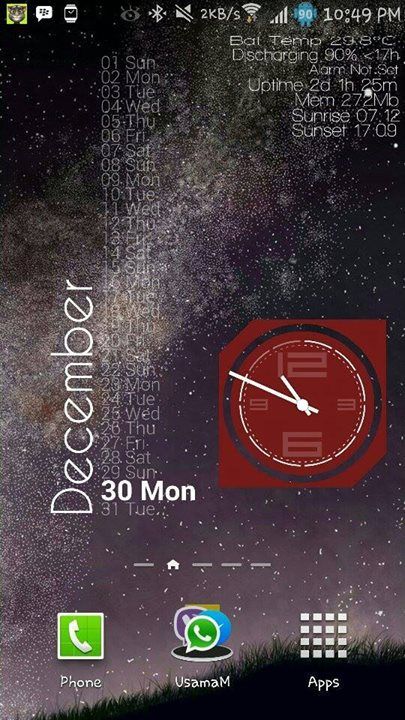
  ZooperSample2_UsamaZooperSample3_UsamaZoopertempZoopertemp2

You can get the free version of Zooper here, if you find this widget app impressive, support the developer by purchasing Zooper Pro here.

That’s All.

How to Root Samsung Galaxy Star Pro S7262

7
How to Root Samsung Galaxy Star Pro S7262

Galaxy Star Pro is widely being used to low end Android users at the moment. Samsung’s nice package offering a 4.0 inches screen with 233 ppi, 1 GHz Cortex A-5 CPU accompanied by a 512 MB RAM with a 1500 mAh battery on the base and a 2 MP camera at the back. A number of users have been asking us for a method to root Galaxy Star Pro, as we found one now, here it is.

In the following post we’ll be having a look on the detailed method. However if you don’t know about what is root acess and why should you root your phone, here’s a brief intro to the root access.

Rooting your phone gives you complete access over all the data which is apparently locked by the manufacturers. This includes removal of the factory restrictions and making changes to the internal system and the operating system. Gaining the root access gives you the privileges to install various applications to enhance the performance of your device, allows you to remove the built-in applications/programs, helps you to upgrade the battery life of your device & install the apps which require the root access for the proper functionality and modify your device in so many other ways e.g using mods and custom roms. By installing custom recovery, you can flash custom roms in the phone easily. Custom recovery also let’s you backup your current rom and restore it in case of any mishap. There is a laundry list of things you can do after having your device rooted and installed the custom recovery, now once you’re rooted and have installed custom recovery, go ahead and enjoy it on your phone. Here’s our collection of 10 Best Root Apps.

Here are some important instructions that you must follow before you head towards the root method:

    1. This guide is only for Samsung Galaxy Star Pro GT-S7262. Do not try this on any other device. Check your device’s model first in Settings > About Device.
    2. Your device must have at least 60% of the battery charged. This is highly recommended in order to prevent any mishap during the installation process.
    3. Make sure that you backup your important media content, ContactsCall Logs & Messages. This is highly recommended just in case something goes wrong and you need to reset your phone.
    4. Proceed only if you’re good at flashing / rooting processes. Do not go ahead if you don’t know what you’re going to do.

Disclaimer: The methods involved in flashing custom roms and rooting your phone are highly custom and may result in bricking your device, and has nothing to do with Google or the device manufacturer that is SAMSUNG in our case. Also rooting your device will void its warranty and you will be no longer eligible for any kind of free device services by the manufacturers/warranty providers. In case of any mishap we may not be held responsible. Follow these instructions to the letter to avoid any mishap or bricking. Make sure that whatever you do, you are doing it at your own responsibility.

How to Root Samsung Galaxy Star Pro S7262:

      1. Install CWM Recovery on your device.
      2. Download SuperSu and copy it to your phone’s SD card.
      3. Boot into CWM now. To do so, turn off your phone, now turn it on by pressing and holding Volume Up + Volume Down + Home + Power Key. In case this method doesn’t work, try anyone from our guide. You should be able to see the CWM recovery interface now.
      4. Now in CWM, select “Install zip > choose zip from sd card > select SuperSu.zip > yes” and flash it.
      5. As soon as it’s flashed, reboot your device.
      6. Find SuperSu in app drawer.
      7. Phewww! You’re rooted now. Enjoy root access.

That’s All with rooting your phone. In case you got any queries or you face any difficulties regarding this post, feel free to stop by the comment below and drop us your words. We will get back to you as soon as possible. Thanks All.

Galaxy S4 LTE I9505, Root Running Android 4.3 XXUENA4 Jelly Bean[Guide]

0
Galaxy S4 LTE I9505, Root Running Android 4.3 XXUENA4 Jelly Bean[Guide]

Before going any further, Follow the link to update your Galaxy S4 LTE I9505 to XXUENA4 Android 4.3 Jelly Bean:

Update Galaxy S4 I9505 To Android XXUENA4 4.3 Jelly Bean

Now that you have Updated your device to Android 4.3 Jelly Bean and as per rule of installing Official Firmware, your device will loose its root access. The only way to get it back, is by rooting it again. Rooting allows you to get full control over your device, Stock apps and mods are good, but installing Custom Mods gives you better support and great battery life, you might need to delete some Stock apps from the device, a non-rooted device can’t do that, but a rooted one has the power to remove stock apps too.

sku_247040_1

If you are familiar with Odin and it’s working, then this tutorial might not be difficult for you. Otherwise read the whole tutorial first before trying it on your device. In this Article, we will show you How To Root Galaxy S4 I9505 On Android XXUENA4 4.3 Jelly Bean.

  1. That you have a Well Charged Battery, 60%-80% is better.
  2. Back-Up all your important ContactsCall Logs & Messages.It is highly recommended in case of any mishap or data loss to back up all your important data.
  3. Back-Up your Mobiles EFS DataHow To Restore and Back-Up EFS Data On Samsung Galaxy Devices.
  4. Check your device model, Go To Setting > About and Make sure that it is GT-I9505.
  5. Do-not try it on Galaxy S4 I9500.

Disclaimer: 

The methods involved in flashing custom roms and rooting your phone is highly custom and may result in bricking your device,and has nothing to do with Google or the device manufacturers which is Samsung in our case. In case of any mishap we may not be held responsible. Follow these instructions to the letter to avoid any mishap or bricking. Make sure that whatever you do, you are doing it at your own responsibility.

Warning:

Rooting an Android device Voids Manufacturers Warranty, this Rooting method for Galaxy S4 I9505 is tested and Found Working. If you don’t follow the Procedure as we instructed, You only are responsible for your device. We won’t be liable if any damage occurs to your device and/or its components.

ll done and good, let’s head towards the Next page to See, How you can Root Galaxy S4 I9505.

Pages: Page 1 | Page 2

Galaxy S4 LTE I9505, Update To Android 4.3 XXUENA4 Jelly Bean Official Firmware[Guide]

0
Galaxy S4 LTE I9505, Update To Android 4.3 XXUENA4 Jelly Bean Official Firmware[Guide]

XXUENA4 Android 4.3 Jelly Bean is now available for Samsung Galaxy S4 LTE I9505, there are not much changes in it except a little performance enhancement and bug Fixes. You might have already received this update via OTA, Samsung has already started to roll over this Polished Firmware over Samsung Kies, so you can Grab it on Kies too. If you haven’t received it yet, you can follow our Tutorial below to find out how. We all know that Samsung is working on  Kit-Kat mode and the time is not long when they will release it for everyone, till then keep enjoying Android 4.3. Thanks to SamMobile, for providing us the firmware File that we will use in our tutorial below. This Firmware is totally Un-branded, which means it can be installed on any region unlocked device.

sku_247040_1

If you are familiar with Odin and it’s working, then this tutorial might not be difficult for you. Otherwise read the whole tutorial first before trying it on your device. In this Article, we will show you How To Update Galaxy S4 LTE I9505 To Android 4.3 XXUENA4 Jelly Bean Official Firmware.But before we begin, Make sure:

  1. That you have a Well Charged Battery.
  2. Back-Up all your important ContactsCall Logs & Messages.It is highly recommended in case of any mishap or data loss to back up all your important data.
  3. Back-Up your Mobiles EFS DataHow To Restore and Back-Up EFS Data On Samsung Galaxy Devices.

Disclaimer: The methods involved in flashing custom roms and rooting your phone is highly custom and may result in bricking your device,and has nothing to do with Google or the device manufacturers which is Samsung in our case. In case of any mishap we may not be held responsible. Follow these instructions to the letter to avoid any mishap or bricking. Make sure that whatever you do, you are doing it at your own responsibility.

Important things:.

  • Enable USB debugging mode.
  • Make sure that battery level is at 85% or more.
  • This Tutorial is Only For Galaxy S4 LTE I9505.

XXUENA4 Android 4.3 Firmware Details:

PDA:I9505XXUENA4
CSC:I9505YXXENA3
Version: 4.3

Root Warning:

Since Android 4.3 XXUGNA5 is an official Release from Samsung and it doesn’t require Root or Custom Recovery. But if your Device is rooted, Installing this Firmware will most likely to erase the Root of your device. You need to root your device again to gain root access and start installing Custom Tweaks on it

All done and good, let’s head towards the Next page to See, How you can install Android 4.3 XXUENA4 Jelly Bean Official Firmware on on your device, Galaxy S4 LTE I9505.

Pages: Page 1 | Page 2

How to Install CWM 6 Recovery on Galaxy Star Pro GT-S7262 [Guide]

How to Install CWM 6 Recovery on Galaxy Star Pro GT-S7262 [Guide]

Samsung’s low end Android device Galaxy Star Pro came up a few months ago in all it’s glory. The successor of Samsung’s popular Galaxy Star sports a nice 4.o inches display having 233 ppi, a RAM of  512 MP, 1 GHz Cortex A-5 CPU and 1500 mAh battery on the base while a camera sensor of 2 MP is fixed at the back. With what the device has to offer, it exactly sets in the price Samsung is selling at and hence becomes a choice for low end Android users or those who can’t afford an expensive device.

Whether a device is low end or high end, there are no boundaries for the development and we can always expect nice things to come up specially for Samsung’s devices. But to do all the nice stuff on your device, you probably need a custom recovery and root access. After receiving a lot of requests by the users on the site, I started looking for the root and CWM 6[ClockworkMod] for Galaxy Star Pro and ended up having found no method. Finally, I’ve found a working method now and going to explain how to install CWM 6 on Galaxy Star Duos GT-S7262 in the following post. In case you came here finding it, just move ahead with us and get it installed on your device.

Here are some pre-requisites and important instructions to follow before you head towards the CWM installation guide:

      1. This custom recovery is only for Samsung Galaxy Star Pro GT-S7262. Do not try this on any other device. Check your device’s model first in Settings > About Device.
      2. Your device must have at least 60% of the battery charged. This is highly recommended in order to prevent any mishap during the installation process.
      3. Your Laptop’s battery must be enough to perform the process. In case you’re using a desktop PC, make sure that your power connection is appropriate. This is highly recommended in order to prevent installation interruption due to power issues.
      4. Also, turn off your Antivirus or Firewall on windows if activated. This may help the phone to stay more relax.
      5. Use original data cable to establish connection between you PC and your Phone.
      6. In case you face connection issues, try enabling USB debugging mode on your device. To do so, open settings > developer mode > USB debugging > check it.
      7. Make sure that you backup your important media content, ContactsCall Logs & Messages. This is highly recommended just in case something goes wrong and you need to reset your phone.
      8. Proceed only if you’re goot at flashing / rooting processes. Do not go ahead if you don’t know what you’re going to do.

Disclaimer: The methods involved in flashing custom roms and rooting your phone is highly custom and may result in bricking your device, and has nothing to do with Google or the device manufacturer that is SAMSUNG in our case. Also rooting your device will void its warranty and you will be no longer eligible for any kind of free device services by the manufacturers/warranty providers. In case of any mishap we may not be held responsible. Follow these instructions to the letter to avoid any mishap or bricking. Make sure that whatever you do, you are doing it at your own responsibility.


You need:

  • Download and Install Samsung USB drivers – Get Here.
  • Download and Extract Odin3 v3.09 – Get Here
  • Enough confidence to flash a recovery :-)!

How to Install ClockworkMod Recovery on Galaxy Star Pro GT-S7262:

      1. Download CWM Recovery 6.tar.zip file for your device.
      2. Put your phone in download mode. To do so, turn it off completely, now turn it on by pressing and holding Volume Down + Home Button + Power Key, once you see the warning, press Volume Up to continue. In case this method doesn’t work for you, find one in our guide here.
      3. Open Odin3.exe
      4. Connect your device to your PC now. The ID:COM box in Odin should turn blue now. This indicates that your device is properly connected in download mode.
      5. Click on the PDA tab in odin and select the downloaded recovery.tar.zip file.
      6. Once the file is loaded, click on start.
      7. The flashing process will start and end quickly indicating “Reset or Pass” in Odin and your device will reboot.
      8. Phewww! CWM 6 is installed. Boot into CWM recovery now, to do so, turn off your device completely first. Now turn it on by pressing and holding Volume Up + Volume Down + Home Button + Power Key. You should see the CWM recovery interface now. In case this method doesn’t work for you, find one in our guide here.
      9. Don’t forget to backup your current ROM using the backup option in CWM recovery now.
      10. You can flash zip files on your phone now.
      11. You can also clear your phone’s dalvik cache and other things that CWM offers.
      12. That’s All!

That’s all with installing CWM 6 on Galaxy Star Pro Duos. In case you face any difficulties or you got any query, feel free to stop by the comment below and let us know about it. We will get back to you immediately. Thanks All.

Super Ball Juggling for PC – Free Download

0
Super Ball Juggling for PC – Free Download

Ok, so think that Tapping games are fun, if you think not, then try Playing Super Ball Juggling for PC, well as long as there is only one ball everything is fine, but since there are two balls actually, you will find this game a work of Satan. After hours of continues gameplay you will see that there is no Physics apply in this game. Why? cause even if Player’s leg fell off after a little game, they will keep kicking it. Flappy Bird got the eye of world because of the difficulty and this game is the next one because of the same thing, but for all those who have broke things on Flappy Birds, Do not try this they will do the same here.

Screen Shot 2014-02-06 at 22.35.35

The game is totally free, available on Google Play Store and also Apple Store and rising to the top with a very high speed. Flappy Birds seems to give developers a way to enhance the popularity of apps by making them difficult and poor graphical instead of giving them high graphics and easy gameplay. Super Ball Juggling is not officially available for PC, but we have  way for you to install it on PC running Windows and Mac.

How to play

  1. Tap left/right side of screen to kick
  2. Don’t let the ball fall
  3. Try to archive 4 medals

How To Install Super Ball Juggling On PC.

BlueStacks-app-player-1024x663You need an Android emulator to run this game on your Windows PC or MAC. We recommend using Bluestacks. Use our guide to install it on your PC.

  1. Download Bluestacks and Install it.
  2. Once the Bluestacks is install, Open it.
  3. Click On Search Bar.
  4. Type Super Ball Juggling and Press Enter.
  5. Once the Results are displayed, look for Super Ball Juggling, cause there won’t be only one.
  6. Click Accept and continue the Downloading and installation.
  7. Once the Installation is done, Open the App from the Menu to run the application.
  8. Enjoy!

If you have any problem regarding this Query, feel free to Comment in Comment section.