Home Blog Page 359

Update Xperia Tablet Z SGP 311, SGP 312 & SGP 321 To Official Android 5.1.1 10.7.A.0.222 Firmware

3
Update Xperia Tablet Z SGP 311, SGP 312 & SGP 321 To Official Android 5.1.1 10.7.A.0.222 Firmware

xperia-tablet-zSony seems to be fulfilling all of its promises that it made to its loyal fans. Sony has started pushing the Android 5.1.1 Lollipop update for the original Xperia Z family. Since the original Xperia Tablet Z is the member of this family, so this tablet has also received the update. All variants of Xperia Tablet Z including the WiFi only SGP 311, 3G SGP 312 and LTE SGP 321 are being update to this latest version of Android now.

The new update carries some bug fixes and performance enhancements. This update is rolling out through OTA and Sony PC Companion for now. If your region hasn’t been lucky enough to catch this update yet, you may want to update your Tablet Z to Android 5.1.1 Lollipop instantly using an alternative. In case you’re looking for such a method, you may have spotted the right place.

We are going to show you a detailed guide to update your Xperia Tablet Z SGP 311, SGP 312 & SGP 321 to latest Android 5.1.1 Lollipop 10.7.A.0.222 firmware using Sony Flashtool. Let’s put a full stop to our conversation here and update your Tablet Z now.

Some early preparations: 

1. This is only for Sony Xperia Tablet Z

This ROM is only for the device mentioned above. Make sure that your model number matches the one listed above. To do so, go to Settings > About Device on your device and see your model number. Flashing this firmware on any other device will result in bricking it so make sure that you meet this requirement first of all.

2. Battery should be charged at least over 60%.

Make sure that your battery is charged enough to complete the flashing process. In case your battery is low and your device goes dead during the flashing process, you may end up soft bricking your device as it won’t complete the flashing process.

3. Backup everything!

Just to be on the safe side, you may consider backing up each and everything from your Android device. This is highly recommended so that in case anything goes wrong, you still have the access to all of your data and you can restore it immediately. You may backup everything as listed below.

4. Enable USB Debugging Mode on your device.

Enable USB debugging mode on your device. To do so, tap settings>developer options>USB debugging. If you can’t find developer options in settings, then tap settings > about device and tap “Build Number” for 7 times and you’ll get em’ activated under settings.

5. Install and setup Sony Flashtool.

You must have installed Sony Flashtool. Find the full guide here.

After installing Sony Flashtool, open the Flashtool folder from the drive where you installed it. Now open Flashtool>Drivers>Flashtool-drivers.exe and install the Flashtool, Fastboot & Xperia Tablet Z drivers from the list. [Important]

6. Use OEM data cable to establish connection.

Make sure that you use the phone’s original data cable to establish connection between your phone and the PC. Using a different data cable might result in interrupting the firmware installation.

How To Update Sony Xperia Tablet Z SGP311, SGP312 & SGP 321 To Official Android 5.1.1 Lollipop 10.7.A.0.222 Firmware

Before moving forward, please make sure that you’ve read the pre requisites and ensure that you are set to go ahead.

  1. Download the latest firmware Android 5.1.1 Lollipop 10.7.A.0.222 FTF file.
    1. For Xperia Z Tablet Z SGP 311, SGP 312 & SGP 321: Create your own FTF using this guide. [In case you don’t want to create the FTF, the link will be added in a few hours, you may wait.]
  2. Copy the file and paste in Flashtool>Firmwares folder.
  3. Open Flashtool.exe now.
  4. Hit the small lightening button on the top left corner and select Flashmode.
  5. Select the FTF firmware file that you placed in the Firmware folder.
  6. From the right side, select what do you want to wipe. Data, cache and apps log, all wipes are recommended, perhaps you may select if you don’t want.
  7. Click on OK, and it will start preparing the firmware for flashing. This may take a little while to load.
  8. As soon as the firmware is loaded, it will prompt you to attach the phone by turning it off and keeping the back key press.
  9. For Tablet Z Volume Down key will do the job of back key, just turn off your phone, keep the Volume Down key pressed and plug in the data cable.
  10. As soon as the phone is detected in Flashmode, the firmware will start flashing, leave the Volume Down key and let it flash the firmware.
  11. As soon as you see “Flashing ended or Finished Flashing” leave the Volume Down key, plug the cable out and reboot.
  12. That’s All! Congrats! You’ve installed latest Android 5.1.1 Lollipop on your Tablet Z Enjoy

In case you got any queries or face any problems regarding this guide, please feel free to stop by the comment box below and let us know. We will get back to you as soon as possible. Thanks all!
Update Sony Xperia ZL C6503, C6506 To Official Android 5.1.1 10.7.A.0.222 Firmware

3
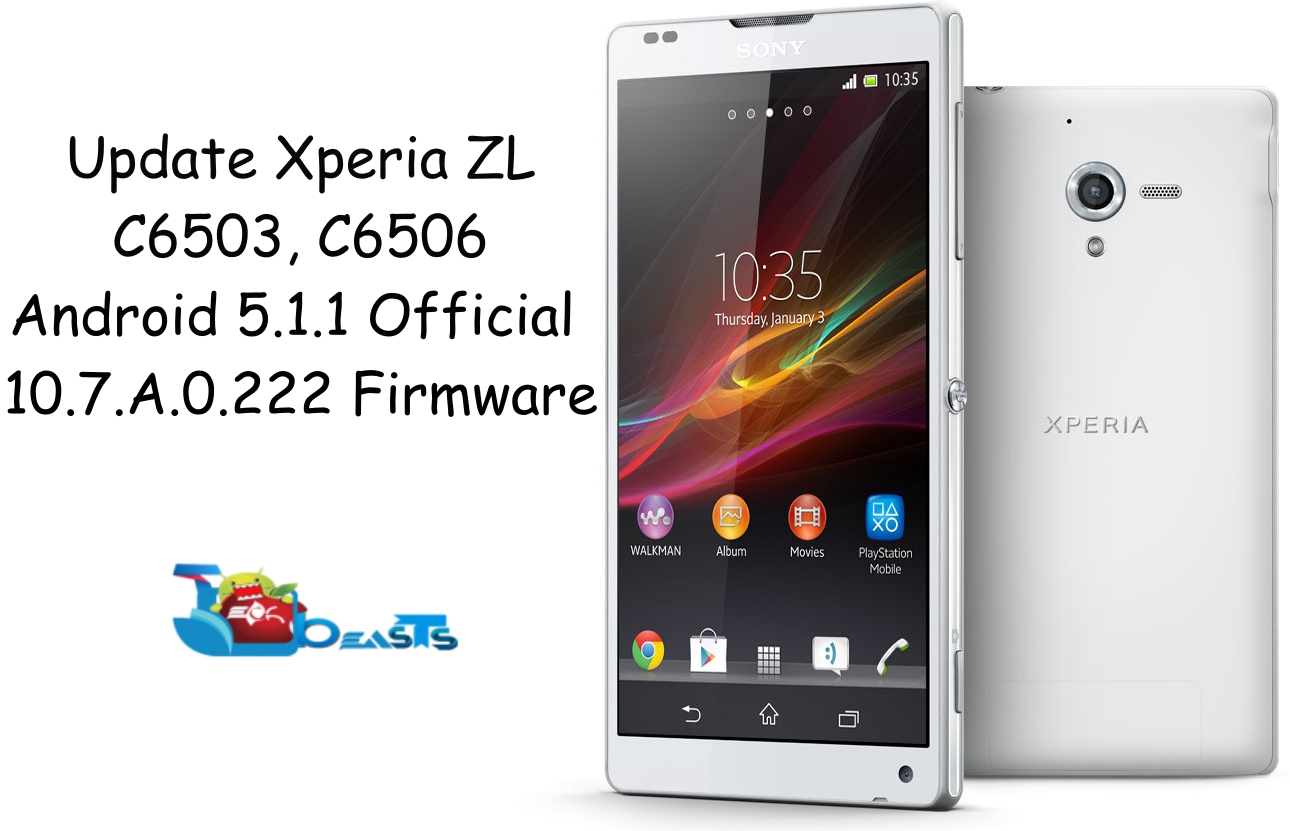
Update Sony Xperia ZL C6503, C6506 To Official Android 5.1.1 10.7.A.0.222 Firmware

xperia-zlSurprise! Android 5.1.1 Lollipop is finally available for Sony’s very first Xperia Z series. The update is now finding its way to Xperia Z, ZR, ZL & Tablet Z. It’s quite impressive to see Sony rolling out the latest and greatest version of Android for such and old series. The original Xperia Z series came out running the Android JellyBean and received updates to KitKat and Lollipop. The new update shifts the version number to 5.1.1 and stays on Lollipop. We doubt if Sony Xperia Z’s software life is going to end here and if it will receive Marshmallow, perhaps right now it is worth updating to this software as this is the latest Android version of the present time.
Xperia ZL’s variant which received this update are C6503 & C6506. These variants received the update in several regions. The update is rolling out through OTA or through Sony PC Companion. Just in case you haven’t seen any signs of this update through OTA or PC Companion, you may want to take your device to Android 5.1.1 Lollipop manually. You can easily flash the official firmware using its FTF file, which you can make using a software like XperiFirm and flash using a software like Sony Flashtool. In case you’re wondering how you can do so, you may stop worrying as we have got your back.

In the ongoing post we will help you to update your Xperia ZL to latest official Android 5.1.1 Lollipop carrying the build number 10.7.A.0.222 firmware using Sony Flashtool. Let’s go ahead and update the device right now.

Some early preparations: 

1. This is only for Sony Xperia ZL C6503 & C6506.

This ROM is only for the device mentioned above. Make sure that your model number matches the one listed above. To do so, go to Settings > About Device on your device and see your model number. Flashing this firmware on any other device will result in bricking it so make sure that you meet this requirement first of all.

2. Battery should be charged at least over 60%.

Make sure that your battery is charged enough to complete the flashing process. In case your battery is low and your device goes dead during the flashing process, you may end up soft bricking your device as it won’t complete the flashing process.

3. Backup everything!

Just to be on the safe side, you may consider backing up each and everything from your Android device. This is highly recommended so that in case anything goes wrong, you still have the access to all of your data and you can restore it immediately. You may backup everything as listed below.

4. Enable USB Debugging Mode on your device.

Enable USB debugging mode on your device. To do so, tap settings>developer options>USB debugging. If you can’t find developer options in settings, then tap settings > about device and tap “Build Number” for 7 times and you’ll get em’ activated under settings.

5. Install and setup Sony Flashtool.

You must have installed Sony Flashtool. Find the full guide here.

After installing Sony Flashtool, open the Flashtool folder from the drive where you installed it. Now open Flashtool>Drivers>Flashtool-drivers.exe and install the Flashtool, Fastboot & Xperia ZL drivers from the list. [Important]

6. Use OEM data cable to establish connection.

Make sure that you use the phone’s original data cable to establish connection between your phone and the PC. Using a different data cable might result in interrupting the firmware installation.

How To Update Sony Xperia ZL C6503 & C6506. To Official Android 5.1.1 Lollipop 10.7.A.0.222 Firmware

Before moving forward, please make sure that you’ve read the pre requisites and ensure that you are set to go ahead.

  1. Download the latest firmware Android 5.1.1 Lollipop 10.7.A.0.222 FTF file.
    1. For Xperia ZL C6503 [Generic/Unbranded] Link 1 – You can also create your own FTF using this guide.
    2. For Xperia ZL C6506 [Generic/Unbranded] Link 1 –  You can also create your own FTF using this guide.[In case you don’t want to create the FTF, the link will be added in a few hours, you may wait.]
  2. Copy the file and paste in Flashtool>Firmwares folder.
  3. Open Flashtool.exe now.
  4. Hit the small lightening button on the top left corner and select Flashmode.
  5. Select the FTF firmware file that you placed in the Firmware folder.
  6. From the right side, select what do you want to wipe. Data, cache and apps log, all wipes are recommended, perhaps you may select if you don’t want.
  7. Click on OK, and it will start preparing the firmware for flashing. This may take a little while to load.
  8. As soon as the firmware is loaded, it will prompt you to attach the phone by turning it off and keeping the back key press.
  9. For Xperia ZL Volume Down key will do the job of back key, just turn off your phone, keep the Volume Down key pressed and plug in the data cable.
  10. As soon as the phone is detected in Flash-mode, the firmware will start flashing, leave the Volume Down key and let it flash the firmware.
  11. As soon as you see “Flashing ended or Finished Flashing” leave the Volume Down key, plug the cable out and reboot.
  12. That’s All! Congrats! You’ve installed latest Android 5.1.1 Lollipop on your Xperia ZL Enjoy

In case you got any queries or face any problems regarding this guide, please feel free to stop by the comment box below and let us know. We will get back to you as soon as possible. Thanks all!

Update Sony Xperia ZR C5503 Official Android 5.1.1 10.7.A.0.222 Firmware

0
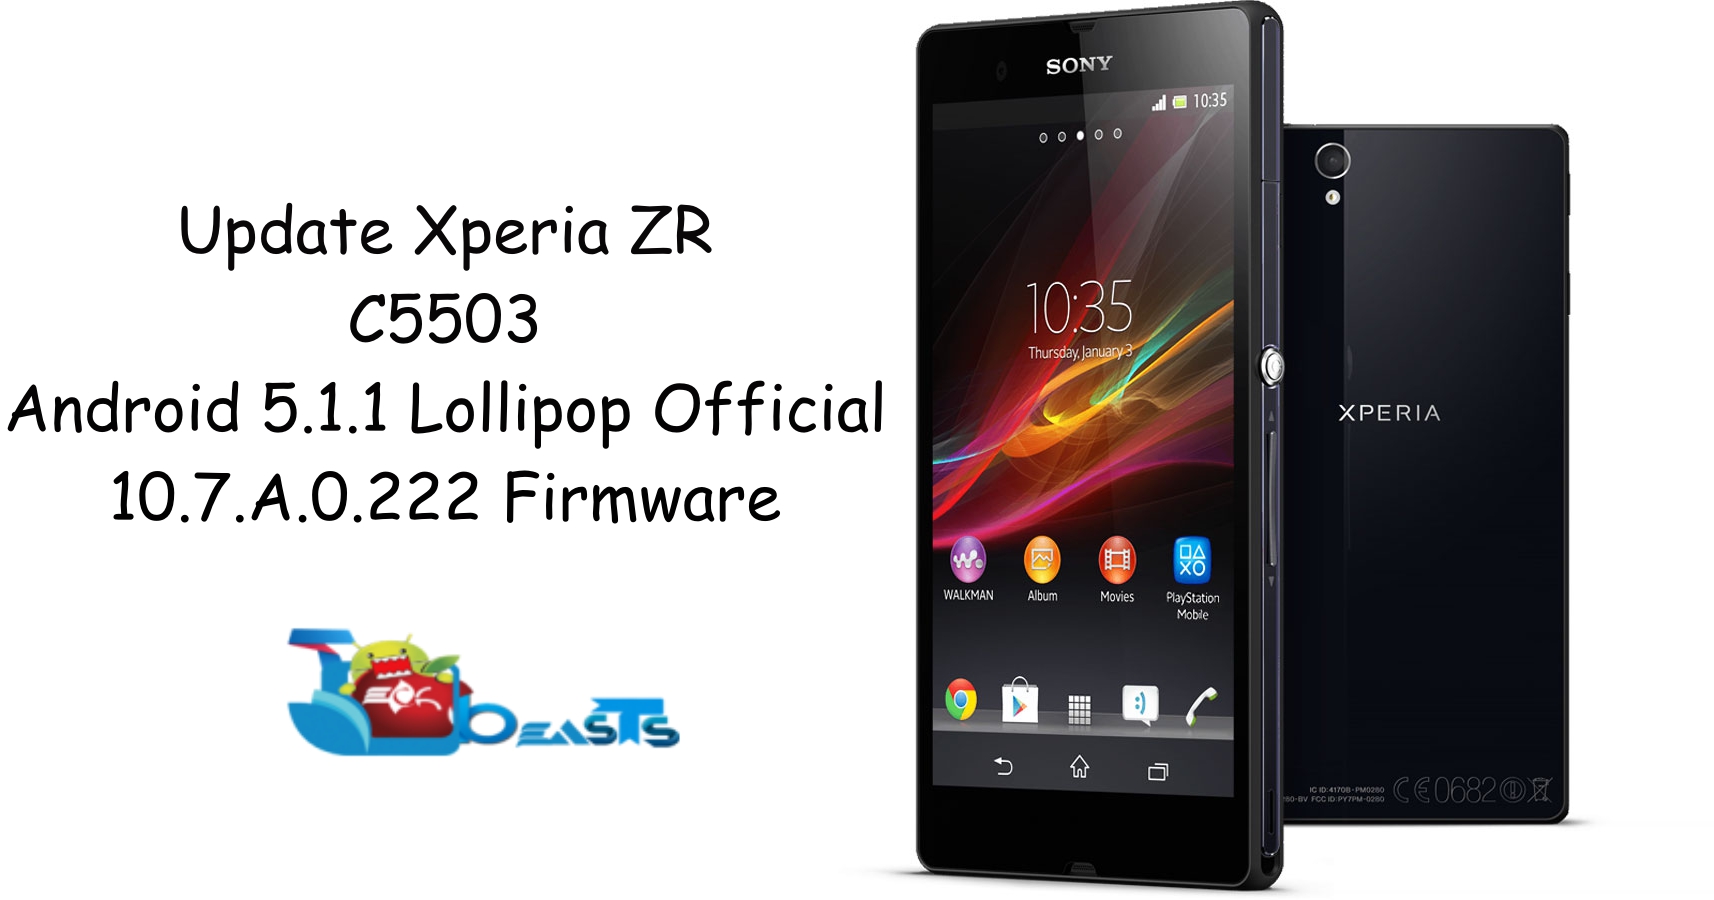
Update Sony Xperia ZR C5503 Official Android 5.1.1 10.7.A.0.222 Firmware

Xperia ZRXperia ZR is Sony’s 2013 mid ranger. The device came out joining the original Xperia Z series. Sony introduced this device standing in-line with the Xperia Z carrying a few variations in the hardware spec sheet. Xperia ZR flaunted a 4.55 inch 720P screen, a VGA camera for secondary video calling and a 13.1 MP camera at the back. Sony powered it up with Qualcomm’s Snapdragon S4 Pro CPU and a RAM of 2 GB was placed inside. Xperia ZR ran on Android 4.1.2 JellyBean out of the box.

Sony had plans to update this device to higher versions of Android, and Sony fullfilled all of its promises. Xperia ZR received update to Android 4.4 KitKat and then 5.0.2 Lollipop, and now is the time for Android 5.1.1 Lollipop. Just today, Sony started rolling out the Android 5.1.1 update for the entire original Xperia Z family. Xperia Z, ZL, ZR and Tablet Z received the Android 5.1.1 Lollipop update carrying the build number 10.7.A.0.222. The new update brings bug fixes and performance enhancements to these devices.

Our target for now is Xperia ZR, so we will get back to that now. Xperia ZR’s C5503 variant is currently seeing this update. This update is hitting the device through OTA or through Sony PC Companion. Relying on OTA and PC Companion might annoy some users, if you’re one of those, you may update your phone manually using Sony Flashtool. The firmware’s FTF file is available and you can easily pull it out using Xperifirm.

Before you wonder how you can do all that, you may stop doing so. In the proceeding guide we are going to help you to update your Xperia ZR C5503 to Official Android 5.1.1 Lollipop 10.7.A.0.222 firmware using Sony Flashtool. Let’s go ahead and get it done right away.

Some early preparations: 

1. This is only for Sony Xperia ZR C55503

This ROM is only for the device mentioned above. Make sure that your model number matches the one listed above. To do so, go to Settings > About Device on your device and see your model number. Flashing this firmware on any other device will result in bricking it so make sure that you meet this requirement first of all.

2. Battery should be charged at least over 60%.

Make sure that your battery is charged enough to complete the flashing process. In case your battery is low and your device goes dead during the flashing process, you may end up soft bricking your device as it won’t complete the flashing process.

3. Backup everything!

Just to be on the safe side, you may consider backing up each and everything from your Android device. This is highly recommended so that in case anything goes wrong, you still have the access to all of your data and you can restore it immediately. You may backup everything as listed below.

4. Enable USB Debugging Mode on your device.

Enable USB debugging mode on your device. To do so, tap settings>developer options>USB debugging. If you can’t find developer options in settings, then tap settings > about device and tap “Build Number” for 7 times and you’ll get em’ activated under settings.

5. Install and setup Sony Flashtool.

You must have installed Sony Flashtool. Find the full guide here.

After installing Sony Flashtool, open the Flashtool folder from the drive where you installed it. Now open Flashtool>Drivers>Flashtool-drivers.exe and install the Flashtool, Fastboot & Xperia ZR drivers from the list. [Important]

6. Use OEM data cable to establish connection.

Make sure that you use the phone’s original data cable to establish connection between your phone and the PC. Using a different data cable might result in interrupting the firmware installation.

How To Update Sony Xperia ZR C5503 To Official Android 5.1.1 Lollipop 10.7.A.0.222 Firmware

Before moving forward, please make sure that you’ve read the pre requisites and ensure that you are set to go ahead.

  1. Download the latest firmware Android 5.1.1 Lollipop 10.7.A.0.222 FTF file.
    1. For Xperia ZR C5503 [Generic/Unbranded] Link 1 | You can also create your own FTF using this guide. [In case you don’t want to create the FTF, the link will be added in a few hours, you may wait.]
  2. Copy the file and paste in Flashtool>Firmwares folder.
  3. Open Flashtool.exe now.
  4. Hit the small lightening button on the top left corner and select Flashmode.
  5. Select the FTF firmware file that you placed in the Firmware folder.
  6. From the right side, select what do you want to wipe. Data, cache and apps log, all wipes are recommended, perhaps you may select if you don’t want.
  7. Click on OK, and it will start preparing the firmware for flashing. This may take a little while to load.
  8. As soon as the firmware is loaded, it will prompt you to attach the phone by turning it off and keeping the back key press.
  9. For Xperia ZR Volume Down key will do the job of back key, just turn off your phone, keep the Volume Down key pressed and plug in the data cable.
  10. As soon as the phone is detected in Flashmode, the firmware will start flashing, leave the Volume Down key and let it flash the firmware.
  11. As soon as you see “Flashing ended or Finished Flashing” leave the Volume Down key, plug the cable out and reboot.
  12. That’s All! Congrats! You’ve installed latest Android 5.1.1 Lollipop on your Xperia ZR Enjoy

In case you got any queries or face any problems regarding this guide, please feel free to stop by the comment box below and let us know. We will get back to you as soon as possible. Thanks all!

Update Sony Xperia Z C6602, C6603 To Official Android 5.1.1 10.7.A.0.222 Firmware

10
Update Sony Xperia Z C6602, C6603 To Official Android 5.1.1 10.7.A.0.222 Firmware

xperia-hero-z-white-1240x840-ab088c2ace16c071689825e41d1d3c69Treat time for Xperia Z owners. Sony just rolled out the long-awaited Android 5.1.1 Lollipop update for the very first Xperia Z series smartphones. The update started rolling out to Xperia Z, Xperia ZR, Xperia ZL, and Xperia Tablet Z. This update happens to be more of a surprise as Sony rolled it out before it rolls Android 5.1.1 for Xperia Z1. The new update moves the build number to 10.7.A.0.222. Other siblings of original Xperia Z will get the update with the same build number. The Xperia Z series originated with Android JellyBean and has been enjoying all iterations of Android since then, which is quite a good move by Sony to update such an old device to all the latest versions of Android till today.

The new update has rolled out to several regions including the US, IN, and others. This update is hitting the regions via OTA or through Sony PC Companion. Since this is a region-wide update, it may take a while to hit all regions. If you’re unable to wait for PC Companion to update your phone or an OTA to land in your device, you can install this update right now manually. As usual, we are going to teach you how you can update your Xperia Z manually using Sony Flashtool.

In the following post, you will learn to update your Xperia Z C6602 & C6603 to the latest Android 5.1.1 Lollipop 10.7.A.0.222 firmware using Sony Flashtool. Let’s go ahead and update the device now.

Some early preparations: 

1. This is only for Sony Xperia Z C6602, C6603 & C6616

This ROM is only for the device mentioned above. Make sure that your model number matches the one listed above. To do so, go to Settings > About Device on your device and see your model number. Flashing this firmware on any other device will result in bricking it so make sure that you meet this requirement first of all.

2. Battery should be charged at least over 60%.

Make sure that your battery is charged enough to complete the flashing process. In case your battery is low and your device goes dead during the flashing process, you may end up soft bricking your device as it won’t complete the flashing process.

3. Backup everything!

Just to be on the safe side, you may consider backing up each and everything from your Android device. This is highly recommended so that in case anything goes wrong, you still have access to all of your data and you can restore it immediately. You may backup everything as listed below.

4. Enable USB Debugging Mode on your device.

Enable USB debugging mode on your device. To do so, tap settings>developer options>USB debugging. If you can’t find developer options in settings, then tap settings > about device and tap “Build Number” for 7 times and you’ll get em’ activated under settings.

5. Install and setup Sony Flashtool.

You must have installed Sony Flashtool. Find the full guide here.

After installing Sony Flashtool, open the Flashtool folder from the drive where you installed it. Now open Flashtool>Drivers>Flashtool-drivers.exe and install the Flashtool, Fastboot & Xperia Z drivers from the list. [Important]

6. Use OEM data cable to establish a connection.

Make sure that you use the phone’s original data cable to establish a connection between your phone and the PC. Using a different data cable might result in interrupting the firmware installation.

How To Update Sony Xperia Z C6602, C6603 & C6616 To Official Android 5.1.1 Lollipop 10.7.A.0.222 Firmware

Before moving forward, please make sure that you’ve read the prerequisites and ensure that you are set to go ahead.

  1. Download the latest firmware Android 5.1.1 Lollipop 10.7.A.0.222 FTF file.
    1. For Xperia Z C6602 [Generic/Unbranded: Create your own FTF using this guide. [In case you don’t want to create the FTF, the link will be added in a few hours, you may wait.]
    2. For Xperia Z C6603 [Generic/Unbranded] Link 1 | You can also create your own FTF using this guide.
  2. Copy the file and paste in Flashtool>Firmwares folder.
  3. Open Flashtool.exe now.
  4. Hit the small lightening button on the top left corner and select Flashmode.
  5. Select the FTF firmware file that you placed in the Firmware folder.
  6. From the right side, select what do you want to wipe. Data, cache and apps log, all wipes are recommended, perhaps you may select if you don’t want.
  7. Click on OK, and it will start preparing the firmware for flashing. This may take a little while to load.
  8. As soon as the firmware is loaded, it will prompt you to attach the phone by turning it off and keeping the back key press.
  9. For Xperia Z Volume Down key will do the job of back key, just turn off your phone, keep the Volume Down key pressed and plug in the data cable.
  10. As soon as the phone is detected in Flashmode, the firmware will start flashing, leave the Volume Down key and let it flash the firmware.
  11. As soon as you see “Flashing ended or Finished Flashing” leave the Volume Down key, plug the cable out and reboot.
  12. That’s All! Congrats! You’ve installed latest Android 5.1.1 Lollipop on your Xperia Z Enjoy

Root Xperia Z C6602, C6603 On Android 5.1.1 10.7.A.0.222 Firmware

In case you got any queries or face any problems regarding this guide, please feel free to stop by the comment box below and let us know. We will get back to you as soon as possible. Thanks all!

Download Latest Odin [Odin3 v3.10.7]

4
Download Latest Odin [Odin3 v3.10.7]

Odin’s latest version v3.10.7 is now available. For those who are not aware of Odin, Odin is Samsung’s flashtool for its Galaxy lineup. Odin has a long list of features, which allow you to play with the software of your device. You can use Odin3 to flash a stock firmware on your device. You can also use Odin to flash a Modem file, a Bootloader file, or a CSC file. Odin also allows users to do re-partition of their device by means of a PIT file. Apart from all this, you can also flash custom recoveries, root files like CF Autoroot on your Samsung Galaxy devices. Odin can also help you to unroot your device and revert back to the stock condition.Odin 3.10.7

Odin originated with the version number 1.84 having compatibility for most of the Samsung Galaxy devices. As Samsung’s list of Galaxy series went on, we saw newer versions of Odin with better performance and wide compatibility. The new version of Odin3 is Odin3 v3.10.7. This version includes compatibility for latest devices like Galaxy Note 5, Galaxy A8 etc. Odin 3.10 also includes a new UI and some new options. Although older version of Odin also supports these devices, but with a latest device it always recommended to use a latest version of Odin.

To download the Latest Odin [Odin3 v3.10.7] from the next page.

In case you’re looking out for the latest version of Odin, you may stop doing so. We have already found it and attached the download link below. Just go ahead and download latest Odin3 3.10.7 and start using it. The tutorials for using Odin are already available on our site, you can access the tutorials from the links attached below as well.

Latest Odin 3.13.1 is now available for newer Galaxy phones. Download Odin 3.13.1 for PC [Odin3 v3.13.1]

New Odin 3.12.3 and 3.11.1 Available:


Check out Other versions of Odin on next page –>

Root & Install TWRP Recovery On ZTE Nubia Z9 Max

6
Root & Install TWRP Recovery On ZTE Nubia Z9 Max

Chinese manufacturers are slowly making it to the top. Every few days we see a new manufacturer coming up with a great device, or an existing manufacturer bringing innovation in the smartphone world. There are manufacturers like Oppo, Huawei, Xiaomi rocking the smartphone world from China at the moment, but ZTE can’t be neglected here as well. ZTE’s smartphones are a choice for millions of users, the company is working hard to bring its flagship devices in the industry.ZTE-Nubia-Z9-Max-white-image

Recently, ZTE pulled out its latest smartphone, the ZTE Nubia Z9 Max, which follows the phablet trend set by Samsung. ZTE flaunts a beautiful 5.5 inch full HD display with an 8 MP secondary shooter at the top. At the back we have a 16 MP shooter. Nubia Z9 Max is powered up with Qualcomm Snapdragon 810 64 bit octa core CPU accompanied by 430 GPU. A RAM of 3 GB, internal storage 16 GB with a microSD card slot. ZTE placed a 2900 mAh battery under the hood. This device runs on Android 5.0.2 Lollipop out of the box. These specifications altogether make Nubia Z9 Max a powerhouse, but if you will have a look at the price, you might be shocked as it will be a lot less as compared to any giant like Samsung, Sony or HTC.

Nubia Z9 Max is now going to enjoy some custom stuff. To begin with the tweaks and mods, the very first thing you need to do is to gain root access on your phone. Rooting Z9 Max will allow you to install applications to remove bloatware apps from your phone. You can also tweak the CPU of your phone by using CPU underclocking and overclocking applications. You can also enhance performance and battery life of your phone by using various root specific applications. The second step in the customisation world is to flash a custom recovery, that will allow you flash custom ROMs, install MODs, backup Nandroid and wipe dalvik cache etc. Luckily, both the root access and custom recovery are now available for ZTE Nubia Z9 Max.

In the succeeding guide, we are going to show you a step by step method to install TWRP recovery on your Nubia Z9 Max. After install the TWRP recovery, we will also show you how you can root your device. Let’s put a full stop to our conversation here and head towards the method now.

Precautions & Prep

  • This guide is intended for Nubia Z9 Max only. Do not try this method on any other device otherwise you may result in bricking it.
  • Make sure that your phone’s battery is charged up to 80% in order to avoid any power issues during the flashing process.
  • Backup all of your important contacts, call logs, sms messages and media content to stay on a safe end.
  • Use your original data cable to establish connection between your phone and your PC.
  • Follow this guide to the letter to avoid any mishap.

Disclaimer: The methods involved in flashing custom recoveries and rooting the device are highly custom. Rooting the device and flashing a custom recover is never recommended by a device manufacturer. In case something goes wrong, TechBeasts or the device manufacturers may not be held responsible. Make sure that you’re doing everything at your own risk.

Required downloads & installations

  1. Download ADB & Fastboot package file. Extract this ADB & Fastboot file on your desktop to access its contents.
  2. Download TWRP Recovery for ZTE Nubia Z9 Max, rename the downloaded file to only “recovery.img”. Now copy this recovery.img to the ADB & Fastboot folder that you just downloaded and extracted.
  3. Download SuperSu.zip file and copy it to your phone’s internal storage.

How To Install TWRP Recovery on Nubia Z9 Max

Step#1: Make sure that you’ve followed all the steps explained above.

Step#2: Now connect your Nubia Z9 Max to your PC. If it asks for some permission on the phone, check allow this PC and tap ok.

Step#3: Now open the extracted Minimal ADB & Fastboot folder where you also copied recovery.img file.

Step#4: Now click on py_cmd.exe file in order to open the command prompt.

Step#5: Enter the following commands in command prompt one by one.

Step#6: adb devices

This command will list the connected adb devices. You can verify whether your device is connected properly or not.

Step#7: adb reboot-bootloader 

This command will reboot your Nubia Z9 Max in bootloader mode.

Step#8: fastboot-i 0x19d2 flash recovery recovery.img

This will flash TWRP recovery on your Nubia Z9 Max.

Step#9: As the recovery flashing is over, select recovery from Fastboot mode on your phone. You will now see the TWRP logo on the screen, that means you’ve successfully flashed TWRP recovery.

Step#10: Tap Reboot > System in TWRP recovery in order to reboot your Nubia Z9 Max now & let’s root it now.

How To Root Nubia Z9 Max

Step#1: Make sure that you’ve copied SuperSu.zip file to your phone. In case you haven’t, do it now.

Step#2: Now boot your phone in to TWRP recovery mode. To do so, turn it off completely first. Now turn it on by pressing and holding Volume Up + Power Key.

Step#3: As you see TWRP recovery, tap “Install > Locate the copied SuperSu.zip file (should be at bottom) > tap this file > Swipe the bar at the bottom of screen to confirm flash”.

Step#4: As soon as SuperSu.zip file is flashed, go back to main menu in TWRP and tap reboot > system.

Step#5: Your device will boot up now. Find SuperSu in app drawer. Install Root Checker app to verify root access.

That’s all. Stuck with something? Don’t worry! Reach us out through the comment box below.

Root & Install TWRP Recovery On Huawei P8

2
Root & Install TWRP Recovery On Huawei P8

Huawei recently became the third largest smartphone vendor in the world, and we believe that Huawei deserved the spot. Chinese manufacturers are working hard and  coming up with devices equipping great specifications under a cheap price tag which is a no go for other manufacturers. Huawei managed to make its place among Samsung, Apple and Xiaomi. Lately, Huawei has been coming with smartphones which do not have a top-notch spec sheet, but the devices also sport cool design, a solid and premium build and some mouth watering features.HUA_P8_black_front_02

Huawei P8, the P7 successor is one of the smartphones adding to Huawei’s reputation. The device came out back in April 2015. This device flaunts a beautiful 5.2 inch 1080p display with 424ppi. A 13 MP secondary and an 8 MP primary shooter is fixed in this device.The device equips Huawei’s very own HiSilicon Kirin 930/935 octa core CPU. A RAM of 3GB is there to fulfil your multi tasking needs. The phone comes with either 16 or 64 GB internal storage options, there’s a microSD card slot available as well. Huawei P8 runs on Android 5.8 out of the box atop of Huawei’s very own Emotion 3.1 UI.

Apart from this heavy spec sheet, Huawei P8 sports a beautiful and elegant design that makes this device worth having. The iphone-like sleek aluminium build won Huawei P8 a lot of users. P8 is also said to be Huawei’s first prominent step in the flagship world.

Keeping the P8 story aside, let’s get back to our topic now. If you happen to be a lucky P8 owner, you may want to look beyond the boundaries and checkout the potential your device got. By saying that, we mean bringing in some applications to enhance the performance, battery life of your device. Applying system level customisations and a lot more. To do anything which isn’t allowed by Huawei apparently, you need to have root access on your device. Rooting your phone will simply open your door towards the open nature world of Android. You may also want to load custom firmware or flash MODs, create and restore Nandroid backup, wipe dalvik cache. For all this, you will need a custom recovery on your device. In the on-going post, we have both, the custom recovery and the root access method for your all new Huawei P8.

Let’s head towards the method without any further ado and gain root access on Huawei P8 and also install TWRP recovery on it now.

Precautions & Prep

  • This guide is intended for Huawei P8 only. Do not try this method on any other device otherwise you may result in bricking it.
  • Make sure that your phone’s battery is charged up to 80% in order to avoid any power issues during the flashing process.
  • Backup all of your important contacts, call logs, sms messages and media content to stay on a safe end.
  • Use your original data cable to establish connection between your phone and your PC.
  • Unlock the bootloader of your Huawei P8.
  • Follow this guide to the letter to avoid any mishap.

Disclaimer: The methods involved in flashing custom recoveries and rooting the device are highly custom. Rooting the device and flashing a custom recover is never recommended by a device manufacturer. In case something goes wrong, TechBeasts or the device manufacturers may not be held responsible. Make sure that you’re doing everything at your own risk.


Required downloads & installations

  1. Download ADB & Fastboot packege with TWRP recovery.img file. Extract this ADB & Fastboot file on your desktop to access its contents.
  2. Download SuperSu.zip file and copy it to your phone’s internal storage.

How To Install TWRP Recovery on Huawei P8

Step#1: Make sure that you’ve followed all the steps explained above.

Step#2: Now connect your Huawei P8 to your PC. If it asks for some permission on the phone, check allow this PC and tap ok.

Step#3: Now open the extracted Minimal ADB & Fastboot folder.

Step#4: Now click on py_cmd.exe file in order to open the command prompt.

Step#5: Enter the following commands in command prompt one by one.

Step#6: adb devices

This command will list the connected adb devices. You can verify whether your device is connected properly or not.

Step#7: adb reboot-bootloader 

This command will reboot your Huawei P8 in bootloader mode.

Step#8: fastboot flash recovery recovery.img

This will flash TWRP recovery on your Huawei P8.

Step#9: As the recovery flashing is over, select recovery from Fastboot mode on your phone. You will now see the TWRP logo on the screen, that means you’ve successfully flashed TWRP recovery.

Step#10: Tap Reboot > System in TWRP recovery in order to reboot your Huawei P8 now & let’s root it now.

How To Root Huawei P8

Step#1: Make sure that you’ve copied SuperSu.zip file to your phone. In case you haven’t, do it now.

Step#2: Now boot your phone in to TWRP recovery mode. To do so, turn it off completely first. Now turn it on by pressing and holding Volume Down + Power Key.

Step#3: As you see TWRP recovery, tap “Install > Locate the copied SuperSu.zip file (should be at bottom) > tap this file > Swipe the bar at the bottom of screen to confirm flash”.

Step#4: As soon as SuperSu.zip file is flashed, go back to main menu in TWRP and tap reboot > system.

Step#5: Your device will boot up now. Find SuperSu in app drawer. Install Root Checker app to verify root access.

That’s all. Stuck with something? Don’t worry! Reach us out through the comment box below.

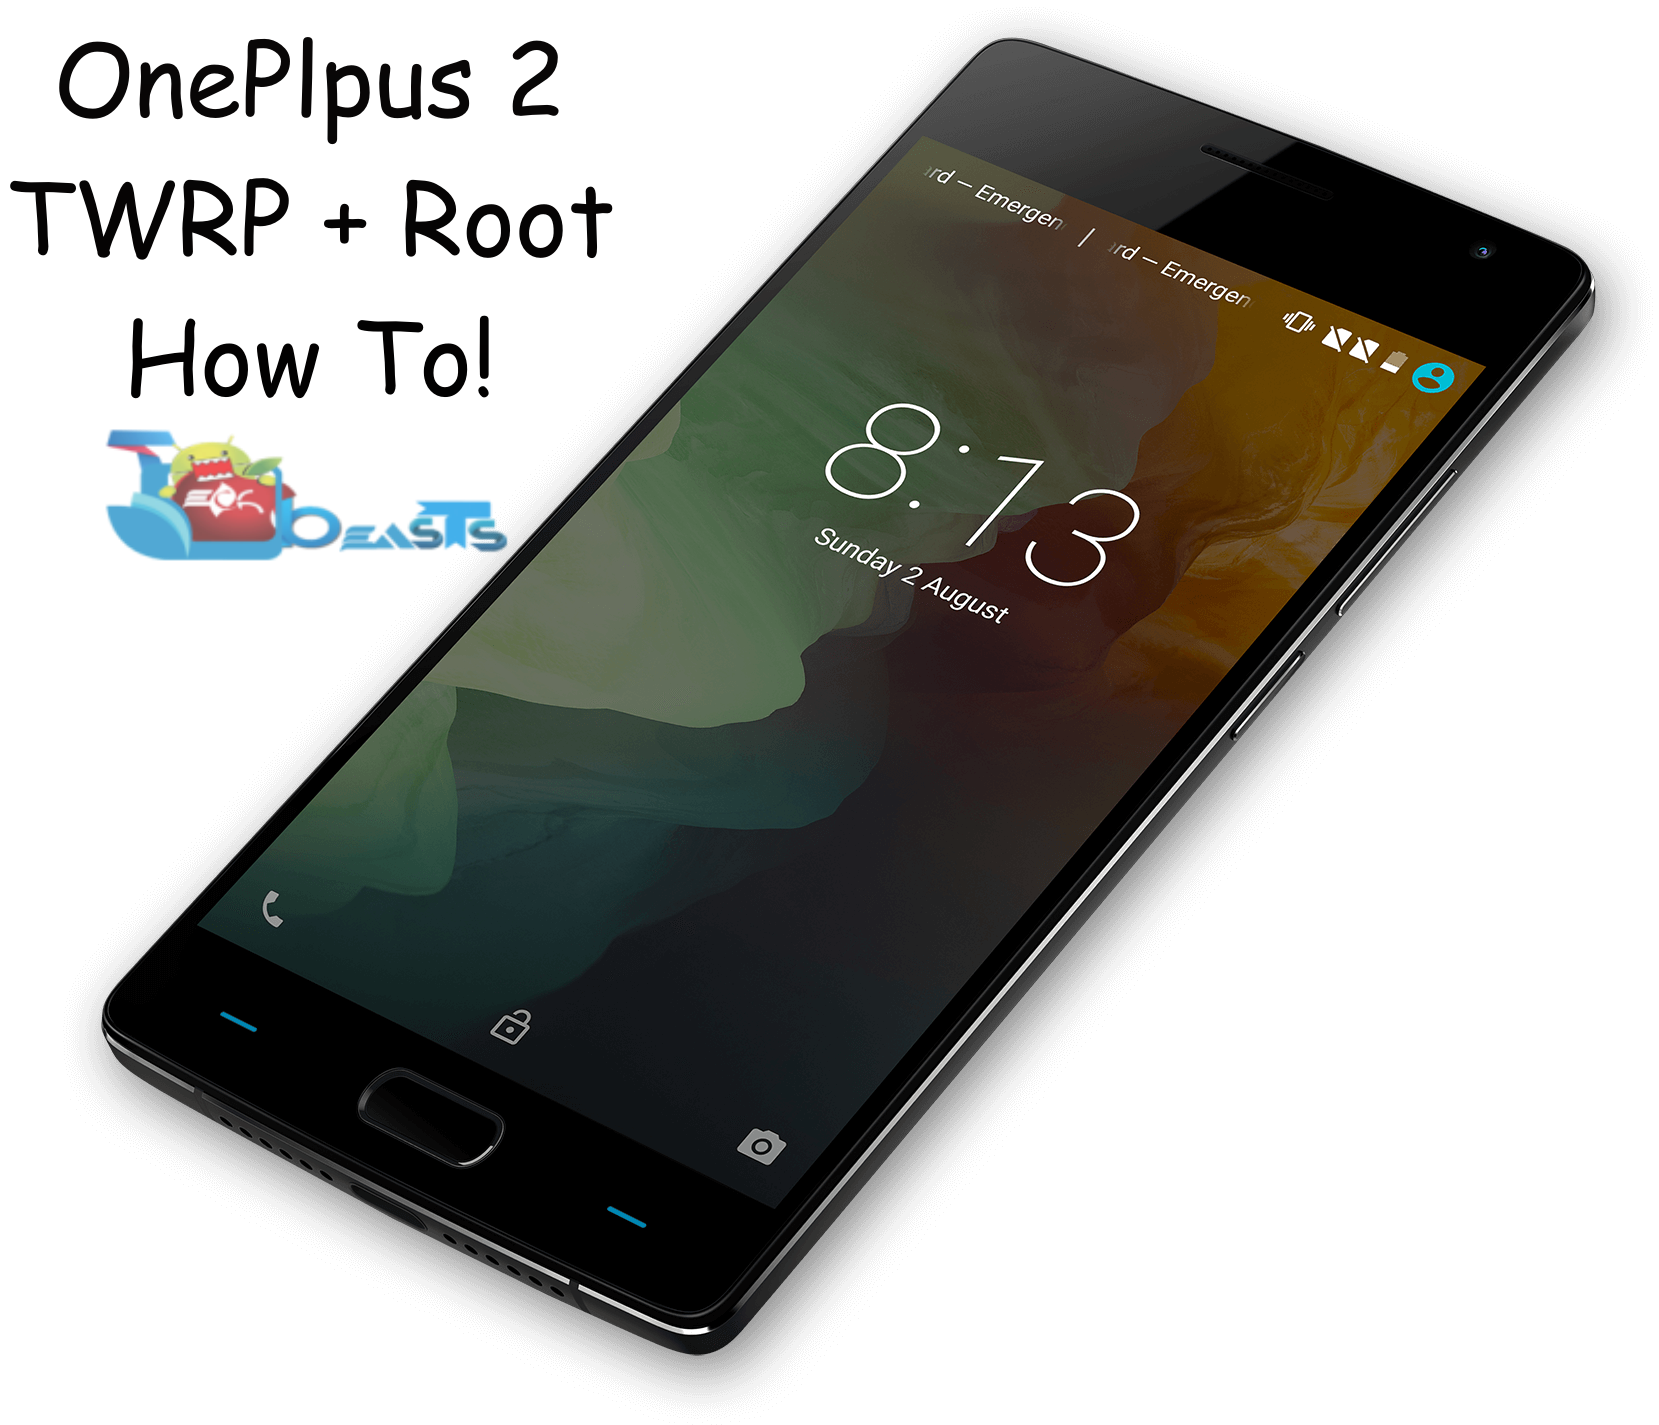
Root & Install TWRP Recovery On OnePlus 2

0
Root & Install TWRP Recovery On OnePlus 2

OnePlus made a perfect entry into the world of smartphone and it didn’t take long for OnePlus to make its prominent space. The original OnePlus was a great success, the invitation system introduced by OnePlus made the users more curious about what this phone actually got. At first, it was a low price tag, then some top level specs and a radical design. OnePlus wanted to continue its trend and brought the successor of OnePlus One named as OnePlus 2.fingerprint-unlock-img

OnePlus 2 specifications include a 5.5 inch full HD display. The device runs with the help of a Qualcomm Snapdragon 810 octa core CPU. RAM options are 3 / 4 GB accompanied by storage options of 16 / 64 GB. At the back we have a 13 MP camera and an 5 MP camera is fixed on the front of this phone. OnePlus 2 equips a whopping 3,300 mAh battery that won’t let the users run out of power for 2 days at the least. Apart from these specifications, the software of this device is also something to have a keen look at. OnePlus One originated running CyanogenMod, which provides close to stock Android experience. And OnePlus 2 runs on something similar. The new Oxygen OS running on OnePlus 2 is also close to stock Android and doesn’t contain a plethora of bloatware apps that would hurt the performance of this phone. Over all, the OnePlus 2 turned out to be a bold smartphone. The phone is following its way to the lucky users who got invites.

If you managed to get your hands on a OnePlus 2, you must be very luck and there’s no point in leaving the phone without unleashing its true potential. OnePlus 2 is going to see a lot of custom stuff and tweaks, so if you want to maximize the performance of your OnePlus 2, you must get it ready. To pave your way towards the custom world of Android, you need root access and custom recovery on your device. Root access will allow you to install root specific applications that will help you to remove bloatware from your device, enhance performance and battery life of your device, access the root of system and apply tweaks to the system. Whereas, the custom recovery will allow you to flash custom ROMs, create and restore Nandroid Backup, mount your system from recovery and wipe dalvik cache. There’s a lot more you can do upon rooting your device and flashing a custom recovery, we recommend rooting first and then experiencing it on your own.

In case you’ve started wondering how you will be able to do both the things we mentioned above, you may stop doing so and move ahead with us. We are going to show you how you can root your all new OnePlus 2 and then install a TWRP recovery on your device.

Precautions & Prep

  • This guide is intended for OnePlus 2 only. Do not try this method on any other device otherwise you may result in bricking it.
  • Make sure that your phone’s battery is charged up to 80% in order to avoid any power issues during the flashing process.
  • Backup all of your important contacts, call logs, sms messages and media content to stay on a safe end.
  • Use your original data cable to establish connection between your phone and your PC.
  • Follow this guide to the letter to avoid any mishap.

Disclaimer: The methods involved in flashing custom recoveries and rooting the device are highly custom. Rooting the device and flashing a custom recover is never recommended by a device manufacturer. In case something goes wrong, TechBeasts or the device manufacturers may not be held responsible. Make sure that you’re doing everything at your own risk.


Required downloads & installations

  1. Download ADB & Fastboot package with TWRP recovery.img file. Extract this ADB & Fastboot file on your desktop to access its contents.
  2. Download SuperSu.zip file and copy it to your phone’s internal storage.

How To Install TWRP Recovery on OnePlus 2

Step#1: Make sure that you’ve followed all the steps explained above.

Step#2: Now connect your OnePlus 2 to your PC. If it asks for some permission on the phone, check allow this PC and tap ok.

Step#3: Now open the extracted Minimal ADB & Fastboot folder.

Step#4: Now click on py_cmd.exe file in order to open the command prompt.

Step#5: Enter the following commands in command prompt one by one.

Step#6: adb devices

This command will list the connected adb devices. You can verify whether your device is connected properly or not.

Step#7: adb reboot-bootloader 

This command will reboot your OnePlus 2 in bootloader mode.

Step#8: fastboot flash recovery recovery.img

This will flash TWRP recovery on your OnePlus 2.

Step#9: As the recovery flashing is over, select recovery from Fastboot mode on your phone. You will now see the TWRP logo on the screen, that means you’ve successfully flashed TWRP recovery.

Step#10: Tap Reboot > System in TWRP recovery in order to reboot your OnePlus 2 now & let’s root it now.

How To Root OnePlus 2

Step#1: Make sure that you’ve copied SuperSu.zip file to your phone. In case you haven’t, do it now.

Step#2: Now boot your phone in to TWRP recovery mode. To do so, turn it off completely first. Now turn it on by pressing and holding Volume Down + Power Key. If this doesn’t work for you then try Volume Up + Power or both, Volume Down + Up + Power to boot into recovery mode.

Step#3: As you see TWRP recovery, tap “Install > Locate the copied SuperSu.zip file (should be at bottom) > tap this file > Swipe the bar at the bottom of screen to confirm flash”.

Step#4: As soon as SuperSu.zip file is flashed, go back to main menu in TWRP and tap reboot > system.

Step#5: Your device will boot up now. Find SuperSu in app drawer. Install Root Checker app to verify root access.

That’s all. Stuck with something? Don’t worry! Reach us out through the comment box below.

How to remove Get Office in Windows 10 [ Guide ]

0
How to remove Get Office in Windows 10 [ Guide ]

Following are the instruction on how to remove Get Office in Windows 10, main purpose of this ad is to try the new Office suite for one month. In the following guide i’ll tell you how to remove Get office ad in Windows 10.

remove_getoffice_1


How to remove Get Office in Windows 10 [ Guide ]:

First we’ll turn off the this app notifications, although this won’t remove the app but turning off the notification will stop showing this ad notification in Windows 10.

Step #1: Open search box and type notification, now form the results click on “Notifications and action settings.”

Step #2: Now in settings you’ll all the apps that can send notifications. Find ” Get Office ” and click on the toggle to turn it off.

Step #3: All Done !.

In the following guide i’ll tell you how to completely remove the Get Office app from Windows 10. Follow all the steps as mentioned below.

Step #1: Open Start Menu and find the Get Office app, right click on it and select Uninstall.

Step #2: Open search bar and type “Windows PowerShell” and choose “Run as Administrator.”

Step #3: Copy the following command:

Get-AppxPackage|? name -like MicrosoftOfficeHub|remove-appxpackage


Step #4: Now in Windows PowerShell, Click on the top right corner and select edit. Paste the command you have copied in the 3rd step.

Step #5: Hit Enter to execute the command.

Step #6: Restart you PC.

All Done !

If you face any kind of issue regarding this guide please do tell me in comments, Please share it with your friends.


Install Android M Preview 3 Google Now Launcher On Your Android Phone

0
Install Android M Preview 3 Google Now Launcher On Your Android Phone

Google unveiled the Android M as Android Marshmallow and 6th iteration of Android a few days back. Apart from the official name and version number, Google also released the Android M Preview 3 for Nexus devices. While other users are going to wait for their smartphone’s manufacturers to roll out Android M, Nexus users are already enjoying it on their devices. But to fulfil the appetite of non-Nexus users, some developers have pulled out various components of Android M from the 3rd developer preview running on Nexus devices.

It doesn’t matter when your’e going to receive an update to Android M or when you’re going to get a custom Android M ROM for your device, you can still have a look and feel of Android M on your device by means of the launcher running on Android M. Android M’s Google Now launcher has been pulled out in the form of an installable APK file. You can grab the launcher and install it on your Android smartphone running Android 4.1 Jellybean or higher.

The new Android M (Google Now Launcher) includes a new improved UI, a set of new stock wallpapers. One of the most highlighted features is the vertical scrolling that seems to be a part of the core Android operating system now.

While install Android M launcher on your Android JellyBean, KitKat or Lollipop device, please be reminded that this is only the launcher. Installing the launcher doesn’t mean you’re upgrading your device to Android M. Google Now Launcher from Android M will only bring a look and feel of Android M in your device. You can also uninstall this launcher easily in case it doesn’t satisfy you. Let’s learn now how you can get it on your device.

1googlenowtechbeasts

How To Install Android M Google Now Launcher On Your Android Device

  1. Download Google Now Launcher 1.2 APK
  2. Copy the downloaded APK file to your Android phone.
  3. Now go to settings > security settings > unknown sources > check it.
  4. Now locate the copied APK file on your phone and tap it to install it.
  5. Follow on-screen instructions and install the Google Now Launcher.
  6. Now launch Google Now Launcher using the icon in app drawer.
  7. Your phone’s UI will change now.
  8. Press the home button to bring up the launcher selection option, you can choose now which launcher you want to choose.
  9. You can uninstall Google Now Launcher by simply uninstalling its application from application manager located in settings.

Download OnePlus 2 China Stock Wallpapers

0
Download OnePlus 2 China Stock Wallpapers

The Chinese manufacturer OnePlus won millions of hearts back in 2014 when it came up with a smartphone with amazing specifications, a cool design and build under a very cheap price tag. OnePlus One was a great success for the company, the success of first flagship definitely pushed the company towards a greater successor in the form of OnePlus 2. After being in much of hype, the OnePlus 2 came out of the curtains few months back and turned out be as great as the OnePlus One was.

There are several factors adding to the charm OnePlus 2 which include a 5.5 inch full HD display, a 3GB / 4GB RAM in 16 GB / 64 GB storage options, a 13 MP shooter at the back and 5 MP shooter on the front. OnePlus 2 is powered up with Qualcomm Snapdragon 810 CPU. This phone runs on Android 5.1 Lollipop having Oxygen OS or H2O OS makeup out of the box.

OnePlus added a number of wallpapers in OnePlus 2 to highlight the beauty of its display. The Chinese variant of the device is out now as well, which runs H20 OS. OnePlus 2 has added a set of different wallpapers in this phone. The OnePlus’s invites may not find your way anytime soon, but while you wait for the phone, you can grab its wallpapers and check them out on your existing Android devices. We have grabbed all the official wallpapers of the Chinese variant of OnePlus 2 and listed below. Go ahead and spot your favourite wallpaper in order to use it on your Android device. You can download these wallpapers separately and you can also download all stock wallpapers of OnePlus 2 from the all-in-one link attached at the bottom.


Download All One Plus 2 China Stock Wallpapers

Download Moto X Play Stock Wallpapers

0
Download Moto X Play Stock Wallpapers

Google launched Moto X series is still earning Motorola some respect. Motorola is still following the footsteps of Google. The trend introduced by Google was to provide a smartphone with high end specifications under a very cheap price tag. Google used its Google Nexus strategy with the Moto X as well. The ownership may have slipped away from Google, but the phone is still under the same strategy. Moto X helped Motorola to lift up its boat right when it was half drowned.

The latest star of the Moto X lineup is the Moto X Play. Moto X Play flaunts a beautiful 5.5-inch full HD display with 1080p resolution. A 21 MP shooter is fixed at the back and a 5 MP shooter on the front. Moto X Play is available in 16 and 32 GB storage options, this storage is expandable by means of an external SD card slot which supports up to 128 GB. A RAM of 2 GB is accompanying a Snapdragon 615 CPU and Adreno 405 GPU. Moto X selling point, apart from its top notch specifications, is its battery as well. The phone equips a whopping 3630 mAh battery to entertain Android power users for up to 2 days. Moto X Play runs on Android 5.1 Lollipop out of the box.

To make the display of this phone look stunning, Motorola has injected some cool wallpapers. You may not be planning to get your hands on this device, but you may want to get its wallpapers, so here they are. We have collected all stock wallpapers of Moto X Play. These wallpapers are in full HD resolution. You can go ahead, pick up your favourite wallpaper and then use it on any of your Android device. You can also download all stock wallpapers of Moto X Play from the all-in-one link attached below.

Download all Moto X Play Wallpapers