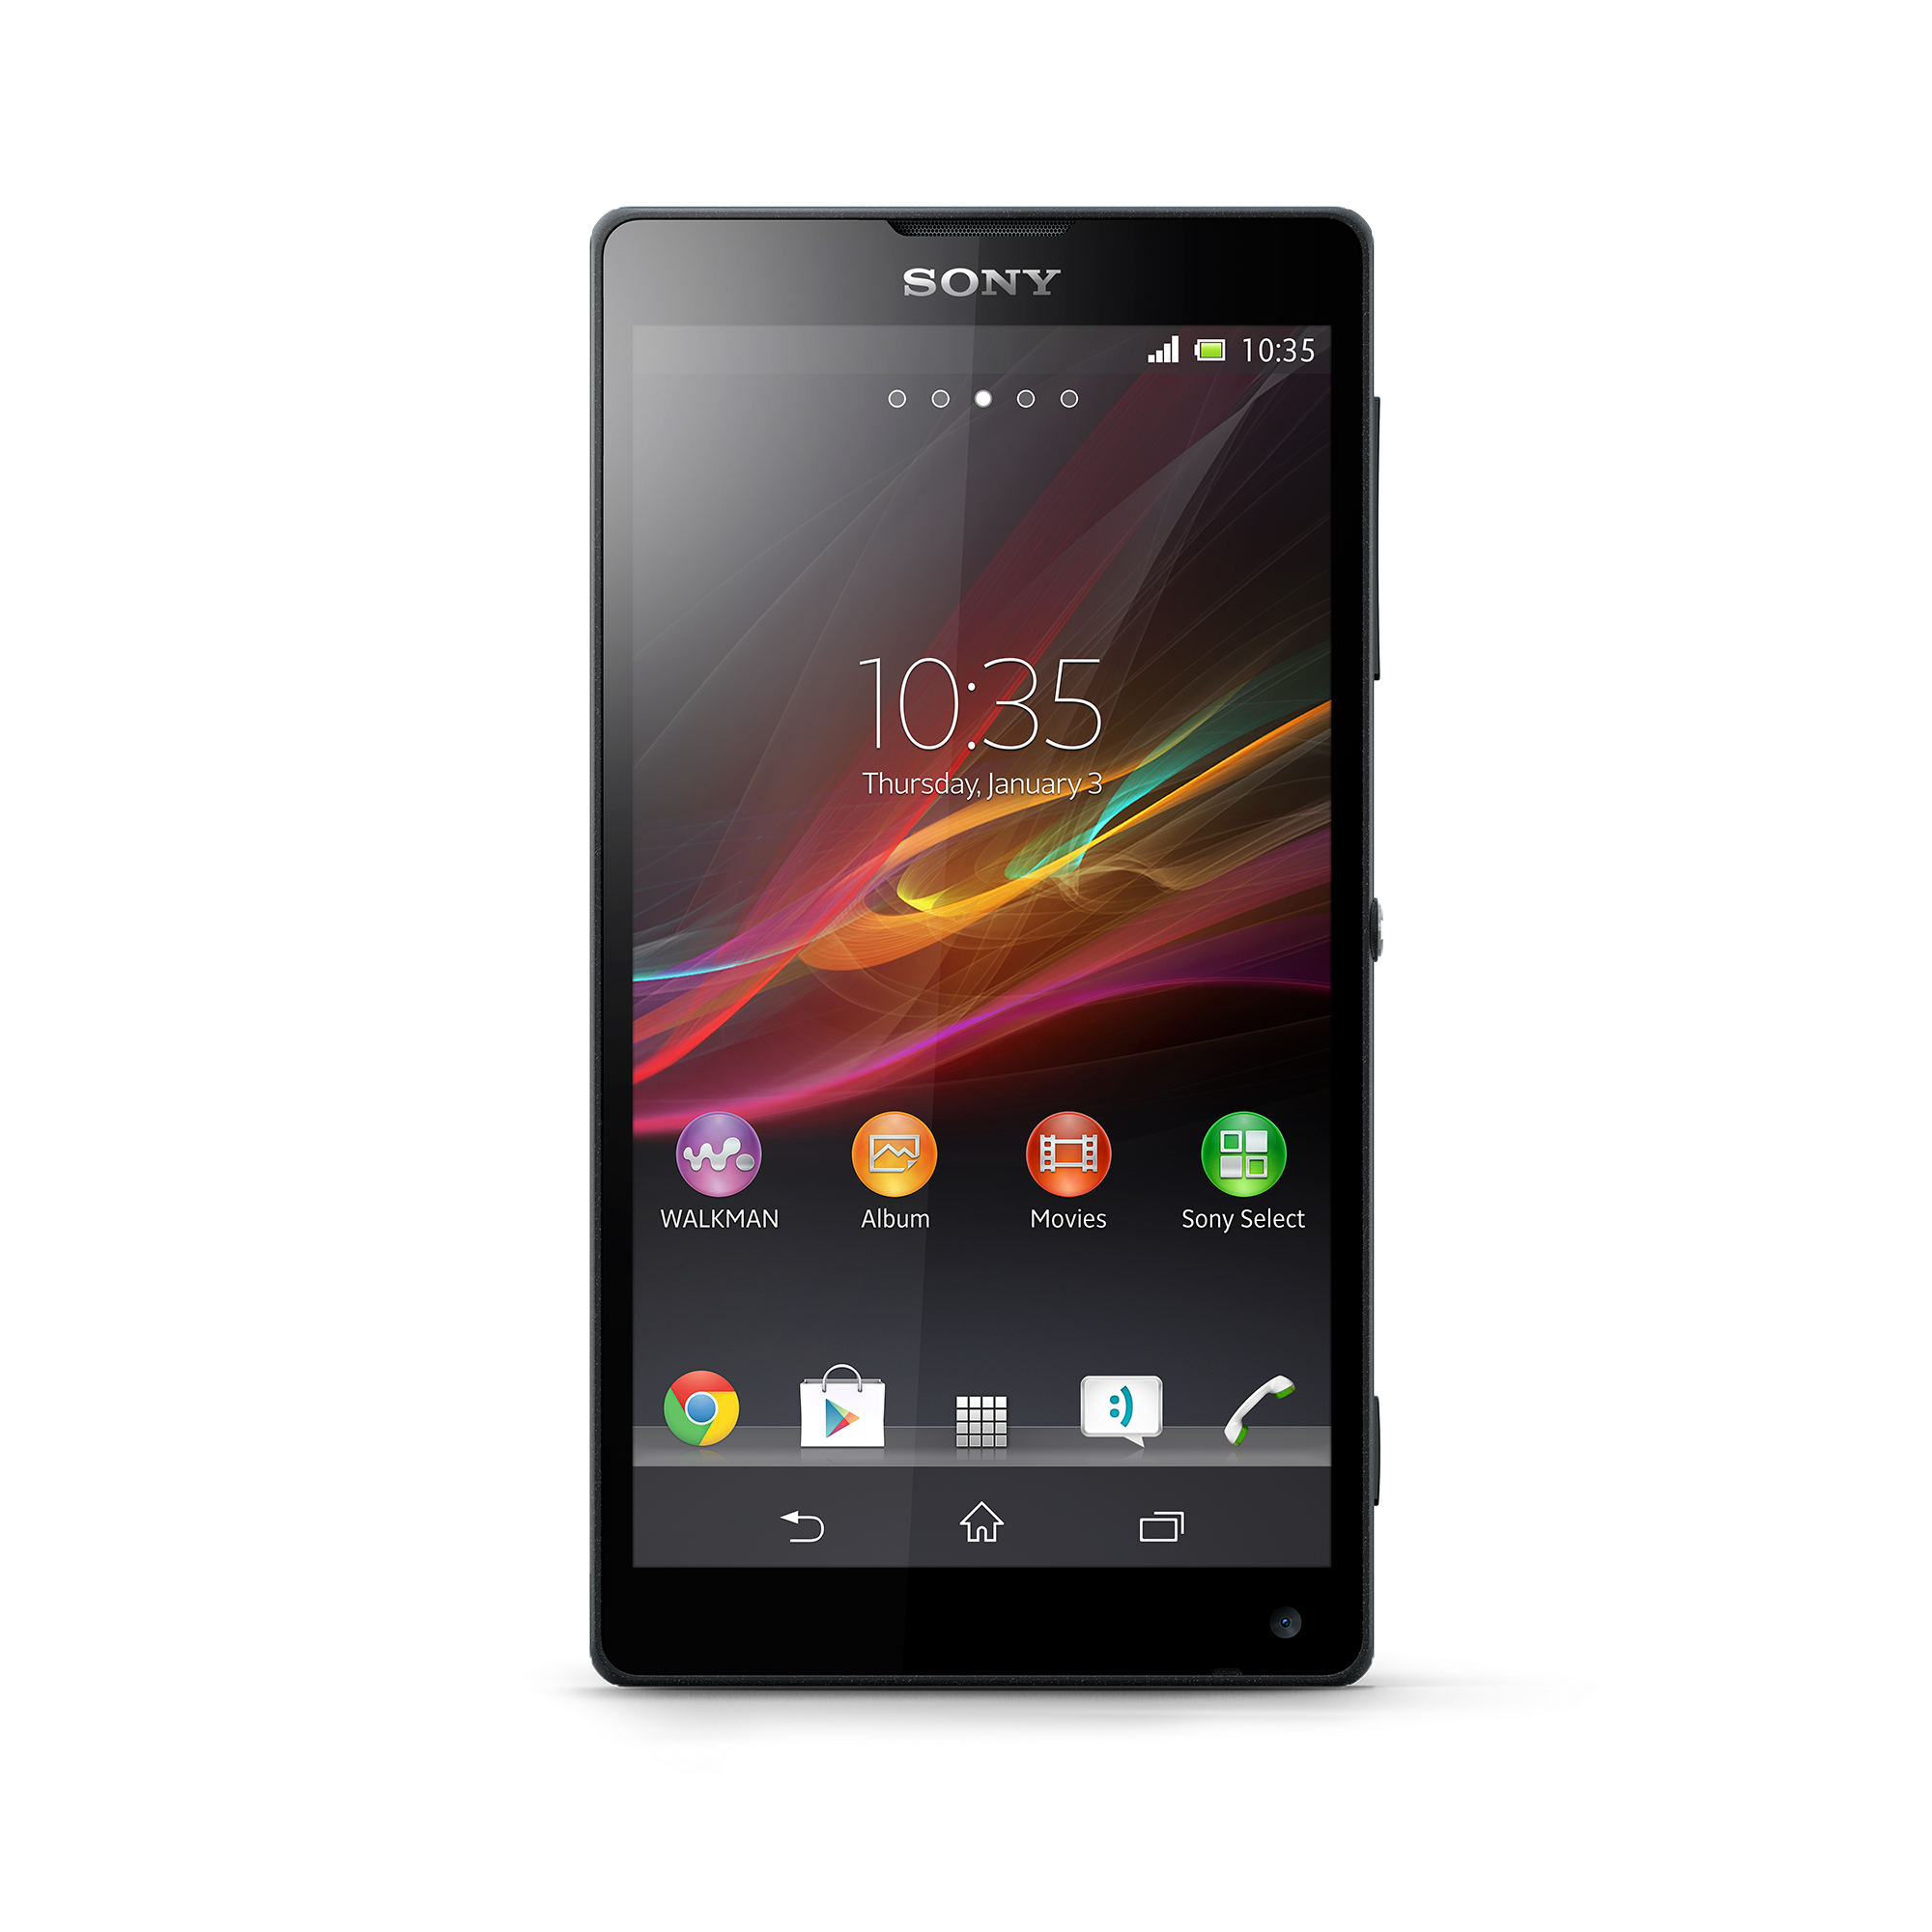
Xperia ZL, the brother of Sony Xperia ZL has been blessed by CyanogenMod 14.1 Android 7.1 Nougat Custom ROM. The device was previously running on Android 5.1.1 Lollipop and that’s where its official software support ended. Xperia ZL was updated to Android 6.0.1 Marshmallow and Android 7.0 Nougat by means of CyanogenMod custom ROMs and the same goes for Android 7.1 Nougat now. You can flash this latest custom ROM and enjoy all the goodies that Google packed up in the Android 7.1. The ROM has entered the beta stage, there are great chances that you can keep this ROM as a daily driver. In order to flash it safely, you need a working custom recovery and then you need to flash this ROM by following a few simple steps.
Follow this guide to install Xperia ZL Android 7.1 Nougat CyanogenMod 14.1 Custom ROM. Before flashing the ROM, go through the early preparations carefully and only then proceed.
- This guide is intended for Xperia ZL only. Do not try this on any other device.
- Charge your Xperia ZL up to 50% to avoid any power issues during the flashing process.
- Flash a custom recovery on your Xperia ZL.
- Backup everything including your contacts, call logs, sms messages and bookmarks. Also create a Nandroid backup.
- Follow this guide to the letter to avoid a mishap.
Disclaimer:The methods involved in flashing custom recoveries, ROMs and rooting your phone are highly custom and may result in bricking your device, and has nothing to do with Google or the device manufacturer that is SONY in our case. Also rooting your device will void its warranty and you will be no longer eligible for any kind of free device services by the manufacturers/warranty providers. In case of any mishap we may not be held responsible.
Install Xperia ZL Android 7.1 Nougat CyanogenMod 14.1 Custom ROM
- Download Android 7.1 Nougat CM 14.1 ROM.zip file.
- Download Gapps.zip [ARM- 7.1 – pico package] file for Android 7.1 Nougat.
- Copy both the .zip files to your Xperia ZL’s internal or external SD card.
- Boot your Xperia ZL into custom recovery. If you’ve installed dual recovery using the guide linked above, you should use TWRP recovery.
- Now in TWRP recovery, perform a factory reset under wipe option.
- Now get back to the main menu in TWRP recovery and select “Install”.
- Under “Install”, scroll all the way down and choose ROM.zip file. Flash this file.
- Once done, get back to the TWRP recovery menu again and this time flash Gapps.zip file using the instructions as stated in the above step.
- Once you’ve flashed both files, wipe cache and dalvik cache under wipe option.
- Reboot your device into system now.
- That’s all. Your device should boot up in CM 14.1 Android 7.1 Nougat now.
In case something goes wrong, you may considering restoring the Nandroid backup. Another way to fix your device from the bricked state is to flash a stock ROM. Here’s our comprehensive guide on how to flash a stock firmware on your Sony Xperia.
If you’ve got any queries, feel free to reach us out through the comment box below.


