

In this article, you will learn how to Enable Google Pixel 3 Call Screening on Pixel 2 and Pixel. Google Pixel 3 is the latest flagship device from Google and it came out with a number of new features. The feature so far is Night Sight and thanks to Android developers now we can use this features on other Android devices as well. The feature which is worth talking about is Call Screening. Today we will tell you how you can enable Google Pixel 3 Call Screening on Pixel 2 and Pixel devices.
Contents
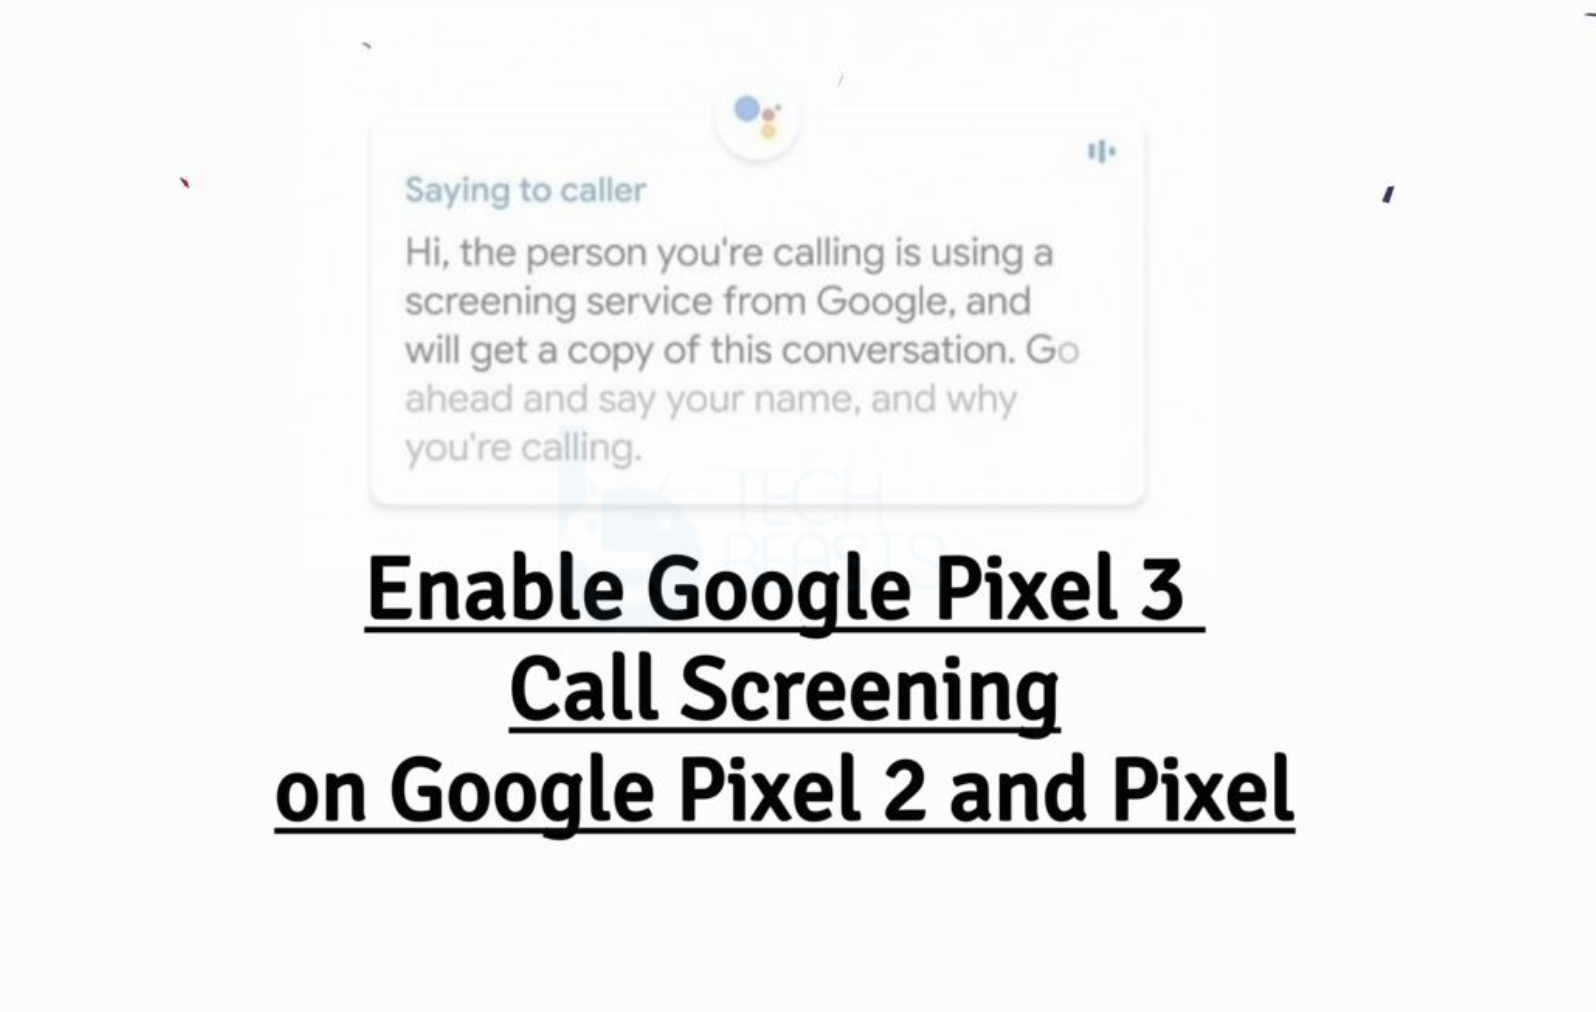
What is Call Screening?
Call Screening is quite when it comes to taking on Spam callers. It is a built-in feature in the Google Phone app and it takes over when a call is coming. Google Assistant also comes in action when Call Screening feature is enabled. It will tell the caller to leave a message or you can take over. Hence, when a spam caller calls, you will be notified and also an automatic response will be sent to the caller.
Call Screening is currently available on Pixel 3 and Pixel 3 XL. Moreover, Google has said that they will bring this feature to other Google devices with the passage of time. But, why wait when you can get it right now. Heed the instructions below to enable Call Screening on Google Pixel, Google Pixel XL, Google Pixel 2, and Google Pixel 2 XL.
Requirements:
But before we move on, you need to Root your Pixel devices. Use the following link to Root Pixel 2 and all the other devices.
Enable Google Pixel 3 Call Screening on Pixel 2 and Pixel:
- First, Root your Pixel device. You can use the links given above.
- Download any Root-Enabled file Explorer. Since we have to edit a few files, that is why we required Root Explorer.
- Once you have installed File Explorer, follow the instructions below.
- Navigate to /data/data/com.google.android.dialer/shared_prefs.
- When you are there, look for a file named dialer_phenotype_flags.xml. In this file, you need to find a value named “ __data_rollout__SpeakEasy.CallScreenOnPixelOneAndTwoRollout__launched__” Once you do, change it from ‘false’ to ‘true’.
- Look for another value, “__data_rollout__SpeakEasy.OverrideUSLocaleCheckRollout__launched__” Once you do, change it from ‘false’ to ‘true’.
- On the next step, you need to find “G__enable_speakeasy_details” Once you do, change it from ‘false’ to ‘true’. Find all the values mentioned below and change their values from ‘false’ to ‘true’.
- G__speak_easy_bypass_locale_check.
- G__speak_easy_enabled.
- Changing all the values, you need to open Settings and head over to the apps sections. find the Phone app and Force stop it.
- Restart your device and there you go.
That’s all.


")


