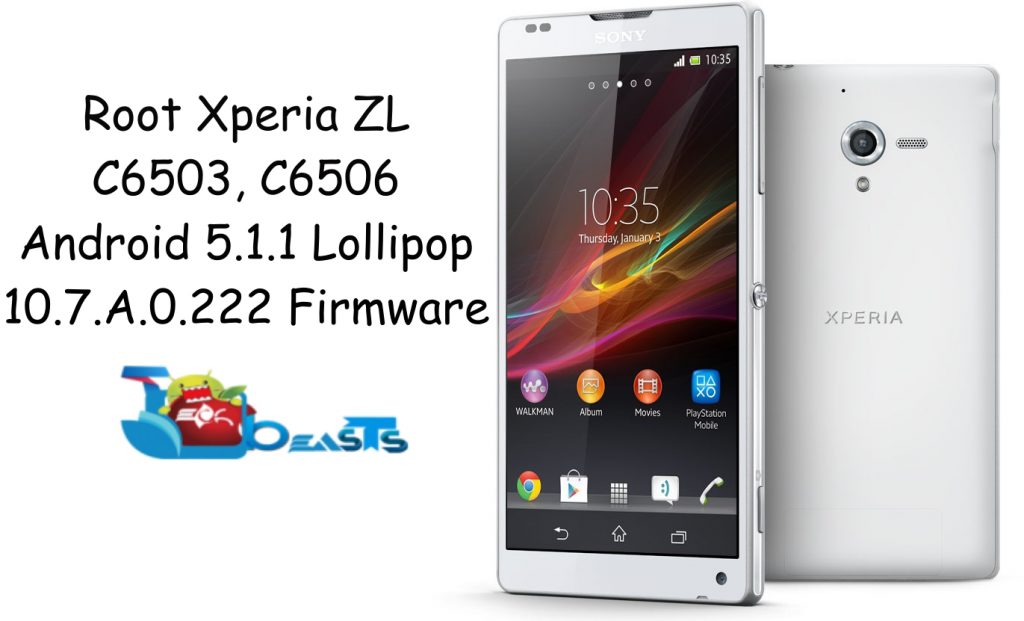
We have already posted the guides to update your Xperia Z, ZL, ZR or Tablet Z to Android 5.1.1 Lollipop. Those users who have already updated their Xperia ZL, they must have noticed the loss of root access. And the novice users, who haven’t rooted their phone ever before, they may want to gain root access on their device running Android 5.1.1 Lollipop. Unfortunately, the new limitations set by Google do not allow direct rooting on Android Lollipop. You will have to go through a little bit complex method in order to attain root access. In order to help you out, we have made a comprehensive guide, that will help you to easily root and install CWM or TWRP recovery on your Xperia ZL C6503 and C6506 running Android 5.1.1 Lollipop 10.7.A.0.222 firmware.
Let’s put a full stop to our conservation here and root our beloved Xperia ZL running Android Lollipop 5.1.1 now.
Contents
Steps For Rooting Xperia ZL C6503, C6506 10.7.A.0.222 Firmware
1. Downgrade to .283 Firmware and Root It
- If you have already updated your smartphone to Android 5.1.1 Lollipop, then you have to downgrade your device to KitKat OS and Root it.
- Use this guide to Install .283 firmware.
- Root using this guide.
- Now you have to Install XZ Dual Recovery (Steps below).
- Now phone is rooted, USB Debugging must be enabled.
- Download latest installer for Xperia ZL from here. (Z-lockeddualrecovery2.8.xx-RELEASE.installer.zip)
- Connect phone to PC using OEM date cable and run install.bat.
- It will install the custom recovery.
- Now work here is done. Lets move on to next step.
2. Make A Pre-Rooted Flashable Firmware For 10.7.A.0.222 FTF
- Download latest 10.7.A.0.222 FTF.
- Now create a Pre-Rooted flash-able firmware using this guide: How To Create Sony Xperia Pre-Rooted Firmware With PRF Creator.
- Now copy the pre-rooted firmware.zip file to the internal or external storage of your Xperia ZL.
3. Root and Install Recovery on Xperia ZL ZL C6503, C6506 5.1.1 10.7.A.0.222 Lollipop Firmware
- Custom recovery was installed in the first step.
- The pre-rooted firmware was created and copied to phone in next step.
- Now you have to turn off phone.
- Turn it on again and press volume up or down to enter either TWRP or CWM recovery.
- Now for TWRP recovery, tap Install > scroll all the way to bottom and select the copied pre-rooted firmware.zip file.
- After selecting the file, swipe finger from left to right on the bottom to flash.
- Once flashed, reboot your device and you will have pre-rooted 10.7.A.0.222 Lollipop firmware.
- For CWM, select Install Zip > Choose Zip from SD card > locate pre-rooted firmware.zip file > select yes to flash.
- Once flashed, reboot your phone and you will have 10.7.A.0.222 rooted Lollipop firmware.
- Now verify root access using an app like Root Checker.
- That’s all.
Stuck with something? Reach us out through the comment box below. We would love to help you out.


With these method, we lost bravia engine 2 or clear sound? txs
@vicente_cornejo:disqus this method will also work for locked bootloader. If you won’t unlock bootloader, you won’t loose Bravia Engine 2.
MEN, totally work. love you in this moment <3
Thanks for your update of your root guide (series)!
There are very few root guides for the Xperia ZL for current android versions, so I love your updates of your root guide the more.
Successfully rooted my Xperia ZL with Android 5.02 using your root guides a while ago. I’ll check out this guide very soon 🙂
@Zaraxxas:disqus It’s my sincere pleasure 🙂
Let me know how this guide goes for you. This has been verified by one user so far 🙂 Best of Luck.
thank you very much 🙂
I flashed 10.5.A.0.230 and went directly from that to 10.7.A.0.222 instead. Downloading 283 also and flashing extra kernel seemed unecessary.
Got the “unable to mount system” error in TWRP in 10.7.A.0.222 though when installing xposed afterwards. Had to do the fix here http://forum.xda-developers.com/showpost.php?p=62719893&postcount=6192
I guess it’s fixed in 2.8.22. I’ll update when it’s out of beta.