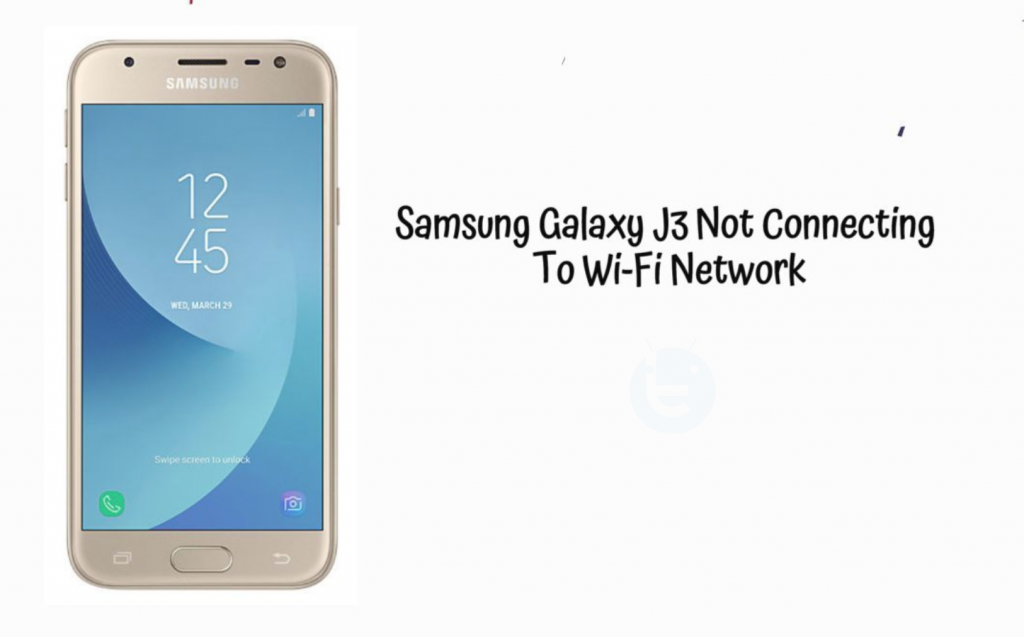
Here’s how you can Fix Samsung Galaxy J3 Not Connecting To Wi-Fi Network issue. We have seen many Samsung devices facing the similar issue. In the past, we have helped our readers with connectivity issues and we would love to continue.
Contents
Samsung Galaxy J3:
The Galaxy J3 was released in June 2018. The phone came out with a screen of 5.0-inches having 720 x 1280 pixels resolution. Galaxy J3 was powered by Exynos 7570 Quad CPU and Mali-T720 GPU. It had internal storage of 16 GB and a RAM of 2GB only. The camera at the back of this phone was of 8 MP and on the front, it was of the only 5MP. Inside this phone, there was a 2600 mAh battery. The phone originally ran on Android 8.0 (Oreo).
Samsung Galaxy J3 Not Connecting To Wi-Fi Network:
Heed the following instructions and you will be able to Fix Samsung Galaxy J3 Not Connecting To Wi-Fi Network. We have added different workarounds but all the solutions are for our main core issue.
J3 Not Connecting To Wi-Fi Network:
There can be a number of reasons if your J3 is Not Connecting To Wi-Fi Network. The first thing you should do is head over to the settings and make sure WiFi is turned on. If you cannot turn on WiFi from the settings, you should perform a factory reset.
However, if your WiFi is enabled but you cannot connect to your home network. The first thing you should do is forget the network and try connecting it again. By any chance you have no luck, try connecting the same network on another device. If it is connecting on other devices, you should restart your router.
After trying the workarounds above, you are still standing there where you were before. The best solution is to go to the Samsung service center.
J3 Keeps On Disconnecting From Wi-Fi Network:
The best solution for this specific issue is that you should try to connect your device with another WiFi network. If you are successful and you are getting no problems, that means your WiFi connection is having problems at the backend.
J3 Connected To Wi-Fi But No Internet:
First, try to connect with different WiFi network. If the problem persists then you need to boot your device in Safe mode. If your device works perfectly in Safe Mode, that means you have downloaded an app which is causing all this fuss. Delete the app and you are good to go.
However, if you have no luck in Safe, you need to perform a Factory Reset and Wipe Cache Partition. Heed the instructions below.
Perform a Factory Reset:
You need to create a complete backup of your device before you perform a Factory Reset. [ How to Backup Your Entire Android Device to PC ].
- Turn off your device.
- Now press and hold home+Power+Volume Up key.
- Release the power button once you see the logo, but keep holding home and Volume up keys.
- Now when you see Android logo, let go both buttons.
- Use the volume down button to navigate and highlight wipe data/factory reset.
- Now use the power key to select the option.
- You have to select ‘Yes‘ when you’ll be prompted for the next menu.
- Now wait for the process to be completed, once it’s done highlight ‘Reboot system now’ and press power button to select it.
- All Done.
Clear System Cache:
- Turn off your device.
- Now press and hold home+Power+Volume Up key.
- Release the power button once you see a logo, but keep holding home and Volume up keys.
- Now when you see Android logo, let go both buttons.
- Use the volume down button to navigate and highlight wipe cache partition.
- Now use the power key to select the option.
- You have to select ‘Yes‘ when you’ll be prompted to the next menu.
- Now wait for the process to be completed, once it’s done highlight ‘Reboot system now’ and press power button to select it.
- All Done.


