Home Blog Page 327

Fix Edge features still pops up after being disabled on Galaxy S6 Edge Plus
0
Fix Edge features still pops up after being disabled on Galaxy S6 Edge Plus

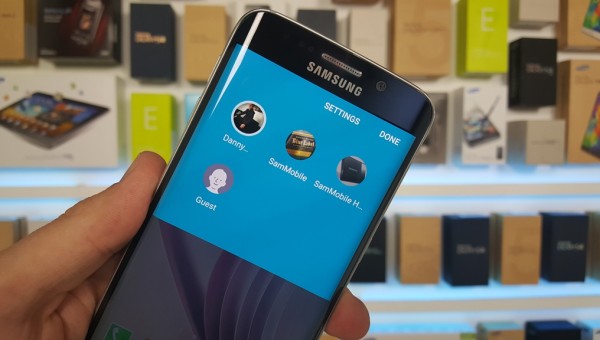
Samsung rolled out Marshmallow v6.0.1 update for Galaxy S6 Edge Plus, Korea is the first company to get this treat. You can update your device by downloading the firmware and flashing it using Odin, many users did that and now they are facing issues. I’ll update all the issues solutions in a bit, right now I have found a solution fo those who are facing Edge features still pops up after being disabled on Galaxy S6 Edge Plus after updating to 6.0.1.
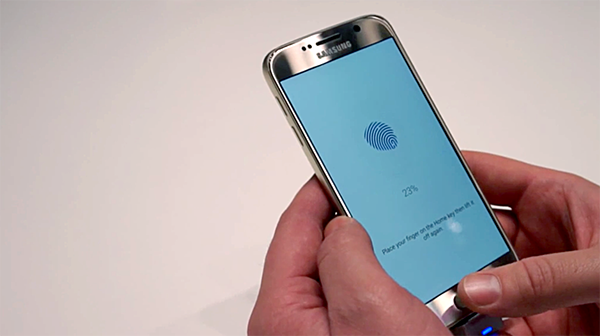
Fix Edge features still pops up after being disabled

Fix Edge features still pops up after being disabled on Galaxy S6 Edge Plus:

First thing you must know that, you can enable / disable or turn off / On edge feature by going into the settings and accessing the Edge menu. If however, after disabling it won’t turn off then it must be a glitch. Let’s Fix it.

  • Turn off your Galaxy S6 Edge Plus.
  • Now press and hold Volume Up key, Home key, and Power key.
  • When your device vibrates, release the power button while continue to press/hold volume up and home key.
  • Once you see Android recovery screen, release both buttons.
  • You’ll see different option in the list, use volume down key to highlight ‘wipe cache partition.’ Use the power button to select it.
  • Once the process is completed, use volume key again to scroll and power button to select ‘Reboot system now’.
  • Your device will boot up.

Once your device boots up try disabling the edge feature and check that it working or not. I hope it will be working fine, if however, you still facing the same issue then follow the steps below.

  • Frist backup your Android device. Use our guide.
  • Now goto settings and open accounts->remove you google account.
  • Turn off your Galaxy S6 Edge plus.
  • Now press and hold Volume Up key, Home key, and Power key.
  • When your device vibrates, release the power button while continue to press/hold volume up and home key.
  • Once you see Android recovery screen, release both buttons.
  • You’ll see different option in the list, use volume down key to highlightwipe data/factory reset’. Use the power button to select it.
  • On next page using Volume down button to scroll and select Yes — delete all user data’.
  • After factory data reset is complete, from the main menu choose Reboot system now.
  • All Done.

I am sure after trying these steps your issue is fixed. Please do tell me your thoughts in comments.

How To Fix Blurry Pictures and Video On Samsung Galaxy Note 5

0
How To Fix Blurry Pictures and Video On Samsung Galaxy Note 5

Samsung Galaxy Note 5 is a full package device and I am using it quite long now, it’s a perfect device for those who love Android and try out new things on it. Few days back my friend told me that he is facing an issue on his Galaxy Note 5, every time he takes a photo or record a video result comes blurry. I tried it myself and result do come blurry, so I thought why not get it fix. In the following guide, I will tell you how to fix Blurry Pictures and Video On Samsung Galaxy Note 5.

fix blurry pictures and video on note 5

How To Fix Blurry Pictures and Video On Samsung Galaxy Note 5:

Ok no need to panic peoples, it’s nothing big all you have to is change a simple setting and after that it will be gone for good but by any chance it’s not don’t worry I have a solution for that too. Let’s start the process to fix Blurry Pictures and Video On Samsung Galaxy Note 5.

Step1: First you need to do is remove the protective plastic casing that is on the camera lens and heart rate monitor.

Step2: Open your camera app.

Step3: Now goto Settings by tapping on gear icon on the lower left side of the screen.

Step4: Once you are in Setting menu, look for “Picture Stabilization” option and turn it off.

Now after applying these steps I am 100% sure that you won’t be facing blurry picture and video issue on Galaxy Note 5. Let’s say it’s not fixed so not need to panic, I have others solutions to fix this issue.

Step1: Boot your device in Safe Mode, then try to take the pictures if still it’s blurry try the next step.

Step2: Restart your Note 5, Goto Setting->Application manager->Tap on Camera and clear the cache and data.

Step3: Perform a factory reset or reset all the settings.

Step4: Update your device to latest OS.

Step5: Install third-party camera apps and stop using the stock camera app.

These are the methods that you can apply to fix Blurry Pictures and Video On Samsung Galaxy Note 5 and stay tuned to see more trouble-shooting for this issue.

Fix iMessage “Waiting for Activation” Error on iPhone SE

0
Fix iMessage “Waiting for Activation” Error on iPhone SE

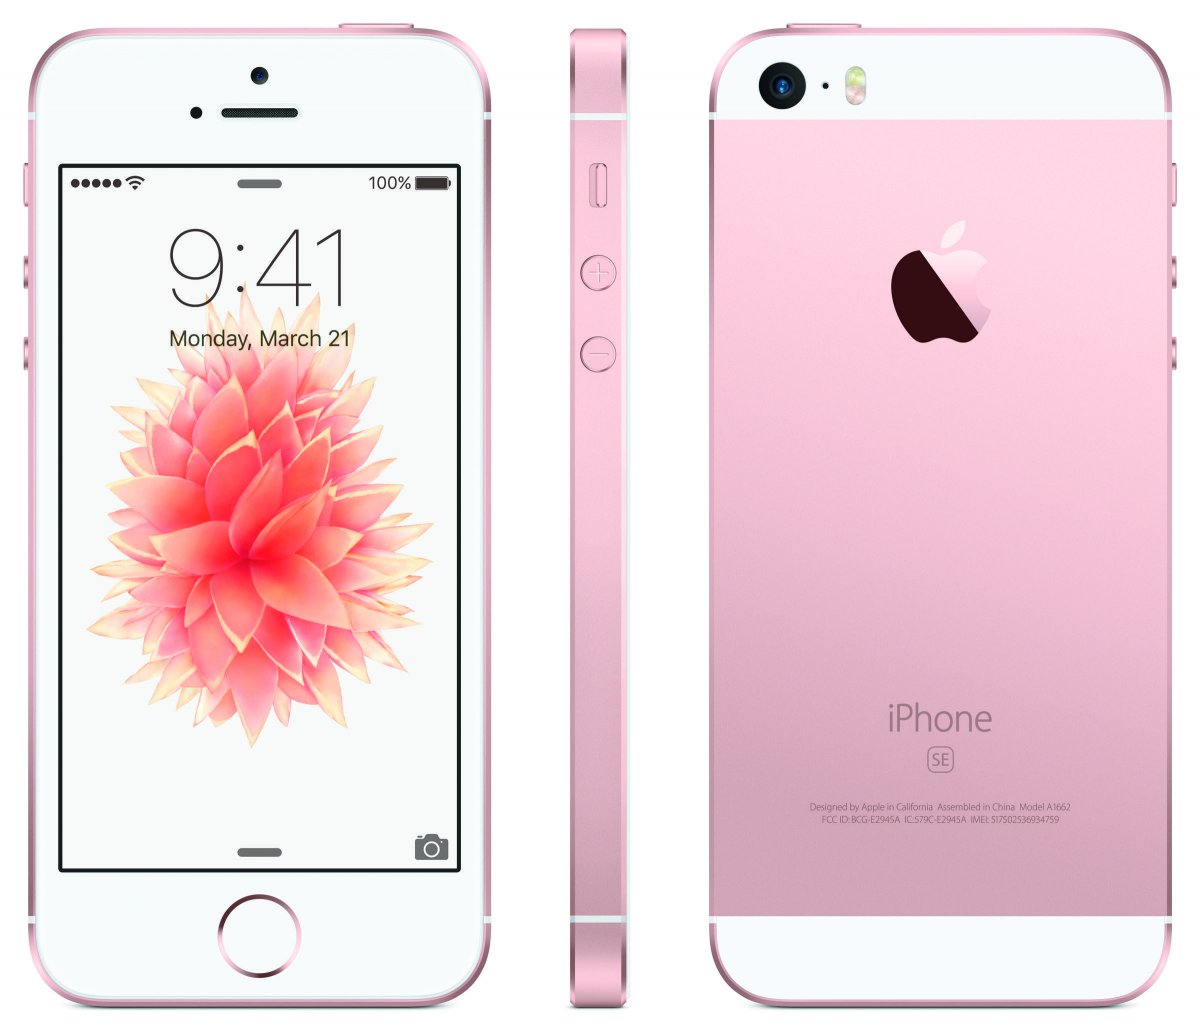
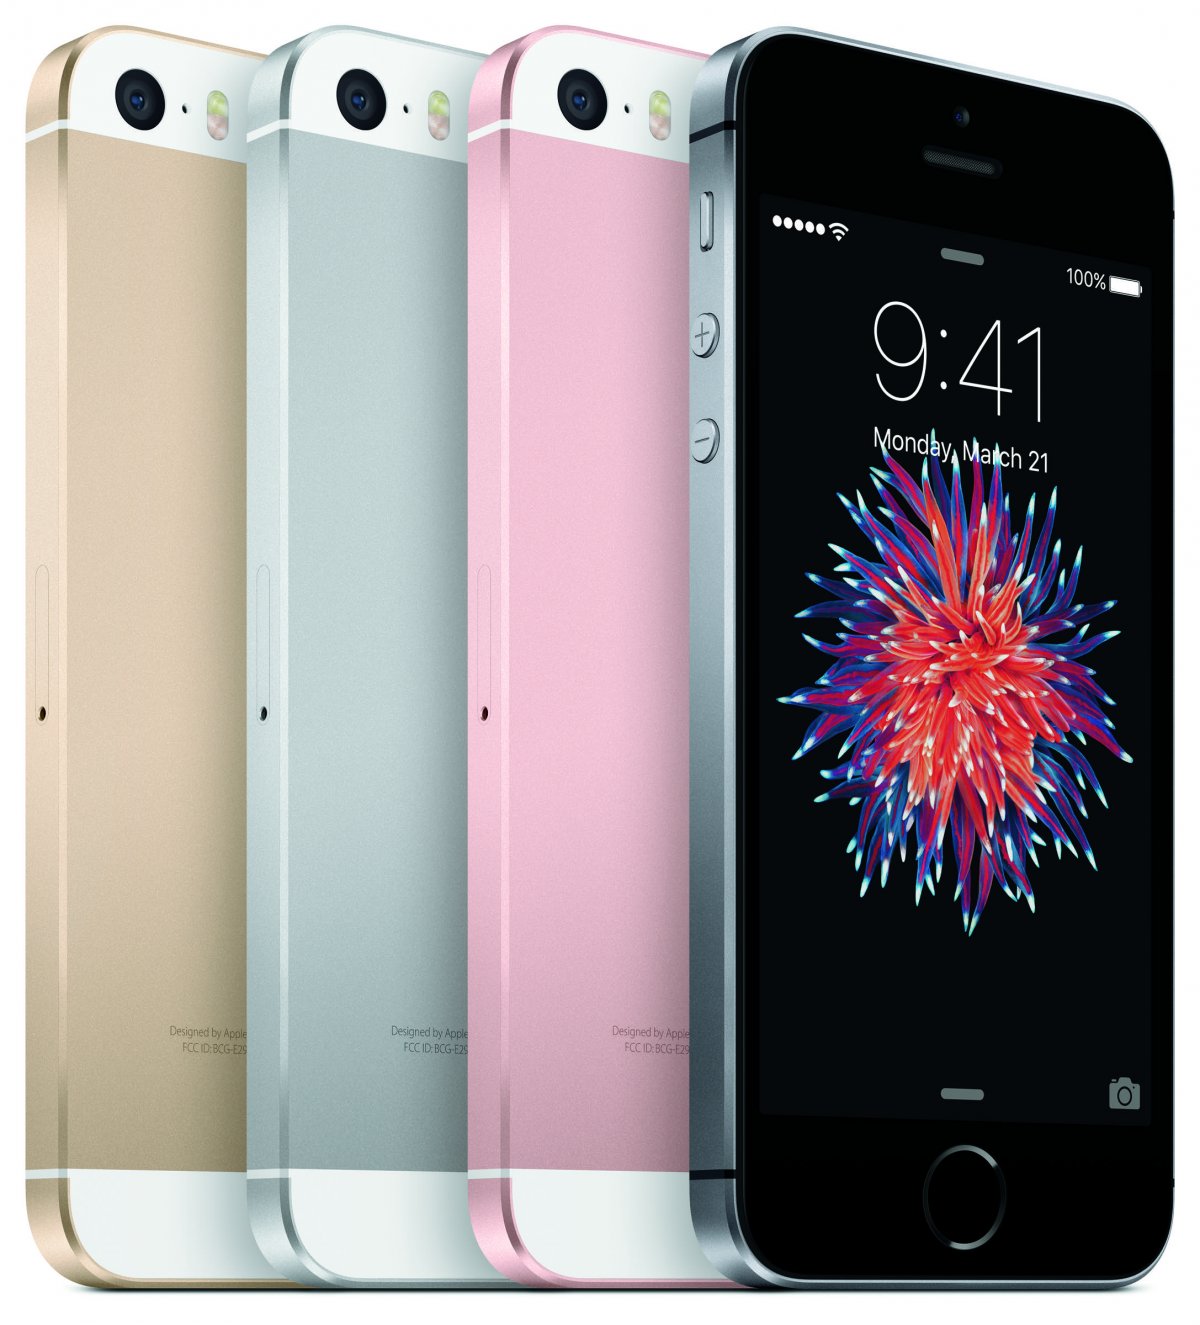
We’ve covered the article on how to iMessage “Waiting for Activation” Error on iPhone 6s, 6, 6plus and others. Today I’ll tell you how to Fix iMessage “Waiting for Activation” Error on iPhone SE. As iPhone SE is the latest flagship of Apple, thousands of new user are buying iPhone SE and those who are facing iMessage waiting for activation error, all they need to do is follow the instruction below.

Fix iMessage “Waiting for Activation” Error on iPhone SE

How to Fix iMessage “Waiting for Activation” Error on iPhone SE:

  • First go to your settings on iPhone.
  • Enable Airplane mode.
  • All your connections will be disabled.
  • Turn off your iMessage and FaceTime.
  • Now Enable Wi-Fi.
  • Go back to Messages and turn on iMessages.
  • Add your Apple id.
  • You will get a pop-up saying ” Your carrier may charge for SMS ” Tap ok.
  • iMessage should get activated.

Fix iMessage “Waiting for Activation” Error Through Apple ID Sign-out, Sign-in:

  • Go to setting then tap on Messages.
  • Now tap on Send & Receive.
  • On next page tap on your Apple id.
  • A Popup will appear with 4 options Change location, View Account, Sign Out and Cancel.
  • Select Sign Out.
  • Now Turn Off iMessages.
  • Wait for a while then login again with your Apple id.
  • Enable iMessages.
  • It’ll work.

If none of this work for you then reset your location setting and if the problem is still there, then reset your iPhone.

How To Turn off/on Automatic App Updates on iPhone SE

0
How To Turn off/on Automatic App Updates on iPhone SE

iPhone SE is giving a good response, people are buying the Apple latest device. We have covered all the iPhone SE features and specs. Today I’ve prepared a guide on how to Turn off/on Automatic App Updates on iPhone SE. Most of you know how to do this but there are many new users who don’t, Turning off Automatic App updates help you increase your battery life of iPhone SE. Sometimes we are at a place with no Wifi and at this time a new update is released for an app, it will use your mobile data to update it and you will lose both your mobile data and battery life because iPhone uses more battery then on Wifi. So in order to save your mobile data and battery life, learn how to Turn off/on Automatic App Updates on iPhone SE.

How To Increase Battery Life on iPhone SE

How To Turn off/on Automatic App Updates on iPhone SE:

Step∞: Unlock your iPhone.

Step∞: Open Settings apps from home-screen.

Step∞: Now scroll down and Tap on iTunes & App Store.

Step∞: In iTunes & App Store you’ll see Automatic Downloads, Tap on in to turn off and on. Please keep that in mind before doing this you must logged in with your Apple ID.

Step∞: Now it’s your decision to keep Off or ON Automatic Apps download.

All Done.

As I have said before that by Turning Off Automatic Downloads will result in saving mobile data, battery life and also When a new version of an app comes out sometimes apps start crashing or start behaving abnormally so before updating the App do check reviews. I would suggest you turn off the Automatic downloads option, but you are new to iOS and iPhone keep that on.


How to Connect Android smartphone to Projector

0
How to Connect Android smartphone to Projector

Now a days we do everything on our smartphones, make presentation, take pictures, make videos, watch movies and so much more. It would be really great if we can connect our Android device with a projector, it came handy while giving presentation, watch a movie online or checking pictures of an event. Now not every ones know how to do so, that is why I have prepared a step by step guide to tell you How to Connect Android smartphone to Projector.

Connect Android to Projector

How to Connect Android smartphone to Projector:

Wireless App:

This is the best and easiest way to connect a Android device to projector. There are alot of companies who are giving a built-in app to connect your smartphone to a projector using Wifi or Bluetooth. Also you can find such apps on Google Play, if you can’t find one then i would suggest to stick with Panasonic projector because they have a app which allow you to easily connect your Android device with the projector.

Chromecast:

Second best option is Chromecast, it will work with most of the Android devices. All you have to do is attach the Chromecast with HDMI port on a projector and using Wifi network you can mirror you Android screen with your projector.

Miracast:

Third best solution is Miracast, because most of the new Android devices and projector support Miracast. Now by any means if you projector doesn’t support Miracast then you have spend few dollars to get a Miracast video adapter, that you can easily attach with the HDMI port on the projector. The best thing about Miracast is that you don’t need a Wifi network to share your Android screen.

Hard-wired Connection:

If none of given methods worked for you then you have no other choice left other than hard wire connection. You can use MHL or HDMI cables to connect your Android to a projector.

It very simple if you device support MHL, then all you have to do is purchase a MHL to HDMI adapter and connect it with your device. Once connected on your device, use HDMI port on projector to connect Android smartphone.

How To Increase Battery Life on iPhone SE

0
How To Increase Battery Life on iPhone SE

iPhone SE is the latest mid-range device from Apple, if you want to know the specs of iPhone SE click here. iPhone has many great features but there is one thing Apple never fixed is bad battery issue. iPhone SE will be good in many ways but this time battery is bad as in all other Apple devices. But when there is an issue there’s always a solution, following are the instructions on how to Increase Battery Life on iPhone SE.

Increase Battery Life on iPhone SE

How To Increase Battery Life on iPhone SE:

Before moving on to the main guide, let me tell you some old methods they also came handy.

  1. If you are a music lover and listing music all the time while using iPhone. Try using headphones instead of main speaker.
  2. Use low screen brightness.
  3. Turn off the Bluetooth when you are done.
  4. Turn off the Wifi when you don’t need internet access.
  5. Turn of the location services.
  6. Turn off push service for email, calendar, and contacts.

These methods always came handy for every iPhone device, now let’s move to the main guide go to next page.

Download iOS 9.3 Final IPSW File For iPhone And iPad [Direct Links]

0
Download iOS 9.3 Final IPSW File For iPhone And iPad [Direct Links]

iOS 9.3 is rolled out, go into your iPhone settings->General->Software update. iOS 9.3 has been in testing since January 2016 and finally today it’s out. The best and main feature in iOS 9.3 is night shift which is actullay borrwed from the famous app f.lux app, this feature use geo-location to automatically shift the display’s, Touch ID is improved, Apple News also revceived new improvements. 3D Touch is now available for stock Weather, Health, Stocks, Compass, App Store, iTunes Store, and Settings app. All of these features are also added for iPad. If you didn’t got the OTA update, download the iOS 9.3 IPSW links for your iPhone and iPad.

ios 9.3 ipsw links (1)

Download iOS 9.3 Final IPSW File For iPhone And iPad [Direct Links]:

iOS 9.3 download IPSW links:

download ios 9.3  (1)

How to Turn on Screen Mirroring on Samsung Galaxy S7 Edge and Connect With SmartTV

1
How to Turn on Screen Mirroring on Samsung Galaxy S7 Edge and Connect With SmartTV

Samsung new flagship Galaxy S7 and S7 edge has shocked the world with his brilliant features. Last year when Samsung released Galaxy S6 people didn’t found this device as good as it was marketed, Samsung dropped some of the core features in Galaxy S6 but now they have listened to users and given them what they want. Enough of the chit chat, you can read everything on Samsung Galaxy S7 edge in our review. Let’s get back to the topic, following are the instructions on how to Turn on Screen Mirroring on Samsung Galaxy S7 Edge and Connect With SmartTV.

samsunggalaxys7_2_mwc

How To share the screen and data between your PC and mobile device:

  • First of all download SideSync on your Windows/Mac and mobile device. You can download SideSync from Google Play on your device.
  • Once SideSync is installed on your PC and mobile device, connect your device with PC using USB cable or WiFi.
  • If you have Samsung Smart TV then you can connect your device using WiFi, but if you don’t have Samsung SmatTV then you have buy a AllShare cast hub in order to connect with TV.

How to screen mirror from Samsung Galaxy S7 Edge to a TV using AllShare Cast:

  • Turn on your television.
  • Power on your AllShare Cast though charger.
  • Connect your TV with AllShare Cast with HDMI Cable.
  • Kindly properly put HDMI Cable in the right port.
  • Now wait for the light to get blue from red on your AllShare Cast device.
  • Your TV is connected with AllShare Cast.
  • Now go to Samsung Galaxy S7 Edge quick setting and tap on screen mirroring and first turn off then turn on it again.
  • After turning on Screen mirroring you will get a list of available devices. Select AllShare Cast’s dongle and enter the PIN as showed on TV.
  • Your Samsung Galaxy S7 Edge is connected with your TV through AllShare Cast.

How to screen mirror from Samsung Galaxy S7 Edge to a Samsung Smart TV:

  1. Press Input from your Samsung SmartTV remote.
  2. Select Screen Mirroring from your Smart Tv screen.
  3. Now go to your Galaxy S7 Edge quick setting tap on Screen Mirroring.
  4. Your Phone will list all the available device available for Screen Mirroring.
  5. Select Samsung Smart TV. That’s all.

How To Fix Samsung Galaxy S7 Not Registered On Network

3
How To Fix Samsung Galaxy S7 Not Registered On Network

Following are the instruction to fix Samsung Galaxy S7 Not Registered On Network.

Whenever a new Samsung galaxy device hit the market, there is only one common issue which keep popping up ” Not Registered On Network “. We have covered this issue for many Samsung devices such as Galaxy S6 and S6 Edge Not Registered On Network, Galaxy Note 5 not registered on network, Galaxy S5 not registered on network and many more. Today I will tell Samsung Galaxy S7 users, how they can fix Samsung Galaxy S7 Not Registered On Network and also what cause this issue.

Learn moreFix Samsung Galaxy Not Registered On Network

fix galaxy s7 not registered on network

How To Fix Samsung Galaxy S7 Not Registered On Network:

The following tutorial is same as we used for Samsung Galaxy S6 and S6 Edge. I will update the post as soon as i get more information on this issue.

^ First of turn off all the wireless connection on your device and enable the Airplane mode, wait for 2-3 mins and turn off the Airplane mode.

^ Turn off your device and take out the sim card, now insert back the sim card and turn on your Galaxy S7.

^ Please make sure that your sim is nano sim, otherwise it won’t work properly.

^ Update your device to latest OS, it may be the reason that your device is running on old OS that’s why it is showing not registered on Network. One more reason is that cause of incomplete software update you are facing such issue, to fix not registered on network you have to flash the stock rom using Odin on your Samsung Galaxy S7.

^ Open mobile networks from settings on your Galaxy S6, now press the Home button for 2 seconds along with power button for 15 seconds. Now your device will blink few times and it will reboot.

^ If none of these methods worked for you then last option is to restore IMEI and Efs backup, please use this guide to restore efs backup on Samsung Galaxy S7 and S7 edge.

Please do tell me in comments which method worked for you, and if you have any suggestion please do tell me so i can add and share it.

Check out our Ultimate guide on how to Fix Samsung Galaxy Not Registered On Network. See Next page !

Download Basketball Stars for PC – Windows/Mac.

0
Download Basketball Stars for PC – Windows/Mac.

Following are the instruction on how to download and install Basketball Stars for PC, running Windows and Mac OS X.

The world best multiplayer Basketball game on mobile is here, I am talking about basketball stars game by the creators of famous game smash hit. This game is designed by Miniclip.com and Basketball Stars is the best ever sports game I have played. This game has everything you want, just open the game and connect with your friends, start playing 1on1 match. As far as performance of this game its stable but bit laggy some-times, graphics are out-class. Dribble, shoot, score, WIN! Grab the ball and take on the world with basketball world. Sound fun ! Well if this game is fun while playing on mobile, so think it will be much more fun when we play Basketball Stars on PC.

Basketball Stars for PC

Although you can easily play Basketball Stars on a handheld device, but some of your might be willing to play this game on your computer. Basketball Stars for PC can be played on a Windows XP/7/8/8.1/10 Desktop PC / Laptop and Mac OS X Macbook / iMac. All you will need to run Basketball Stars for PC via BlueStacks, BlueStacks 2, Remix OS and Andy OS. Let’s move on to the method now.

Download Basketball Stars For Windows PC & Mac

  1. Download Basketball Stars Apk
  2. Download and install Bluestacks: Bluestacks Offline Installer | Rooted Bluestacks |Bluestacks App Player | Rooted BlueStacks 2
  3. Once you’ve installed Bluestacks, double click the downloaded Basketball Stars APK.
  4. The APK will be installed using Bluestacks, once installed open Bluestacks and locate the recently installed Tesla Tubes.
  5. Click the Basketball Stars icon to open it, follow the on-screen instructions to play it.

You can also use Andy OS or Remix OS to install Basketball Stars, here’s the tutorial:  How To Run Android Apps On Mac OS X With Andy | How to launch Remix OS for PC and install Apps for PC via Remix OS.

The Andy OS and Remix OS tutorial explains how to play a game on your Mac OS X, but the same guide will also work for a Windows PC.

That’s all. In case you’re stuck with anything, reach us out through the comment box below.

How To Open Hidden Invisible Files on OSX 10.11 El Capitan

0
How To Open Hidden Invisible Files on OSX 10.11 El Capitan

Following are the instruction on how to Open Hidden Invisible Files on OSX 10.11 El Capitan.

As we all know that we hide files and folders in Windows so can do on Mac OS X. Today I’ll tell you how to open Hidden Invisible Files on OSX 10.11 El Capitan, by default Mac OS X has hundreds of hiddens files. To open and see those hidden file you don’t have to go through from any complex methods, all you have to do is follow the instrcution and you can open hidden invisible files on OS X 10.11.

open-hidden-invisible-files-on-osx

How To Open Hidden Invisible Files on OSX 10.11 El Capitan:

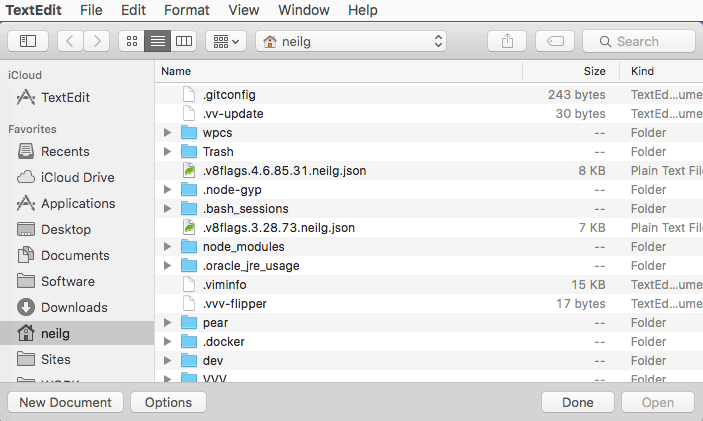
Step√1: Open the text files as you normally do, when the Open files dialog box shows up press ( ‘shift‘ + ‘command‘ + ‘.‘ ).

Step√2: Now you’ll see a change in your file list, all the hidden invisible files will be shown. Just select a file as your normally do to open it.

open-invisible-hidden-files

Now you can easily access the hidden files and edit them, but keep that in mind you can only edit those file for which you have premission. No need to get worry about that we have another solution which help to access all the hidden files weather you have premission or not.

Step√3: First download the Text Wrangler. A text file editor by Bare Bones software.

Step√4: Once you are done with downloading and installing porcess, Run the Text Wrangler and after that you don’t need to use the combination i told you earlier. All the hidden files will automatically shows up. All you have to do is check ” Show hidden files “.

Step√5: To access all the hidden files you must have admin rights, if you open a file and it says enter password to unlock, use you admin password to unlock the file.

All Done.

How to compress and uncompress files and folders in Terminal in OSX 10.11

0
How to compress and uncompress files and folders in Terminal in OSX 10.11

Following are the instruction on how to compress and uncompress files and folders in Terminal in OSX 10.11.

If you are new to Mac or recently update your device to latest OSX 10.11 El-Captain and want to know how to compress and uncompress files and folders, following are the different method to do so. Mac OS X is a Linux-based operating system so its methods are pretty different from other operating systems. Compressing files and folder helps to reduce size of files and you can save a lot bits of data on your hard drive.

compress and uncompress files and folders in Terminal in OSX 10.11

How to compress and uncompress files and folders in Terminal in OSX 10.11:

ZIP – Cross Platform:

To compress:

zip -r archive_name.zip folder_to_compress

To extract:

unzip archive_name.zip

Create a zip file with custom name:

zip -r -X archive_name.zip folder_to_compress

To see more methods goto next page —>