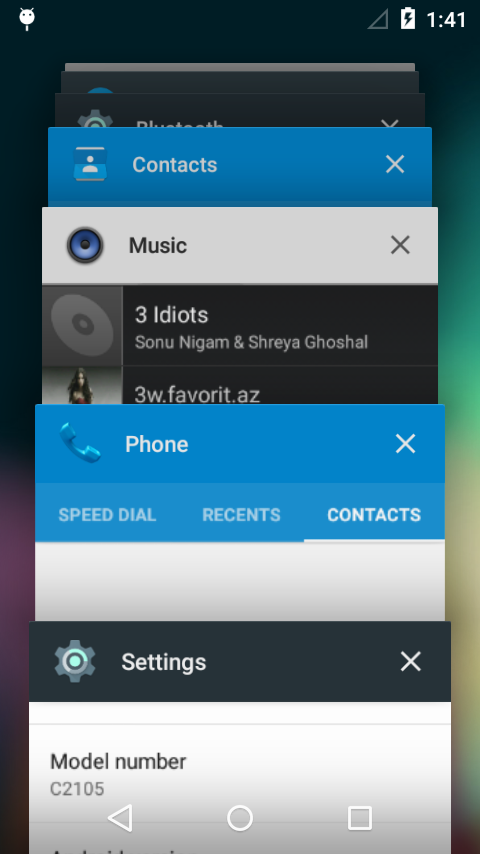
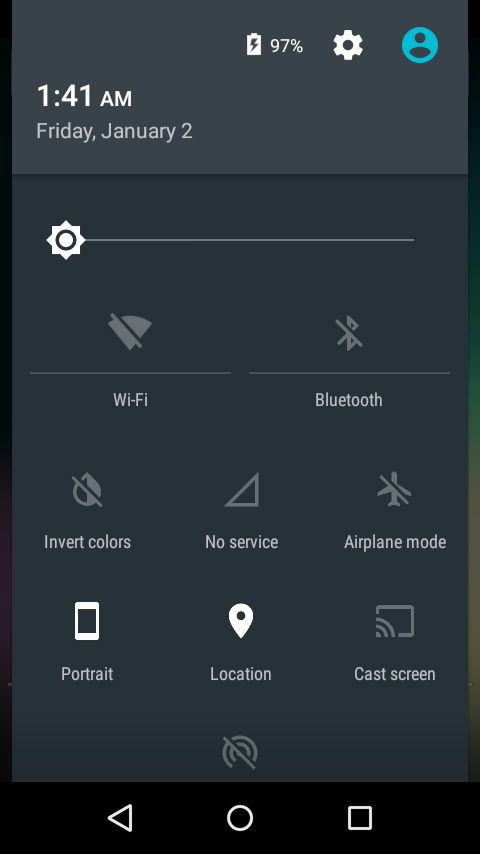
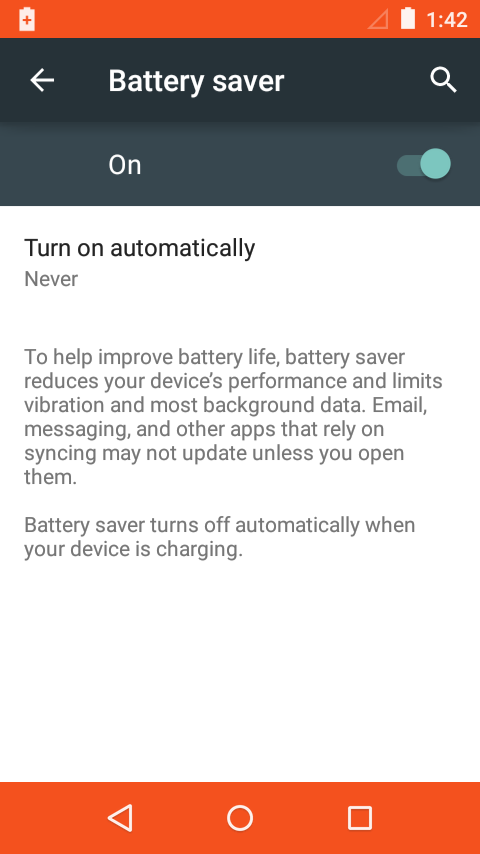
Should you require to read the title once again? Well, that’s not less then a surprise, right? Android 5.0 Lollipop for the Sony Xperia L!. When it comes to Android, the only thing you should keep in mind is, there’s nothing impossible and wonders may happen here. While Sony has restricted the Xperia L to Android 4.2.2 Jelly Bean, users won’t be able to taste any further version of Android officially. Android 4.3 and 4.4 KitKat also came out for Xperia L packed up in custom ROMs by various developers and similarly the Android L has landed in.
Recently Google rolled out the Android L source code, all the smartphone giants have got their hands on the source code and will begin updating their flagships to the latest Android 5.0 Lollipop, the old mid-range, low-end and even some past flagship devices will be missing the latest and greatest version of Android. The only option that stands for those device owners is the use of a custom ROM and that too only if the custom ROM is up for that specific device. Fortunately, Xperia L happens to be one of those lucky devices. Android Lollipop features numerous enhancements and some great additions as compared to the previous Android versions, the firmware has received the biggest overhaul in the history of Android in the graphical department, new Material design makes it way awesome. A part from that, there are major core changes in the firmware that enhance the battery life, performance, security has been improved as well.The AOSP based Android 5.0 Lollipop custom ROM has been brought in the spotlight by XDA recognized developer varun.chitre15. The ROM is in very early development stages, and the purpose is only to give the users a feel of the Android Lollipop sooner than the time. It isn’t meant to be kept for daily use at all since you won’t be able to use WiFi, Bluetooth, RIL, and GPS on your Xperia L, while rest of the things may be buggy or may be working.
We only recommend you to flash this ROM if you’ve a great idea about custom ROMs and you know how to handle custom ROMs if anything goes wrong with your device. If you aren’t an Android power user, you may keep yourself far away from this ROM, your telephony services won’t be working since RIL is not working. In the on-going guide, we are about to install this Android 5.0 Lollipop AOSP ROM on our beloved Sony Xperia L, before we begin, we will go through a list of the working and not working features and head towards the early preparations.
Here’s a list of what’s working:
Display
Touchscreen
Hardware Acceleration
System audio
Hardware Media Decoding/Playback – Audio and Video
All sensors – Auto brightness, magnetic, accelerometer etc
Headset
Vibrator
Camera – Front and Back
GPU Rendering
Internal Storage
External Storage
LEDs
What’s not working
-
WiFi, Blueooth, RIL, GPS
Early Preparations:
1. This is only for Sony Xperia L!
This custom ROM is only for the device mentioned above. Make sure that your model number matches the one listed above. To do so, go to Settings > About Device on your device and see your model number. Flashing this ROM on any other device will result in bricking it so make sure that you meet this requirement first of all.
2. Battery should be charged at least over 60%.
Make sure that your battery is charged enough to complete the flashing process. In case your battery is low and your device goes dead during the flashing process, you may end up soft bricking your device as it won’t complete the flashing process.
3. Unlock Bootloader.
Your device’s bootloader must be unlocked in order to flash this custom ROM. You can unlock it by using our Sony bootloader unlock guide.
4. Backup everything!
Just to be on the safe side, you may consider backing up each and everything from your Android device. This is highly recommended so that in case anything goes wrong, you still have the access to all of your data and you can restore it immediately. You may backup everything as listed below.
- Backup SMS Messages
- Backup Call Logs
- Backup Contacts
- Backup Media – Copy your files manually to your PC or Laptop.
- Titanium Backup – If already rooted, use Titanium Backup to backup all of your apps, system data and other important content.
- Backup Nandroid – If CWM or TWRP installed previously, otherwise skip this step and perform this at the end of flashing.
5. Disclaimer
The methods involved in flashing custom recoveries, roms and rooting your phone are highly custom and may result in bricking your device, and has nothing to do with Google or the device manufacturer that is Sony in our case. Also rooting your device will void its warranty and you will be no longer eligible for any kind of free device services by the manufacturers/warranty providers. In case of any mishap we may not be held responsible. Follow these instructions to the letter to avoid any mishap or bricking. Make sure that whatever you do, you are doing it at your own responsibility.
How To Install Android 5.0 Lollipop AOSP Custom ROM On Xperia L
- Download the c2105_alpha1_android-5.0.0_r2_fastboot.zip [ROM.zip] file.
- Extract the ROM.zip file to get boot.img, userdata.img and system.img files.
- Download Android ADB and Fastboot drivers, here’s our comprehensive guide for setting up ADB & Fastboot.
- Open the extracted ROM.zip and copy all the .img files.
- Now paste all the .img files file that you extracted from the zip folder in the fastboot folder that you downloaded from the guide linked above.
- Connect your Xperia L in Fastboot mode with your PC now. To do so, turn it off completely, now connect it with your PC while keeping the Volume Up key pressed. As soon as your PC has detected your phone in Fastboot mode, a blue light will blink up in the notification LED.
- Assuming that you’ve already placed all the .img files in the fastboot folder, now open the fastboot folder again. Press shift and then Right click on any empty area inside the folder, now select “Open command prompt here“. flash the .img files using the commands
“fastboot flash boot boot.img”
“fastboot flash userdata userdata.img”
“fastboot flash system system.img”.
In case you are confused, follow the Android ADB & Fastboot drivers guide carefully.
- Once all files are flashed, unplug your Xperia L.
- Reboot your device now and checkout Android 5.0 Lollipop working on it.
Here are some screenshots
That’s all with the ROM installation. In case you’re stuck with anything or you’re facing any issues, feel free to drop your words in the comment box below. We will get back to you as soon as possible.


