

Following are the instructions to convert HEIC, HEIF Images to JPEG on Android phones. This guide will work for all Android smartphones of all companies.
Before you take a look at the steps, let me tell you what is HEIC, HEIF and how it affects your pictures.
Contents
What is HEIC or HEIF Image Format?
First things first. The HEIC and the HEIF are the same things. HEIF stands for High-Efficiency Image Format. When Apple started using this format for pictures on iPhones and iPads, it changed the format to HEIC. It’s just a different name, otherwise, it is the same HEIF format.
Now, what does this format do? To understand this, you have to understand why this came into being at first.
Smartphones these days are coming with large camera sensors. The phones have camera sensors starting from 8 megapixels going all the way up to 108 megapixels. When you capture a picture through a high-resolution camera, the picture’s size is equally big. For example, a 64-megapixel camera takes a picture of 10 – 20MBs. This is when the pictures are saved in the JPEG format. The JPEG is also the default format of pictures on Android. JPEG is also known as JPG format.
If you keep taking a lot of pictures through a high-res camera, you will run out of storage very soon. No matter how big is your storage chip, you will fill it entirely at one point.
To save the storage by bringing down the image size, the MPEG (Motion Pictures Expert Group) introduced the new HEIF format. This is based on the HEVC format. This format brings down the image size significantly without disturbing the image quality.
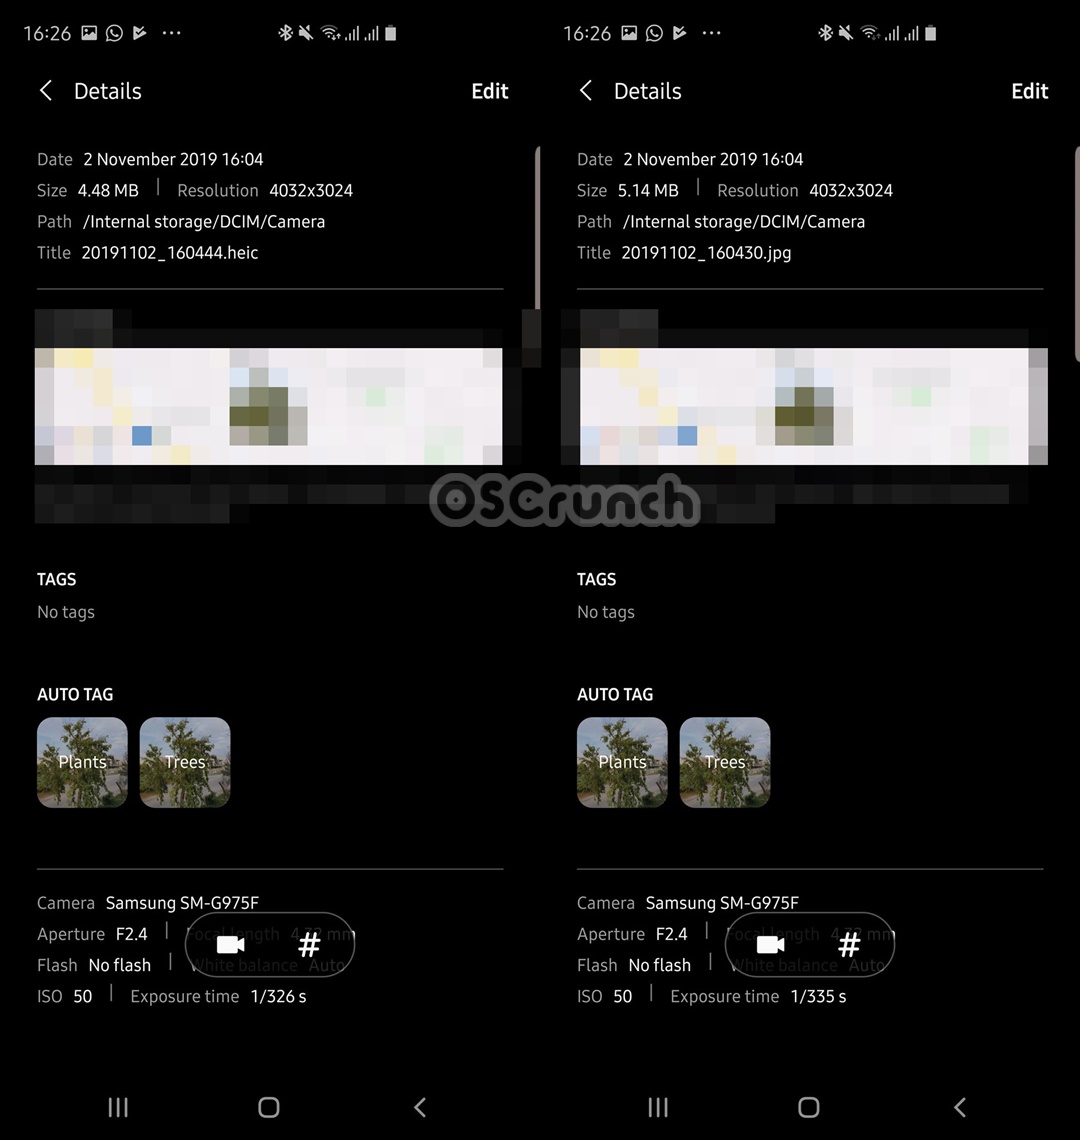
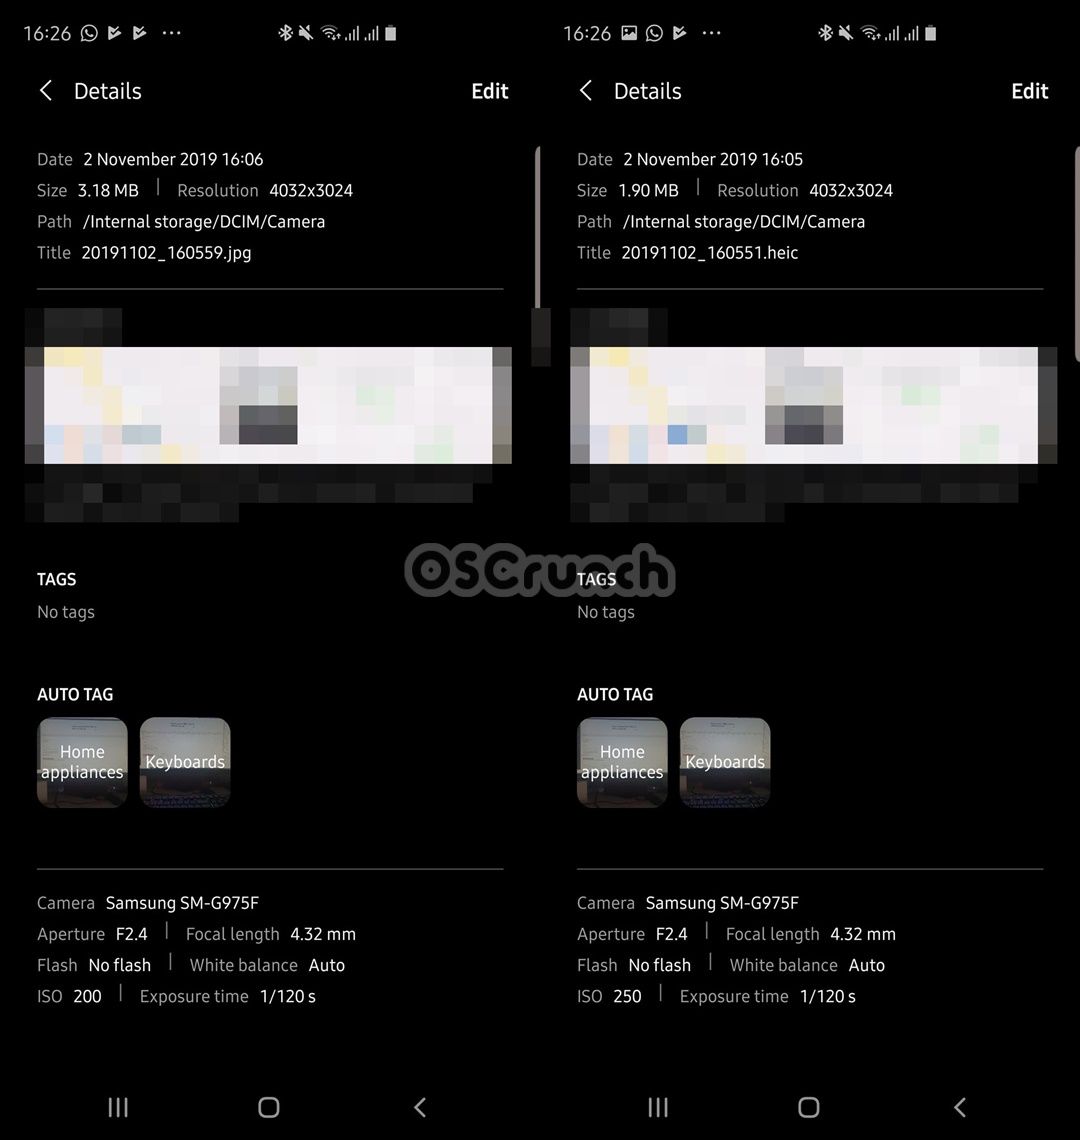
You heard that right. The HEIF/HEIC images have the same quality as the JPG images, but with a reduced size. For example, the same image may have a size of 3.90 MBs in JPG and 1.9 MBs in HEIC. If you capture pictures with a lot of details and colors, the difference between the HEIC and JPG size will not be huge, but the HEIC size will still be less than the JPG. To explain it further I have added some images below.


Now that you have understood the basic difference between HEIC/HEIF and JPEG, you must have learned that HEIC is a better format to save storage space.
If you have made your mind to set the HEIC format as default on the Android phone, there is more that you need to learn.
The HEIC images, when uploaded to cloud storage, or shared over WhatsApp, Messanger, or shared through Email, are automatically converted to JPEG. The same doesn’t happen when you copy HEIC pictures to a computer.
If you want to access HEIC pictures on a computer, you will have to manually convert those images to JPEG. Furthermore, the HEIC images may not be compatible with many photo editors, which is also why you need to convert them beforehand.
Take a look at the steps to convert HEIC, HEIF Images to JPEG on Android now.
Requirements
Download and install one of the following Converters on your Android phone.
- Luma: heic to jpg converter: Download
- Heic to JPG Converter Free: Download
- Total Media Converter (HEIC to JPG – JPG to HEIC) : Download
- Free Image Converter: Download
Convert HEIC, HEIF Images to JPEG on Android
Take a look at these steps demonstrated with the help of Image Converter. The steps remain the same for other converters as well.
Total Time: 2 minutes
Open the Image Converter or any other Converter on the phone.
Open the converter that you have installed on the computer. It can be any converter from the ones listed above.
Add your HEIC image to the Converter.
Click on the “+” button in the converter and add the HEIC image to the converter.
Set the Output Quality and Format of the image.
Go to the Convert Tab in the converter and set the output quality, and the output format which is JPG or JPEG in our case.
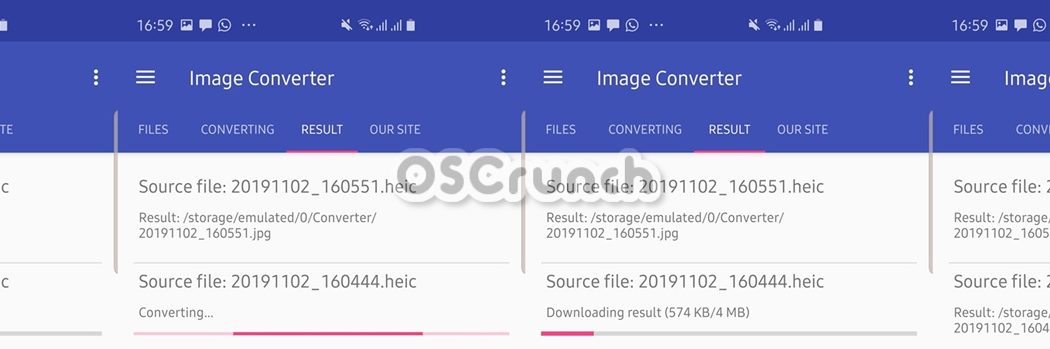
Conver the image and get it in the Gallery.
Click on the “Convert” button to start the conversion. The JPG image will be saved in your phone’s gallery. That’s all.
Final Words
By now, you have successfully learned how to convert HEIC or HEIF images to JPEG on the Android phone. If have any suggestions, questions/queries, feel free to use the comments box below. I will try my best to get back to you as soon as possible.


")


