

This is a tutorial to change iTunes Backup Folder location on Windows 10 and below. By default, iTunes has a specific location to save your backups. If you don’t want to save the backup in the iTunes-defined location, you can easily change it.
Contents
iTunes Backup
Apple’s official iPhone assistant for computers is capable of creating a backup image of the iOS-powered devices. With iTunes, you can backup everything including images, videos, songs, messages, call logs, and pretty much everything else including the system of the device. iTunes makes it extremely easy to restore the data to an iPhone or iPad.
When you create a backup using iTunes, it is saved in the directory of the currently active user on Windows. This folder can be a little bit tricky to find at times. For ease-of-access, you can move the backup folder location to a more easy-to-access location.
Changing the iTunes Backup Folder Location
Changing the location of iTunes backup is not simple copy-paste work. This is a little bit of a technical task and that’s why there are a handful of companies offering tools to change the folder location. The moment you get your hands on one of those tools and find out that those are not free, you end up being a little bit disappointed. But don’t worry. The solution that you are going to find here is absolutely free. By following the upcoming instructions, you will be able to change the folder location without any hassle.
Requirements
- Windows computer
- iTunes on the computer – Download
- A mouse and keyboard
Change iTunes Backup Folder Location on Windows
These are the simple and easy steps to change iTunes backup location for free.
Total Time: 5 minutes
Create a folder named “Backup” anywhere on your computer.
First of all, create a new folder and name it as “Backup”. This folder can be at any location of your choice. For example, in my case, I have created the Backup folder in the drive “G” and the folder location is G:\Backup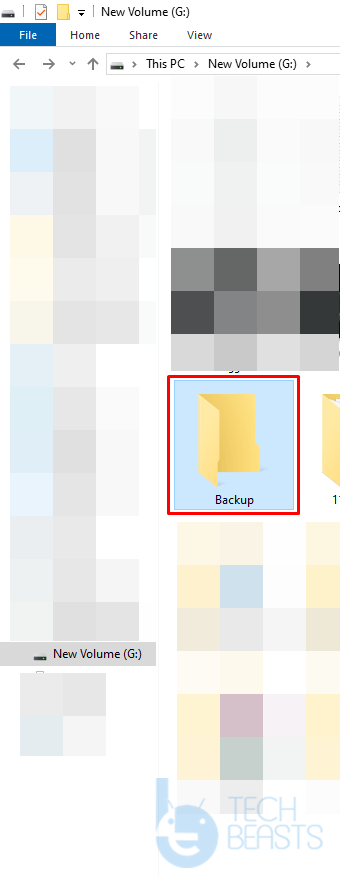
Locate the current iTunes Backup folder.
Click on the Start button of Windows and open the “RUN” menu. Copy and paste the following: C:\Users\YourUserName\AppData\Roaming\Apple Computer\Mobile Sync
If you have installed the iTunes in a drive other than C, replace that. 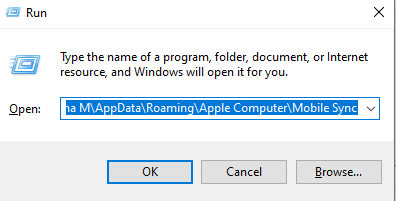
You can also access this path by simply copying it to the search bar of Windows 10’s taskbar.
Delete or rename the Backup folder inside Mobile Sync.
Inside the Mobile Sync folder, you will find a Backup folder. Either rename this folder as old.Backup or delete it.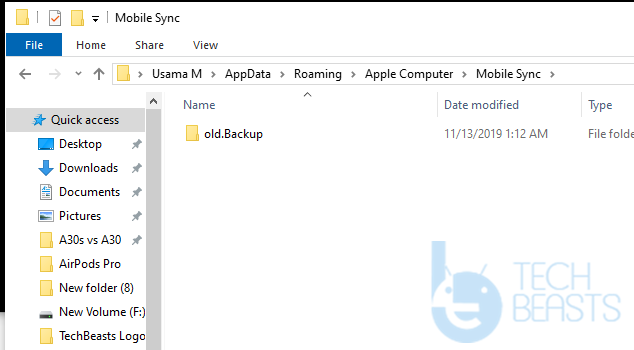
Open Command Window inside the Mobile Sync folder now.
Now inside the Mobile Sync folder, press and hold Shift Key + Right Click and then click on “open command window here”. In case you don’t have the command window here already, go to start > command window and enter the following command path: C:\Users\YourUserName\AppData\Roaming\Apple Computer\Mobile Sync
Enter this command and you are done!
In the command window, enter this command:
> For Microsoft Store iTunes:
mklink /J “%USERPROFILE%\Apple\MobileSync\Backup” “E:\Backup”
> For Classic iTunes:
mklink /J “%APPDATA%\Apple Computer\MobileSync\Backup” “E:\Backup” 
As soon as you enter the last mklink command, you will get a message that a junction has been created for your desired iTunes backup folder location. The junction basically creates a shortcut backup folder in the default iTunes backup location and links it with the backup folder that you just created. All the backups that you create from this point on, they will be saved in your newly created folder.
Final Words
Congrats! You have successfully changed the iTunes Backup folder location for free. If you are facing any difficulties regarding this guide or you have any other questions related to the iTunes, feel free to drop them in the comments section down below. I will try my best to get back to you as soon as possible.


")


mklink : The term ‘mklink’ is not recognized as the name of a cmdlet, function, script file, or operable program.
Check the spelling of the name, or if a path was included, verify that the path is correct and try again.
At line:1 char:1
+ mklink /J “%USERPROFILE%\Apple\MobileSync\Backup” “E:\Backup”
+ ~~~~~~
+ CategoryInfo : ObjectNotFound: (mklink:String) [], CommandNotFoundException
+ FullyQualifiedErrorId : CommandNotFoundException
mklink is not standalone which means it won’t run in the command prompt directly. You may either run command prompt as admin or try running it in powershell.