Home Blog Page 502

How to Install a Custom ROM on Samsung Galaxy Gear [Guide]

How to Install a Custom ROM on Samsung Galaxy Gear [Guide]

Samsung unveiled the Galaxy Gear at the IFA event held in Berlin on 4th of Sept, 2013 as an accessory to Galaxy Note 3. The little gadget sports  1.63 inch Super AMOLED dispaly with 320 x 320 resolution. It has got an 800 MHz Exynos CPU running inside along with a RAM of 512 MB. On board it has 4 GB storage capacity. The device boasts off a beautiful 1.9 MP camera on the strap that is capable of recording videos upto 720p. Under the hood it has got a 315 mAh battery. Samsung installed some apps in the device, the device also features Samsung apps that allows you install the apps compatible with the Galaxy Gear.

Galaxy-Gear_001_Fr_2661924b

If you’re an Android freak and love playing with the gadgets, and if you also own a Galaxy Gear smart watch, then the time to tinker it has come now. The very first custom ROM for the Samsung Galaxy Gear is up now. Despite being a watch that shows you the time to get your things done, the device plays the role of a small Android smartphone as it allows you to view your messages, social media feeds or receive calls etc, but since the custom ROM is up for Galaxy Gear, the little 1.68 inches screen may be used more or less, as a smartphone with the SIM installed in another device. Let’s have a look at the features of this ROM as per stated by the developer.

  • MK7 BASE
  • ROOTED
  • SUPERUSER
  • COMPLETELY DEODEXED
  • NOVALAUNCHER INCLUDED
  • HOMEBUTTON FIX / POWER BUTTON LOCKS SCREEN WHEN USING CUSTOM LAUNCHERS.
  • NO WIPE BASE
  • WEATHER WIDGET / REMOVED STATIC “WEATHER” TEXT
  • DISABLED SAMSUNG SIGNATURE VERIFICATION
  • NATIVE APK INSTALLATION
  • INCREASED VIDEO RECORDING LIMIT TO 60 SECONDS
  • VPN ENABLED
  • CM10.2 BROWSER
  • WALLPAPER SUPPORT
  • LIVE WALLPAPER SUPPORT
  • CM10.2 GALLERY
  • THIRD PARTY CONTACT WIDGET & APP CRASH FIX
  • SETTINGS / FULL SETTINGS DIALOG
  • MTP SUPPORT / ENABLED IN STORAGE SETTINGS
  • BLUETOOTH TETHERING
  • MULTIPLE BLUETOOTH DEVICE PAIRING
  • NATIVE EMAIL CLIENT
  • CONTACTS SYNC
  • CALENDAR SYNC
  • PLAYSTORE ACCESS
  • DOWNLOAD MANAGER
  • AOSP KEYBOARD
  • AROMA

So, are you willing to get this ROM running your Galaxy Gear? Let’s move forward and get it installed.

Here are some pre-requisites that you need to follow.

      • Your Galaxy Gear must be rooted, and also have TWRP recovery Installed.
      • Using TWRP Recovery, Backup your current ROM so that just in case something goes wrong, you can immediately go back to your previously working stock ROM.
      • Make sure that your Galaxy Gear’s battery is charged at least over 60%.
      • Backup your important data placed on your Galaxy Gear’s sd card.
      • Follow this guide to the letter to complete the process successfully.

How to Flash a Custom ROM on your Galaxy Gear:

      1. Download the MK7 based Custom ROM for Galaxy Gear and place the downloaded.zip file on your Gear’s SDcard.
      2. Enter TWRP recovery on your Galaxy Gear. To do so, press and hold Power Key on your Galaxy Gear until you see the rebooting screen, as soon as rebooting appears, press the Power Key  quickly for 5 times until you enter the recovery mode. Press the Power button to navigate to the Recovery mode and highlight it, now when highlighted Recovery Mode hold the Power Key for 3 seconds, it should not enter into TWRP Recovery.
      3. Select Install in TWRP Recovery.
      4. Select the downloaded custom rom.zip file in TWRP recovery install mode.
      5. Wait for the ROM to flash, as soon as it completes reboot.
      6. Congrats! You’ve installed the custom ROM on your Galaxy Gear.

Enjoy the newly installed custom ROM with tons of features, do let us know what do you experience. Just in case of any queries, feel free to stop by the comment box below. Thanks All.

Install TWRP Recovery on Samsung Galaxy Gear

Install TWRP Recovery on Samsung Galaxy Gear

Its been 2 months now since  the Galaxy Gear is out and the some developers have got their hands on the device as well. Recently the guys over XDA-developers managed to get root access on the Galaxy Gear smart watch, and the development doesn’t stop here the device has also got a custom recovery as well and is more customize-able now as the custom recovery will allow you to backup your ROM, restore it, and flash mods / custom ROMs.

As we go ahead, in the following post we’ll be having a look on the method to install TWRP recovery on Galaxy Gear. For this awesome work, the credit has to be given to XDA senior member fOmey, the one who managed to develop the TWRP recovery for Galaxy Gear. Galaxy-Gear_001_Fr_2661924b

Here are some pre-requisites you must have before moving further:

The methods involved in flashing custom roms and rooting your phone is highly custom and may result in bricking your device, and has nothing to do with Google or the device manufacturer that is Samsung in our case. In case of any mishap we may not be held responsible. Follow these instructions to the letter to avoid any mishap or bricking. Make sure that whatever you do, you are doing it at your own responsibility.

    • Your Galaxy Gear must be rooted. Here’s the guide to root it.
    • Make sure that your Galaxy Gear is enough charge to complete the flashing process, say it at least 50%.
    • Make sure that you use the original data cable that came along your Gear to establish connection between PC and Gear.
    • Follow the guidelines properly to flash the TWRP recovery.

Files you need to download:

How to Install TWRP Recovery on Galaxy Gear: 

      1. Put your Galaxy Gear in Download mode. To do so, press and hold the Power key on your Galaxy Gear unless you see ”Rebooting”. As soon as “Rebooting” appears on the screen, quickly press the “Power Key” for 5 times and you should boot into the Recovery mode. Press “Power Key” to select the “Download mode” and then press and hold the “Power Key”  for 3 seconds and you should be in the download mode now.
      2. Now open Odin.exe on your PC.
      3. Connect your Galaxy Gear to your PC, the ID : COM box should turn blue now.
      4. Hit the “AP” tab in Odin 3.09 and select the downloaded TWRP recovery file that should be in .tar.md5 format.
      5. Alright! Hit start now. It should take a while to flash the TWRP recovery in your Galaxy Gear, as soon as it reboots, remove it from your PC.
      6. Congrats! You’ve successfully installed TWRP recovery. To boot into TWRP recovery follow the method explained in step 1, skip the download mode now.
      7. Now in TWRP Recovery, Backup your current ROM, Restore, Wipe or Install any Zips!

Want to flash a custom ROM on your Galaxy Gear now ? Check out this post.

That’s all from this post. Do let us know if the guide works perfectly for you. In case of any queries, feel free to stop by the comment box below. Thanks All!

How To Root Samsung Galaxy S4 GT-I9505 on Android 4.3 Jelly Bean XXUEMK8 Official Firmware.

How To Root Samsung Galaxy S4 GT-I9505 on Android 4.3 Jelly Bean XXUEMK8 Official Firmware.

Now that you have installed Android 4.3 Jelly Bean on your Samsung Galaxy S4 LTE GT-I9505, the next step is to root it. Rooting allows your device to open the depths for you, you can get full access to your device, Flash Custom Recovery, Kernels and ROMs on it or install those apps who required root access or if you are interested in developing something for your device you will need to first get full control of your device, only possible by rooting it.The whole process is as same as installing an Official ROM on Samsung Device, so if you are familiar with installing ROMs via Odin, this will be a piece of cake for you. Otherwise, read the whole tutorial before applying to your device.

SAMSUNG DIGITAL CAMERA

In this Article, we will show you How To Root Samsung Galaxy S4 GT-I9505 on Android 4.3 Jelly Bean XXUEMK8 Official Firmware. But before we begin, Make sure that you have battery charged over 60 % and have backed up all your important ContactsCall Logs & Messages.It is highly recommended in case of any mishap or data loss to back up all your important data.

Disclaimer: The methods involved in flashing custom roms and rooting your phone is highly custom and may result in bricking your device,and has nothing to do with Google or the device manufacturers which is Samsung in our case. In case of any mishap we may not be held responsible. Follow these instructions to the letter to avoid any mishap or bricking. Make sure that whatever you do, you are doing it at your own responsibility.

Important things:


How To Root Samsung Galaxy S4 GT-I9505 on Android 4.3 Jelly Bean XXUEMK8 Official Firmware.

odin_explained


  • Download CF-Auto-Root Android 4.3 Package for Galaxy S4 to your computer and extract the zip file.
  • Download Odin.
  • Turn off your Phone and Turn it On While Pressing, Power + Volume Down + Home button until you see some text on-screen, Press Volume Up to continue.
  • Make Sure that the USB drivers are installed.
  • Open Odin in Computer and connect your device to PC, while it is in the Download mode.
  • If your Phone is successfully connected to PC, the Odin port will turn Yellow with COM port number.
  • Now Click on PDA and select the File CF-Auto-Root-jflte-jfltexx-gti9505.zip‘, the one who has the biggest size.
  • In Odin, Check Auto reboot and F.Reset Options.
  • Now Click the start button and wait for the process to complete.
  • After the installation is complete you device will restart and once you see the Home Screen, unplug the cable.

That;s it your Samsung Galaxy S4 GT-I9505 has been Rooted running XXUEMK8 Android 4.3 Jelly Bean. Check the Super SU app in Drawer To verify or install any root Checker app to verify the root access

How to Root Samsung Galaxy Gear [Guide]

3
How to Root Samsung Galaxy Gear [Guide]

Samsung introduced Galaxy Gear, its very first smartwatch as an accessory to the Galaxy Note 3 in IFA event held at Berlin. At the time of its release, the Galaxy Gear worked only with Galaxy Note 3, but Samsung recently rolled out the Android 4.3 update for Galaxy S4, Galaxy S3 and Galaxy Note 2 to make the device compatible with these devices.Galaxy-Gear_001_Fr_2661924b


This interesting and beautiful little gadget works and looks like as a watch, not only that, also packs some features of a smartphone. In case you don’t know, let me tell you. The device sports a 1.63 inch Super AMOLED dispaly with 320 x 320 resolution. It has got an 800 MHz Exynos CPU running inside along with a RAM of 512 MB. On board it has 4 GB storage capacity. The device boasts off a beautiful 1.9 MP camera on the strap that is capable of recording videos upto 720p. Under the hood it has got a 315 mAh battery. Samsung installed some apps in the device, the device also features Samsung apps that allows you install the apps compatible with the Galaxy Gear.


Since it is a small gadget with limited features, it may not be considered wrong to think that it will be hard to play with the device beyond the boundaries. Ever wondered while owning a Galaxy Gear that you can add charm to the functionality of this small machine by having play store on the device, flash different mods or flash custom ROMs ? Well, all this is possible on a device, but requires root access and the good news is, Galaxy Gear has been rooted by the awesome guys at XDA-developers.

In the following post, we’re going to have a look on the method to root the Galaxy Gear. Before we begin, here are some  pre-requisites to follow.

      1. You must have the Samsung USB drivers installed.  Download Here.
      2. The method will only work on a Windows PC. Do not try this on any other PC.
      3. You must have a Galaxy Gear compatible device, e.g a Galaxy Note 3, Note 2, S4 or S3.
      4. Bypass the Activation Screen on the Galaxy Gear. To do so, on your Galaxy Gear compatible phone head to Settings > Enable NFC. Now touch and hold the charging dock of the Galaxy Gear to the back of the Galaxy Gear compatible device, the one you enabled NFC on and wait for it to install Gear Manager.
      5. Follow the prompts on the phone while the installation process finishes, and the Gear passes the activation process.
      6. Enable USB debugging mode on the Galaxy Gear. To do so, on the Galaxy Gear go to Settings > Gear Info > Enable USB Debugging mode.
      7. Connect your Galaxy Gear to the PC and let it install the drivers for your device.

Here is how you can root the Galaxy Gear:

      • Once again make sure that you installed the Samsung USB drivers and enabled USB debugging mode on your Galaxy Gear, and connect it to the PC.
      • You need Cydia Impactor now. Download it here and then extract on your desktop.
      • Open the Impactor.exe file from the extracted Cydia Impactor folder.
      • After you’ve opened the Impactor.exe file, you should see # drop SuperSU su to /system/xbin/su in the text field now. Hit start button now. If the field is empty, then copy it from here and paste it there and hit start.
      • After you hit start, it will prompt for connection permissions. Click on always allow and tap “OK” on your Galaxy Gear.
      • Close the popup on PC and click start again.
      • Download SuperSu apk and place it on your desktop. Download it here.
      • Download and install Wondershare Mobile Go  (Trial version will work fine) – Get it here.
      • Open Wondershare after installing it and click on Google Play Apps in wondershare.
      • Search and install SuperSu (Free by Chainfire).
      • In case this doesn’t work, follow this: In WonderShare Mobile select your device, that you connected and click on Install Apps > Select the SuperSU APK file that you placed on your desktop and install it.
      • Now find SuperSu installed on your Galaxy Gear by swiping to the apps from the home screen, after opening it, if it prompts you to update the SU binary, tap yes.
      • Congrats! You’ve successfully rooted your Galaxy Gear now.


That’s all for now. In case you face any difficulties or have any queries, feel free to stop by the comment box below. We will try our best to help you out.

How To Improve Your Battery Timing in Mac

0
How To Improve Your Battery Timing in Mac

When it comes to laptop Apple is no doubt best in performance and battery timing. Every body using laptop they need max battery timing so that they can easily work and surf. But now a days battery timing is big issue. Today i will tell you Mac user’s a little trick to improve battery timing. Following are the steps that will help you to improve battery timing in Mac.

Screen Shot 2013-11-24 at 02.45.12


1. In upper tray of your Mac you will have battery icon that shows your battery percentage.

mac_battery_icon_task_tray_screen

2. When you click on it you see a new label ” Apps Using Significant Energy ”  if there are any icon’s listed that means these are the apps that are draining your battery.

mac_significant_battery_howto_2

3. All you have to do is close these apps and your battery timing will start getting improved. Do check this new setting so you mange your battery timing.

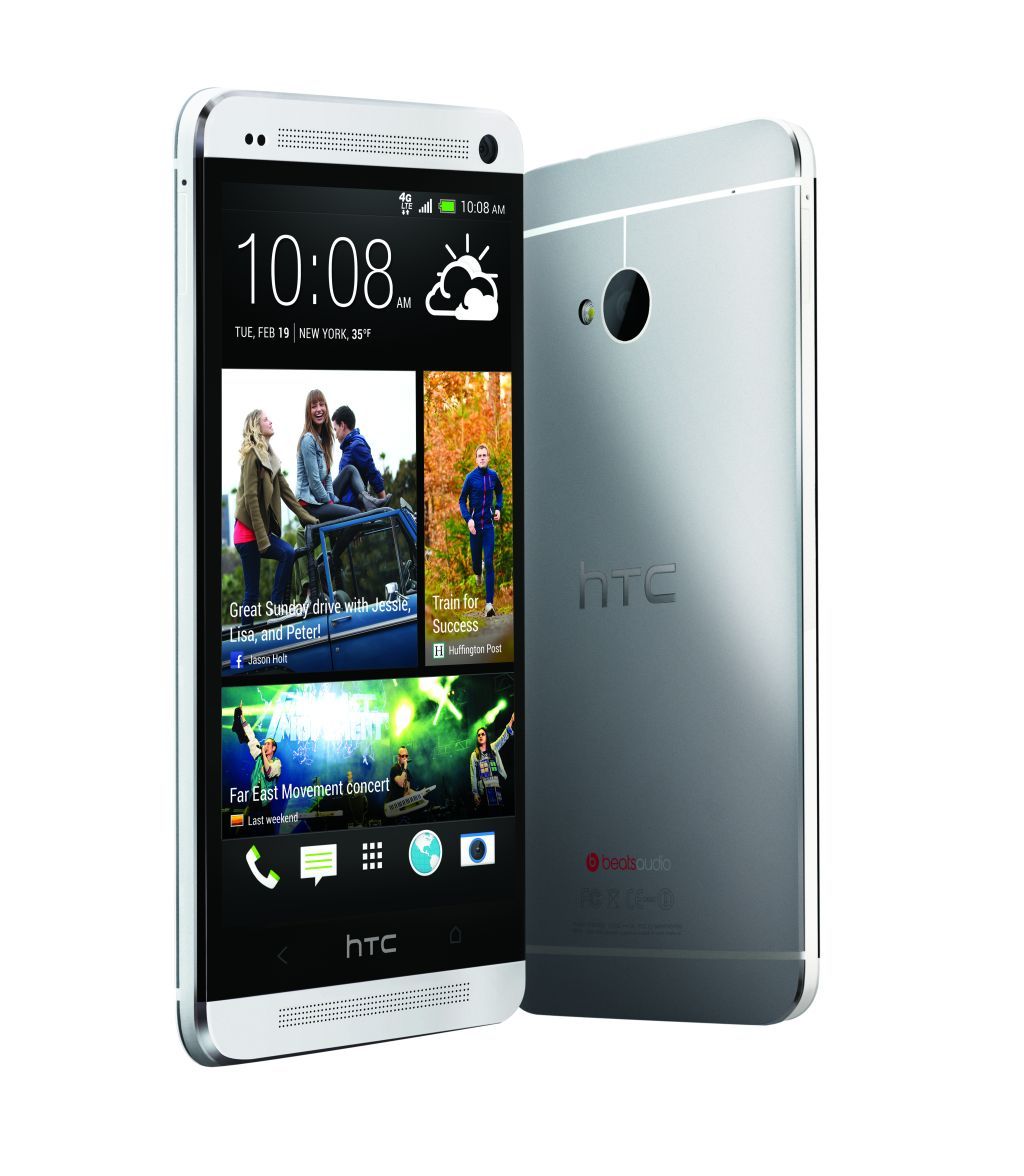
How To Root T-Mobile HTC One and Install Custom Recovery(CWM, TWRP, PhilZ).

0
How To Root T-Mobile HTC One and Install Custom Recovery(CWM, TWRP, PhilZ).

Another carrier bonded version of powerful HTC One, if you happened to bought it, might have waited to remove all the restrictions on it and the only way to do it is by installing Super SU on it which allows your device to give you the root access. We already showed you tutorials about rooting HTC One carrier version like Sprint or GSM and today we will add T-Mobile HTC One to our collection. The T-Mobile HTC One is running Android 4.1 Jelly Bean, which is quite easy to root.

T-Mobile-HTC-One

In this Article, we will show you How To Root T-Mobile HTC One and Install Custom Recovery on It. But before we begin, Make sure that you have battery charged over 60 % and have backed up all your important ContactsCall Logs & Messages.It is highly recommended in case of any mishap or data loss to back up all your important data.

Disclaimer:  The methods involved in flashing custom roms and rooting your phone is highly custom and may result in bricking your device,and has nothing to do with Google or the device manufacturers which is Samsung in our case. In case of any mishap we may not be held responsible. Follow these instructions to the letter to avoid any mishap or bricking. Make sure that whatever you do, you are doing it at your own responsibility.

Important things:

  • Your Device must be Running Android 4.1 Jelly Bean.
  • Enable USB debugging mode.
  • Make sure that battery level is at 85% or more.
  • This Tutorial is Only For T-Mobile HTC One.
  • Bootloader must be Unlocked. HOW? Follow: Unlock Bootloader Of HTC Smartphones.

How To Install Custom Recovery On T-Mobile HTC One.

First Of all make sure that Fastboot is Configured. HOW ? Follow: How to Install Android Adb & Fastboot Drivers on Your Windows PC [Guide]

Download the DV_T-Mobile-HTC-One.Zip and extract the Files in Fastboot directory Or if the Fastboot files area already in the extracted folder then extract it anywhere in PC.

Download Super Su and Copy and Paste it to the Root of your HTC One.

Turn off your phone and open Bootloader/Fastboot mode. How? Press and hole Volume Down + Power button until you see some text on screen.

Connect your device with PC, while it is in Fastboot mode.

Now Open the Fastboot Directory, In the Fastboot folder, hold shift and right click on an empty area and click on ”open command prompt here”.

Now On your Choice Enter one of the Following Commands:

  1. fastboot flash recovery cmw.img to install CWM Recovery.
  2. fastboot flash recovery twrp.img to install TWRP Recovery.
  3. fastboot flash recovery philz.img to install PhilZ Recovery.

Now you have successfully installed the Custom Recovery on your HTC One, let’s head towards the Rooting tutorial.

How To Root T-Mobile HTC One.

Now that you have installed Custom Recovery on your T-Mobile HTC One, it is now ready to install Super SU which will Root your device.

Once Again, Turn off your phone and open Bootloader/Fastboot mode. How? Press and hole Volume Down + Power button until you see some text on screen. Choose Recovery From Bootloader.

TWRP Users:

  • From Main Menu and Tap Install Button.
  • Locate the Super SU file and Swipe the Slider To install it.
  • Finally Tap Reboot and then System.

CWM Recovery Users:

  1. Navigate to ‘Install zip from sd card’ then select ‘choose zip from sd card’.
  2. Select the Super SU.zip file and confirm the installation on next screen.
  3. Wait for the process to over.
  4. Navigate to ‘++++++++Go Back‘ then select “reboot system now

Once the Reboot is done, check the Super SU app in the App drawer to confirm the Rooting Process. Or Download any Root Checker app to Verify.

If you Own Sprint or AT&T HTC One, we also have Tutorials for them.

How to Root and Install CWM Recovery on Verizon HTC One [Guide]

How to Root and Install CWM Recovery on At&t HTC One [Guide]

How to Install Custom Recovery and Root Samsung Galaxy Note 2 on Android 4.3 Jelly Bean

74
How to Install Custom Recovery and Root Samsung Galaxy Note 2 on Android 4.3 Jelly Bean

Recenlty Samsung just overcame its promise of rolling out the Android 4.3 Jelly Bean update for Galaxy. Users have been pretty much disappointed, specially those Android enthusiasts who are always wanting to taste the newest firmware on their device. Well, its not that bad as Samsung surprised the users by skipping the Android 4.2.2 update and rolled out 4.3 instead of that.

So, those who are running Android 4.3 on their devices and are droid geeks they must be looking for a method to root their device on the latest firmware to get the administrative hold on their devices and play with it beyond the boundaries. Well, for all of em’ I’ve made the following guide that explains the method to Root Galaxy Note 2 GT N7100 (International), but if still you’re wondering what is root access and what are the advantages, let’s have a look at it.

sasung-galaxy-note-2


Rooting your phone gives you complete access over all the data which is apparently locked by the manufacturers. This includes removal of the factory restrictions and making changes to the internal system and the operating system. Gaining the root access gives you the privileges to install various applications to enhance the performance of your device, allows you to remove the built-in applications/programs, helps you to upgrade the battery life of your device & install the apps which require the root access for the proper functionality and modify your device in so many other ways e.g using mods and custom roms. By installing custom recovery, you can flash custom roms in the phone easily. Custom recovery also let’s you backup your current rom and restore it in case of any mishap. There is a laundry list of things you can do after having your device rooted and installed the custom recovery, now once you’re rooted and haveinstalled custom recovery, go ahead and enjoy it on your phone. Here’s our collection of 10 Best Root Apps.

Let’s move forward to the root process…

Disclaimer: The methods involved in flashing custom roms and rooting your phone is highly custom and may result in bricking your device, and has nothing to do with Google or the device manufacturer that is Samsung in our case. Also rooting your device will void its warranty and you will be no longer eligible for any kind of free device services by the manufacturers/warranty providers. In case of any mishap we may not be held responsible. Follow these instructions to the letter to avoid any mishap or bricking. Make sure that whatever you do, you are doing it at your own responsibility.

Before we go ahead, here are some pre-requisites that you need to follow:

      1. Make sure that your phone’s battery is charged over at least 60%. This is highly recommended in order to prevent any power issues on the device during the flashing process.
      2. Make sure that you have backed up all your important ContactsCall Logs & Messages. It is highly recommended in case of any mishap or data loss to backup all your important data.
      3. Make sure that you use the original data cable to connect your device to your PC.
      4. Make sure that your device is  Galaxy Note 2 and is GT N7100, check the model under Settings>General>About Device>Model.
      5. Make sure that your device running on latest Android 4.3 Jelly Bean. Check it under About device. In case you want to update your device to Android 4.3 Jelly Bean first, follow this guide.
      6. In case of USB connection problems, enable USB debugging mode on your device. To do so, open Settings>General>Developer Options. If you can’t find the developer options, simply open About device and tap “Build Number” for 7 times and you should have the developer options enabled under the ”General Tab”.
      7. Install the listed files carefully, follow this guide to letter in order to prevent any mishap.

Files you need to download:

      1. Download and extract Odin PC – Get it here
      2. Download and Samsung USB Drivers – Get here
      3. Download the TWRP Recovery .tar.md5 file – Get here.
      4. Download SuperSu v1.69 file – Get here.

How to Flash TWRP Recovery on Note 2 Running Android 4.3 Jelly Bean:

      • Put your Galaxy Note 2 GT N7100  in download mode by pressing and holding Volume Down + Home + Power key at the same time, you should get a screen showing a warning and asking to continue, press Volume Up to continue.
      • Now your phone should be in downloading mode. Connect your phone to your PC.
      • As soon as Odin detects your phone the ID:COM box will turn light blue.
      • Click on the PDA tab and select the downloaded TWRP Recovery.tar.md5 file.
      • Your Odin screen should look like exactly as shown below.
  • odin_explained
      • Click Start and the root process should start showing you a process bar in the first box above ID:COM.
      • The process is quite fast and will finish in a few seconds, as soon as it ends, your phone will restart and you’ve installed the TWRP recovery.
      • Boot into recovery by pressing and holding Volume Up + Home Button + Power Key simultaneously.

How to Root Galaxy Note 2 on Android 4.3 Jelly Bean:

      • Carefully download the SuperSu.zip file from the link attached above.
      • Place the downloaded SuperSu.zip file on your phone’s SD Card.
      • Boot into TWRP Recovery. To do so, first turn off your device by pulling out the battery or by keeping the power key pressed for a while until it gives you the turn off vibration. Now turn on your device by pressing and holding Volume Up + Home Button + Power Key simultaneously.
      • Now in TWRP recovery tap “Install>Zip Files> Select the placed zip file” and proceed with the installation process.
      • The flashing process should take a few seconds to end, reboot your device after and find SuperSu installed in App Drawer.

Congrats! You’ve successfully installed a custom recovery and rooted your Galaxy Note 2 running on Android 4.3 Jelly Bean. In case you got any queries or face any issues, feel free to stop by the comment box below and leave your query. Thanks!

Root Android 4.3 XXUEMK4 Jelly Bean On Galaxy Note 2 – How To Tutorial.

Root Android 4.3 XXUEMK4 Jelly Bean On Galaxy Note 2 – How To Tutorial.

So now that you have updated your Samsung Galaxy Note 2 to Android 4.3, the next step is to root it, so you can get your life again. Rooting allows you to get full control over your device. Allows you to install such apps that need to get complete control over you Mobile internet, Bluetooth, Volume and others. In allows you to install Custom ROMs and Custom Recoveries, Tweaks, Mods and Kernels on your device. The tutorial below is the easy and best, because it already come with ClockWork Mod Recovery and will not wipe your data, all your Applications will remain safe and in the exact same shape in which you were using them before rooting. We will use Odin to Root it, so it won’t take much time and is completely safe to proceed.

Galaxy Note ii

In this Article,we will show you How To Root Android 4.3 XXUEMK4 Jelly Bean On Galaxy Note 2. But before we begin, Make sure that you have battery charged over 60 % and have backed up all your important ContactsCall Logs & Messages.It is highly recommended in case of any mishap or data loss to back up all your important data.

Disclaimer: 

The methods involved in flashing custom roms and rooting your phone is highly custom and may result in bricking your device,and has nothing to do with Google or the device manufacturers which is Samsung in our case. In case of any mishap we may not be held responsible. Follow these instructions to the letter to avoid any mishap or bricking. Make sure that whatever you do, you are doing it at your own responsibility.

Important things:

  • Since this process is to for XXUEMK4  Version , you device must be running XXUEMK4 Android 4.3 Jelly Bean.
  • Enable USB debugging mode.
  • Make sure that battery level is at 85% or more.
  • This Tutorial is Only For Samsung  Galaxy Note 2.
  • Before Proceeding further, Follow:

Update Galaxy Note 2 to Android 4.3 XXUEMK4 Jelly Bean Firmware – How To Guide.

How To Root Android 4.3 XXUEMK4 Jelly Bean On Galaxy Note 2

odin3failed


  • Download Android 4.3 CWM + Rooting Package for Galaxy Note 2 to your computer and extract the zip file.
  • Download Odin.
  • Turn off your Phone and Turn it On While Pressing, Power + Volume Down + Home button until you see some text on-screen, Press Volume Up to continue.
  • Make Sure that the USB drivers are installed.
  • Open Odin in Computer and connect your device to PC, while it is in the Download mode.
  • If your Phone is successfully connected to PC, the Odin port will turn Yellow with COM port number.
  • Now Click on PDA and select the File cwm6-root-note2.tar , or the one who has the biggest size.
  • In Odin, Check Auto reboot and F.Reset Options.
  • Now Click the start button and wait for the process to complete.
  • After the installation is complete you device will restart and once you see the Home Screen, unplug the cable.

That;s it your Galaxy Note 2 running XXUEMK4 Android 4.3 Jelly Bean has been rooted. Check the Super SU app or Download any Root Checker app to Verify the Root access.

How to Root and Install CWM Recovery on Sony Xperia SP on 12.0.A.2.254 Firmware [Guide]

35
How to Root and Install CWM Recovery on Sony Xperia SP on 12.0.A.2.254 Firmware [Guide]

Sony recently updated its device Xperia SP to the newest firmware 12.0.A.2.254 Android 4.1.2 Jelly Bean. There had been a number of rumors in the recent times about the Android upgrade of Sony Xperia SP to Android 4.2.2 and 4.3, but now Sony has confirmed the Android 4.3 update for Sony Xperia SP that will start from the month of December 2013. Perhaps our concern now is to achieve the root access on the current latest firmware running on the device.

Keeping that aside, Let’s get back to the topic. Rooting your device has always been pretty useful when it comes to playing with Android beyond the boundaries. Sometimes the root methods for the newest firmwares change and you need to follow the latest method to root your device on the latest firmware. Those of you who’ve been looking to root their device on the 12.0.A.2.254 firmware, you’ve spotted the right place as we’ve made an easy to understand and detailed guide. You just need to follow the steps explained below to the letter, before we go ahead here’s a little introduction to root and its advantages in case you don’t know it yet.

Sony Xperia SP_Group_Red-580-90


Rooting your phone gives you complete access over all the data which is apparently locked by the manufacturers. This includes removal of the factory restrictions and making changes to the internal system and the operating system. Gaining the root access gives you the privileges to install various applications to enhance the performance of your device, allows you to remove the built-in applications/programs, helps you to upgrade the battery life of your device & install the apps which require the root access for the proper functionality and modify your device in so many other ways e.g using mods and custom roms. By installing custom recovery, you can flash custom roms in the phone easily. Custom recovery also let’s you backup your current rom and restore it in case of any mishap. There is a laundry list of things you can do after having your device rooted and installed the custom recovery, now once you’re rooted and have installed custom recovery, go ahead and enjoy it on your phone. Here’s our collection of 10 Best Root Apps.


Let’s move forward to the root process…

Disclaimer: The methods involved in flashing custom roms and rooting your phone is highly custom and may result in bricking your device, and has nothing to do with Google or the device manufacturer that is Sony in our case. Also rooting your device will void its warranty and you will be no longer eligible for any kind of free device services by the manufacturers/warranty providers. In case of any mishap we may not be held responsible. Follow these instructions to the letter to avoid any mishap or bricking. Make sure that whatever you do, you are doing it at your own responsibility.

Before we go ahead, here are some pre-requisites that you need to follow:

      1. Make sure that your phone’s battery is charged over at least 60%. This is highly recommended in order to prevent any power issues on the device during the flashing process.
      2. Make sure that you have backed up all your important ContactsCall Logs Messages. It is highly recommended in case of any mishap or data loss to backup all your important data.
      3. Make sure that you use the original data cable to connect your device to your PC.
      4. Make sure that your device is  Sony Xperia SP C5302 or C5303 and is running on the latest 12.0.A.2.254 firmware , check the model under Settings>About Device>Model.
      5. In case of USB connection problems, enable USB debugging mode on your device. To do so, open Settings>General>Developer Options. If you can’t find the developer options, simply open About device and tap “Build Number” for 7 times and you should have the developer options enabled under the ”General Tab”.
      6. Install the listed files carefully, follow this guide to letter in order to prevent any mishap.

Files you need to download:

    • Download and Install Sony Flashtool – Here’s the complete guide with download links.
    • Download and Install Sony USB drivers – Get Here.
    • Download Easy Rooting Toolkit: DooMLoRD_Easy-Rooting-Toolkit_v18_perf-event-exploit.zip
    • Download the older kernel file for Xperia SP:  XperiaSP_C530X_12.0.A.1.257_KernelOnly.ftf 
    • Download the newer kernel file for Xperia SP:  XperiaSP_C530X_12.0.A.2.254_KernelOnly.ftf

How to Root Sony Xperia SP:

    1. After having installed the Flashtool, place the downloaded XperiaSP_C530X_12.0.A.1.257_KernelOnly.ftf  file in the Flashtool>Firmware folder in your C: drive or the directory where you installed the Flashtool.
    2. Open Flashtool and hit the lightening button on the top left, select flashmode and then select the XperiaSP_C530X_12.0.A.1.257_KernelOnly.ftf  , and hit Flash.
    3. The firmware will take a while to load, as soon as it prompts you to connect the device, turn off your device, press Volume Down and connect it to your PC while keeping the Volume Down key pressed. This connects the device in Flashmode. 
    4. As soon as your device is detected in the Flashmode, the flash process will start and you’ll get the Flashing finished message in the logs.
    5. Close the Flashtool now. [important]
    6. Connect your device to your PC again now, This time enable the USB debugging mode under Settings > Developer Options on your device.
    7. Extract the downloaded DooMLoRD_Easy-Rooting-Toolkit_v18_perf-event-exploit.zip to your C: drive or to whatever drive you’ve installed the windows.
    8. Now run the runme_OSversion file, this file will execute the rooting toolkit, and will root your phone.
    9. As soon as your device is rooted, it will restart. Congrats your device is now rooted, check the SuperSu app in the app drawer.
    10. Now download the newer kernel file that is  XperiaSP_C530X_12.0.A.2.254_KernelOnly.ftf  and place it in the Firmware folder.
    11. Open Flashtool again, and Flash the new kernel file using the same method explained in steps 2 & 3.
    12. As soon as the flashing process is done, turn on your device and enjoy having the root access!

Here’s now how you can flash a Custom Recovery [ClockworkMod] on Sony Xperia SP:

      • Download the CWM recovery package file from HERE.
      • Extract the zip folder on your computer’s desktop.
      • Turn on USB debugging mode on your phone. Settings > Developer Options > USB Debugging.
      • Run the Install.bat file from the extracted folder.
      • Follow the instructions on screen.
      • Congrats you’ve successfully installed ClockworkMod Recovery on Sony Xperia SP.

Check out this post to root other Sony Devices.

In case you got any queries or face any difficulties, feel free to stop by the comment box below. We will try our best to help you out. Thanks!

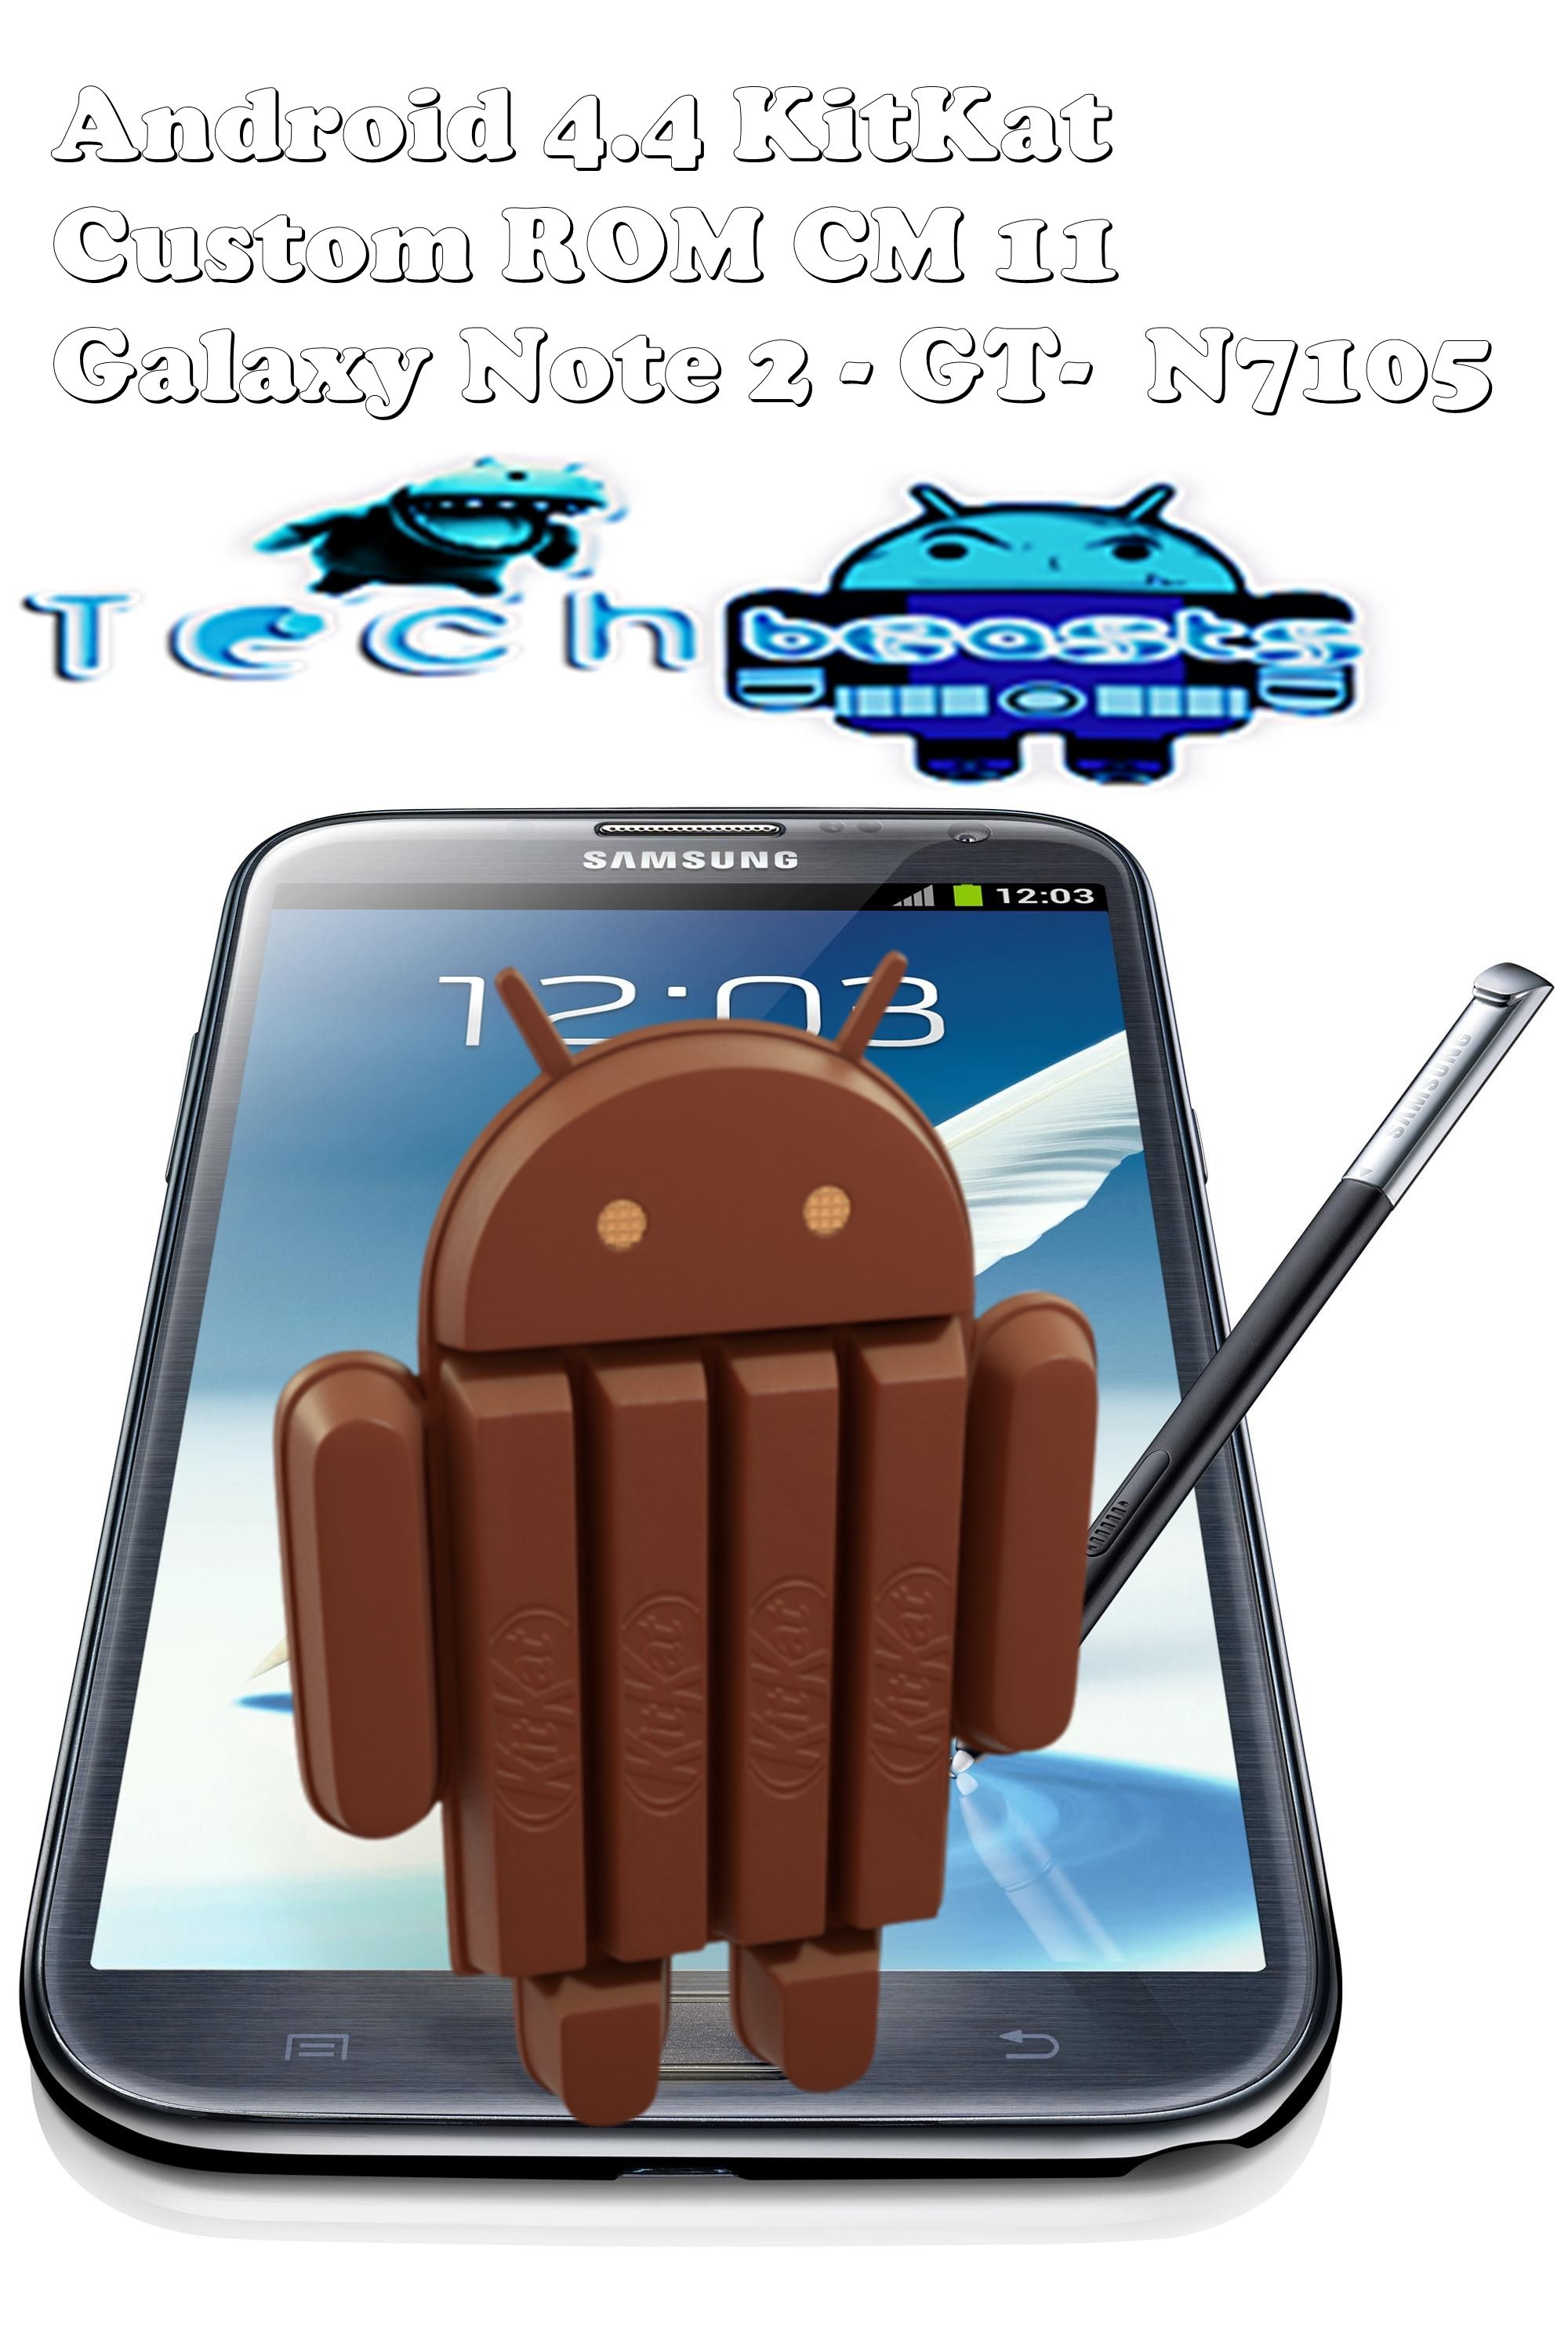
Install Android 4.4 KitKat on Samsung Galaxy Note 2 GT-N7105 using unofficial CM 11 Custom ROM

13
Install Android 4.4 KitKat on Samsung Galaxy Note 2 GT-N7105 using unofficial CM 11 Custom ROM

Are you a Galaxy Note 2 LTE owner and an Android enthusiast, who is always looking for something new to try out?. Well, those who like to play with custom ROMs or want to get their hands on the newest firmware through custom roms, we have a good news for all of em’. The custom ROM CyanogenMod 11 based on Android 4.4 KitKat has been developed for the Galaxy Note 2 LTE GT-N7105. As usual this great work has been done by the awesome developers at XDA-developers.

1348568705_1776247816_smartphones-samsung-galaxy-note-ii-n7100-titanium-grey-gt-n7100tadphn


So, are you willing to get your hands on the Android 4.4 KitKat using CM 11 custom ROM? Well, I’ve explained the method below in simple and easy steps. You just need to follow this guide to letter.

Disclaimer: The methods involved in flashing custom roms and rooting your phone is highly custom and may result in bricking your device, and has nothing to do with Google or the device manufacturer that is Samsung in our case. Also rooting your device will void its warranty and you will be no longer eligible for any kind of free device services by the manufacturers/warranty providers. In case of any mishap we may not be held responsible. Follow these instructions to the letter to avoid any mishap or bricking. Make sure that whatever you do, you are doing it at your own responsibility.


Before we go ahead, here are some pre-requisites that you need to follow:

  1. Make sure that your device is rooted. Follow this guide to root and install TWRP recovery.
  2. Make sure that you backup your ROM using the TWRP recovery. There is Backup option in the recovery you should see it upon you boot into it.
  3. Make sure that your phone’s battery is charged over at least 60%. This is highly recommended in order to prevent any power issues on the device during the flashing process.
  4. Make sure that you have backed up all your important ContactsCall Logs Messages. It is highly recommended in case of any mishap or data loss to backup all your important data.
  5. Make sure that your device is  Galaxy Note 2 GT-N7105. Check the model under Settings>General>About Device>Model.
  6. Install the listed files carefully, follow this guide to letter in order to prevent any mishap.

Before moving further, please keep in mind that this is a ROM is not stable, and is a nightly. It may contain bugs, do not expect it to work properly and as smooth as an official ROM. Only flash it if you have the know-how about custom ROMS. This ROM may not be kept for daily use.

Files you need to download:

How to Install CM 11 Custom ROM Android 4.4 KitKat on Galaxy Note 2:

      • Before going ahead, once again make sure that you Backup your current ROM using TWRP recovery. This is handy in case the custom ROM doesn’t work fine and you want to go back to your old ROM immediately.
      • Place the downloaded ROM .zip file on your phone’s SD card.
      • Place the downloaded gapps .zip file on your phone’s SD card as well.
      • Boot into TWRP recovery mode [power off complete then turn on by pressing and holding Volume Up + Home Button + Power Key ]. Make sure that you follow the installation guide attached above in pre-requisites’s first step.
      • In TWRP recovery tap “Install>Zip files>Choose the ROM’s zip file that you placed.” 
      • Install it, the installation should take a while.
      • As soon as it ends flashing the ROM, now once again in TWRP recovery select “Install>Zip Files > Choose the gapps .zip file that you placed”.
      • After it ends flashing the gapps, reboot your device.
      • You should see the CM logo on the boot now. It will take  a few minutes to boot into the system, hold your nerves while it starts.
      • In case the device is strucked at bootloop, boot into twrp recovery and wipe factory data/cache/dalvik cache.
      • It should work fine now.

Congrats! You’ve successfully installed Android 4.4 KitKat custom ROM on your phone. In case you got any queries or difficulties, feel free to stop by the comment box below. We will try our best to help you out. Thanks!

Install Android 4.4 KitKat on Samsung Galaxy Note 2 GT-N7100 using unofficial CM 11 Custom ROM

4
Install Android 4.4 KitKat on Samsung Galaxy Note 2 GT-N7100 using unofficial CM 11 Custom ROM

While Samsung is busy making the official Android 4.3 Jelly Bean ROM for Galaxy Note 2, and the device still runs on Android 4.1.2, the awesome developers have managed to develop a custom Android 4.4 KitKat ROM for the device. It may take a long time for the Android 4.4 KitKat to make its way to Galaxy Note 2 officially, but those who can’t wait and like to play with the device beyond the boundaries, they might taste all the features and feel of the Android 4.4 KitKat on their device before it actually comes out.

Galaxy_Note_2

You might be wondering or scared of installing the new custom ROM if you already saw it somewhere because of the complex method, but there is no need worry at all now as I’ve explained the ROM installation method in simple and easy steps below. You just got to read properly and follow to the letter.

Disclaimer: The methods involved in flashing custom roms and rooting your phone is highly custom and may result in bricking your device, and has nothing to do with Google or the device manufacturer that is Samsung in our case. Also rooting your device will void its warranty and you will be no longer eligible for any kind of free device services by the manufacturers/warranty providers. In case of any mishap we may not be held responsible. Follow these instructions to the letter to avoid any mishap or bricking. Make sure that whatever you do, you are doing it at your own responsibility.

Before we go ahead, here are some pre-requisites that you need to follow:

      1. Make sure that your device is rooted. Follow this guide to root and install TWRP recovery.
      2. Make sure that you backup your ROM using the TWRP recovery. There is Backup option in the recovery you should see it upon you boot into it.
      3. Make sure that your phone’s battery is charged over at least 60%. This is highly recommended in order to prevent any power issues on the device during the flashing process.
      4. Make sure that you have backed up all your important ContactsCall Logs & Messages. It is highly recommended in case of any mishap or data loss to backup all your important data.
      5. Make sure that your device is  Galaxy Note 2 GT-N7100. Check the model under Settings>General>About Device>Model.
      6. Install the listed files carefully, follow this guide to letter in order to prevent any mishap.

Before moving further, please keep in mind that this is a ROM is not stable, and is a nightly. It may contain bugs, do not expect it to work properly and as smooth as an official ROM. Only flash it if you have the know-how about custom ROMS. This ROM may not be kept for daily use.

Files you need to download:


How to Install CM 11 Custom ROM Android 4.4 KitKat on Galaxy Note 2:

      • Before going ahead, once again make sure that you Backup your current ROM using TWRP recovery. This is handy in case the custom ROM doesn’t work fine and you want to go back to your old ROM immediately.
      • Place the downloaded ROM .zip file on your phone’s SD card.
      • Place the downloaded gapps .zip file on your phone’s SD card as well.
      • Boot into TWRP recovery mode [power off complete then turn on by pressing and holding Volume Up + Home Button + Power Key ]. Make sure that you follow the installation guide attached above in pre-requisites’s first step.
      • In TWRP recovery tap “Install>Zip files>Choose the ROM’s zip file that you placed.” 
      • Install it, the installation should take a while.
      • As soon as it ends flashing the ROM, now once again in TWRP recovery select “Install>Zip Files > Choose the gapps .zip file that you placed”.
      • After it ends flashing the gapps, reboot your device.
      • You should see the CM logo on the boot now. It will take  a few minutes to boot into the system, hold your nerves while it starts.
      • In case the device is strucked at bootloop, boot into twrp recovery and wipe factory data/cache/dalvik cache.
      • It should work fine now.

Congrats! You’ve successfully installed Android 4.4 KitKat custom ROM on your phone. In case you got any queries or difficulties, feel free to stop by the comment box below. We will try our best to help you out. Thanks!

Check MD5 Sum Of a file On Windows, Mac and Linux – How To Tutorial.

0
Check MD5 Sum Of a file On Windows, Mac and Linux – How To Tutorial.

If you are a frequent use of Android and keep installing either Custom or Official ROMs, then you will be familier with MD5 files. Most of the Custom, official ROMs, Mods and Recovery flashable files are encrypted with such codes to keep them secure. It is kind of a password this is used to secure the files inside the Zip file or a Software Package. You will need to check the MD5 Sum of any file before installing it on your device.

unnamed

There are Two main reasons if the MD5 hash value of the file that you have downloaded does not match with the real one.

  1. The file that you have downloaded has not been downloaded completely.
  2. Someone else might have tried to edit the file without proper authorization.

The MD5 checksum or hash value of a file might look like these:

  • 25912deacc5d55528e223ec7b99705cc
  • 220c41f3b03f42190899db8cb081b5c6
  • a578d837343fe2542ecf405a630d46a0
  • 8223ec1c2aa71503b431a0daabb23154

You will need to verify the MD5 file, cause if you tried ti flash a corrupted Md5 file on your device, it might lead to the a Brick Tablet or Phone. So, if you want to install an MD5 file on your device, you will first need to check it. There are many MD5 hash checker available on the WEB, but most of them are not working. We will provide you the link of Official Software that will help you in checking of MD5 Hash value.

Check MD5 Value On Windows.check-md5-sum

  1. First Download the Latest Version of WinMD5Free from here…. Official Link
  2. Extract the zip file and open the WinMD5Free.exe file.
  3. Once the software is open, Browse where you have downloaded the MD5 File and select it.
  4. Just as you select the MD5 file, it will show you the MD5 checksum.
  5. Now Copy and Paste the Original hash value provided by the developer.
  6. Click On Verify.
  7. The tool will give you the Matched Result.

Check MD5 Value On Mac.

If you are a Mac user and want to check the MD5 hash value Follow these steps. You will need to have the original Hash Value in order to check it.

  1. First Download the HashTab program on your Computer. Download Link
  2. After downloading, install the Program. Now you are ready to Check the Value of MD5 file.
  3. Navigate to the Downloaded file and Right click on it.
  4. Now Click on Properties, in the properties window you will see a new Tab called “File Hashes”.
  5. Doing this will generate the Hash Value, now check if the Original Value and the generated value is same , then the MD5 file you have downloaded is non-corrupted and secure to use.

Check MD5 Value On Linux.

  1. Open a Terminal Window.
  2. Now Type in the following Command: md5sum [type file name with extension here] [path of the file]
  3. Hit Enter Key .Bingo!.
  4. You will see the MD5 Sum of the File, match it against the Original value and get the Answer.