Home Blog Page 495

How To Root Galaxy S4 On Android 4.3 UBUEMK1 Jelly Bean Official Firmware.

0
How To Root Galaxy S4 On Android 4.3 UBUEMK1 Jelly Bean Official Firmware.

The Complete Rooting Tutorial is now available for Samsung Galaxy S4 running Android 4.3. Installing an Official Firmware whether via OTA update or Manually let your device to loose its root access, that means you have to root it again. Rooting allows you to get full control of your device, running the Official Firmware and using Custom Tweaks is the best way to increase the performance of your device. Or if you are not satisfied with Custom Tweaks, they can install a Full Custom ROM of their choice, simply put A rooted device can give a lot of advantages that a non-rooted can’t.

13.03.14-Galaxy_S4


If you are familiar with Odin and it’s working, then this tutorial might not be difficult for you. Otherwise read the whole tutorial first before trying it on your device. In this Article, we will show you How To Root Galaxy S4 On Android 4.3 UBUEMK1 Jelly Bean Official Firmware.But before we begin, Make sure that you have battery charged over 60 % and have backed up all your important ContactsCall Logs & Messages.It is highly recommended in case of any mishap or data loss to back up all your important data.

Disclaimer: The methods involved in flashing custom roms and rooting your phone is highly custom and may result in bricking your device,and has nothing to do with Google or the device manufacturers which is Samsung in our case. In case of any mishap we may not be held responsible. Follow these instructions to the letter to avoid any mishap or bricking. Make sure that whatever you do, you are doing it at your own responsibility.

Important things:.

  • Enable USB debugging mode.
  • Make sure that battery level is at 85% or more.
  • This Tutorial is Only For Galaxy S4 I9500.
  • Your Device must be running UBUEMK1 version of Android 4.3.

How To Root Galaxy S4 On Android 4.3 UBUEMK1 Jelly Bean Official Firmware.

odin_explained

  • Download CF-Auto-Root Package for Galaxy S4 to your computer and extract the zip file.
  • Download Odin.
  • Turn off your Phone and Turn it On While Pressing, Power + Volume Down + Home button until you see some text on-screen, Press Volume Up to continue.
  • Make Sure that the USB drivers are installed.
  • Open Odin in Computer and connect your device to PC, while it is in the Download mode.
  • If your Phone is successfully connected to PC, the Odin port will turn Yellow with COM port number.
  • Now Click on PDA and select the File CF-Auto-Root-ja3g-ja3gxx-gti9500.zip the one who has the biggest size.
  • In Odin, Check Auto reboot and F.Reset Options.
  • Now Click the start button and wait for the process to complete.
  • After the installation is complete you device will restart and once you see the Home Screen, unplug the cable.

That;s it your Samsung Galaxy S4 I9500 has been Rooted on Android 4.3 UBUEMK1 Jelly Bean, check Super SU App in Drawer to verify.

How to Access & Manage Files on Samsung Galaxy Gear

2
How to Access & Manage Files on Samsung Galaxy Gear

2 days back I managed to get my Galaxy Gear, and the very first thing I wanted to do is, to enjoy the Gear just like a smartphone. Galaxy Gear comes with limited apps and limited options, and basically is just an accessory to the Galaxy Note 3, but you can also play with it beyond the boundaries either by installing apps, placing files on it like images, videos and so on. When I wanted to access the SD card of the Gear, as it comes with 4 GB internal storage, I connected it to my laptop and found no removable media connected, so I had to find a solution and access files.

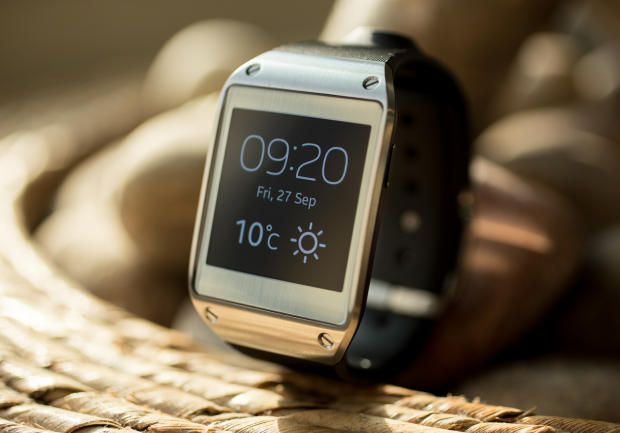
In case you don’t know about Galaxy Gear, let’s have a recap. Galaxy Gear is Samsung’s very first smart watch, that it introduced along with the Galaxy Note 3 at an event Held in Berlin on 4th of September, 2014. The device sports a beautiful small display, there is a 2 MP camera on the strap that actually adds charm to it. Gear gives you notifications of all your messages, calls and other updates, it also lets you make calls and receive calls with its small speaker and mic installed on the strap’s lock. Samsung also added Gear support to Note 2, S3 and S4 through the latest software updates.samsung-galaxy-gear_620x433

Let’s get back to the topic, how to access and manage files on your Galaxy Gear. The method I used to do so, I’ve explained it exactly here. Just follow the steps and get done with the important things you want to do on your Galaxy Gear.

How to Access & Manage Files on Your Galaxy Gear.

      1. Download and Install WonderShare Mobile Go for Android – (Trial version for 15 days or buy it if you want full)
      2. After installing WonderShare Mobile Go, turn on your Gear – Activation screen must be passed.
      3. Swipe through the menu and tap settings.
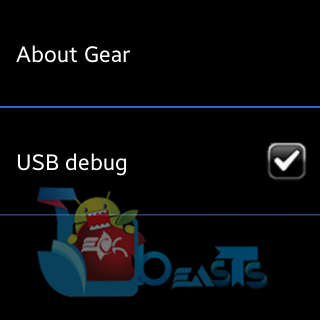
      4. In Settings > tap  About Gear > Tap Software Version for 7 times, it will enable USB debugging option (Skip if you’ve already enabled it.).
      5. Go back to About Gear and check USB debugging mode.
      6. Connect your Gear to your PC having the USB debugging mode enabled.
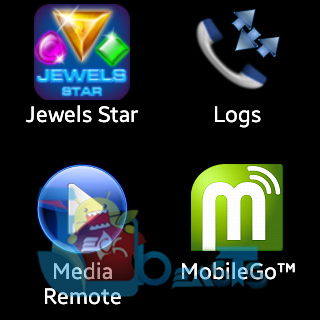
      7. screenshot_1227230416  screenshot_1227230702 screenshot_1227230710 screenshot_1227230734
      8. As soon as you connect, WonderShare Mobile Go will pop up and start connecting the device, allow access when prompted on Gear, it will install WonderShare Mobile Go app on your Gear as well for proper functionality.
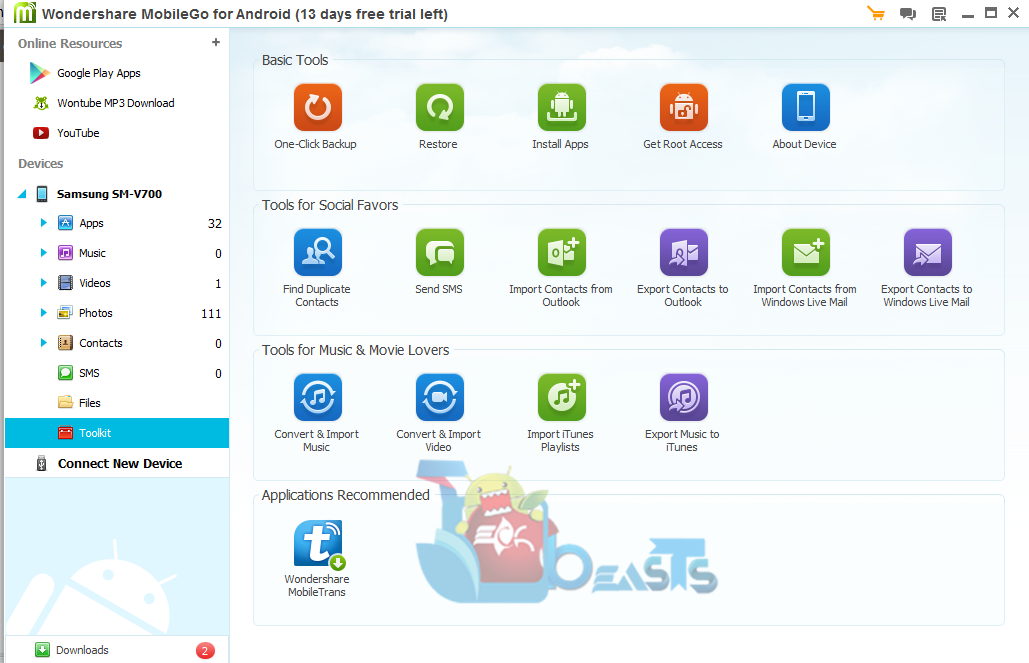
      9. Now in WonderShare Go, Click on My device > Files > Access the files on Phone / SD card.
      10. You can add or remove files, also you can install / uninstall APK files using WonderShare Mobile Go for Android.
      11. Using the Toolkit on WonderShare Mobile Go, you can backup everything on your device.
      12. That’s All!

Here are some screenshots, that might help you a little more:

Screenshot_1 Screenshot_2 Screenshot_3 Screenshot_4 Screenshot_5

We hope that you liked the tutorial. In case of any queries or difficulties regarding the post, feel free to stop by the comment box below and drop us your message. We will get back to you as soon as possible. Thanks All.

How To Root and Install CWM Recovery on HTC One XL/AT&T HTC One X.

0
How To Root and Install CWM Recovery on HTC One XL/AT&T HTC One X.

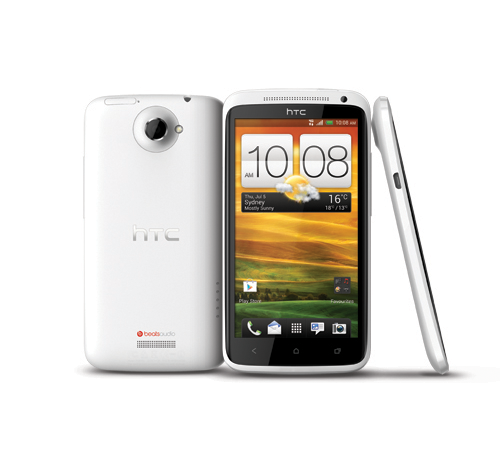
HTC One XL, on the Web is stated as HTC One X (AT&T), I tried for almost Two days to find a rooting method and a Custom Recovery for it, but since I was Searching for HTC One XL, instead of AT&T HTC One X, I wasn’t able to find anything regarding CWM Recovery, but I did find Super SU for it. Tried ROM Manager and everything went great, found the HTC One XL is a.k.a AT&T HTC One X. Like me, I am pretty sure that there are others trying to find the same thing for their device. So, here I am sharing this Guide with you to Root Your HTC One XL and install CWM Recovery on it.

au-one-series-2-big

In this Article, we will show you How To Root and Install CWM Recovery on HTC One XL/AT&T HTC One X. But before we begin, Make sure that you have battery charged over 60 % and have backed up all your important ContactsCall Logs & Messages.It is highly recommended in case of any mishap or data loss to back up all your important data.

Disclaimer:

The methods involved in flashing custom roms and rooting your phone is highly custom and may result in bricking your device, and has nothing to do with Google or the device manufacturers which is HTC in our case. In case of any mishap we may not be held responsible. Follow these instructions to the letter to avoid any mishap or bricking. Make sure that whatever you do, you are doing it at your own responsibility.

Important things:

  • Your Device must be Running Android 4.1.2 Jelly Bean.
  • Enable USB debugging mode.
  • Make sure that battery level is at 85% or more.
  • This Tutorial is Only For HTC One XL.

How To Root and Install CWM Recovery on HTC One XL/AT&T HTC One X.

  • First of all Unlock The Bootloader. HOW? Follow Unlock Bootloader Of HTC Smartphones.
  • Make Sure that USB Debugging is enable, go to Settings > Developers Option and Tick the USB debugging.
  • Make sure that Fastbboot/ADB is configured on PC. How? How to Install Android Adb & Fastboot Drivers on Your Windows PC [Guide].
  • Download Super SU and CWM Recovery for HTC One XL.
  • Now Copy the CWM Recovery image to fastboot Folder and Rename it to Recovery.
  • Turn off your phone and open Bootloader/Fastboot mode. How? Press and hold Volume Down + Power button until the Soft Keys blinks for 6 times then Loose the Power Button but keep pressing Volume Down button.
  • Now Connect your device with PC.
  • Now Open Command prompt in Fastboot Folder, How? Hold Shift Key and Right Click anywhere in the Fastboot folder.
  • Type the following Command: fastboot flash recovery recovery.img
  • After the Process is done, on Phone Select Reboot Bootloader.
  • Now select Recovery from Bootloader.
  • Once the Recovery is Open, select the following.
  • Now select ‘Install zip from sd card’, then select ‘choose zip from sd card’.
  • Select the Super SU.zip file and confirm the installation on next screen.
  • After that, +++++Go back. and Reboot System now.


After a Successful Reboot, Open App drawer and Check for Super SU App to Verify Root Access.

Windows 8 Wallpapers For Desktop – Download Here.

1
Windows 8 Wallpapers For Desktop – Download Here.

Using Windows 8 but can’t able to find a pack of awesome and beautiful wallpapers for your Desktop. We will provide you the Best collection of Wallpapers that will give your Desktop the Look you have always wanted. Wallpapers are the Only thing that makes your Desktop looks beautiful than ever, but on the Web even if you able to find one for Your desktop. the Quality will not live upto expectations and for all the HD ones, they won’t be as awesome as you wanted them to be. We have created a great collection of Amazing wallpapers that will suit your Desktop Running Windows 8, Scroll, Enjoy and Download the One you want.

windows-8-34-700x393

266792278-Windows8-wallpaper Basic-Windows-8-Wallpapers-2013-Awesome- latest-windows-8-wallpaper-hd windows_8_official-wide windows_8_beta_wallpaper_by_rgontwerp-d39tban3 Top-10-Windows-8-wallpapers-Free-Download-2 New1 Latest-Windows-8-wallpaper Windows_8_Wallpaper_Free windows_8-wide Windows-8-Background-Wallpaper-HD Windows-8-desktop-Wallpaper1 windows-wallpapershq-wallpapers-plus-Windows-8-Wallpapers-16 Windows-HD-Wallpaper Windows-81 Windows-8-Wallpapers Windows-8-Wallpapers-2 windows-8-wallpaper-pack


Download Windows 8 HD Desktop Wallpapers For Free. For more Wallpapers Please Check out our Gallery. Wallpapers

We Wish You A Very Happy Merry Christmas & A Warm Happy New Year 2014!

0
We Wish You A Very Happy Merry Christmas & A Warm Happy New Year 2014!

Right a year ago, we started Techbeasts, and then left it for a while. Soon I got time from my studies and other projects, and came back to the site. A dream, that I was after, to establish a site for Android and Apple fans, to help em’ with the everyday Android queries, difficulties they face has been established now in a short time span of just 3 months. All this happened just because of you guys, because of your continuous support and love for our beloved Techbeasts.

We aim at establishing one of the biggest communities out there and expand our network to cover more and more happenings, help the people with their gadgets at our best and let them become the power users of their devices. We hope that you guys keep supporting us in future, we will always try our best to bring the best stuff for your Android and Apple devices, keep you up to date with the latest developments in the world of smartphone and guide you through all the latest trends in technology. We also hope and aim at providing the secure surfing on our site.

Right at the moment, everything is filled up with lights, delights and colors all over. moment of joy, happiness and fun is much important as it comes only once an year. It wasn’t possible to forget our users at the moment and we wanted to say all of you a very

Happy Merry Christmas and a Very Happy New Year 2014 that is just on the way….2329-merry-christmas-and-happy-new-year

We hope that you enjoy the moment at your best, Our warm wishes are with you. May you all be blessed and have a great life ahead.

RegardsTechbeasts Team.

Best Happy Holidays 2013-2014 Wallpapers

1
Best Happy Holidays 2013-2014 Wallpapers

Holiday season is on and there is a lot of enjoyment everywhere, but the winter is at peak as well. There is nothing more good then having Holidays, Christmas, New Year and Winter at the same time. All the things just mix up and the charm is over flowing everywhere. To add some more to your Holidays, we’ve collected some wallpapers that will let your Desktop PC’s, Android Smartphones or Apple iPhones join in your celebrations at the end of 2013 and to welcome 2014.

So, here are the ones I collected. All these wallpapers are collected randomly, and are a property of their rightful owners. I take no credit for these as I just compiled up here. To download these wallpapers on your computer, go ahead and click on an image, it will open up, then right click and save it to your PC.merry_christmas_and_happy_holidays_by_uotsda-d4k2ark

 21-happy-holidayshappyholsnowmanHappy-With-Gift-Of-Happy-Holiday  happy-holidayshappy-holidayshappyholidays1Happy-Holidays-2011b1Happy-Holiday-With-Gift-happy-holidaysHappy-Holidays (2)Happy-Holidays (1) Christmas tree glowing at night in snow, Alberta, Canadahappy_holidays Winter-Season-With-Happy-Holiday- For-You-Happy-Holiday-  merry_christmas_happy_holidays-wide3Desktop Wallpaper


That’s all for now! Stay tuned with us for more stuff! Happy Holidays, Merry Christmas and Happy New Year!


Real Racing 3 for Windows PC and MAC – Download Here.

3
Real Racing 3 for Windows PC and MAC – Download Here.

Real Racing 3 by EA games is by far the best Racing game available on Android. The game provides quite realistic experience, graphics are that good to make you addictive. Plenty of cars to choose from, lots of tracks and lots of events to join in. You can go online on the Multiplayer mode and compete your friends, opponents from other regions and a lot more is there to enjoy. The awesome thing is, this game is available for free, all you need is an Android device that supports the game, and has enough memory to download the 1 GB data of the game and you can spend hours of game play without getting tired.

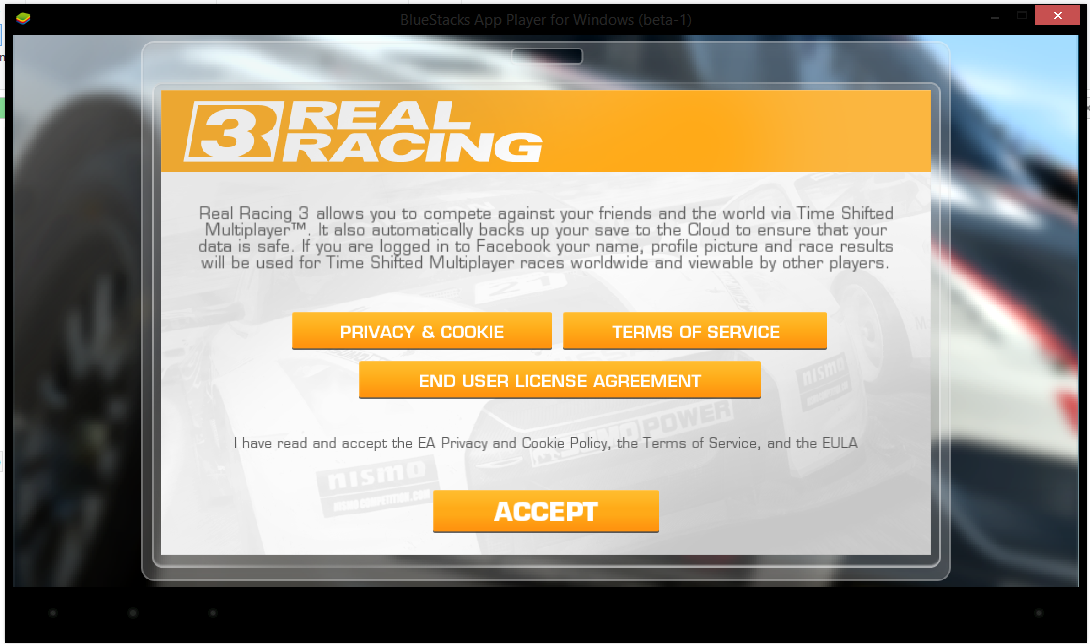
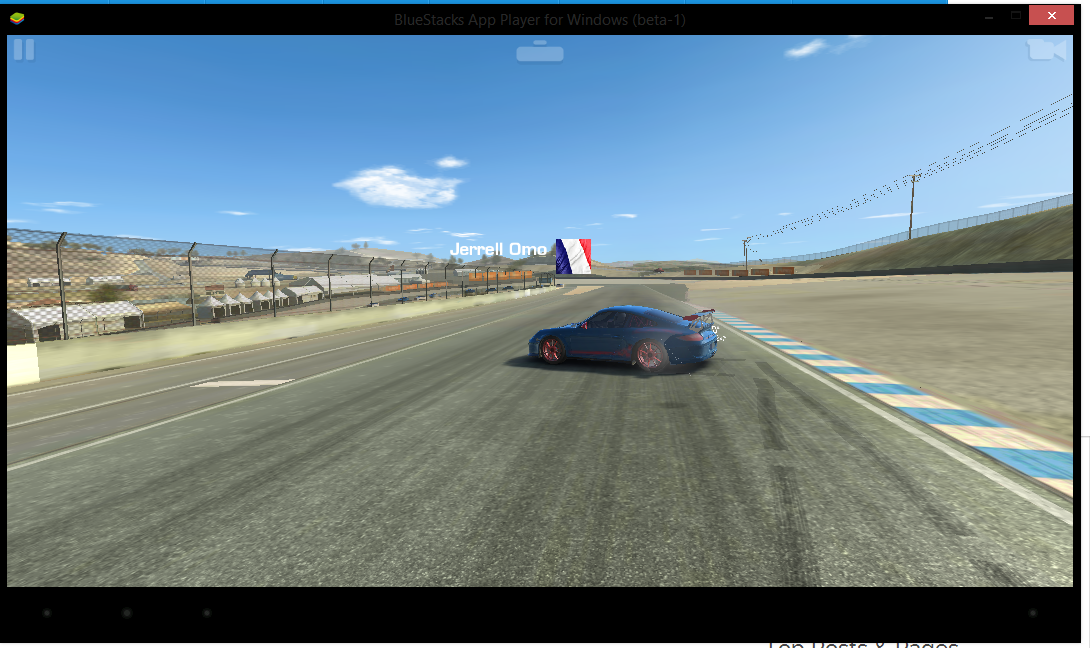
Recently I installed Real Racing 3 on my Windows 8 PC and found it running very well, and thought why not to share it on my site. So, just in case you want to play the game on your Desktop or in case you don’t have an Android device, you’re surely on the right spot. I’ve explained the method to install Real Racing 3 on your Windows PC, works well on Windows XP/Vista/7/8/8.1 and also works well on MAC as mentioned. You just need to follow the instructions properly.

How to Run Real Racing 3 on Windows PC or MAC:

To run the game on your PC, you need to install an Android Emulator. We recommend BlueStacks.

    1. Download and Install BlueStacks and set it up. Follow the full guide here.
    2. Download Real Racing Latest APK.
    3. Double click the downloaded APK file.
    4. BlueStacks will begin to install it and let you know as soon as it’s done.
    5. Open BlueStacks and click on “All Apps”.
    6. Click on Real Racing 3 Icon – start the game, at the first run it will begin to download the game’s data that is of almost 1 GB.
    7. Depending on your internet speed the game data will be downloaded, took 15 minutes here.
    8. After installing the data, run the game from BlueStacks in the same way.
    9. Use Keyboard Arrow Keys and Space to control your game.
    10. Enjoy!

Here are some screenshots:

Screenshot_5Screenshot_9

Screenshot_6Screenshot_7

Screenshot_1Screenshot_2 Screenshot_4Screenshot_8

That’s All! To run more apps on your Windows PC or MAC, check out our Android Apps for PC garage.

Install Latest TWRP Recovery 2.6.3.1 on Samsung Galaxy S3 I9300 & All Variants

15
Install Latest TWRP Recovery 2.6.3.1 on Samsung Galaxy S3 I9300 & All Variants

Samsung’s past flagship device the Galaxy S3 is still the most popular and widely used Android smartphone around the world, you must have heard everyone around saying or holding an S3 in hands. Well, the device is really that good and everyone would love to have it as it sported a 4.7 inches display with 326 ppi, Samsung’s very first device to have a Quad Core CPU clocked at 1.4 GHz. A RAM of 1 GB was placed on board under a massive battery of 2100, an 8 MP camera at the back while a 2 MP on the front.

Galaxy S3’s development is on peak, there is a number of tweaks that you can implement on your device. Number of mods, number of custom ROMs. But most of the things are possible only if you have a custom recovery installed either CWM or TWRP. Device comes branded under different variants by different carriers, and some of you might face difficulties finding the appropriate recovery for your device. To overcome the need, I’ve compiled the latest version of TWRP recovery (Thanks to TeamWin for creating this awesome recovery) for all the variants of Galaxy S3 in the following post and explained how to install as well. In case you guys still don’t have an idea about a custom recovery, let’s have a brief look at the answer.galaxy-s3-offiical

A custom recovery allows you to install custom roms, mods etc. Along with these, you can make a Nandroid backup, this helps you a lot as you can move back to the previous working state of your phone at any time you want if you have backed up your current system. In some cases, to root the phone you need to flash SuperSu.zip file in the custom recovery, having installed the recovery may help you while in some cases to install the recovery easily, you need to have the phone rooted. You can also wipe cache and dalvik cache of your phone using a custom recovery.

To install TWRP Recovery on your device, you need to follow these instructions.

      1. This guide is only for Samsung Galaxy S3, for the variants which are listed below. Before installing this, make sure that your device is listed below. Check your device’s model number in Settings > More > About Device.
      2. Download the file carefully for your device.
      3. Make sure that your device’s battery is charged over at least 60%. Highly recommended in order to prevent any mishap during the recovery installation process.
      4. Make sure that you backup your important media contentContactsCall Logs & Messages. This is highly recommended just in case something goes wrong and you need to reset your phone.
      5. Use only OEM data cable to establish connection between your phone and PC. Turn off your Anti Virus and Firewall to prevent any connection issues. Also enable USB debugging mode on your phone if you face connection issues.
      6. Recovery works well for Galaxy S3 running on all Android versions, no need to worry about the Android version.

Disclaimer: The methods involved in flashing custom roms and rooting your phone is highly custom and may result in bricking your device, and has nothing to do with Google or the device manufacturer that is SAMSUNG in our case. Also rooting your device will void its warranty and you will be no longer eligible for any kind of free device services by the manufacturers/warranty providers. In case of any mishap we may not be held responsible. Follow these instructions to the letter to avoid any mishap or bricking. Make sure that whatever you do, you are doing it at your own responsibility.

Pre – Requisites:

      • Download and Install Samsung USB drivers – Get Here.
      • Download and Extract Odin3 v3.09 – Get Here
      • Enough confidence to flash a recovery :-)!

Download the TWRP Recovery for Your Device:

How to Install TWRP Recovery on your Galaxy S3:

      1. Download the file for your variant carefully.
      2. Open Odin3.exe.
      3. Put your phone in download mode, to do so, turn it off completely. Now turn it on by pressing and holding Volume Down + Home Button + Power Key, you should see a warning now, press Volume Up to continue.
      4. In case the download mode method doesn’t work for your device, try one of the methods from this guide.
      5. Connect your phone to your PC.
      6. The ID:COM box in Odin should turn blue now, that means your phone is connected properly in download mode.
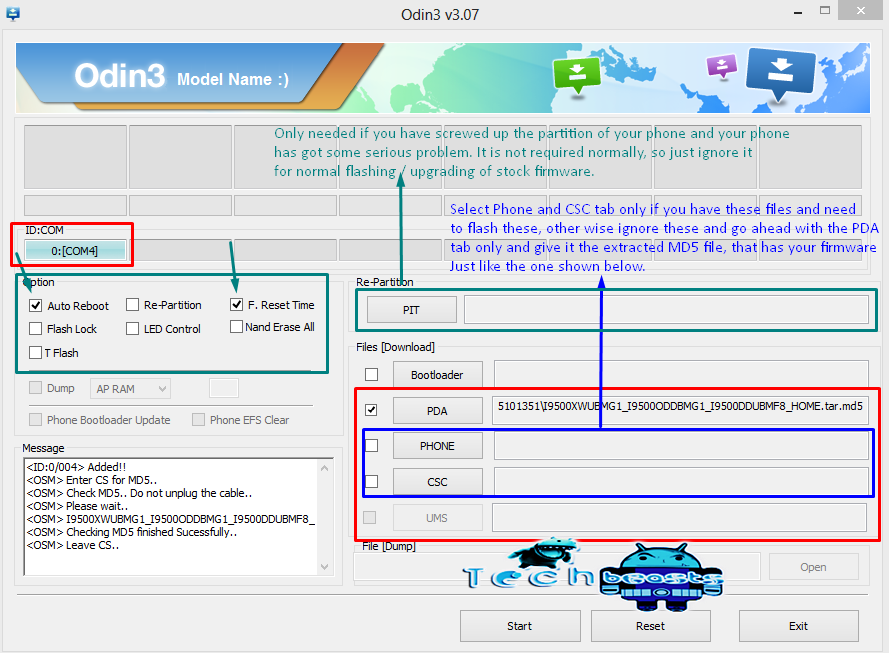
      7. Click the PDA tab in Odin and select the downloaded Recovery.tar file and let it load. Your Odin should look exactly as shown below, make sure that no extra options are selected.odin_explained
      8. Hit start now and sit back, it will take a few seconds to flash the recovery and your device will reboot.
      9. Press and hold Volume Up + Home Button + Power Key to access the TWRP Touch Recovery that you just installed.
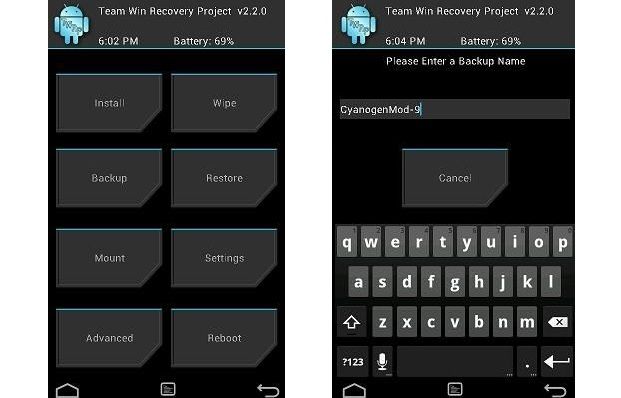
      10. You can backup your current ROM and do a lot of other things using the options in TWRP Recovery.
      11. Make sure that you make an EFS backup and save it on your PC as well. Find the option in TWRP Recovery.
      12. That’s All.

twrp

How to Root:

      1. If you want to root your device now, you can download the SuperSu.zip file.
      2. Place the downloaded file on your phone’s sd card.
      3. Open TWRP Recovery and select Install > SuperSu.zip and flash it.
      4. Reboot your device and find SuperSu in app drawer.
      5. Congrats! You’re now rooted as well.

That’s All! We hope that you found this guide of much help. In case you got any queries or face any difficulties regarding this guide, don’t hesitate to stop by the comment box below and leave us your message. We will try our best to help you out. Thanks All.

Evasi0n iOS 7 – 7.0.4 Jailbreak For iPhone – Download Here

0
Evasi0n iOS 7 – 7.0.4 Jailbreak For iPhone – Download Here

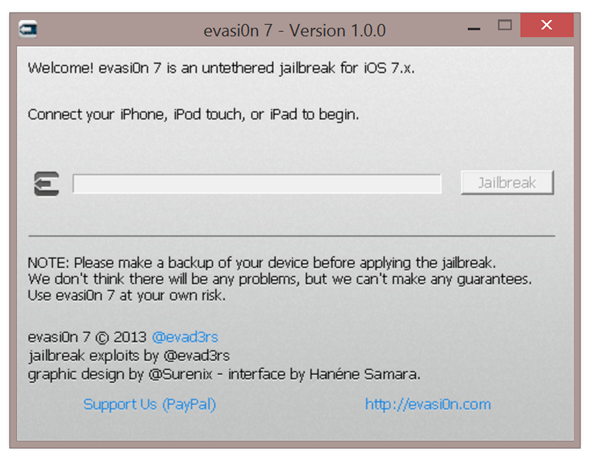
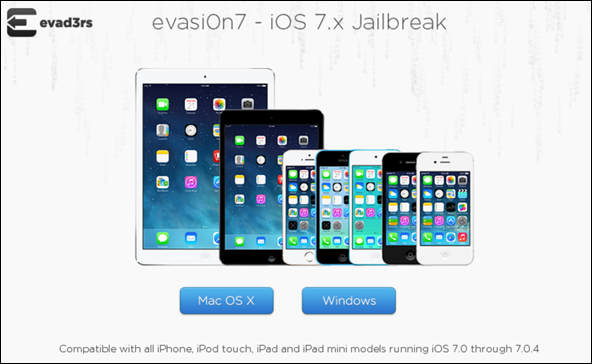
Yesterday I posted Complete Guide on How To Jailbreak iOS 7 – 7.0.4 Untethered On iPhone 5s, 5c, 5, 4s And More With Evasi0n 7. Good news is that its working with all the devices which supports iOS 7. Today i will give you direct link to download Evasi0n 7 for your Windows and Mac.

ios7-jailbreak

This includes:

  • iPhone 5s
  • iPhone 5c
  • iPhone 5
  • iPhone 4S
  • iPhone 4
  • iPad 2
  • iPad 3
  • iPad 4
  • iPad Air
  • iPad mini
  • iPad mini 2
  • iPod touch 5

evasi0n-ios-7-jailbreak

Download Evasi0n for Windows
Download Evasi0n for Mac

Also check out Detailed Step by Step Guide of ailbreak iOS 7 – 7.0.4 Untethered On iPhone 5s, 5c, 5, 4s And More With Evasi0n 7.

Install Latest TWRP Recovery 2.6.3.1 on Galaxy S4 I9500/I9505 and All Variants

13
Install Latest TWRP Recovery 2.6.3.1 on Galaxy S4 I9500/I9505 and All Variants

Few months ago Samsung brought its latest flagship device the Galaxy S4 to the users, and the device was well received and eventually became the best Android smartphone around the world. Galaxy S4 was Samsung’s first device to sport a full HD display with a size of 5 Inches, 441 ppi. With the Galaxy S4 Samsung also introduced its Exynos 5 Octa processor series, that came packed inside the international variant of the device. A RAM of 2GB was placed inside as well, while Samsung moved the camera from 8 MP to 13 MP at the back, while a 2 MP on the front is fixed as well. Galaxy S4 came with exclusive new features like Smart Screen, Air Gestures and Air View.

Well, enough talking about the phone, let’s get back to the topic. To make sure the availability of the device in all the regions, Samsung has branded the device under different variants and different model number. You may be owning a Galaxy S4 as well, but with a different model number then the rest of the world. But, that doesn’t really matter when it comes to the development, there is a number of things to do on the device and that’s what XDA developers are there for. You can modify your device, the way you want, but to do most of the things on your device you will need a custom recovery, and here is the latest TWRP recovery for all of you.  Samsung-Galaxy-S4-44358_2628
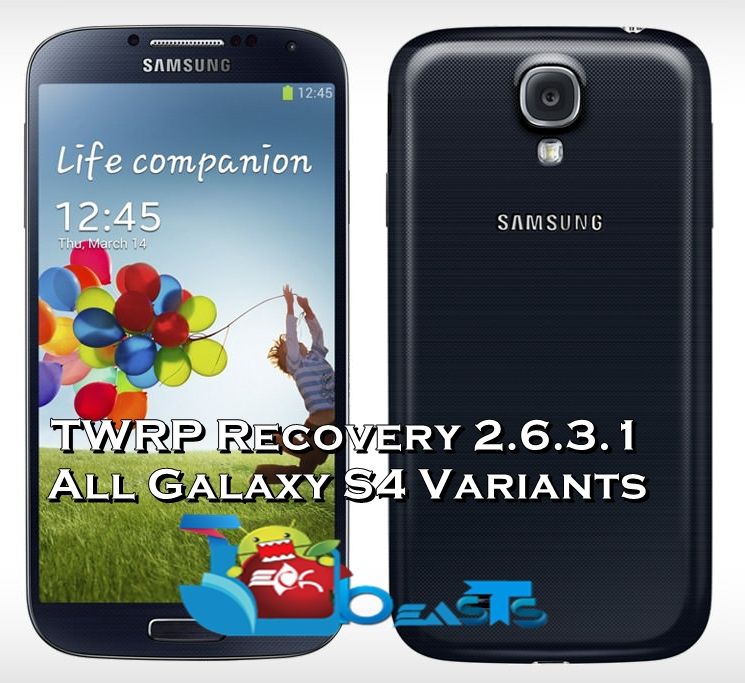
TeamWin has brought the latest TWRP recovery 2.6.3.1 for almost all the variants of the Galaxy S4. In case you don’t know what’s the use of this custom recovery, or what a custom recovery is actually, let’s have a look at the answer first.

A custom recovery allows you to install custom roms, mods etc. Along with these, you can make a Nandroid backup, this helps you a lot as you can move back to the previous working state of your phone at any time you want if you have backed up your current system. In some cases, to root the phone you need to flash SuperSu.zip file in the custom recovery, having installed the recovery may help you while in some cases to install the recovery easily, you need to have the phone rooted. You can also wipe cache and dalvik cache of your phone using a custom recovery.

 To install the TWRP recovery, follow these instructions carefully:

  1. This guide is only for Samsung Galaxy S4, for the variants which are listed below. Before installing this, make sure that your device is listed below. Check your device’s model number in Settings > More > About Device.
  2. Download the file carefully for your device.
  3. Make sure that your device’s battery is charged over at least 60%. Highly recommended in order to prevent any mishap during the recovery installation process.
  4. Make sure that you backup your important media content, ContactsCall Logs Messages. This is highly recommended just in case something goes wrong and you need to reset your phone.
  5. Use only OEM data cable to establish connection between your phone and PC. Turn off your Anti Virus and Firewall to prevent any connection issues. Also enable USB debugging mode on your phone if you face connection issues.
  6. Recovery works well for Galaxy S4 running on all Android versions, no need to worry about the Android version.

Disclaimer: The methods involved in flashing custom roms and rooting your phone is highly custom and may result in bricking your device, and has nothing to do with Google or the device manufacturer that is SAMSUNG in our case. Also rooting your device will void its warranty and you will be no longer eligible for any kind of free device services by the manufacturers/warranty providers. In case of any mishap we may not be held responsible. Follow these instructions to the letter to avoid any mishap or bricking. Make sure that whatever you do, you are doing it at your own responsibility.

Pre – Requisites:

      • Download and Install Samsung USB drivers Get Here.
      • Download and Extract Odin3 v3.09Get Here
      • Enough confidence to flash a recovery :-)!

Download the TWRP Recovery for Your Device:

How to Install TWRP Recovery on your Galaxy S4:

      1. Download the file for your variant carefully.
      2. Open Odin3.exe.
      3. Put your phone in download mode, to do so, turn it off completely. Now turn it on by pressing and holding Volume Down + Home Button + Power Key, you should see a warning now, press Volume Up to continue.
      4. In case the download mode method doesn’t work for your device, try one of the methods from this guide.
      5. Connect your phone to your PC.
      6. The ID:COM box in Odin should turn blue now, that means your phone is connected properly in download mode.
      7. Click the PDA tab in Odin and select the downloaded Recovery.tar file and let it load. Your Odin should look exactly as shown below, make sure that no extra options are selected.odin_explained
      8. Hit start now and sit back, it will take a few seconds to flash the recovery and your device will reboot.
      9. Press and hold Volume Up + Home Button + Power Key to access the TWRP Touch Recovery that you just installed.
      10. You can backup your current ROM and do a lot of other things using the options in TWRP Recovery.
      11. Make sure that you make an EFS backup and save it on your PC as well. Find the option in TWRP Recovery.
      12. That’s All.

twrp

How to Root:

      1. If you want to root your device now, you can download the SuperSu.zip file.
      2. Place the downloaded file on your phone’s sd card.
      3. Open TWRP Recovery and select Install > SuperSu.zip and flash it.
      4. Reboot your device and find SuperSu in app drawer.
      5. Congrats! You’re now rooted as well.

That’s All! We hope that you found this guide of much help. In case you got any queries or face any difficulties regarding this guide, don’t hesitate to stop by the comment box below and leave us your message. We will try our best to help you out. Thanks All.
Download and Install Flow Free on Windows PC or MAC

0
Download and Install Flow Free on Windows PC or MAC

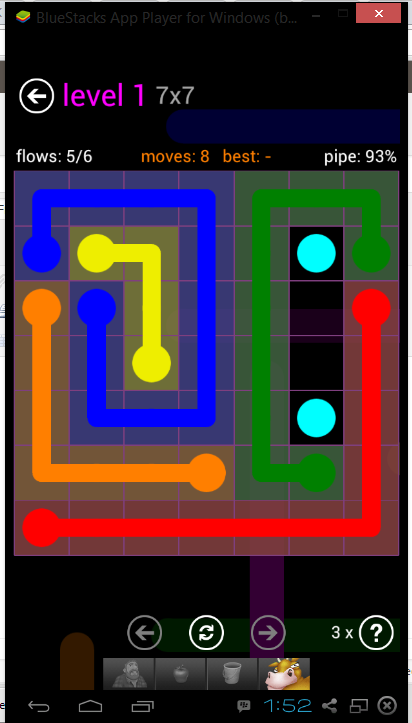
Flow Free is one of the widely played puzzle games available for Android. Once you play it, you will definitely fall in love with this game as it is addictive more than anything. You got join different colors by drawing pipelines in the puzzle boxes and you can’t let pass 2 pipes from the same line, else you will break the flow. There are over 1000 puzzles available, and you can easily spend hours of playing if you are getting bored because this game will never let you feel bored.

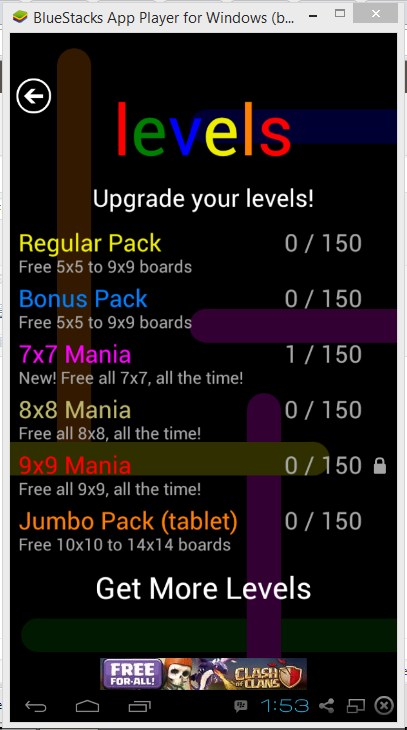
Let’s get back to the topic, while some of you might have played this game on your Android smartphones / tablets and want to install and play this game on your Windows PC or make or some of you may not be able to get your hands on an Android device and still want to play this game, you’re on the right spot at the moment. In the following post we will be having a look on a method to install and play the popular Android game Flow Free on your desktop PC [Windows or MAC].

How to Install & Play Flow Free on your Windows PC or MAC:

To play the game on your PC, you need an Android Emulator. We recommend using Bluestacks.

      1. To Install Bluestacks, follow our full guide here.
      2. Download Flow Free APK file.
      3. After installing Bluestacks, double click the Flow Free APK file that you downloaded.
      4. Bluestacks will begin installing the APK file.
      5. As soon as the installation is finished, you will get a notification.
      6. Open Bluestacks now and click on All Apps.
      7. Click on the Flow Free icon.
      8. Use the mouse click to access the in game options.
      9. Play the game and have fun. That’s All!
      10. Flow on PC4Flow on PCFlow on PC 5Flow on PC2

To play more Android games, check out our Android Apps for PC garage.

That’s All. In case you got any queries, suggestions or face any difficulties regarding this post, please feel free to stop by the comment box below. We will respond you as quick as we can.

TeamViewer APK: Control Your PC Remotely Through Your Android Device

0
TeamViewer APK: Control Your PC Remotely Through Your Android Device

Few years ago, methods and softwares were discovered to use the computers of other people remotely, people were able to transfer files between their computers, use other computers as theirs, teach other people different stuff by accessing their computer, or simply fix some errors on their PC’s. But, did you ever try to think that you would be able to use your Windows PC or MAC remotely using your Android smartphone or tablet? Well that’s possible, the same remote client that let you use different PC using your PC and establishing and internet connection is available for Android as well. You guessed it right, we are talking about TeamViewer.

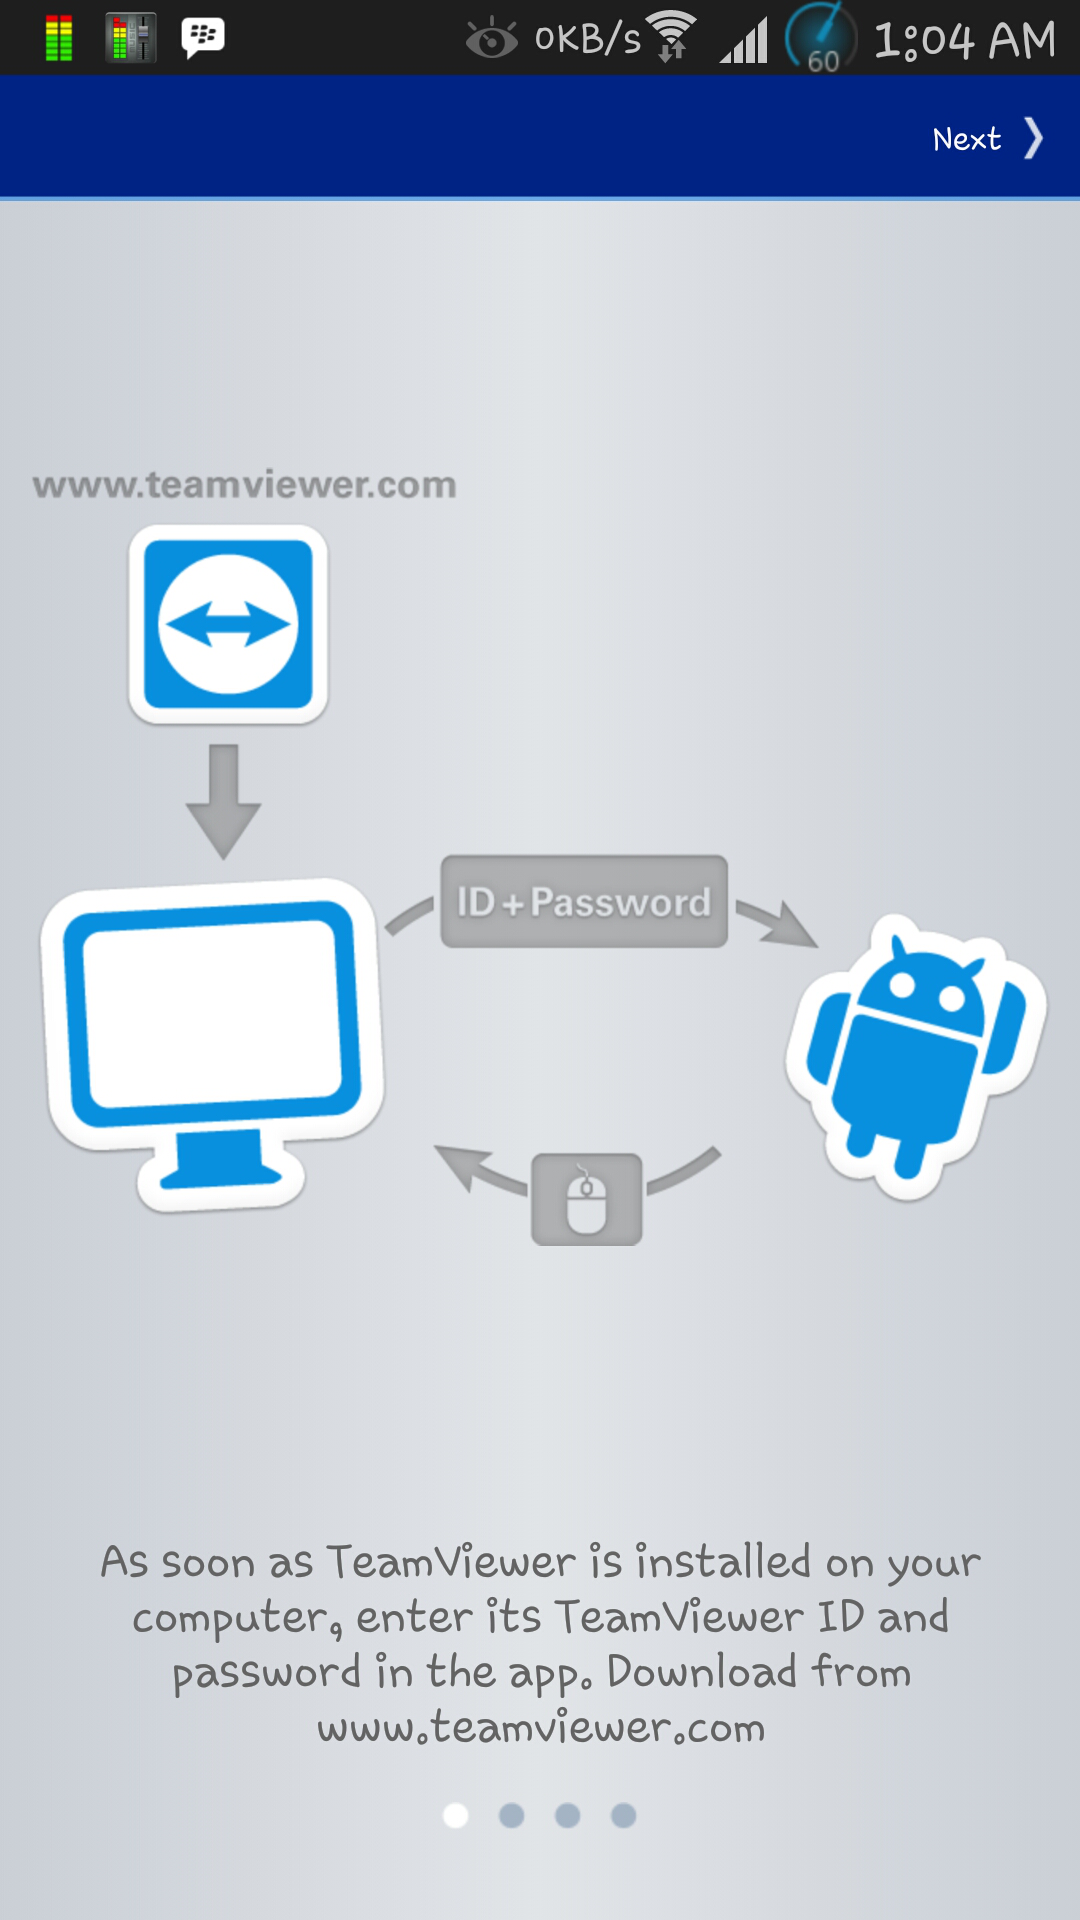
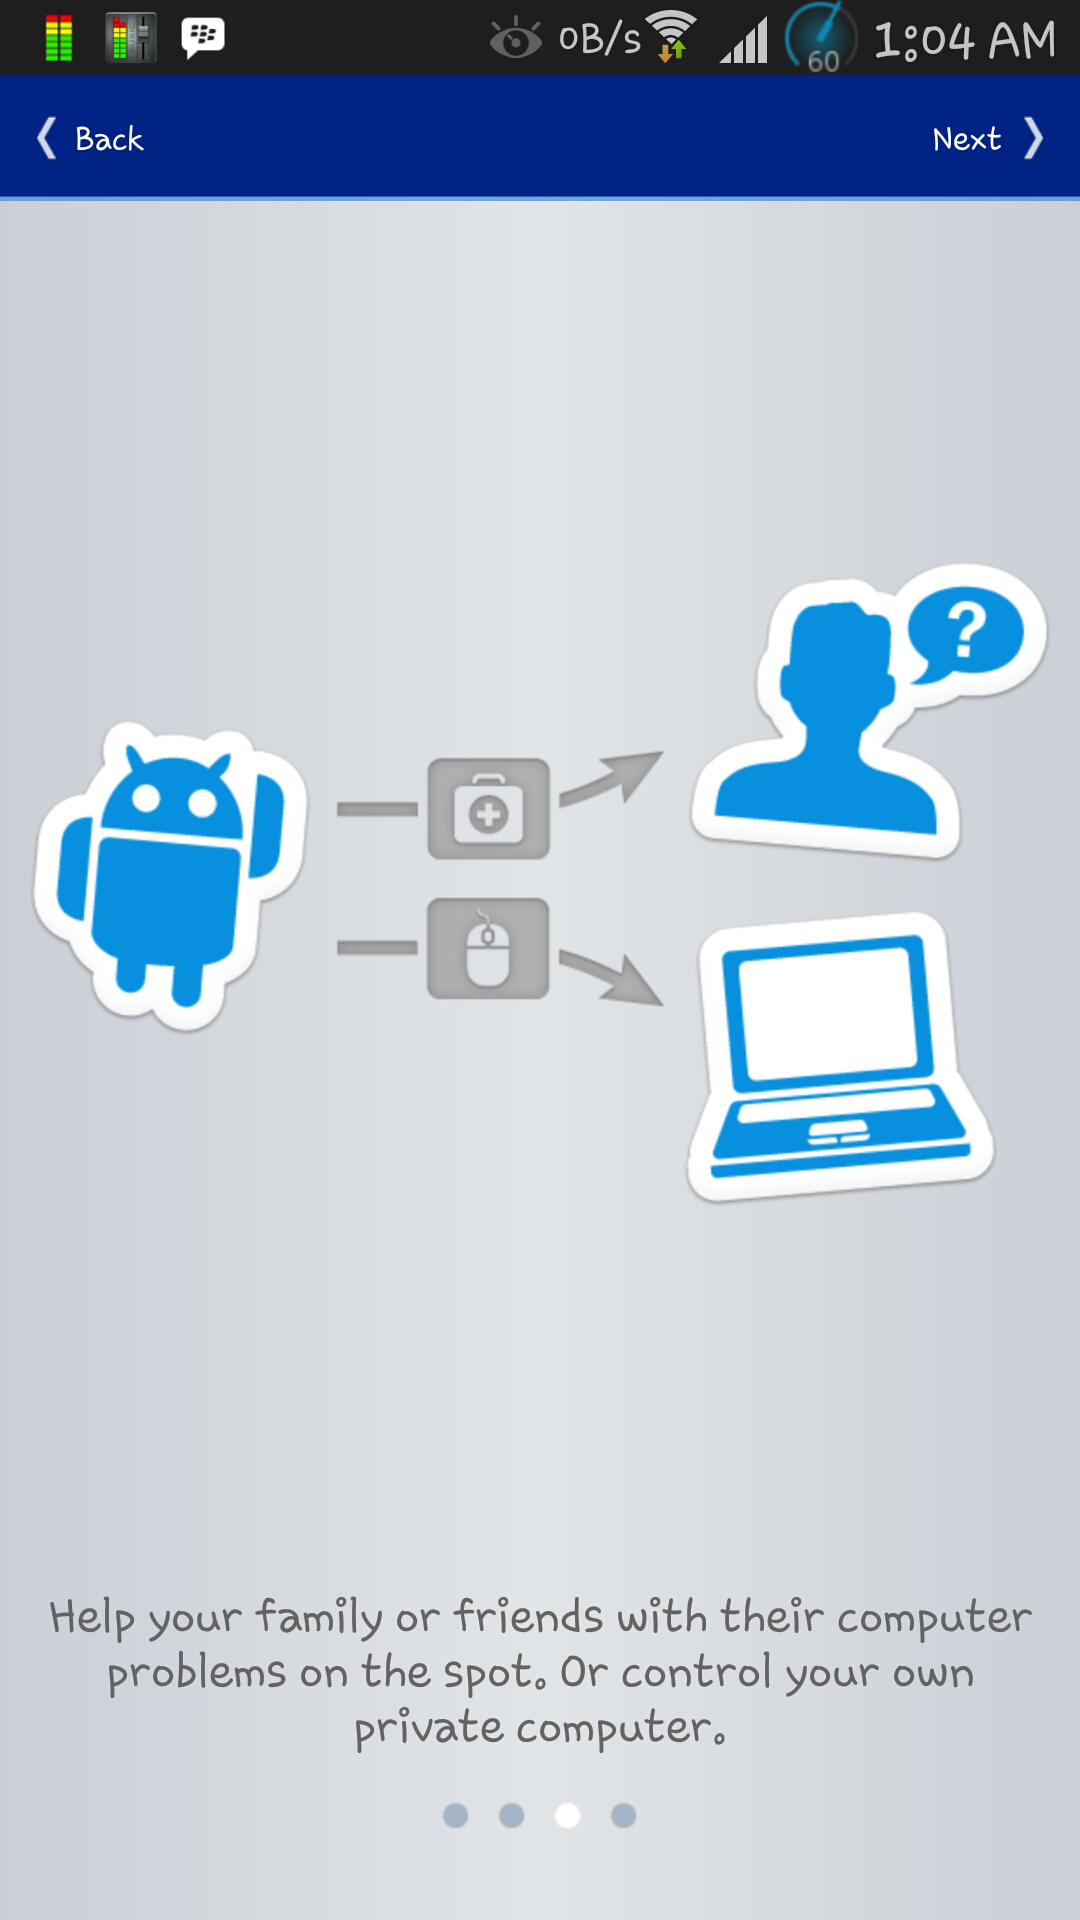
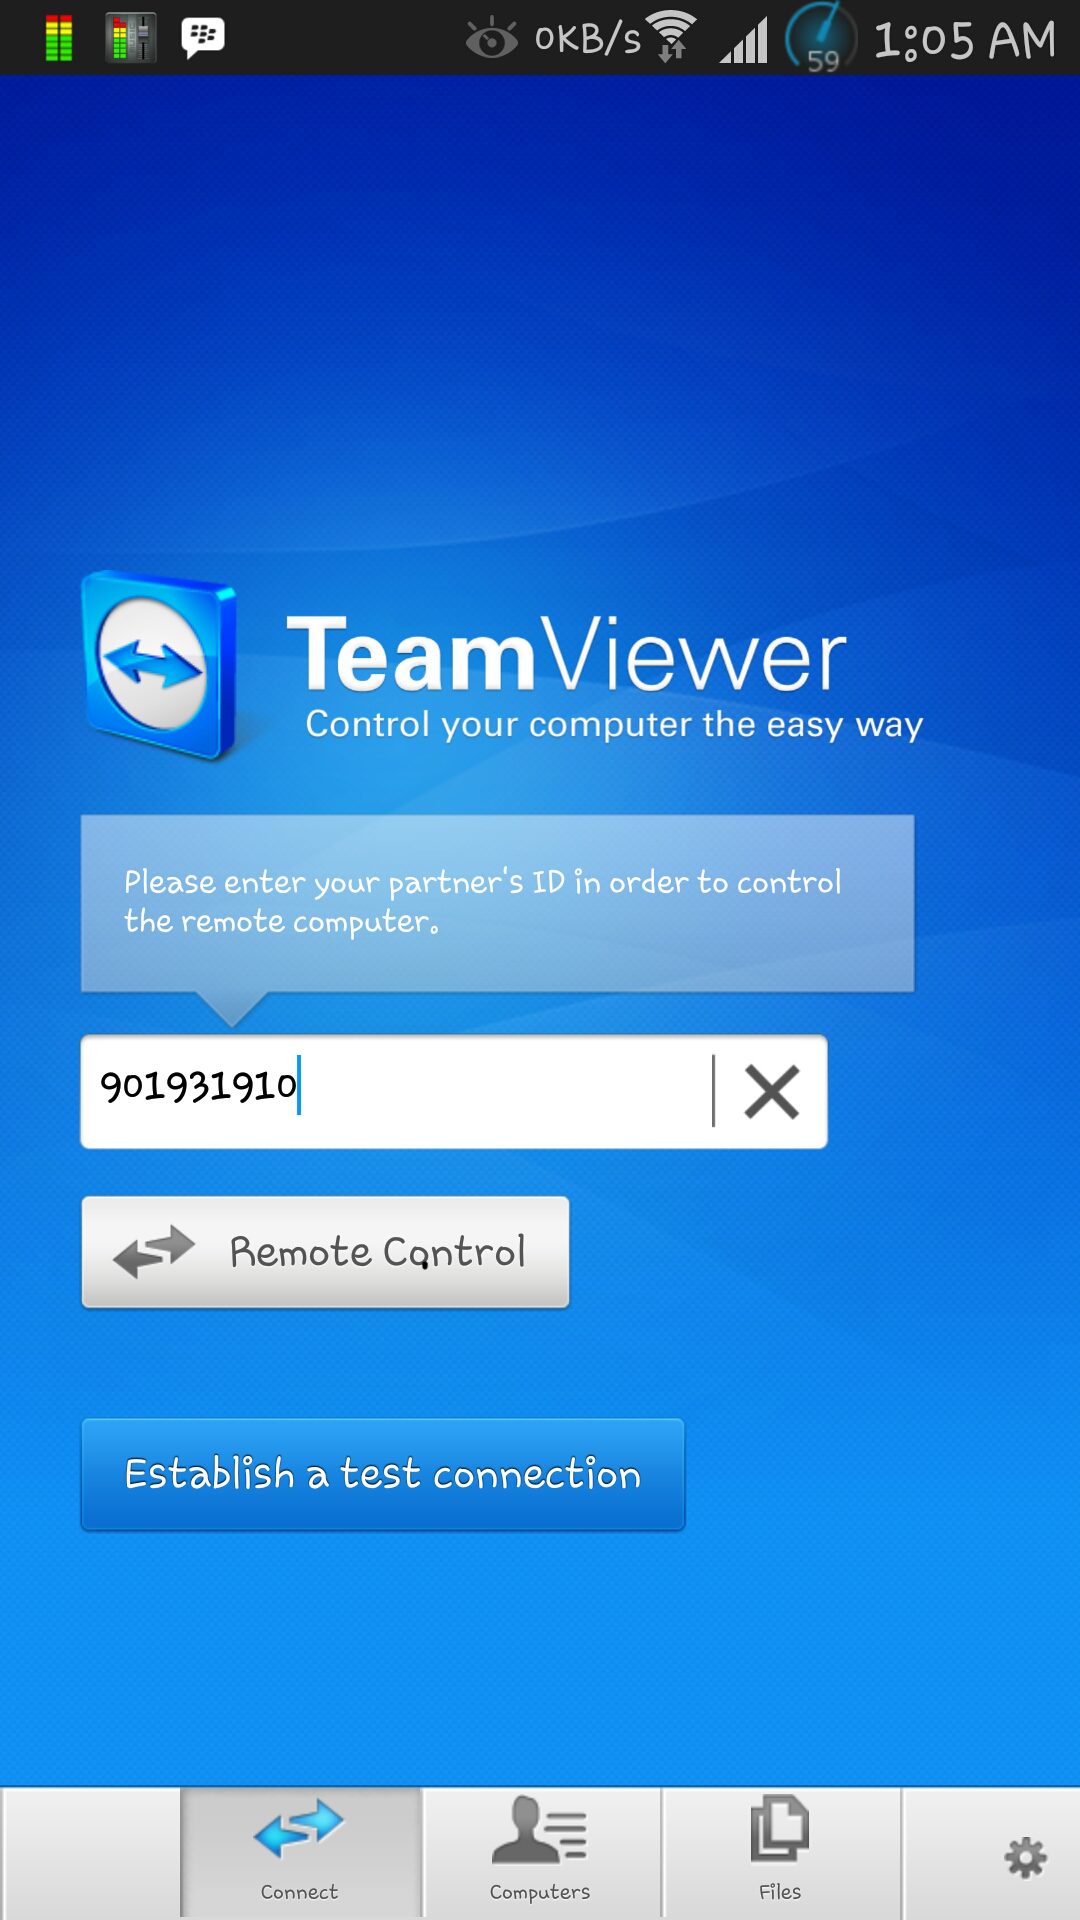
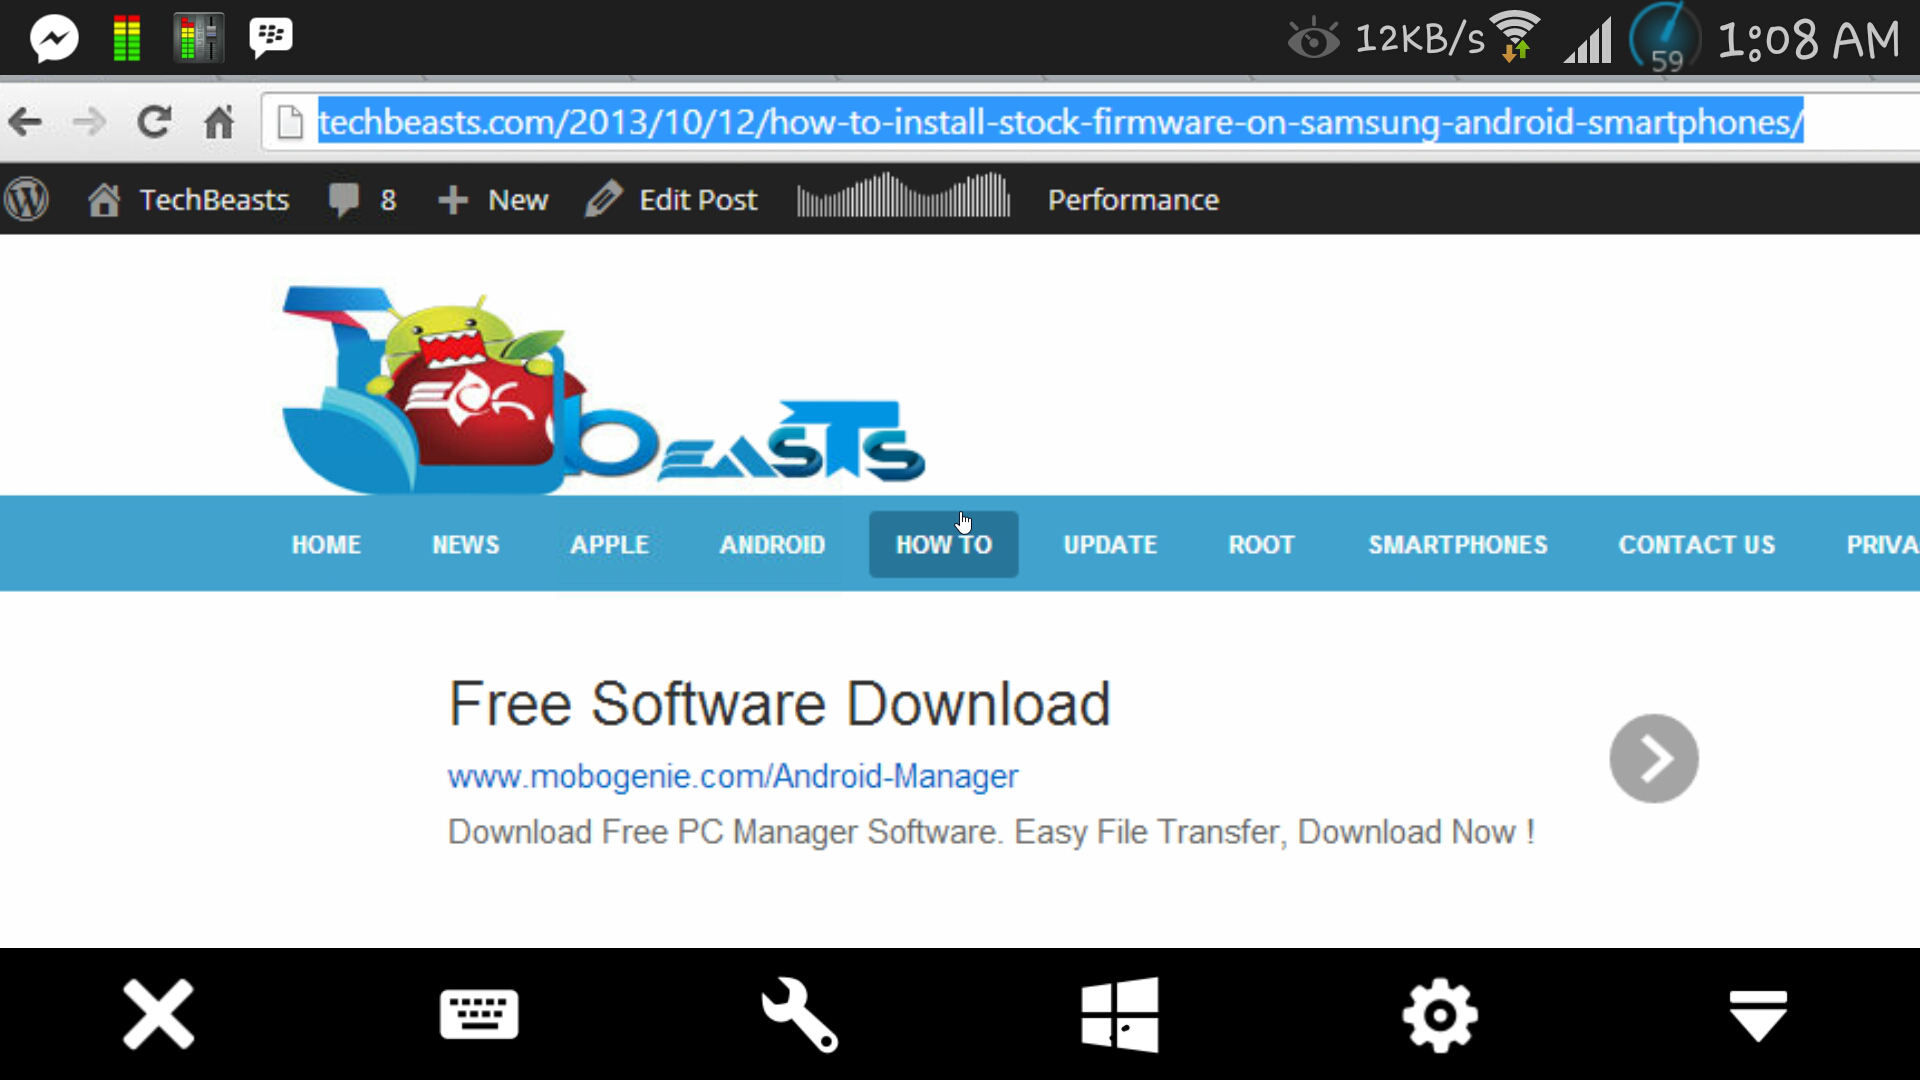
Some of you might not be able to access Google Play Store, and some of you might not be able to see Team Viewer in your country/region. To overcome the need, we’ve embedded in Team Viewer’s latest APK file here. Also, there are some screenshots which will drive you to the complete working and understanding of the application.

TeamViewer_Techbeasts (1)TeamViewer_Techbeasts (2)TeamViewer_Techbeasts (3)TeamViewer_Techbeasts (4)

TeamViewer_Techbeasts (7)TeamViewer_Techbeasts (8) TeamViewer_Techbeasts (9)TeamViewer_Techbeasts (10)

So, what are you waiting for? Go ahead and download TeamViewer apk, and install it on your phone and utilize it.

      1. Download TeamViewer APK.
      2. Download the APK file on your phone either, or place it on your phone after downloading it on your PC.
      3. In settings>security>allow unknown sources.
      4. Open the APK file on your phone and install it.
      5. Open the app now and quickly go through the tutorial.
      6. Enter your PC’s ID which you want to control, you can get it in the TeamViewer that you installed on that PC.
      7. Enter the Password, find in PC’s TeamViewer as well, and connect it.
      8. Use it!

That’s All!