For an Android freak like me, it’s pretty hard to wait for the Android 5.0 Lollipop to wait to hit the device while knowing that their are goodies like Material Design, Notifications on the Lockscreen, improved Notification bar, Bluetooth connectivity improvements, battery enhancements, performance improvements and a lot of bugs found in the previous Android version have been fixed too. The notable changes are in the UI only, so for now the only concern for Android freaks to test out this update might be to have a look on the great new UI. One of the biggest advantages of Android is, the components of the OS are easily available in the form of installable APKs, sometimes rolled out by Google itself and sometimes designed by the great developers, and sometimes the developers are able to make the flashable zips by porting the features from Android.
Last year we were able to cater some applications that helped the users to make their Android device look like a stock Android 4.4.4 KitKat device while they weren’t actually able to update their device to the firmware and something similar is there to check out once again. APKs from the Android 5.0 Lollipop have already surfaced, and some developers have come up with Applications that let you enjoy some features from the Lollipop Android. We’ve compiled up all the applications in the proceeding post with the installation method, the guide will help you to make your Android device look like stock Android 5.0 Lollipop. Let’s get ahead now.
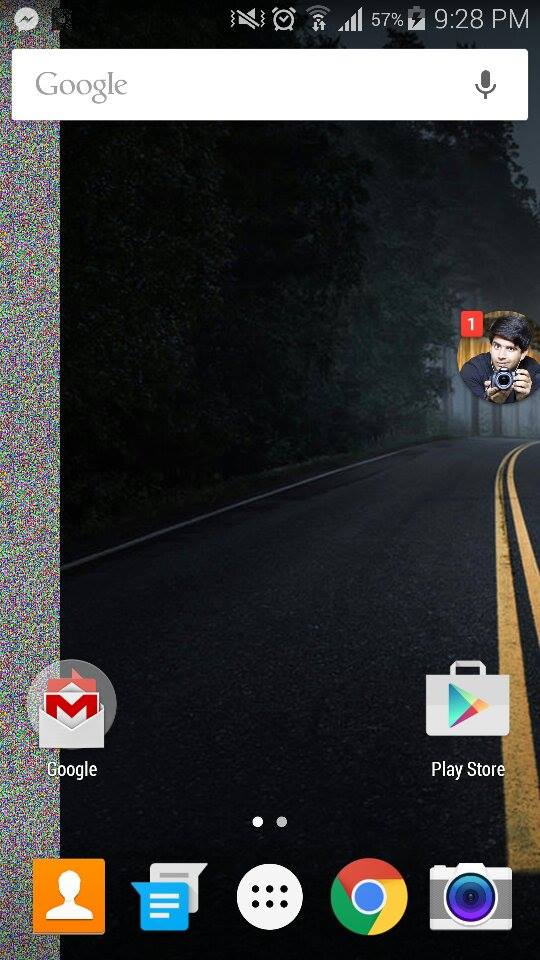
Download & Install Google Now Launcher from Android 5.0 Lollipop
The very first step is to change your device’s launcher, you might like using Android 5.0’s Google Now launcher instead of your TouchWiz, Sense or some other launcher. You will need a custom recovery running on your device in order to flash the zip file that contains the Google Now Launcher. You will need Android 4.4 running on your device first.
- Download Google Now Launcher zip and copy it to your phone.
- Boot into CWM / TWRP recovery on your phone.
- Select Install > Choose Zip from SD Card / Choose Zip > Locate the Google Now Launcher Zip file.
- Once done, access the Google Now Launcher application from the app drawer.
- Follow the onscreen instructions to select and launch the Google Now Launcher.
- You can turn it off by clearing Google Now Launcher defaults from settings > application manager.
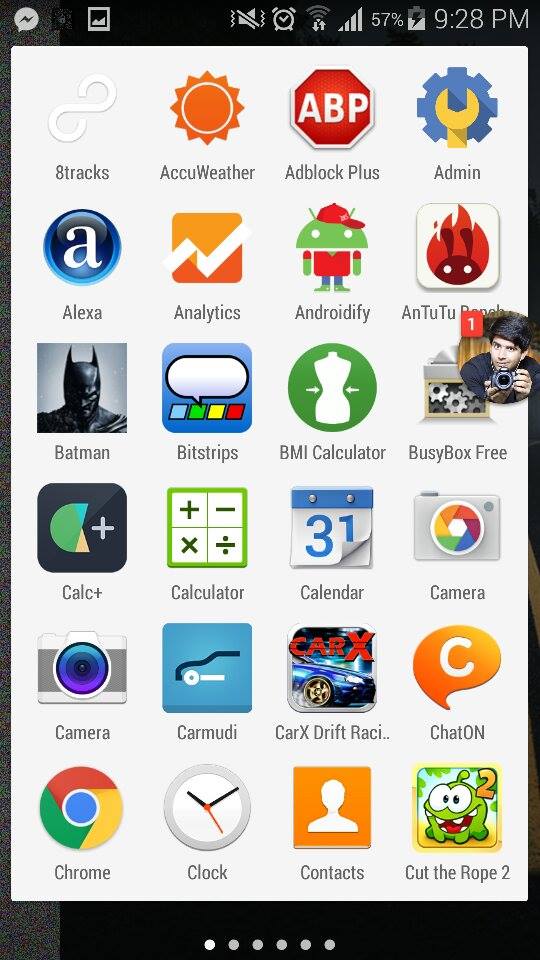


Notifications on the Android L have a new look. Just like iOS 8, the notifications now appear on the lock screen and look way good. The feature hasn’t been extracted from the Android L originally, but the guys over Luck Coin have successfully compiled up an application that allows the users to receive notifications on their Android devices as they would do in Android L.
Download and install Lollipop Lockscreen Android L on your Android device. Requires Android 4.0+
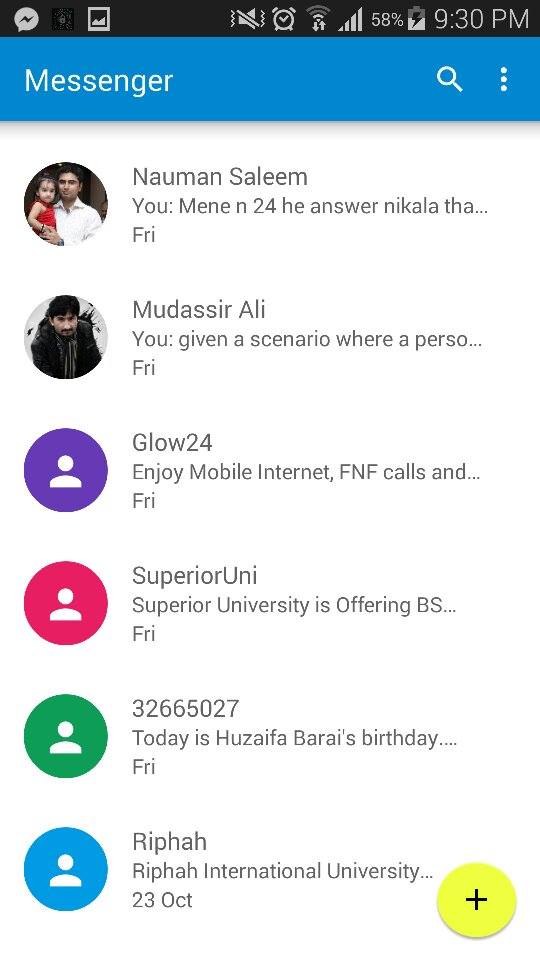
Download & Install Android 5.0 Lollipop Messenger [Android 4.0+]
- Download Android 5.0 Lollipop Messenger APK and copy it to your phone.
- On your phone, go to settings > security > allow unknown sources.
- Locate the APK file on your phone, tap it and install it.
- Once installed, access the messenger app using app drawer and start using it.
Download & Install Android 5.0 Lollipop Keyboard [All Android Versions]
- Download Android 5.0 Lollipop Keyboard APK and copy it to your phone.
- On your phone, go to settings > security > allow unknown sources.
- Locate the APK file on your phone, tap it and install it.
- Once installed, select the Google Keyboard in keyboard settings and start using it.
Grab Some Nice Android 5.0 Lollipop Wallpapers
Get some nice Android 5.0 Lollipop Wallpapers and set on your device’s screen to give it a touch of the Lollipop. The wallpapers add some extra charm to the flat Material Design UI.
Download & Install Latest Google Play Services [All Android Versions]
- On your Android device, go to settings > application manager > running / all > Google Play Services > see the version number ending with 034 or 038.
- Download Google Play Services 6.1.71 034 APK or Play Services 6.1.71 038 APK (according to your version number) and copy it to your phone.
- On your phone, go to settings > security > allow unknown sources.
- Locate the APK file on your phone, tap it and install it.
- Once installed, you will see several changes in the Google Apps running on your phone.
- That’s all.
Download & Install Android 5.0 Camera Application [Android 4.0+]
You will need root access and a root explorer to make the Camera application work properly, also this app works with devices having Android 4.4. Here’s how to get it.
- Download Android 5.0 Lollipop Camera APK and copy it to your phone.
- On your phone, go to settings > security > allow unknown sources.
- Locate the APK file on your phone, tap it and install it.
- Now download the Camera files.zip file and extract it to get the .so files.
- Copy these .so files to the folder /data/app-lib/com.google.android.GoogleCamera-2 using the root explorer, and set the permissions of these files to r-w-r-r by going into properties > permissions / privileges.
That’s all. Just in case you’re stuck with anything, drop you query in the comment box below. We will get back to you immediately. Thank you all.


