Home Blog Page 440

How To Root Sony Xperia Z1 Compact 14.4.A.0.108 Firmware [Locked Bootloader]

16
How To Root Sony Xperia Z1 Compact 14.4.A.0.108 Firmware [Locked Bootloader]

Xperia Z1 Compact has been updated to Android 4.4.4 KitKat with the build number 14.4.A.0.108. Recently we posted a complete guide to update your device manually to this latest firmware using Sony Flashtool. Just in case you’ve flashed the firmware or you updated your device with the OTA update and now you’re wondering how you can gain root access on it with the .108 firmware, you may stop worrying as you’ve spotted the right place for now.

We will be rooting Xperia Z1 Compact running Android 4.4.4 KitKat with the build number 14.4.A.0.108 keeping the bootloader untouched with Geohot’s towelroot, a new application that’s capable of rooting a number of Android devices without any hiccups and hard and fast rules here and there. As you move forward, you will find the comprehensive guide in a while, you just need to follow it carefully and get it done successfully.xperia-z1-compact
Here are the early preparations:

  1. This guide is only for Xperia Z1 Compact with .108 firmware.
  2. Make sure that your phone’s battery is charged at least over 60%. This is highly recommended in order to prevent any power issues during the rooting process.
  3. USB debugging mode must be enabled on your device. To do so, go to Settings > Developer Options > USB debugging mode > Enable. In case you can’t find the developer options, then go to Settings > About Device > Tap Build Number for 7 Times to enable the developer options.
  4. Use only on OEM data cable to establish connection between your PC and your Phone.
  5. Allow “Unknown Sources” on your phone. To do so,  go to Settings > Security > Unknown Sources > Tick.

Method 1:  How To Root Sony Xperia Z1 Compact 14.4.A.0.108 Firmware:


      1. Download the EasyRoot Tool V11.zip file
      2. Extract the file to get the install.bat file.
      3. Connect your Xperia Z1 Compact D5503 to your PC now.
      4. Run the install.bat file.
      5. Follow the on-screen instructions now and get it done.
      6. That’s All! You’re rooted now.

Method 2: How To Root Sony Xperia Z1 Compact 14.4.A.0.108 Firmware with Locked Bootloader:

      1. Download Towelroot apk.
      2. Connect your Xperia to your PC now.
      3. Copy the downloaded APK file to your device.
      4. Disconnect your device and locate the APK file on it.
      5. Tap the APK file to begin installation.
      6. Select “Package Installer” if prompted.
      7. Allow Unknown Sources from Settings > Security if required.
      8. Proceed with the installation and complete it.
      9. Now open the Towelroot application from the app drawer.
      10. Tap the button “make it ra1n” in the towelroot app.
      11. Now download SuperSu.zip file.
      12. Unzip the file, and grap Superuser.apk from the common folder in the unzipped folder.
      13. Now copy this apk to your Xperia, and install it using steps 2 – 8.
      14. Once installed, update Superuser or SuperSu using Google Play Store.
      15. Phewwww! That’s all, you can now enjoy your rooted Xperia.

TowelRoot-Verizon-At&t-SGS5

How to install busybox now?

      1. Go to Google Play Store on your phone.
      2. Search for “Busybox Installter”.
      3. Once you find it, install it.
      4. Run the Busybox installer and proceed with the installation.
      5. That’s all!

How to check if the device is properly rooted or not?

      1. To do so, go to Google Play Store on your Xperia.
      2. Find “Root Checker and install it.
      3. Open Root Checker.
      4. Tap “Verify Root”.
      5. It will ask you for SuperSu rights, tap “Grant”.
      6. It should show you Root Access Verified Now!
      7. That’s All!

1560688_10202529514651766_2061540064_n


What to do once you’re rooted?

Rooting your phone gives you complete access over all the data which is apparently locked by the manufacturers. This includes removal of the factory restrictions and making changes to the internal system and the operating system. Gaining the root access gives you the privileges to install various applications to enhance the performance of your device, allows you to remove the built-in applications/programs, helps you to upgrade the battery life of your device & install the apps which require the root access for the proper functionality and modify your device in so many other ways e.g using mods and flashing custom recoveries and custom ROMs. Here’s our collection of 10 Best Root Apps.

That’s all. Please consider a donation to the developer for his hardwork on this application. Just in case you got any queries or you face any difficulties regarding this post, feel free to reach us through the comment box below. We will try our best to help you out.

Alleged Sony Xperia Z3 Images Surfaced

0
Alleged Sony Xperia Z3 Images Surfaced

The Smartphone world isn’t supposed to take rest for a while, something new might come up any moment, anywhere, and that’s exactly what happened today as Sony’s upcoming flagship device Xperia Z3 and its sibling Xperia Z3 Compact allegedly surfaced over the web in black and white respectively. The leaked picture comes from a trustworthy source, Digi-Wo, having a good track record with Sony’s leaks.

Although the pictures are not much clear, these are good enough to hint at Sony’s upcoming design, which seems to be changed from its current OmniBalance design. Both the smartphones are posing next to each other with their front panel. Have a look and let us know what do you think about these, could this really be Sony’s upcoming Xperia Z3 and its Compact variant?

Xperia-Z3-Compact1 Xperia-Z31

Source

Give Your Xperia A Look of Android L Using This Theme

0
Give Your Xperia A Look of Android L Using This Theme

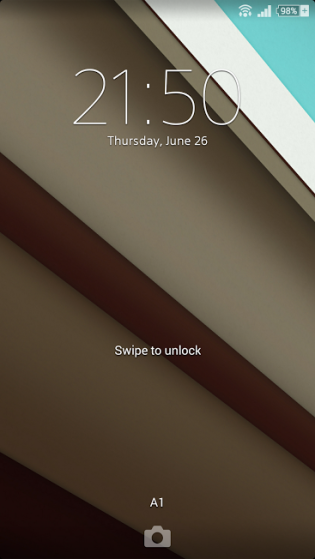
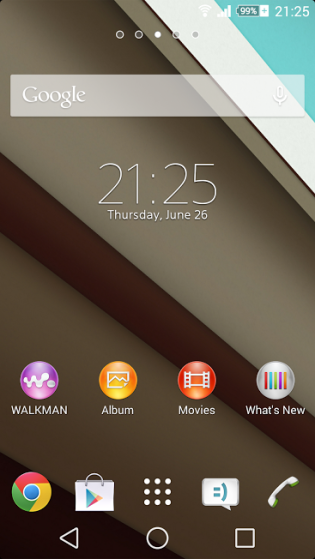
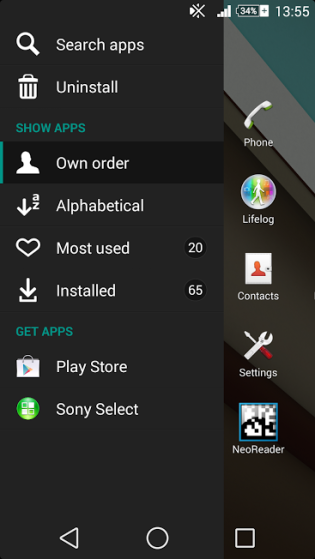
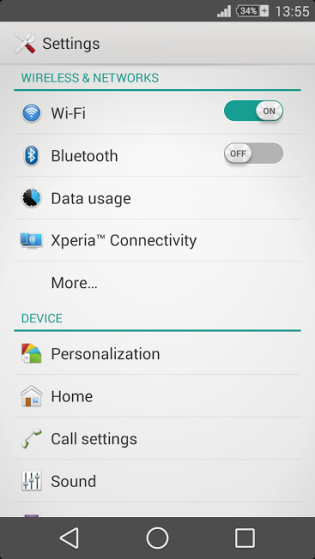
Google shown off the preview of next version of Android, so called Android at the I/O developers conference few days back. The upcoming version seems quite nice and is mouth watering when it comes to graphics and interaction with the elements within the device.  The actual release date, name of the OS and all the details are not known so far, but to calm down the users, Google has rolled out some preview images that make it easy for the developers to port in some cool features, graphics, applications from Android L to other Android devices.

Android-L-Xperia-Theme_1-315x559 Android-L-Xperia-Theme_2-315x559 Android-L-Xperia-Theme_3-315x559 Android-L-Xperia-Theme_4-315x559

To do this very job for the Xperia owners, who can’t wait for the upcoming Android L to roll out, XDA developer JanM RS has done the job as he has come up with some very nice theme just gives your Xperia device’s UI a look of Android L. Cool enough to have a look until the actual OS comes out. The theme is good enough to work on Non-rooted Xperia devices. So, what are you waiting for? go ahead, follow the installation instructions and take advantage of the themes option that Sony has added to your Xperia device.

How to Give Your Xperia A Look of Android L Using This Theme:

  1. Download Android L Theme APK
  2. Copy the downloaded APK file to your phone, or download it directly on your phone.
  3. Now locate the file where you placed or downloaded on your Xperia device.
  4. Tap the APK to begin installation.
  5. Select “Package Installer” if prompted.
  6. Allow “Unknown Sources” from Settings > Security if required.
  7. Proceed and finish the installation.
  8. Go to theme settings on your Xperia device and apply the Android L theme.
  9. That’s all! Enjoy!

Root And Install CWM Recovery On AT&T Samsung Galaxy S4 SGH-I337 Running Android 4.4.2 Kit-Kat

Root And Install CWM Recovery On AT&T Samsung Galaxy S4 SGH-I337 Running Android 4.4.2 Kit-Kat

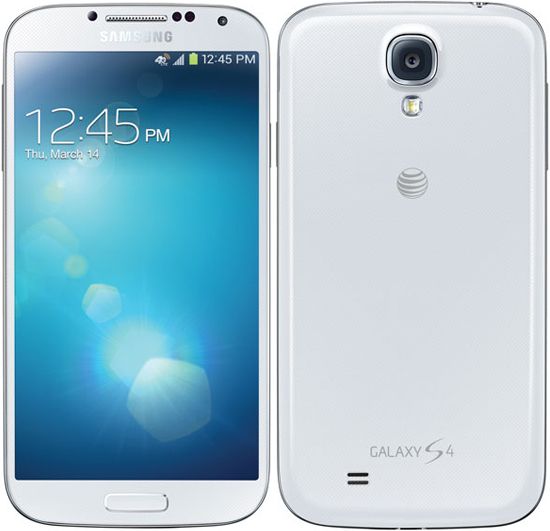
AT&T Galaxy S4 has recently received the update of Android 4.4.2 Kit-Kat and if you have updated your device to the latest version, then you must have noticed that your device is completely stock now. The root access is gone along with the Custom Recovery that you would have installed on it. Well, you can once again use CF-Auto root method to root your device again, but CF-Auto root doesn’t support Custom Recovery anymore, all it will do is to root your device and you will have to once again install Recovery using Odin method or Loki Method. However, our way is much simple, we will show you how to install the Custom recovery and root your device without doing much effort at all, and the best part, this method works always.

177474-attgalaxys4

If you are not sure why you should root your device, here is something to ease you upRooting allows you to get full control over your device, Stock apps and Mods are good, but installing Custom Mods gives you better support and great battery life, you might need to delete some Stock apps from the device, a non-rooted device can’t do that but a rooted one has the power to remove stock apps too.

Here are a little something to consider before rooting:

  1. Your Device must be running Android 4.4.2 Kit-Kat, How Follow: Link
  2. Back-Up all your important ContactsCall Logs & Messages. It is highly recommended in case of any mishap or data loss to back up all your important data.
  3. Back-Up your Mobiles EFS Data. How To Restore and Back-Up EFS Data On Samsung Galaxy Devices.
  4. Check your device model, Go To Setting > About and Make sure that it is SGH-I337.
  5. Do not try it on any other device.
  6. Bootloader Must Be Unlocked.
  7. Enable USB Debugging Mode
  8. Download USB Driver For Samsung Devices: Link

Downloads Required:

CWM Recovery + Super SU

How To Install Recovery.

odin_explained6

  1. Download the Recovery for Galaxy S4 to your computer and extract the zip file.
  2. Download Odin.
  3. Turn off your Phone and Turn it On While Pressing, Power + Volume Down + Home button until you see some text on-screen, Press Volume Up to continue.
  4. Make Sure that the USB drivers are installed.
  5. Open Odin in Computer and connect your device to PC, while it is in the Download mode.
  6. If your Phone is successfully connected to PC, the Odin port will turn Yellow with COM port number.
  7. Now Click on PDA and select the philz_touch_6.08.9-jflteatt.tar.md5.
  8. In Odin, Check Auto reboot Option.
  9. Now Click the Start button and wait for the process to complete.
  10. After the installation is complete you device will restart and once you see the Home Screen, unplug the cable.

How To Flash Super SU:

  1. Download Super SU to the root of your device.
  2. Turn Off your Device
  3. Now go to Recovery mode, Press and hold Power + Volume Up + Home Buttons till you see some text on-screen
  4. Navigate to ‘Install zip from SDcard’ another windows will open in front of you.
  5. Select ‘choose zip from sd card’ from the Options.
  6. Select the Super SU.zip file and confirm the installation on next screen.
  7. Once the Installation is Over, Select +++++Go Back+++++.
  8. Select “Reboot System Now“,
  9. After the Reboot, check Super SU app in drawer or use any root checker app to verify root access.

Download Grid Autosport HD & Wide Desktop Wallpapers

Download Grid Autosport HD & Wide Desktop Wallpapers

If you are fan of racing, here you have got everything you need, “Grid AutoSport” the real Codemasters like game. Grid AutoSport is a real deal for racer’s as a promised real motor racing, and this is what Grid Autosport do. You can check Grid AutoSport Review and see for yourself how its a real deal. Well, racing game are loved by all of us and this game is so awesome, that I thought you might as well like Grid Autosport HD & Wide Desktop Wallpapers, and you all know I am best at it. 

2552202014-04-2900003jpg-dcf9d4

255220_2014-05-09_00421

504654

2552202014-04-2900003jpg-dcf9d4

Autosport_Multiplayer_04

Cool-GRID-Autosport-Game-3D-Wallpaper-HD

e701148321faef0f7d399cf173e9c7b23bfc25f6_fit1090x0

Ford-GRID-Autosport-Game-PC-Wallpaper-HD

grid_autosport_10

grid_autosport_game-wide

gridautosport

sepang_04

Download Android L apps, keyboard, wallpapers, bootanimation [ apk ]

0
Download Android L apps, keyboard, wallpapers, bootanimation [ apk ]

Recently, Google has released their new Android L version, and its developer preview is out. But to see what’s new in it,  you must have Nexus 5 and Nexus 7 2013, other than these devices you simply can’t install it. Official release for all devices has not been decided yet, but if you can’t wait to see the new features of Android L, then you can install main apps like Keyboard, wallpapers, bootanimation and more. 

Screen-Shot-2013-09-03-at-3.20.21-PM


Android L Apps, APKs and flashables:

Following are download links of Android L Apps, APKs and flashable files. In apk files you’ll get Chrome, Calculator, Calendar, Drive and more.

Non-flashables

Download Android L Wallpapers:

wallpaper_15

wallpaper_16

wallpaper_17

wallpaper_19

wallpaper_20

wallpaper_22


Credit: Ivan123 Source: phandroid

Download Google Play Services v5.0.77 APK

0
Download Google Play Services v5.0.77 APK

Few days back in Google, Google I/O keynote we got a chance to see the new Android version know as Android “L”. At the moment we really don’t have any official name for Android L. Good thing is that, this new version comes with everything new e.g keyboard, wallpapers, bootanimation and more. The best thing now, is that the Google would be delivering security updates through Google Play Services not with the old method, where we got new security updates through firmware updates. So, we thought to install Google Play Services v5.0.77 on our current devices, to start getting the security updates through new way. 

play-services-4-1

Along with the L Developer Preview, we also announced a new version of Google Play services that brings new capabilities and the latest optimizations to devices across the Android ecosystem. Google Play services ensures that you can build on the latest features from Google for your users, with the confidence that those services will work properly everywhere. The latest version has begun rolling out and here are some of the highlights:

  • Services for Android wearables — Your apps can more easily communicate and sync with code running on Android wearables through an automatically synchronized, persistent data store and a reliable messaging interface.
  • Play Games services — Build a great gaming experience with Quests, which allow event-based challenges for players to complete for rewards, Saved Games (a snapshot API allow synchronization of game data along with a cover-image and description), and Game Profile (providing experience points for players).
  • App Indexing API — Surface deep content in your native mobile applications on Google search and drive additional user engagement.
  • Google Cast — Use media tracks to enable closed-caption support for Chromecast.
  • Drive — Sort query results, create offline folders, and select any mime type in the file picker by default.
  • Wallet — Build a “Save to Wallet” button for offers directly into your app; use geo-fenced in-store notifications to prompt the user to show and scan digital cards. Split tender allows payment to be split between Wallet Balance and a credit/debit card in Google Wallet.
  • Analytics — Get insights into the full user journey and understand how different user acquisition campaigns are performing with Enhanced Ecommerce, letting you measure product impressions, product clicks, and more.
  • Mobile Ads — Use improved in-app purchase ads and integration for the Play store in-app purchase API client.
  • Dynamic Security Provider — Offers an alternative to the platform’s secure networking APIs that can be updated more frequently, for faster delivery of security patches.

Download and Install Google Play Services v5.0.77 APK:

If you know how to install apk on your Android device then it will be easy for you to install Google Play Services V5.0.77. Follow all the steps in the following guide.

Step 1: Download Google Play Services v5.0.77 APK.

Step 2: Open the apk file from your device downloads or wherever you’ve placed it.

Step 3: Once you tap on the Google Play Services apk you’ll get a pop-up asking install through Package Installer.

Step 4: Select package installer and complete the steps as shown on your screen.

Step 5: All done! You can verify that you’ve installed the latest version by Settings > Apps > Google Play Services.


How To Use Windows PC To Mirror Windows Phone 8.1 Screen

How To Use Windows PC To Mirror Windows Phone 8.1 Screen

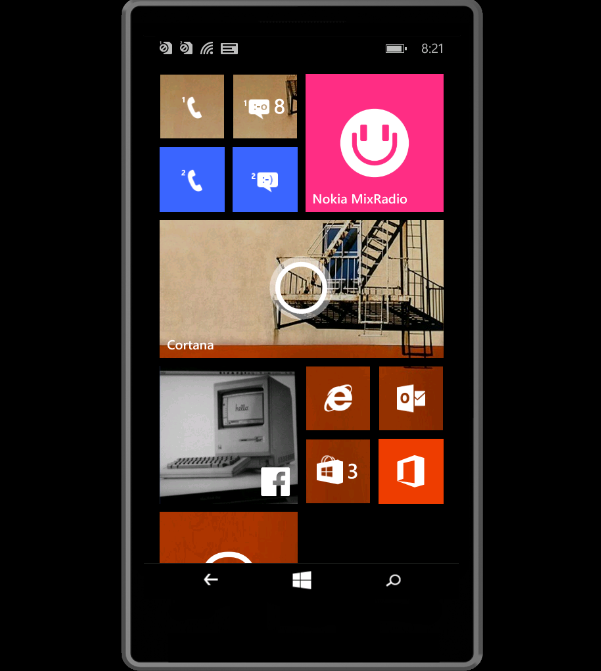
If you own a Windows Phone, then you must have been very angry and depressed, by not having some of the awesome and cool features that others have, even with so much support from Microsoft yet there aren’t much apps available. However, Screen Mirroring is something we have seen in Past, and if we come to the Xperia devices this feature is very common, for other Android devices 3rd party apps are there to give it, but on Windows Phone 8.1 only Microsoft have provided its support, and that support is awesome and works perfect. If you are one of those, who keeps giving project and create tiles for such things, Microsoft Project My Screen is the best answer, it allows you to Project what is on the screen on your Phone to the PC or any Projector connected to the PC.

Screenshot-202

Set Up for Projection:

  1. Wi-Fi is yet not supported, so you have to use a USB cable to connect your device with PC.
  2. Then Download and Install PC Companion app, you might need to press Next button 5-6 times to proceed.
  3. Launch the app and connect your device with PC.
  4. A pop-up message will appear asking your permission to project what is on the screen.
  5. Tap OK to see everything on the PC screen.
  6. The best way to use this app is from the Phone itself, however you can use Mouse Pointer to drag the slides if you want to.
  7. The app will start everything in Full screen mode, you can press Alt + Enter or to get back
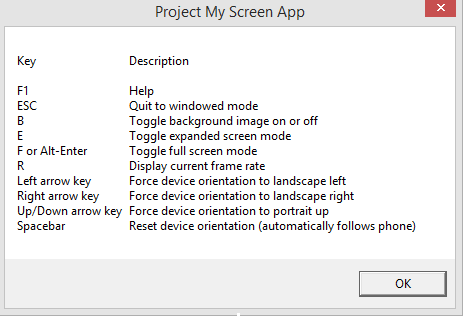
  8. Or you can use the Keys mentioned in the Picture below to use this app with ease.

Screenshot-197

Back-up and Restore Apps with Data On iOS Without iTunes

0
Back-up and Restore Apps with Data On iOS Without iTunes

Now, when it comes to saving data of any of your iOS device, users mostly rely on iTunes and once you connect your device with it. And iTunes will first make sure to waste a lot of time to update your device and almost everything in it, then it will apply some of its policies to force you to delete the recent library and create a new one, if you want to save any of your songs and stuff, then it comes to saving all the apps. Also iff you have installed any app using any 3rd party resources, iTunes is there to make sure that it never gets saved using iTunes and besides, let’s agree on one thing most of us hates iTunes.

On Android you have a lot of apps to save your data along with apps and their data, so you won’t have to worry about anything. However, on iOS things are a little complicated, you don’t have much variety of apps to save the apps and data, but still those apps which are available are amazing and we will share the bast one with you.

diskaid-home-pc-jun14-2014

DiskAid:

DiskAid is more like a PC suite for iOS devices, works on Both Mac and Windows, it will back-up and sync almost everything on your iPhone even those apps you have downloaded via Piracy. It will let you add new songs, perform a message and Contacts back-up, explore the entire system, manage your photos and videos and much more. It also allows you to back-up your apps along with their Data, if you want to delete the app and re-install it afterwards, all the data of the game will be there for you.

However, there is a limit on the free version, you can’t transfer more than 25 songs and back-up more than 5 contacts, but you can break the limit by using a sum of $30.

How To Back-up:

  1. Connect your device with PC and Launch the app, you can use USB cable or Wi-Fi.
  2. Once connected, choose apps from the Sidebar.
  3. Select any of the apps, click on the Manage apps and then Extract app.
  4. Select where you want to save the App.
  5. Select whether you want to save data as well or just the app.

How To Restore:

  1. Restoring is even easier than Backing-up, and you can do them in bunch if you want.
  2. Form the Same App Screen, Select Copy to Device.
  3. Select the backed-up apps you have and click OK.
  4. They will be installed one-by-one.

Download and Install Android L Keyboard on your Android device

Download and Install Android L Keyboard on your Android device

Get the Android L Keyboard on your smartphone Now. Google has pulled the curtains off from its next version of Android, the name and complete features remain uncovered though, but they’ve actually shown what’s next. So far known as Android L, next-generation Android has an awesome UI, which is called Material Design by Google as it allows the users to interact with the elements on their Android devices just like they interact with the real objects. Besides that, the Android L is going to have a new notifications panel, new enhanced security, ART will be made default and there’s a hefty list of changes that add to its charm. It looks like with Android L, Google is set to give iOS 8 a tough challenge.

What to expect from the latest update?

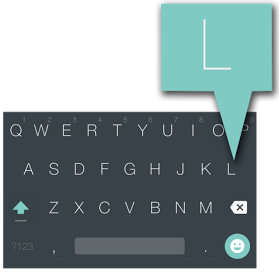
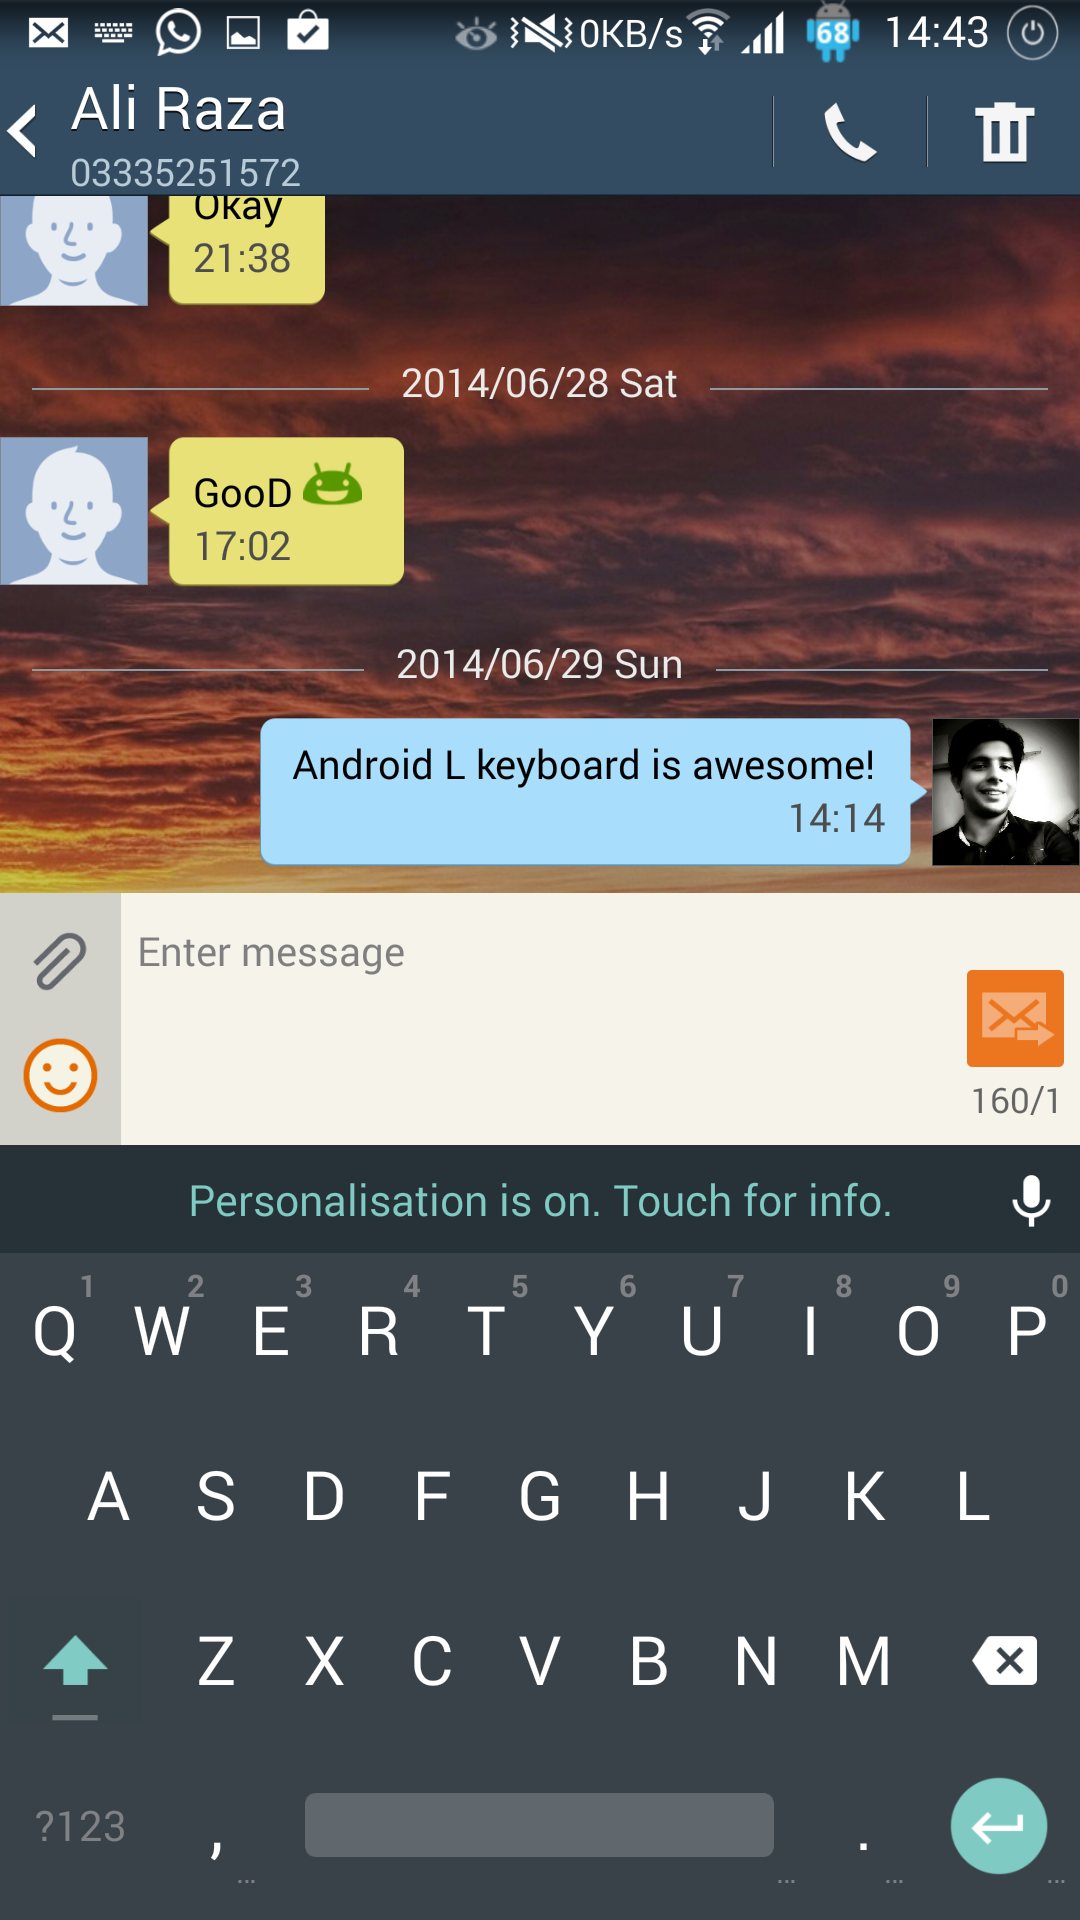
While Google has released the images for the Android L Preview, the developers have started porting out things from Android L and installing em’ on other Android devices. This includes Android L alike UI, Android L applications and other features form Android L. One of the very cool things on Android L is its keyboard, which is way soft, easy to use, and quite simple. Google has finally changed its old fashioned keyboard and the new Android L keyboard takes the lead over other keyboard applications.  To calm down the Android enthusiasts out there, Shen Ye has ported out the Keyboard and pushed in the Google Play Store for free, which means everyone can install it and enjoy this cool keyboard from Android L on their Android devices.Android L Keyboard

As you scroll down, you will find the link and guide to install and setup Android L on your Android device, just go ahead and get it done.

How to Install Android L Keyboard on your Android device:

  1. Download Android L Keyboard on your Android device: Google Play | APK
  2. Complete the installation.
  3. Access the installed app from the App drawer, should be named as “Android L Keyboard”.
  4. Follow the on-screen instructions to enable the Android Keyboard.
  5. Start using it and check out its awesomeness!

Top 5 Mail Apps for Android Phones 2014

0
Top 5 Mail Apps for Android Phones 2014

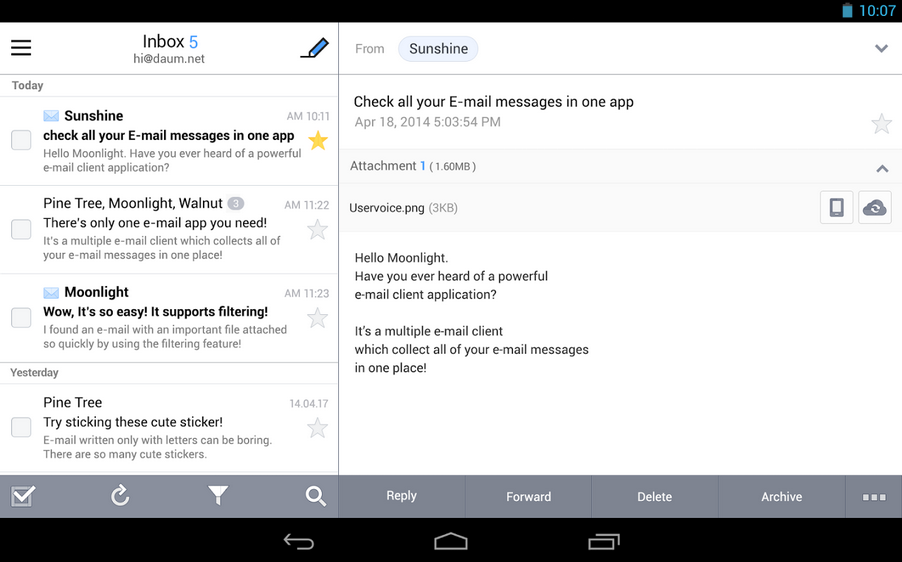
Most of the Android users are not much happy with their standard mail app like Gmail, which is already present on their Android phones. Well, it doesn’t fulfill our required features that we need to use and we even face various problems while dealing with our daily emails. Here we are with the best android mail apps which have additional features and brilliant user interface.

CloudMagic

CloudMagic

CloudMagic is one of the best alternatives to the regular mailbox. Unlike the regular mail app, this app provides a fast powerful email search with swipe actions to make it easier and efficient. The app is compatible with all types of mail engines like yahoo, yahoo exchange, Outlook, Office 365, etc. and also connects you with business tools like Evernote, OneNote, Pocket and Trello. You can set up reminders for emails, work offline, get push notifications and set a passcode lock for protection. The app supports five different languages as well.

SolMail

SolMail 

SolMail comes with a handy widget which shows unread mails directly on your homescreen. Brilliant user interface which allows you to use flick and swipe to go through the mailbox, and archive or delete the mails easily. You can compose emails using fun stickers to express your moods. The app gathers all of your emails from work, school, etc at one place and you can view the conversations in the form of threads including sent and received emails in one thread. The app is considered to be 30 of the most beautifully designed apps.

K-9 Mail

K-9 Mail

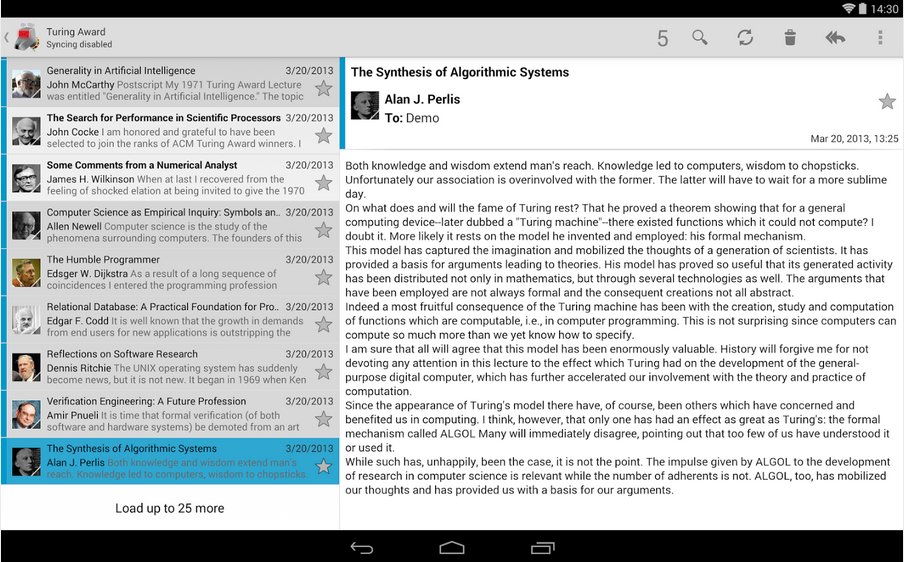
K-9 Mail has been designed with a simple user interface and has mainly focused on productivity giving the best possible features, a good mail app should have. The app lets you organize your emails into multiple folders and flag the important emails. The app also lets you use features like push email, adding signatures, Bcc yourself, PGP, etc. K-9 mail supports IMAP, POP3 and Exchange 2003/2007.

AquaMail 

AquaMail

AquaMail includes all the features one could wish to have in their mail app and it does it all without any of the glitches. The app can link with all popular mail services like yahoo, Gmail, Hotmail, Fastmail and Applemail through standard email protocols like IMAP, POP3 and SMTP as well as Microsoft’s EWS. Other features that can be used in Aquamail include message auto-fit, rich text formatting, widgets for message counts/ message list, etc. All these features make AquaMail a highly recommended alternative to the regular mail app.

Mailbox

Mailbox

Mailbox was previously available for iPhone and iPad users only. It is now available for Android users as well including all the features that made it so popular among iOS users. You can browse your inbox using simple gestures; swipe to archive or delete an email, browse email folders and organize in the form of lists. Another useful feature of the app is that it scans the data for viruses before starting the download process eliminating possible risks. Moreover, you can use the Snooze feature to see the not so important emails later using a single tap. The app is currently available for Gmail and iCloud accounts only, and the manufacturers are working on bringing up other email platforms soon.

Download Guess The Emoji : Emoji Pops for PC ( Windows , Mac )

0
Download Guess The Emoji : Emoji Pops for PC ( Windows , Mac )

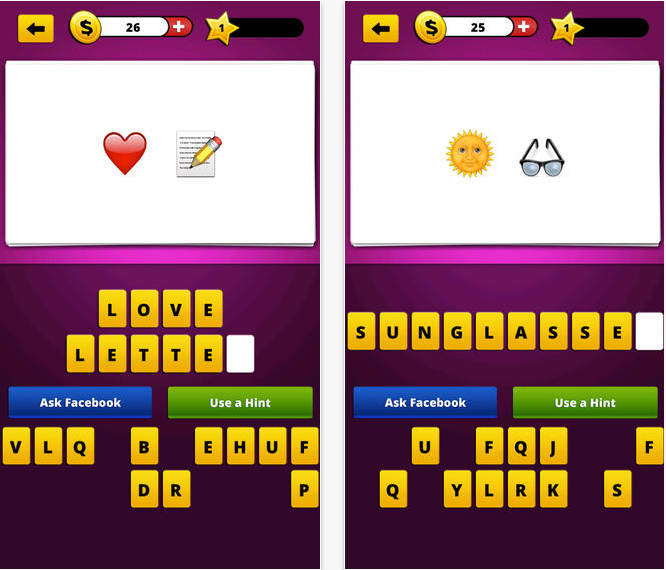
Guess The Emoji : Emoji Pops, right now is on the top of the AppStore and undoubtedly, it deserves to be on the top because this game is worth playing. We’ve played so many games for sure but this one is a bit different and more addictive than others. In Guess The Emoji : Emoji Pops, all you have to do is to guess a word by the emojis that will be presented on your screens, by guessing and describing, what the emoticon is really referring to. Those who love this game so much they can install Guess The Emoji : Emoji Pops for PC and play it on Windows 7, 8, 8.1 and Mac.

Download Guess The Emoji  Emoji Pops for PC

Guess The Emoji : Emoji Pops for PC Features:

  • Are you stuck on a hard Emoji Pop Question?? Do not fear, hints are here to save the day!
  • Expose A Letter – Using this hint will reveal a random letter in the puzzle. Use this hint when you need an extra nudge to guess the icon on a hard question!
  • Remove The Letters – This hint removes all letters from the board which are NOT USED in the puzzle game. This hint can be very helpful on shorter puzzles. Use it wisely!
  • Solve It! – This hint will completely solve the word question for you! Use it if you’re totally stuck!

Also See: Cameleon – Live Filters For PC

Download Guess The Emoji : Emoji Pops For PC ( Windows and Mac ):

The apps on Android Play Store are easy to use on PC because you can use BlueStacks for them, Guess The Emoji : Emoji Pops is only available on iOS appstore that’s why you’ve to use iPadian app Emulator.

  1. First download iPadian app Emulator on your PC.
  2. After installing the iPadian on your PC, open it and goto search bar write Guess The Emoji : Emoji Pops.
  3. Once you found the right app click on and select install.
  4. It will take take few seconds to complete the installation. 
  5. Once done, now you can play Guess The Emoji : Emoji Pops

Also See: showbox for pc