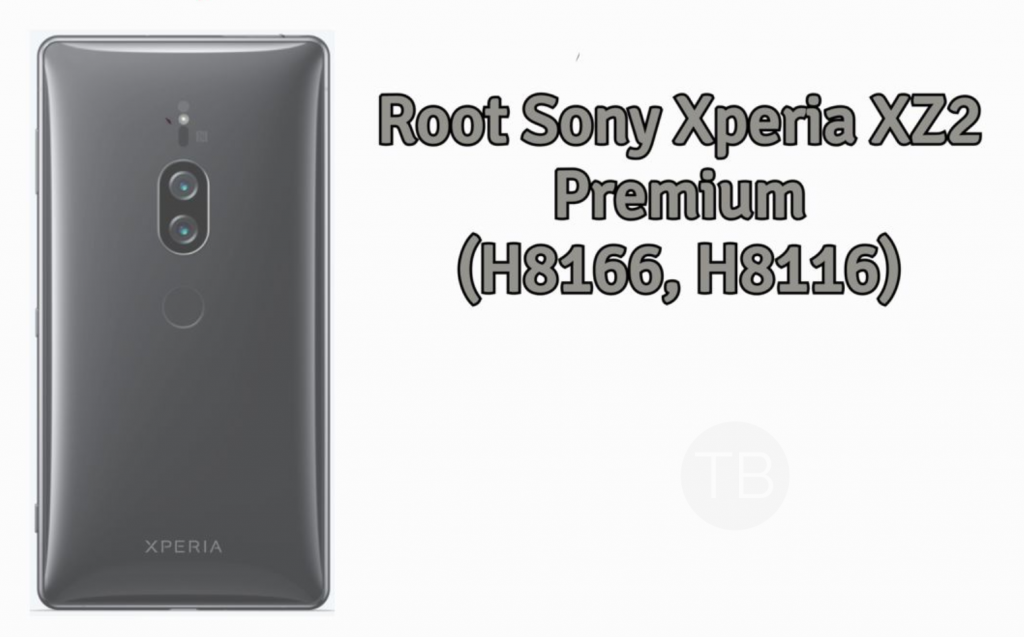
You can easily Root Sony Xperia XZ2 Premium (H8166, H8116). We have made a complete step by step tutorial to help you root Sony Xperia XZ2 Premium. Following method is only for Sony Xperia XZ2 Premium (H8166, H8116).

Contents
Sony Xperia XZ2 Premium:
The Sony Xperia XZ2 Premium was released in 2018, April. The phone came out with a screen of 5.8 inches having 3840 x 2160 pixels resolution. Sony Xperia XZ2 Premium was powered by Qualcomm SDM845 Snapdragon 845 CPU and Adreno 630 GPU. It had internal storage of 64 GB, 6 GB RAM. The camera at the back of this phone is 19 MP, f/1.8 – 12 MP B/W, f/1.6 and on the front, it is 13 MP. Inside this phone, there was a 3540 mAh battery. The phone originally ran on Android 8.0 (Oreo).
Required Downloads:
- Download Sony USB drivers for Android and install them on your computer. Without USB drivers, you may not be able to establish a connection between your phone and your computer.
- Download Minimal Android ADB and Fastboot drivers. These are the best ADB and Fastboot drivers you can find. Minimal ADB and Fastboot will be used for unlocking the bootloader of the phone and then for flashing TWRP recovery.
- Download TWRP recovery file for the Xperia XZ2 Premium.
- Use this link to download patched boot img.
Precautions:
- This guide is only for the Xperia XZ2. You cannot follow this guide to install TWRP and Root any other phone.
- Make sure your phone has at least 50% of its battery juice. Trying to flash files on a phone with a low battery life is a risk. If the phone goes dead during the flashing process, you might end up bricking it.
- Backup your important data like the contacts, call logs, text messages and media content. This process requires unlocking the bootloader of your Xperia XZ2. Unlocking the bootloader will completely wipe your phone. It’s always better to have your data backed up.
- Get your original data cable to connect your phone to the computer.
- On your computer, disable windows firewall for a while.
- On your phone, go to settings > about device > tap the build number for 7 times to enable developer options. Once you have successfully enabled developer options, get back to settings and open them. In the developer options, enable USB debugging and OEM unlocking now.
- Now follow this guide to unlock the bootloader of Xperia XZ2.
- After unlocking the bootloader, follow the steps given below to install TWRP and root Xperia XZ2.
How to Root Sony Xperia XZ2 Premium (H8166, H8116):
- At this point, your phone should have the bootloader unlocked. Download Magisk.zip file and copy it to your phone’s internal storage.
- Copy the downloaded and renamed TWRP recovery, which is now xperiaxz1.img
- C:\Program Files x86\Minimal ADB and Fastboot.
- Also, copy the boot.img which is the kernel file in the same Minimal ADB and Fastboot folder.
- Now open the cmd-here.exe from the Minimal ADB folder or Minimal ADB and Fastboot.exe file from your computer’s desktop.
- A command window will open up now.
- Enable OEM Unlocking and USB debugging on your phone. The instructions are given above.
- Connect your phone to your computer now.
- In the command window, enter the following commands one by one.
- adb devices
- This will return a list of attached devices with a code verifying connection.
- adb reboot bootloader
- This will reboot your phone into the bootloader.
- fastboot devices
- This will verify connection in bootloader mode.
- fastboot flash recovery xperiaxz1.img
- This will flash the TWRP recovery.img file.
- fastboot flash boot boot.img
- This will flash the kernel.
- fastboot flash FOTAkernal boot.img
- This will flash the kernel.
- fastboot reboot
- This will reboot the system.
- adb devices
- Once your phone reboots, shut it down completely.
- It’s time to boot into the TWRP custom recovery now. To do so, power on your phone by pressing the power button + volume down button. As the phone vibrates, let the power button go and keep the volume down key pressed. TWRP will open up in a few seconds.
- TWRP will now ask you for a password on the splash screen. If you were using a password or pin on your phone previously, that same password will work here. If there was no password or pin, then you can use this password: default_password.
- You will see TWRP in a while. Now in TWRP, tap Install > Locate and select the Magisk.zip file and flash it.
- Reboot your phone now. Install Magisk manager from the play store to manage root. That’s all.
- file to the Minimal ADB and Fastboot directory. You can find the directory in your windows installation drive’s program x86 folder.


