Extracting factory images of Google Nexus and Pixel phones is very easy now. Here’s a guide to easily extract Google Nexus/Pixel Factory Images.
Google packs up the firmwares of its Nexus and Pixel devices in the form of Factory Images. These factory images have everything that your phone needs to run on. The factory images contain the system, bootloader, modem and the data for every other partition that pays a role of the foundation of your Google powered phone’s software. These factory images are available in the form of .zip files and you can flash these by pushing a few commands into the ADB and Fastboot mode whilst your phone is connected to your PC.
Factory images of Google phones can be extracted to create a system dump as well. You can extract the factory image to get the pre-loaded applications, wallpapers and other contents in that particular piece of software. You can also extract the images to modify them, add new features and then repack to create what we call a custom ROM. There are many other uses that you may come across if you just turn around and have a look at the over-flowing world of Android custom development.
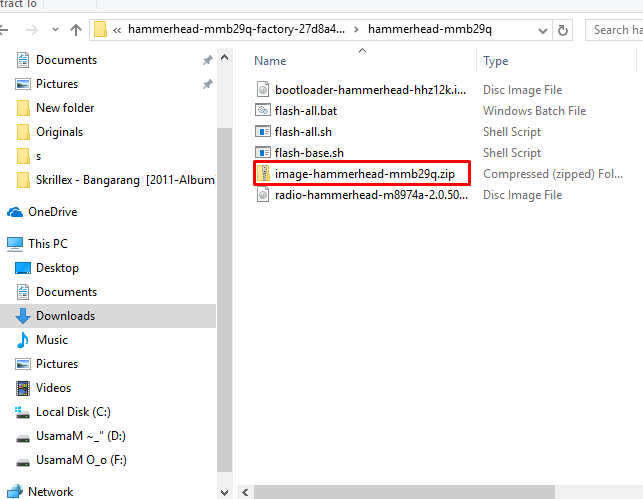
If you are just stepping into this world of customisation and you also want to get your hands on the extracted factory images to create a system dump, you may consider extracting the factory images of a Nexus or Pixel. Doing so has never been this easy. A simple tool, which can quickly crack down the entire factory images has been released. The tool works quite neat on Windows and Linus platforms. Let’s go through how it works and then try extracting a Nexus or Pixel system.img factory image.
Snapchat is a popular social sharing platform so when something goes wrong it can be…
Android 12 Compatibility Definition Document (CDD) calls for device manufacturers to specify the performance classes…
New features in Telegram Beta 8.0.0 for Android include group video chat 2.0, live video…
Download the Blackout Bingo app on your PC. With a competitive twist to the classic…
Download the Wombo app on your PC. All you have to do is add a…
Download the Golf Rival app on your PC. Follow the steps discussed below to get…
This website uses cookies to provide you up-to-the-mark services.