Japanese phone-maker Sony’s flagship device Xperia Z hit the shelves back in this January, 2013. Xperia Z, one of its own kind, was well received by the users. The front line features boasted off a water proof body, for the first time in any smartphone, it’s dust proof as well. Let’s have a recap on the specs in case you don’t know, the phone runs on a Quad Core processor clocked at 1.5 GHz, it has got a 2GB RAM, 16 GB internal memory, while there is an microSD card slot as well. The display is Full HD 5” TFT capacitive touch screen and has 441 ppi. It may also be learnt that Sony Xperia Z also boasted off a new design and shape, that Sony migrated from Xperia S and other Xperia designs.
With all those heavy specifications, the phone outdated its competitors having a number of exclusive features like unparalleled sharpness, world’s first image sensor with HDR video for smartphones, overall the display simply topped the charts. The phone has got an impressive 13.1 MP camera at the back while a 2.2 MP camera at the front.
Getting back to the topic, Sony Xperia Z runs on Android 4.1.2 Jelly Bean out of the box, the phone received Android 4.2.2 update a few months back and has been updated to the latest firmware version 10.3.1A.0.244 and 10.3.1.A.2.67. Earlier, we posted the root method for the device running on Android 4.1.2 and the previous version, while the newest firmware’s root method was missing and we’ve been getting a number of requests to post the guide, so here it is. Today, we’re going to learn how we can gain root access on Sony Xperia Z running on latest Android 4.2.2 firmware version 10.3.1.A.0.244 or 10.3.1.A.2.67.
It may be learnt that this method works for both Xperia Z models, C6602 and C6603, and also for both Locked and Unlocked Bootloaders.
Let’s begin with the rooting process.
Here are some of the pre-requisites you need to follow:
-
-
- Make sure that you have the battery charged over 60%.
- Make sure that you back up all of your important Contacts, Messages & Call logs. This is not necessary but it is highly recommended in case of any mishap.
- Make sure that you use the original data cable for establishing the connection between your PC and phone.
- Disable any antivirus/firewall if enabled.
- Make sure that your device is running on the latest Android 4.2.2 Jelly Bean Firmware.
- Make sure that everything you do, you’re doing it at your own risk. In case of any mishap, we may not be held responsible as these methods are highly custom and have nothing to do with the manufacturer that is Sony in our case.
- All good, now follow the guide to the letter to successfully root your device.
-
Things you need to download:
-
- Download and Install Sony Flashtool – Here’s the complete guide with download links.
- Download and Install Sony USB drivers – Get Here.
-
-
-
- XperiaZ_C660X_KernelOnly_10.3.A.0.423_Generic_NL.ftf – Download it Here.
- DooMLoRD_Easy-Rooting-Toolkit_v18_perf-event-exploit.zip – Download it Here.
-
-
Download this file according to your current firmware:
-
-
-
- XperiaZ_C660X_KernelOnly_10.3.1.A.2.67.ftf – Download it Here.
- XperiaZ_C660X_KernelOnly_10.3.1.A.0.244_BE.ftf – Download it Here.
-
-
How to Root Sony Xperia Z:
-
-
- After having installed the Flashtool, place the downloaded XperiaZ_C660X_KernelOnly_10.3.A.0.423_Generic_NL.ftf file in the Flashtool>Firmware folder in your C: drive or the directory where you installed the Flashtool.
- Open Flashtool and hit the lightening button on the top left, select flashmode and then select the XperiaZ_C660X_KernelOnly_10.3.A.0.423_Generic_NL.ftf , and hit Flash.
- The firmware will take a while to load, as soon as it prompts you to connect the device, turn off your device, press Volume Down and connect it to your PC while keeping the Volume Down key pressed. This connects the device in Flashmode.
- As soon as your device is detected in the Flashmode, the flash process will start and you’ll get the Flashing finished message in the logs.
- Close the Flashtool now. [important]
- Connect your device to your PC again now, This time enable the USB debugging mode under Settings > Developer Options on your device.
- Extract the downloaded DooMLoRD_Easy-Rooting-Toolkit_v18_perf-event-exploit.zip to your C: drive or to whatever drive you’ve installed the windows.
- Now run the runme_OSversion file, this file will execute the rooting toolkit, and will root your phone.
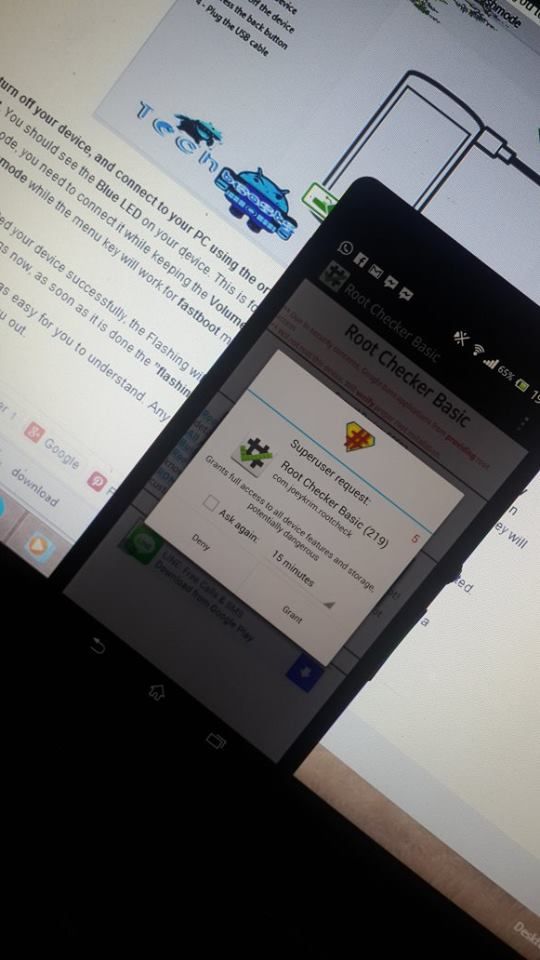
- As soon as your device is rooted, it will restart. Congrats your device is now rooted, check the SuperSu app in the app drawer.
- Now download the Kernel file according to your device’s firmware on which it was running previously i.e [10.3.1.A.0.244 OR 10.3.1.A.2.67]
- Open Flashtool again, and Flash the new kernel file using the same method explained in steps 2 & 3.
- As soon as the flashing process is done, turn on your device and enjoy having the root access!
-
That’s All! We hope that you find it easy to root the phone using our guide above. Please support the original developer in order to appreciate.
In case of any difficulties or queries, feel free to leave us a comment or use the Request Box at on the right site. Thanks!


I could perform the root in my smartphone. Thank you very much.
i did the operation step by step tho not with 60%+ battery, my battery was 51% and after i finished it was 60% without charging it, is that bad?
@motasemtamary:disqus nope, its normal.
thanks so much for reply and thanks a lot for the great instructions.
best reguards
is it possible on experia z 4.3 latest
version
@sebinmk:disqus yes, follow this guide: https://techbeasts.com/2013/12/20/root-xperia-z-android-4-3/