Lets face it, Mac OS X along with iOS has alot of restrictions when it comes to sharing, even if you have to share screen of your iDevice on Mac or if you have to Record Screen of your iDevice on Mac. In past we have to rely on 3rd party apps to do such stuff, with the arrival of iOS 8, alot has changed as Apple has given alot of opportunities to do alot of custom things without the need of any 3rd party app. Now with the hep of iOS 8 and Mac OS X Yosemite, any user can easily Record iPhone screen using the OS X Yosemite and we will show you How to do it.
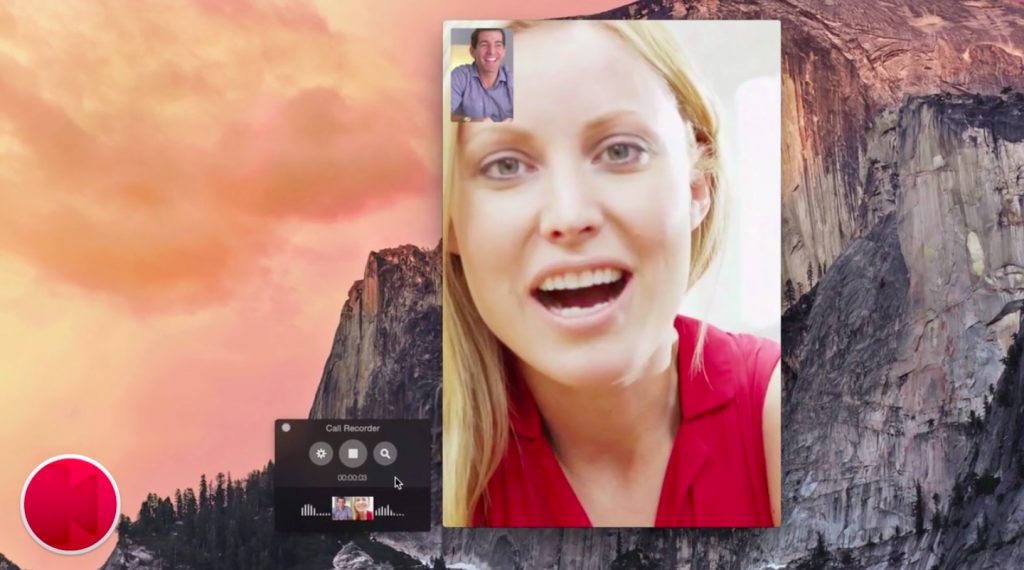
Among the plethora of communication apps like Skype, Facebook Video call, still Apple users are stuck with the FaceTime, the default Video Calling app in Mac OS X and iOS. In my opinion, default and Stock apps are better, cause they have more support and Apple support is precisely for Stock apps and stuff. FaceTime like any other Social Network, doesn’t allows you to see your calls once you send them, in such cases users always need a way to record some important calls and show them, in case of any emergency, afterwards.
Record FaceTime Calls on Mac OS X Yosemite:
- Make sure your Mac is running OS X Yosemite.
- Make Sure your iDevice is running iOS 8 or above
- Connect your iDevice with Mac.
- Launch QuickTime
- In QuickTime, Navigate to File > New Movie Recording.
- Along-Side the Red Button, click the Drop Down.
- Select your iPhone as Camera and Microphone Source.
- Now as soon as you receive a Call, Click the Record button before accepting the call.
- Once you are done, click the Record button again to stop the recording
- Enjoy


