
Now who doesn’t want to own a server? You can share photos, videos and other stuff and host a website of your own, stream your own media from anywhere in the world. All that requires is a location on internet called URL like http://www.anything.com. This is normally done by purchasing a domain which is not free. But in Ubuntu 12.04 LTS it can be done free of cost, Ubuntu 12.04 LTS is a perfect host for your own websites and streaming services.
All you require is a PC, simply an old PC you were about to throw will work, just intall a Lamp server on it and after installing go all the way to Static ip port and stop right there. Once you have Lamp server running with SHH get ready to start the NO-IP service on it.
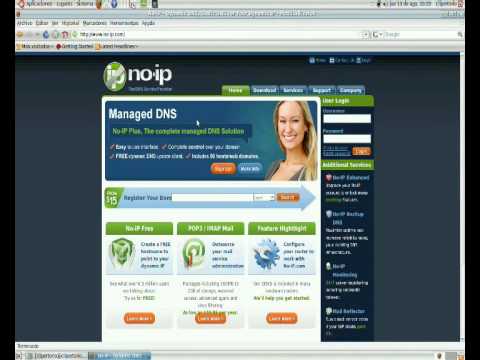
Go to www.noip.com and Sign-up there, it’s free.
After signing up, you will get a free website name.
Click “no thanks I’ll use no-ip.biz” link to use free DNS with the site you were assigned.
Click or Unclick the “send me free stuff” depend on your likes and interests.
Click “sign up” under “free DNS service” coloumn.
Now open a terminal to your server and login using the same usename and password that you setup during the Lamp installation.
Switch to root user.
sudo -s
When asked, enter the password for the username you installed ubuntu with.
Install the Software required to build the no-ip client.
apt-get install build-essential checkinstall
Download the no-ip client.
cd /usr/local/src/
wget http://www.no-ip.com/client/linux/noip-duc-linux.tar.gz
tar xf noip-duc-linux.tar.gzdir
Remember the directory where the client is saved.
cd noip-2.1.9-1/
Start the installation.
checkinstall
click y to accept the default docs.
Enter “noip” as the name for the Software.
Press Enter 3 times to accept the name and description for the program.
Now you will configure the clinet for your no-ip web service.
When asked enter your no-ip login name and password.
Press Enter to accept 30 second update rate, then accept N and go on without running a script on succesful update.
Press Enter to accept n and skip listing the included docs. Again press Enter to accept y and exclude docs from Package.
Note down the dpkg uninstall but donot run the process as it will uninstall the package.
Switch back to normal user.
su <ubuntu_username>
For your own ease make the file permiss0ion quit premissive for ease of setup but restirict them later.
sudo chmod 7777 /usr/local/etc/no-ip2.conf.
Now write this script so when the PC starts the client starts too.
sudo nano /etc/init.d/noip
Copy and Paste the following lines, between the ##### lines, into the file you just started.
#######################################################
#! /bin/sh
case "$1" in
    start)
        echo "Starting noip2"
        /usr/local/bin/noip2
    ;;
    stop)
        echo -n "Shutting down noip2"
        for i in `noip2 -S 2>&1 | grep Process | awk '{print $2}' | tr -d ','`
        do
          noip2 -K $i
        done
    ;;
    *)
        echo "Usage: $0 {start|stop}"
        exit 1
esac
exit 0#######################################################
Now to test the startup script use this.
sudo /etc/init.d/noip stop
sudo /etc/init.d/noip start
Now to reset permisiion so only the root user will run the startup procedure.
sudo chmod 700 /usr/local/bin/noip2
sudo chown root:root /usr/local/bin/noip2
sudo chmod 700 /etc/init.d/noip
sudo chown root:root /etc/init.d/noip
sudo chmod 700 /usr/local/etc/no-ip2.conf
sudo chown root:root /usr/local/etc/no-ip2.conf
Now add the noip start script to ubuntu startup process.
sudo nano /etc/rc.local
In the Line above “exit 0” add the following line:
/etc/init.d/noip start
You will need to open port 8245 through the server, depend on your Router.This is called port forwarding, to learn more visit www.portforward.com.
Finally after all, you server will be available anywhere at
http://<your_noip_user_name>.no-ip.biz
Source: howtoforge.com


