
HTC U Ultra has been blessed by a TWRP recovery. You can flash the TWRP recovery on your HTC U Ultra and also root it right away.
HTC just announced the U Ultra a month ago. The phone equips a 5.7-inch QHD display with Corning Gorilla Glass 5 and Sapphire crystal glass for its 64 GB and 128 GB variants respectively. The phone equips a secondary display as well with a size of 2.05-inches. HTC managed to power it up with Snapdragon 821 CPU and Adreno 530 GPU. HTC U Ultra carries a 4GB RAM with 64 and 128 GB internal storage options. A 12 MP shooter is there at the back and a 16 MP is on the front. A whopping 3000 mAh battery is also placed inside. HTC U Ultra runs on Android 7.0 Nougat out of the box. With the HTC U Ultra, HTC has managed to enter the high-end spec league of smartphones. Until the HTC U Ultra was announced, HTC was being criticised for keeping itself a step behind as compared to the other manufacturers. The HTC U Ultra is already making its way to the custom Android development as well, which is a good sign for the device users.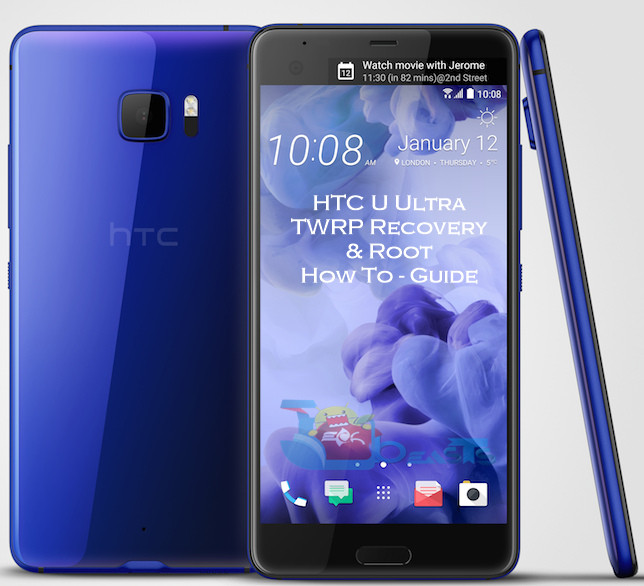
The available version of TWRP recovery for U Ultra is 3.0.3-1. To flash the recovery, you have to unlock the bootloader of your phone. A systemless root solution will help you to achieve the root on the phone after the installation of a custom recovery. In this post, we will go through all the processes one by one now.
- This guide is only applicable for the HTC U Ultra. Do not try it on any other device.
- Charge your phone up to 50%.
- Backup your important contacts, call logs, text messages and media content.
- Use the original USB cable to connect your phone to your PC.
- Download and install Minimal ADB and USB drivers on your PC.
You will get the Minimal ADB and Fastboot directory in one such location: C:\Program Files (x86)\Minimal ADB and Fastboot and you will also get the Minimal ADB and Fastboot.exe file on your desktop.
- Download TWRP recovery.img file. Rename the recovery file to recovery.img only and copy it to the folder mentioned above.
- Download and install HTC USB drivers on your PC.
- Enable OEM Unlocking and USB Debugging mode on your phone.
- Unlock the Bootloader of your HTC U Ultra.
- Download SuperSU.zip file and save it on your PC’s desktop.
- Download no-verity-opt-encrypt-5.1.zip and place it on your PC’s desktop as well.
- Follow this guide carefully.
Disclaimer: Flashing TWRP recovery and rooting your HTC U Ultra will make the status of your phone custom. This will not let your phone receive OTA updates and it will also result in voiding its warranty. You can only receive OTA updates after flashing a new stock firmware on your phone. While following this method, you are completely on your own. In case of a mishap, TechBeasts or the device manufacturers may not be held responsible.
How To Install TWRP Recovery and Root HTC U Ultra
- Connect your HTC U Ultra to your PC now.
- On your PC, open the Minimal ADB and Fastboot.exe file from the desktop. If you do not have this file, then simply open the Minimal ADB and Fastboot folder from the location mentioned above and open the MAF32.exe file.
- Now in the command window enter following commands:
- adb reboot download
- fastboot flash recovery recovery.img
- fastboot reboot recovery (for recovery) or use the Volume Up + Down + Power combination to get into TWRP now.
- (this will boot your device in TWRP recovery mode)
- At this point, TWRP will ask you whether you want to allow system modifications. Typically, you would want to allow modifications. By swiping right, you will trigger the dm-verity verification. Right after triggering it, you will have to flash SuperSU and the dm-verity-opt-encrypt on your phone.
- You will have to perform a data wipe to enable storage. After wiping the data, go back to the main menu and tap the “Mount” option and then tap Mount USB Storage.
- After mounting USB storage, connect your phone to your PC and transfer SuperSU.zip and dm-verity file to your phone.
- Through all this process, do not restart your phone. Stay in the TWRP recovery.
- Now get back to the main menu and once again tap “Install > Locate newly copied SuperSU.zip file and flash it”.
- After flashing SuperSU, reboot your phone. You are all done.
- Your device will boot up now. Find SuperSu in app drawer. Install Root Checker app to verify root access.
To boot manually in to TWRP recovery mode, unplug USB cable from your HTC U Ultra and turn off your device completely by keeping the power key pressed for a while. Now press and hold Volume Down + Power Key to turn on your HTC U Ultra. As soon as your phone’s screen turns on, leave the Power Key and keep the Volume Down Key pressed. Your device will now boot into TWRP recovery mode.
Don’t forget to create a Nandroid Backup for your HTC U Ultra now. Also checkout how to use Titanium Backup since you’ve got your phone rooted. That’s all. Stuck with something? Don’t worry! Reach us out through the comment box below.


