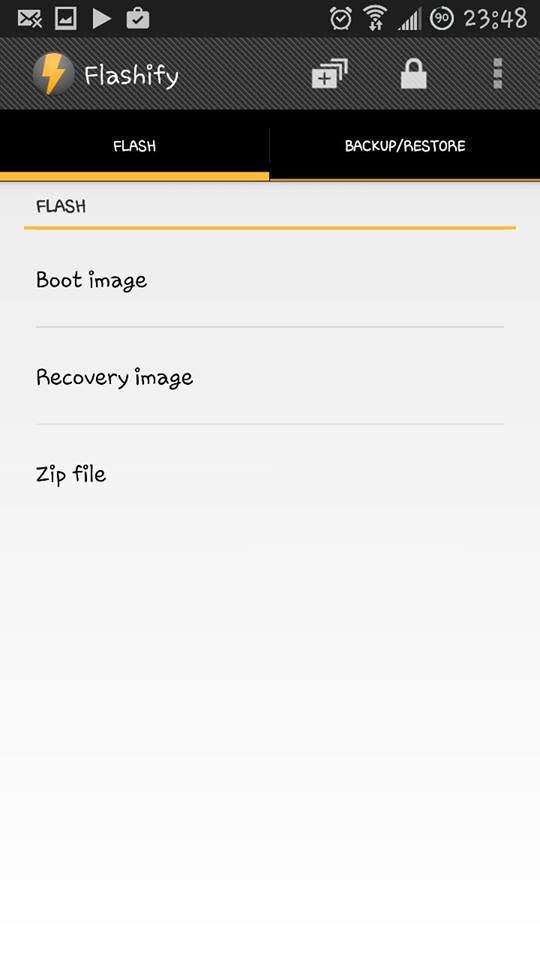
If you ever came across modifying your Android device, you must have heard of the term flashing, and most probably, you must have heard of .img and .zip files. Loading anything on your Android device using .img or .zip files or any other tool is commonly known as flashing, and the .img files let you load several files including a custom recovery, a kernel, sometimes system, userdata and other such img files, while the .zip files let you load custom ROMs, mods and at times kernels as well.
Contents
Understanding the need of Flashify
The working of both, the .img and the .zip files meet at some points but is quite different from each other at several points as well. If you’ve had an experience with flashing anything on your Android device, you must have come across the use of a custom recovery or ADB & Fastboot drivers, the two commonly known methods that pave way for all the customization on your Android device, but at times you are unable to use Android ADB & Fastboot drivers, either they don’t let you load the file, or the drivers might not be supporting your Android device, and at times you don’t have a recovery to load the custom images, .zip files on your Android device. In this case, you need an alternative, that happens to be pretty easy.
How apps like Flashify can help you
As of now, there are several applications that serve this purpose on Android, and Flashify happens to be the best among those several applications. Flashify lets you install custom recoveries, kernels and even ROMs or Mods using .img and .zip file. The application has a simple and easy to use interface, all it requires is the root access and you’re done.
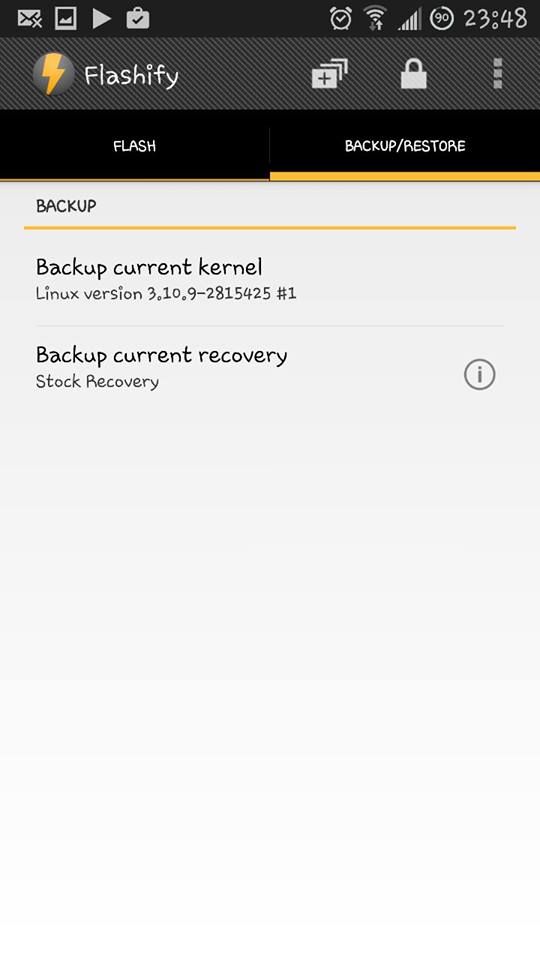
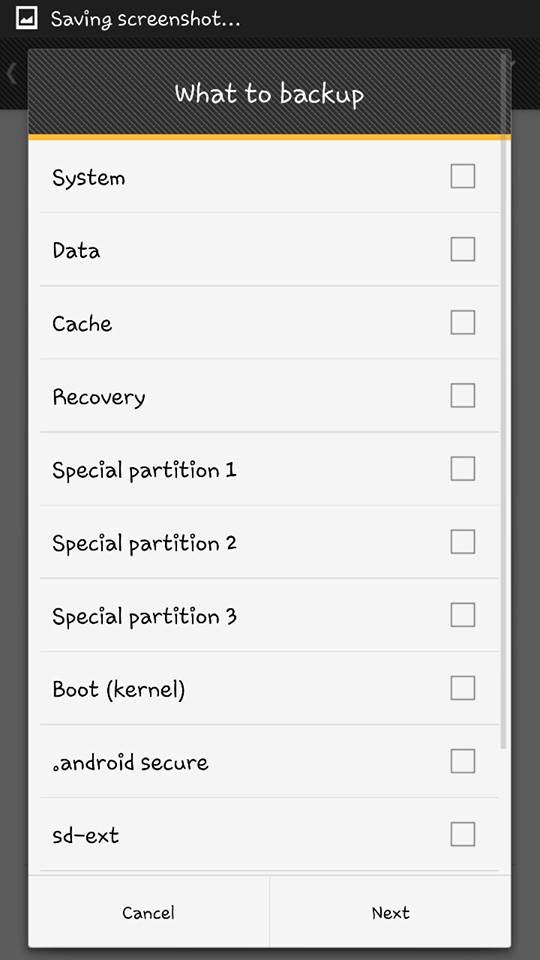
Besides flashing the boot.img and recovery.img files, Flashify also allows you to backup and restore your current recovery, current kernel, Nandroid, cache and similarly it allows you to restore all these as well. Using Flsahify, you can also wipe your cache, Dalvik cache and perform a complete wipe.
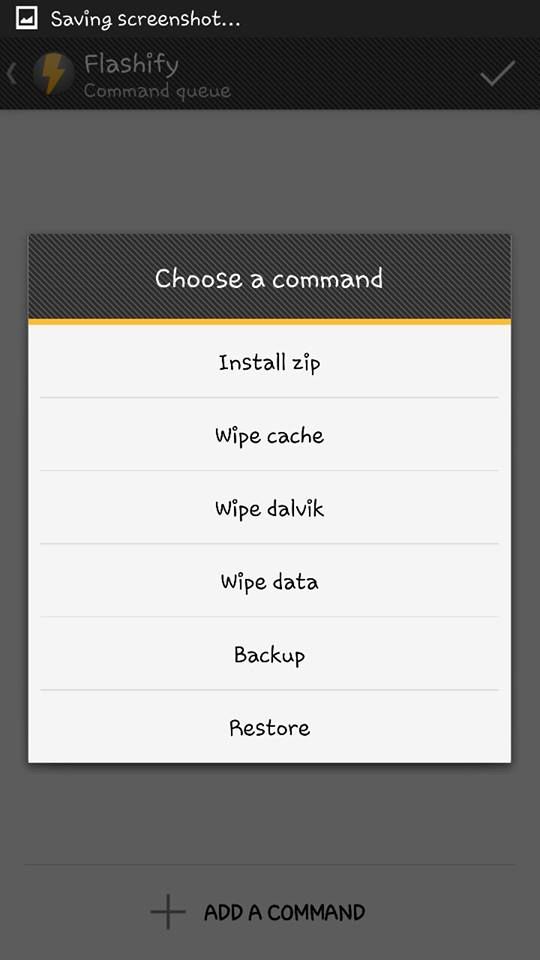
One of the cool features this application got is, it allows you to perform multiple operations e.g. flash multiple files at the same time and create a queue to keep a record of your flashed files. The Reboot options in Flashify allow you to reboot your device straight into the recovery mode, or in the bootloader depending upon your choice.
Now, this becomes a great tool for the users who want to avoid the use of a custom recovery or who do not have a custom recovery for their device but have root access to their device. There are several one-click tools that let you root your device without any hiccups here and there, so just in case you’re looking for an application to meet your root access and unleash the true power of your Android device by performing the functions of a custom recovery, Flashify is waiting for you in the Play Store for free.
Let’s have a look at the features of this application and then have a look on how to use it.
Flashify Features
1 – Flash boot and recovery .img without even needing to go to recovery.
2 – Flash zip files. Option to wipe cache, dalvik and data when using TWRP or Philz recovery.
3 – Download and flash CWM, Philz, TWRP, Gapps, Franco Kernel, Stock Nexus Kernel (premium), and Stock Nexus Recovery (premium).
4 – Automatic Loki Patch when needed.
5 – Full nandroid backups/restores when using TWRP or Philz recovery.
6 – Backup/Restore kernel and recovery using Sdcard or cloud (Dropbox, Box (premium) or Google Drive (premium)).
7 – Automatic cloud synchronization of backups between devices and desktops.
8 – Keep track of recently flashed items.
9 – Flash multiple files and build your flash queue.
How To Use Flashify To Install Custom Recovery, Kernel [.img/.zip files]
To flash the .img or .zip files, you must have it downloaded from your concerned development site / forum. The .img and .zip files are uploaded by developers by various sources. In the following guide we won’t be providing you any files to be flashed, we will only tell you how you can use this application.
- Your device must be rooted. You may look out for a root guide here.
- Now download and install Flashify. Google Play Link | Flashify APK
- Once installed, access the application through app drawer.
- Allow root access now and get navigate to Flashify’s home screen.
- Now you may tap the .img or .zip button and locate the file you want to flash.
- In the Backup menu, you can backup Nandroid and all other available stuff.
- In the Menu (on the top right corner) you can reboot your device in your desired mode or you can access the settings.
- By tapping the + button on the top, you can make a flashing que to flash multiple images / zip files.
- Rest can be done by following the on-screen instructions.
- That’s all with the use of Flashify.


The free version of Flashify allows you to flash 3 files a day. In case you want to unlock unlimited flashing, you may purchase the premium version.


will it works with kingroot
or i have to use it with supersu
@kirna21:disqus Kingroot is different from TWRP. It totally depends on what device you got and whether Kingroot is compatible with it or not. With TWRP, you can flash SuperSU or Magisk to root your phone.
before flashing the TWRP or CWM,we should need to root the phone
or
unlock bootloader and flash the recovery image
but my phone’s bootloader is not unlocking , can you help with this problem
@kirna21:disqus It totally depends on what phone you are using, whether a solution for your phone is available or not and whether you can root it before or after flashing the recovery. Tell me your device name and model number so that I can assist you further.
LYF Flame -1 (LS4503)
the problem is that flashfire wont works with supersu and i am using kingroot.i tried many times it wont works with kingroot
i am asking whether do you have any idea regarding the how flashfire works with kingroot or not
and do you have any posts regarding the “flashfire”