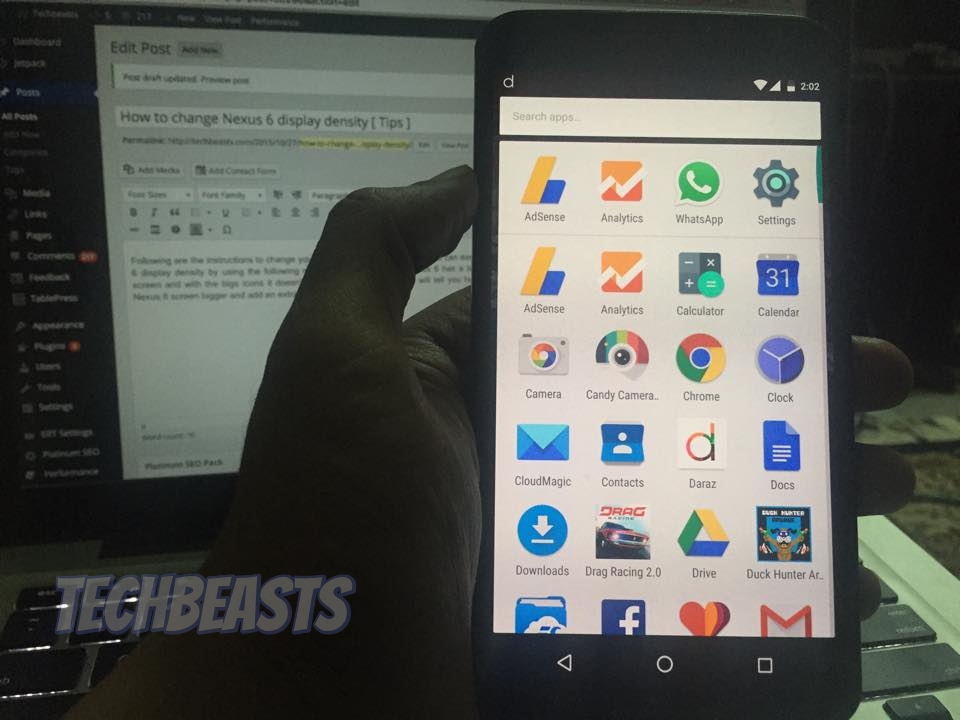
Following are the instructions to change your Nexus 6 display density, yes you can easily change your Nexus 6 display density by using the following method mentioned below. Nexus 6 has a large space free on the screen and with the bigs icons it doesn’t seem cool at all, so today I will tell you how you can make your Nexus 6 screen bigger and add an extra row of icons on app drawer.
Method 1: Using ADB commands.
- Go to settings and enable USB Debugging from developer option.
- Download ADB Tools on your computer.
- Connect your Nexus 6 with Pc using USB cable.
- Open Windows explorer on your PC and open ADB Tools folder.
- Now in ADB folder, hold Shift and right-click on a blank space. Choose Open Command Window Here.
- To make sure your Nexus 6 is being recognized, use the following command in Command windows.
adb devices
- You’ll see a number in command windows identifying your Nexus 6. [ If you don’t then you have to download Google USB Driver and after installing them, you have to repeat the step 6.
- Now type the following command in order to change your nexus 6 display density, by default its set on 560 in the system.
adb shell wm density 480
- Reboot your Nexus 6 in order to see the effects, once your device boots up you’ll see a lot of changes.
- If you wish to go back to default display density, all you have to do is type the following command.
adb shell wm density reset
Method 2: editing the build.prop file (requires root)
If your Nexus 6 is rooted then things are even more easier, all you have to do is install ES File Explorer and edit a file from a system folder. If your device is not rooted then first you have to root your Nexus 6.
- First install ES Explorer from Google Play.
- Once the app is installed launch it, make sure Root explorer is enabled.
- Goto /device/system.
- You’ll see a number of different folders, scroll down and tap on build.prop. Select ES Note Editor from the pop-up.
- Tap on the pencil located on top right corner, now scroll down until you find ” ro.sf.lcd_density=560 “.
- Change the display density 560 to 480 and now press the back arrow to exit. Tap on save.
- Now Reboot your Nexus 6 to see the effect.


