Here’s how to enable Two-Step verification for Apple ID, it will help you to secure your Apple ID more then ever. Apple ID is the main ingredient for people who love iDevices, with out Apple ID you cannot download apps on iPhone/iPad, cannot use iMessage and FaceTime, cannot sync your Apple devices, you cannot download apps from Mac and last but no least you cannot use iCloud services. Two-Step verification will make your Apple id more secure and nobody can use it without your permission.
To Enable Two-Step Verification for Apple ID there is no special method, its same as we do on Gmail or any other services. But for those who don’t know how to do it, all they have to do is follow my step by step guide below.
How To Enable Two-Step Verification for Apple ID:
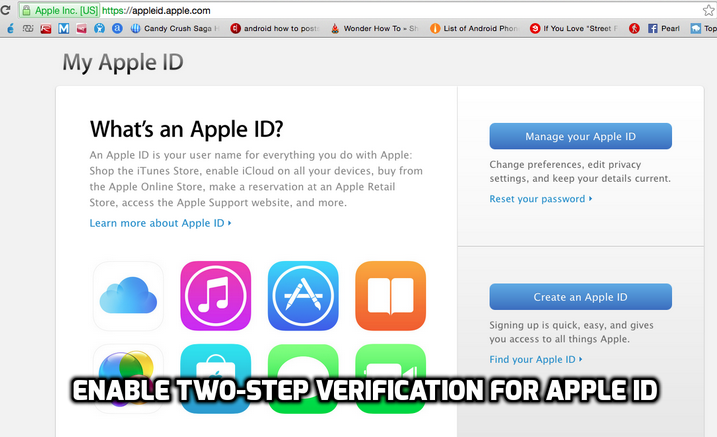
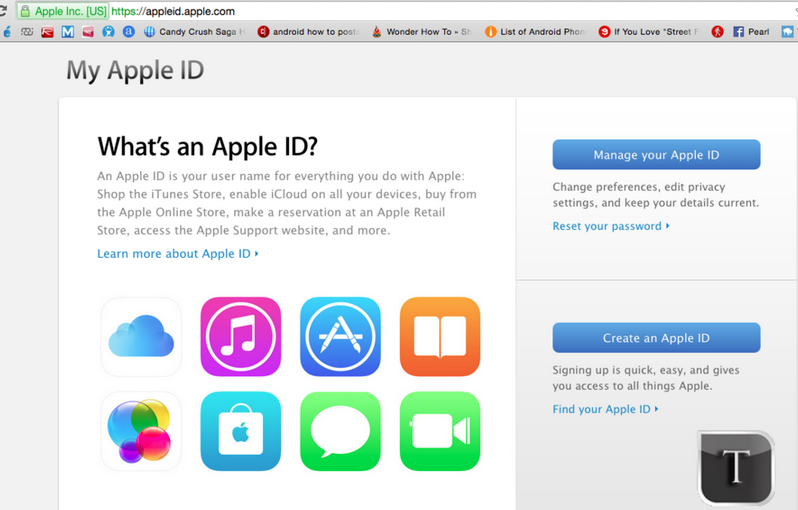
Step#1: First open https://appleid.apple.com/ from your browser.
Step#2: Now click on Manage your ID.
Step#3: Now add your Apple ID credentials.
Step#4: Once your are logged in, Click on Password and Security.
Step#5: Click on Get Started… > Continue > Continue > Get Started.
Step#6: To Enable Two-Step verification. Add your Phone Number and Click on Ok.
Step#7: Now you’ll receive a 4 digit security code to verify your number add the code in the given box. Click on Continue.
Step#8: You’ll be given a Recovery Key, Click on Continue.
Step#9: Now enter your Recovery Key and Click on Confirm.
Step#10: Click on checkbox to agree the terms and conditions.
Step#11: Click on Enable two-step Verification.
All Done !!


