
Galaxy J7 Prime is just another variant of the original Samsung Galaxy J7. Samsung changed a few minor specifications in the Galaxy J7 and released it as the Galaxy J7 Prime. This phone came out in August 2016. Galaxy J7 Prime targets the mid-range market. This phone has a 5.5-inch 1080P display. J7 Prime is powered by Exynos 7870 Octa-core CPU and a RAM of 3 GB. The internal storage of this phone is 16 GB. J7 Prime has a 13 MP camera at its back. On the front, this phone has an 8 MP camera. When Galaxy J7 Prime was released last year, it was found running on Android 6.0.1 Marshmallow. Just a few days ago, Samsung rolled out the Android Nougat update for this phone.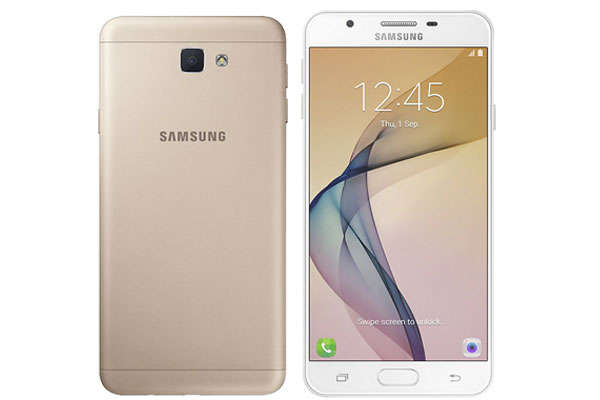
A number of users have successfully updated their Galaxy J7 Prime to Android Nougat. You can update your phone to Android Nougat either through OTA update or through Samsung Odin. While updating the phone through OTA, so many users have encountered an error called Software Update Failed. This error comes up when you have downloaded the software update and you are just about to install it on your phone. At some point, this becomes so much annoying that you want to hit your phone on the floor. Before you start panicking, we would like to calm you down and tell you that it’s very easy to fix this error. This very post will take you through the steps to fix Software Update Failed error on your Galaxy J7 Prime.
There are three different methods to fix the Software Update Failed error. The very first method will make you clear the cache of your phone. This method is likely to work for most of the users. Since the first method also happens to be very easy to follow, you should try that first of all. If the first method fails to work for you, you can jump to the 2nd and 3rd method as they will definitely work and take this error away from your phone.
Fix Galaxy A7 Prime 2017 Software Update Failed Issue
Solution#1: The very first thing you can do is to clear the cache of your phone. To clear the cache, turn off your phone first. Once the phone completely goes dead, turn it on by pressing and holding Volume Up + Home + Power key. Keep the keys pressed while the phone turns on. As it shows something on the screen, let the keys go. You will be in the recovery mode now. Use the Volume Down key to come down and select “Clear cache partition” by pressing the Power key. In the next screen, use Volume Down key to highlight “Yes” and press the Power button again to wipe Cache partition. Restart your phone after clearing Cache. Try updating your phone now and it will not show the Software Update Failed error anymore.
Solution#2: Download and install Samsung Smart Switch on your computer. Connect your phone to your computer now using the original data cable. You have to launch the Samsung Smart Switch now. It will take a minute for Smart Switch to recognize your phone. After successful connection, Smart Switch will show you a screen with options. Now click on the “More” option appearing on the top-right and then click on “Emergency software recovery and initialization”. Now follow the on-screen instructions to install new software on your phone.
Solution#3: The last solution that will definitely work is to flash a software manually using the Odin flashtool. For Odin, you can follow this guide and fix the Software Update Failed issue: How To Flash Stock Firmware On Samsung Galaxy With Odin.


